
In an era defined by ever-expanding digital footprints, the need for reliable and ample storage has become paramount. From high-resolution photographs and 4K videos to extensive software libraries and critical business documents, our digital lives demand space. Internal hard drives, while foundational, often prove insufficient for the modern user’s burgeoning data requirements. This is where external hard drives step in, offering a versatile, portable, and cost-effective solution for expanding storage, backing up precious data, and even transferring large files between systems.
While the concept of adding an external drive might seem straightforward, a successful and efficient installation involves more than just plugging in a cable. It encompasses understanding different drive types, operating system specific configurations, and crucial post-installation steps to ensure longevity and optimal performance. This comprehensive guide aims to demystify the process, providing a professional, insightful, and engaging walkthrough for users of all technical proficiencies. Whether you’re looking to safeguard irreplaceable memories, free up valuable internal space, or boost your workflow, mastering the installation of an external hard drive is a fundamental skill in today’s digital landscape.
Understanding Your External Hard Drive Needs
Before diving into the installation process, it’s crucial to understand why you need an external hard drive and what specific type will best serve your purposes. This foundational knowledge ensures you select the right hardware and approach the setup with appropriate expectations.
Why an External Hard Drive? Beyond Basic Storage
The utility of an external hard drive extends far beyond merely adding more space. Its primary advantages include:
-
Data Backup and Recovery: One of the most critical functions is creating secure backups of your computer’s internal drive. In the event of system failure, data corruption, or malware attack, a recent backup on an external drive can be a lifesaver, allowing for quick restoration of your operating system, applications, and personal files.
-
Storage Expansion: For users with vast media collections, professional creative projects, or extensive gaming libraries, an external drive provides an easy way to expand storage without opening your computer. This keeps your internal drive lean for system operations, improving overall performance.
-
Portability and Data Transfer: External drives, particularly smaller SSD models, are incredibly portable, making them ideal for carrying large files between different computers, sharing data with colleagues, or accessing your personal data while traveling.
-
Archiving Seldom-Used Data: Move old projects, completed photoshoots, or retired software installations to an external drive to declutter your primary system and improve its speed and responsiveness.
Types and Interfaces: Choosing the Right Drive
External hard drives come in various forms, each with distinct characteristics regarding speed, durability, and cost:
-
Hard Disk Drives (HDDs): These are traditional mechanical drives that store data on spinning platters. They offer high capacities at a lower cost per gigabyte, making them excellent for mass storage and backups where ultimate speed isn’t the primary concern. They are, however, more fragile and slower than SSDs.
-
Solid State Drives (SSDs): SSDs store data on flash memory chips, similar to USB drives. They are significantly faster, more durable (no moving parts), and consume less power. While more expensive per gigabyte, their speed makes them ideal for applications requiring quick data access, such as video editing, gaming, or running portable operating systems.
-
Interfaces: The connection type dictates the drive’s compatibility and potential transfer speeds:
-
USB-A (2.0, 3.0, 3.1, 3.2): The most common interface. USB 3.0 (or newer) offers significantly faster speeds than USB 2.0. Ensure your computer has compatible ports for optimal performance.
-
USB-C: A reversible connector that supports higher data transfer rates and power delivery. Many modern laptops and devices feature USB-C, often supporting USB 3.1/3.2 or even Thunderbolt 3/4 protocols.
-
Thunderbolt (3/4): Developed by Intel, Thunderbolt offers the highest transfer speeds, often combining data, video, and power delivery over a single cable. It’s typically found on higher-end Macs and some Windows PCs and is backward compatible with USB-C.
-
Key Considerations Before You Begin
A few crucial checks before you even unbox your drive can save time and frustration:
-
Capacity: How much space do you truly need? Factor in future growth. It’s often better to slightly overestimate than underestimate.
-
Power Source: Some portable external drives draw power directly from the USB port. Larger desktop drives, especially HDDs, often require an external power adapter. Ensure you have an available power outlet if needed.
-
Compatibility: While most external drives are designed to be “plug and play,” check the drive’s specifications for operating system compatibility (Windows, macOS, Linux). Also, ensure your computer has the necessary ports (USB-A, USB-C, Thunderbolt) to connect the drive.
-
Intended Use: Will it be a dedicated backup drive, a portable working drive, or supplemental storage? Your use case influences formatting choices later on.
The Universal Installation Process: A Step-by-Step Guide
While operating systems have their nuances, the core steps to installing an external hard drive remain largely consistent across platforms. This section outlines the universal procedure.
Unboxing and Initial Setup
Carefully remove the external hard drive from its packaging. Keep all included cables (USB, power adapter if applicable) and documentation. Many drives come with pre-installed software; while sometimes useful, it’s often optional. For now, focus on the hardware.
Connecting to Your Computer: The Physical Link
This is usually the simplest step.
-
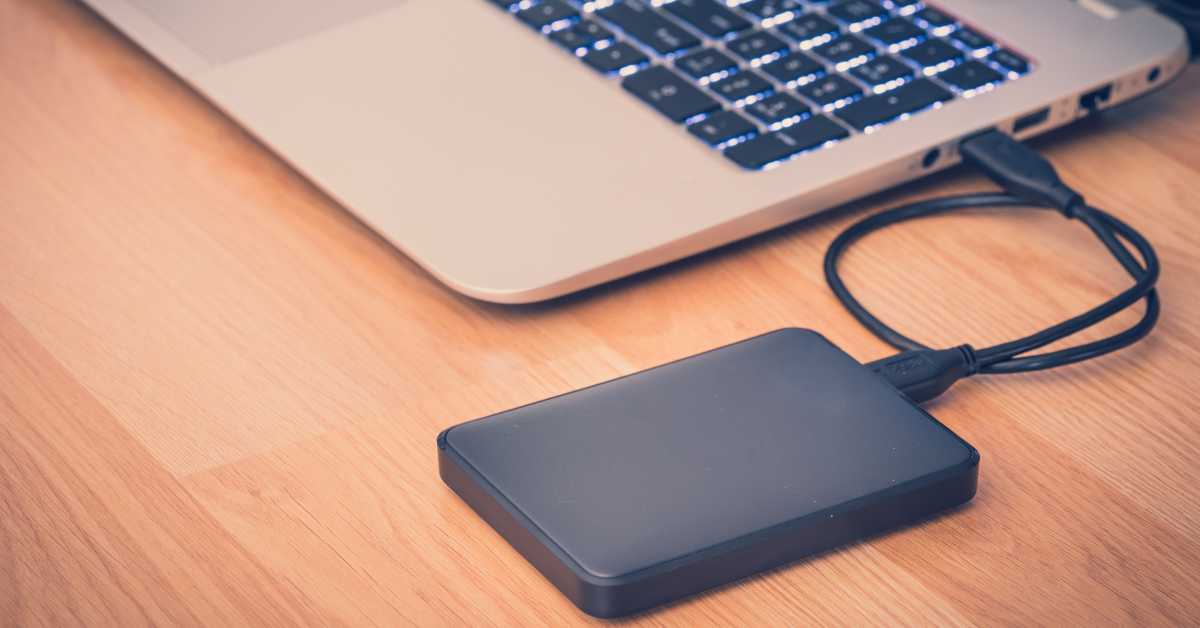
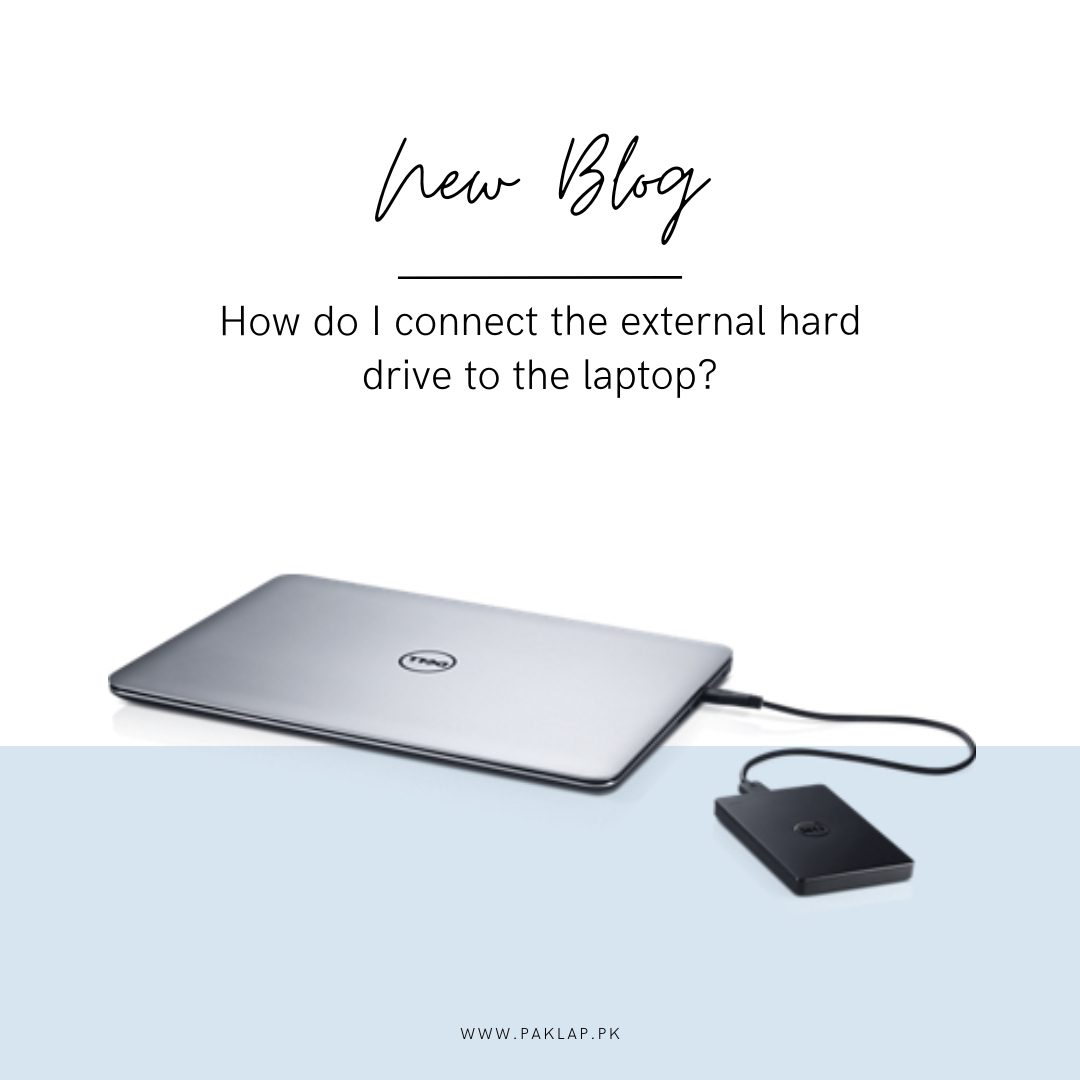
Connect the USB Cable: Plug one end of the data cable (e.g., USB-A to USB-B, USB-C to USB-C) into the external hard drive.
-
Connect to Computer: Plug the other end of the data cable into an available port on your computer. For optimal speed, use a USB 3.0/3.1/3.2 or Thunderbolt port if available. These are often blue (for USB-A), or simply USB-C/Thunderbolt ports.
-
Connect Power (if required): If your drive requires external power, plug the power adapter into the drive and then into a wall outlet or power strip.
-
Power On: If the drive has a physical power switch, turn it on. Most bus-powered drives (drawing power from the USB port) will power on automatically when connected.
Your computer should typically recognize the new hardware with a notification. However, the drive might not immediately appear as a usable storage device until it’s initialized and formatted.
Initializing and Partitioning (Windows Specific)
For brand new drives, particularly on Windows, you might need to initialize the drive before it can be formatted. macOS typically handles this automatically during formatting.
-
Open Disk Management: Right-click the Start button (Windows 10/11) and select “Disk Management.” On older Windows versions, search for “Create and format hard disk partitions.”
-
Initialize Disk: In Disk Management, you should see your new external drive listed as “Disk X” (where X is a number), often marked as “Not Initialized” and “Unallocated Space.” Right-click on the drive number (not the unallocated space) and select “Initialize Disk.”
-
Choose Partition Style: You’ll be prompted to choose between MBR (Master Boot Record) and GPT (GUID Partition Table). For drives larger than 2TB, always choose GPT. For drives 2TB or smaller, MBR is fine, but GPT is generally more robust and recommended for modern systems. Click “OK.”
-
Create New Simple Volume: After initialization, the disk will still show as “Unallocated Space.” Right-click on the “Unallocated Space” section of your external drive and select “New Simple Volume.”
-
New Simple Volume Wizard: Follow the wizard prompts.
-
Click “Next.”
-
Specify the volume size. By default, it will use the entire drive, which is usually what you want. Click “Next.”
-
Assign a drive letter. You can accept the default or choose any available letter. Click “Next.”
-
Format Partition: This is a critical step.
-
Formatting for Optimal Use (Windows and Mac)
Formatting prepares the drive with a file system that your operating system can understand and use to store data.
-
File System Choice:
-
NTFS (New Technology File System): Native to Windows. Supports large file sizes and partition sizes. Best choice if the drive will primarily be used with Windows computers.
-
exFAT (Extended File Allocation Table): Compatible with both Windows and macOS, as well as many other devices like smart TVs. Ideal if you need to share the drive between Windows and Mac systems. It supports large file sizes.
-
APFS (Apple File System): Native to macOS High Sierra and newer. Optimized for SSDs and offers advanced features like snapshots. Best for drives exclusively used with modern Macs.
-
HFS+ / Mac OS Extended (Journaled): Older macOS file system, still widely supported. Good for older Macs or if you need compatibility across various macOS versions.
-
FAT32: Older, highly compatible file system, but has a 4GB file size limit and 2TB partition limit. Generally not recommended for modern external drives unless specific legacy device compatibility is required.
-
On Windows (continuing from New Simple Volume Wizard):
-
Format Partition: In the wizard, select “Format this volume with the following settings.”
-
File System: Choose your desired file system (e.g., NTFS or exFAT).
-
Allocation unit size: Leave as “Default.”
-
Volume label: Give your drive a descriptive name (e.g., “My External Backup,” “Video Projects”).
-
Perform a quick format: Check this box for faster formatting. If you suspect issues, uncheck it for a full format (which takes longer).
-
Click “Next,” then “Finish.”
On macOS:
-
Open Disk Utility: Go to Finder > Applications > Utilities > Disk Utility.
-
Select External Drive: In the sidebar, select your physical external drive (not just a volume underneath it). Ensure you select the correct drive, as formatting the wrong one will erase data.
-
Erase: Click the “Erase” button in the toolbar.
-
Format Options:
-
Name: Give your drive a descriptive name.
-
Format: Choose your desired file system (e.g., APFS, Mac OS Extended (Journaled), exFAT).
-
Scheme: Select “GUID Partition Map” (recommended for modern systems).
-
-
Click “Erase” again to confirm.
Verification and First Use
Once formatted, your external hard drive should appear in your computer’s file explorer (Windows) or Finder (macOS) under “This PC” or “Locations” respectively, with the drive letter or name you assigned. You can now drag and drop files onto it, create folders, and begin using it like any other storage device.
Platform-Specific Configurations
While the core steps are universal, understanding platform-specific nuances can enhance your external drive experience.
Installing an External Hard Drive on Windows
Windows’ Disk Management tool is central to the setup process. Beyond basic formatting, Windows users might consider:
-
BitLocker Encryption: For sensitive data, Windows Pro and Enterprise versions offer BitLocker, which encrypts the entire drive, protecting your data if the drive is lost or stolen.
-
ReadyBoost: For older, slower systems, ReadyBoost can use space on a USB flash drive (or a sufficiently fast external drive) to cache data, potentially improving system responsiveness. This is less relevant for modern PCs with ample RAM.
-
Backup & Restore (Legacy) / File History (Modern): Windows includes built-in backup tools that can be configured to regularly back up specific folders or even system images to your external drive.
Installing an External Hard Drive on macOS
macOS emphasizes simplicity and integration. Disk Utility is your primary tool.
-
Time Machine: Apple’s powerful backup solution is designed to work seamlessly with external drives. Once connected and formatted, Time Machine will prompt you to use the drive for backups, creating hourly, daily, and weekly snapshots of your entire system.
-
Spotlight Indexing: By default, macOS will index your external drive for quick searching via Spotlight. For drives used solely for archiving or specific purposes, you can exclude them from Spotlight indexing in System Settings > Siri & Spotlight > Spotlight Privacy, which can reduce disk activity and improve performance for other tasks.
-
Encrypted APFS/HFS+: When formatting with APFS or HFS+, macOS offers an encrypted option directly within Disk Utility, providing robust data security.
Troubleshooting Common Installation Issues
Even with careful execution, problems can arise. Here are solutions to common snags:
Drive Not Detected
-
Check Physical Connections: Ensure all cables are firmly seated in both the drive and the computer. Try a different USB port or cable.
-
Power Supply: Verify the drive’s power adapter is plugged in and the drive is powered on (if it has a switch).
-
Device Manager (Windows): Open Device Manager (right-click Start > Device Manager). Look for “Disk drives” or “Universal Serial Bus controllers.” If the drive appears with a yellow exclamation mark, there might be a driver issue. Try updating or reinstalling the driver.
-
Disk Management (Windows) / Disk Utility (macOS): Check if the drive is visible but uninitialized or unformatted. Follow the steps above to initialize and format it.
-
Try on Another Computer: If the drive isn’t detected on your primary machine, test it on another computer to rule out a faulty drive.
Formatting Errors
-
Permissions: Ensure you have administrator privileges on your computer to perform formatting operations.
-
Corrupted Drive: If formatting consistently fails, the drive might be faulty. Try a full (non-quick) format if you suspect bad sectors, but persistent issues may indicate a defective drive needing replacement.
-
File System Incompatibility: Ensure the chosen file system is appropriate for your OS and intended use.
Slow Transfer Speeds
-
USB Port Speed: Are you using a USB 3.0/3.1/3.2 or Thunderbolt port? Connecting a high-speed drive to an older USB 2.0 port will bottleneck performance. USB 2.0 ports are usually black or white, while USB 3.0 are often blue.
-
Cable Quality: A low-quality or damaged USB cable can limit speeds. Try a different cable.
-
Drive Type: HDDs are inherently slower than SSDs. Don’t expect SSD speeds from an HDD.
-
Other USB Devices: Too many devices on the same USB controller can divide bandwidth. Disconnect other non-essential USB peripherals.
-
Fragmented Drive: On HDDs, fragmentation can slow down access. Defragmenting an HDD (Windows) or ensuring adequate free space can help. SSDs do not need defragmentation.
Power-Related Problems
-
Insufficient Power: If your bus-powered drive disconnects randomly or doesn’t show up, your computer’s USB port might not be providing enough power. Try connecting it to a powered USB hub or a different port. Desktop drives requiring external power are usually more reliable in this regard.
-
Power Saving Settings: Check your operating system’s power management settings. Some settings might put USB devices to sleep too aggressively, causing disconnections.
Maximizing Your External Drive’s Lifespan and Performance
An external hard drive is an investment. Proper care ensures its longevity and reliability.
Safe Ejection Practices
Always “safely remove hardware” (Windows) or “eject” (macOS) your external drive before physically disconnecting it. This ensures all write operations are completed and prevents data corruption. Simply pulling the plug while the drive is active can lead to lost data or a damaged file system.
Regular Maintenance and Backup Strategies
-
Routine Backups: Make backing up to your external drive a habit. Use built-in OS tools like Time Machine or File History, or third-party backup software.
-
Check Drive Health: Periodically check the drive’s health using tools like CrystalDiskInfo (Windows) or Disk Utility (macOS). Pay attention to SMART data for early warning signs of failure.
-
Keep it Updated: While external drives rarely have firmware updates, ensuring your computer’s USB drivers and operating system are up to date can improve compatibility and performance.
Physical Care and Placement
-
Protect from Drops: HDDs are especially vulnerable to physical shock. Handle them with care. Even SSDs, while more robust, aren’t impervious to damage.
-
Environmental Factors: Keep the drive away from extreme temperatures, direct sunlight, and moisture. Ensure good airflow if it’s a desktop drive that generates heat.
-
Dust Prevention: Dust can accumulate in vents, hindering cooling. Keep the drive clean.
-
Secure Storage: When not in use, store portable drives in a protective case. For desktop drives, ensure they are placed on a stable surface away from areas where they might be knocked over.
By understanding your needs, following careful installation procedures, troubleshooting common issues, and adopting best practices for maintenance, you can ensure your external hard drive serves as a reliable and indispensable component of your digital ecosystem for years to come. The power of expandable, portable storage is now at your fingertips, ready to secure your data and streamline your digital life.
aViewFromTheCave is a participant in the Amazon Services LLC Associates Program, an affiliate advertising program designed to provide a means for sites to earn advertising fees by advertising and linking to Amazon.com. Amazon, the Amazon logo, AmazonSupply, and the AmazonSupply logo are trademarks of Amazon.com, Inc. or its affiliates. As an Amazon Associate we earn affiliate commissions from qualifying purchases.