In the dynamic world of computing, where software and hardware constantly evolve, keeping your system’s components up-to-date is paramount for peak performance, stability, and security. For users of NVIDIA graphics processing units (GPUs), this responsibility often translates into regularly updating their NVIDIA drivers. Whether you’re a hardcore gamer seeking the highest frame rates, a professional relying on GPU acceleration for demanding applications like video editing or 3D rendering, or simply a casual user aiming for a smooth computing experience, understanding how to effectively manage your NVIDIA drivers is a fundamental skill.
Outdated drivers can lead to a host of problems, from compatibility issues with new games and software to system instability, diminished performance, and even potential security vulnerabilities. Conversely, a properly updated driver can unlock new features, resolve pesky bugs, and provide a significant boost to your GPU’s capabilities. This comprehensive guide will walk you through the importance of driver updates, how to identify your current driver status, the various methods for updating, and best practices to ensure a seamless and optimized experience.
The Indispensable Role of Current NVIDIA Drivers
The graphics driver acts as a critical interpreter between your operating system, applications, and your NVIDIA graphics card. It translates software commands into instructions your GPU can understand and execute. As technology advances, so do the demands on your graphics hardware, necessitating frequent updates to this vital software component.
Enhanced Gaming Performance and Features
For gamers, the most tangible benefit of driver updates is often a noticeable improvement in game performance. NVIDIA frequently releases Game Ready Drivers specifically optimized for the latest AAA titles, ensuring day-one performance enhancements, bug fixes, and support for new features like DLSS (Deep Learning Super Sampling) or Ray Tracing. These optimizations can translate to higher frame rates, smoother gameplay, and a more immersive visual experience, directly impacting your competitive edge and enjoyment. Beyond performance, drivers also introduce support for new display technologies, virtual reality headsets, and gaming peripherals.
System Stability and Bug Fixes
Outdated or corrupted drivers are a common culprit behind system instability, ranging from application crashes to the dreaded Blue Screen of Death (BSOD). NVIDIA continuously monitors and addresses issues reported by users and developers, rolling out driver updates that contain crucial bug fixes. These fixes can resolve graphical glitches, memory leaks, and conflicts that might otherwise degrade your system’s reliability. For professionals, this stability is critical, as a crash during a rendering job or a complex simulation can lead to significant loss of time and data.
Compatibility with New Software and Hardware
As new operating system versions, applications, and hardware peripherals are released, their underlying technologies and demands evolve. Updated drivers ensure that your NVIDIA GPU remains fully compatible and functional with these new components. For example, a new Windows update might introduce changes that require a corresponding driver update for optimal performance, or a newly purchased monitor with a higher refresh rate might only achieve its full potential with the latest driver. Without these updates, you might encounter limited functionality or outright incompatibility.
Access to Latest Security Patches
While less frequently highlighted, graphics drivers can also contain security vulnerabilities. Like any other piece of software, they are susceptible to exploits that could potentially be used to compromise your system. NVIDIA regularly releases security updates embedded within their driver packages, patching these vulnerabilities and helping to protect your PC from potential threats. Keeping your drivers current is therefore a crucial, albeit often overlooked, aspect of maintaining digital security.
Identifying Your Current NVIDIA Driver Status
Before embarking on an update, it’s prudent to know what driver version you currently have installed. This information is valuable for troubleshooting, confirming successful updates, and deciding whether an update is truly necessary.
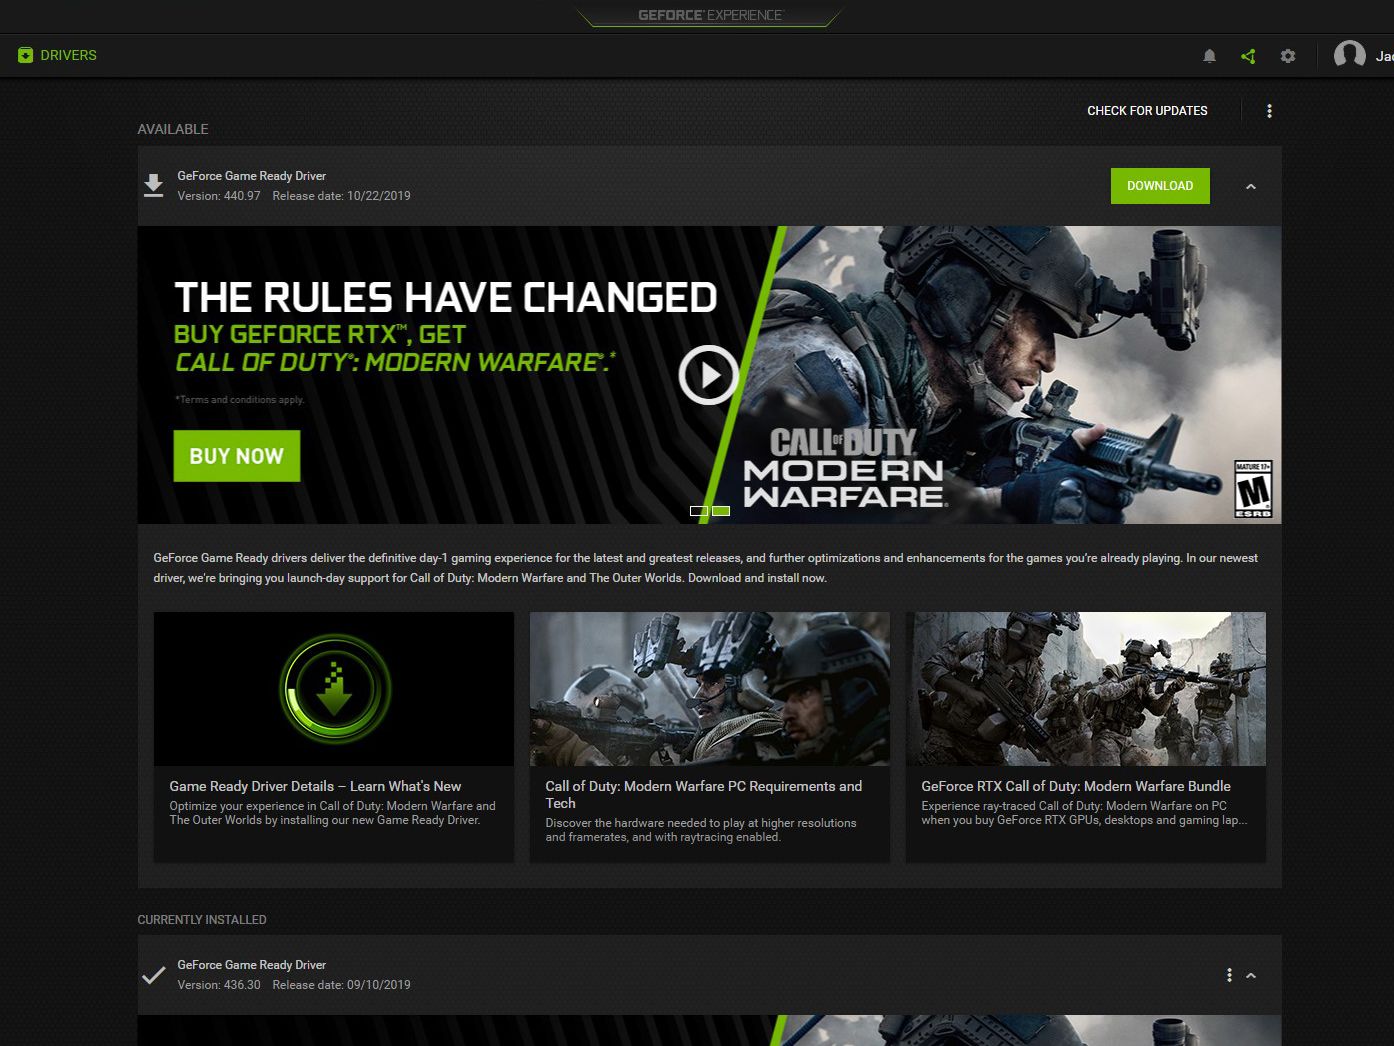
Checking Through NVIDIA GeForce Experience
For most NVIDIA users, particularly gamers, NVIDIA GeForce Experience is the go-to utility. If installed, simply open the application, navigate to the “Drivers” tab, and it will immediately show you your current driver version and whether a new driver update is available. This is often the quickest and most user-friendly method.
Verifying Via Device Manager
Windows Device Manager provides a more direct, OS-level view of your hardware and its drivers.
- Right-click on the Start button and select “Device Manager.”
- Expand the “Display adapters” section.
- Right-click on your NVIDIA graphics card (e.g., NVIDIA GeForce RTX 3080) and select “Properties.”
- Navigate to the “Driver” tab. Here, you will see the “Driver Version” and “Driver Date.” This method is useful even if GeForce Experience is not installed.
Understanding Driver Version Numbers
NVIDIA’s driver versioning can seem complex, but understanding it helps. Typically, you’ll see a format like 536.99 (for Game Ready Drivers) or similar. The larger the number, the more recent the driver. Sometimes, there are special branches for Studio Drivers (optimized for creative applications) which follow a slightly different, but still ascending, numbering scheme. Knowing these numbers helps you track which version you’re on and confirm if an update has truly progressed you to a newer release.
Step-by-Step Guide to Updating Your NVIDIA Drivers
NVIDIA offers several methods to update your drivers, catering to different user preferences and technical comfort levels. The two primary methods are through GeForce Experience and via manual download from NVIDIA’s official website.
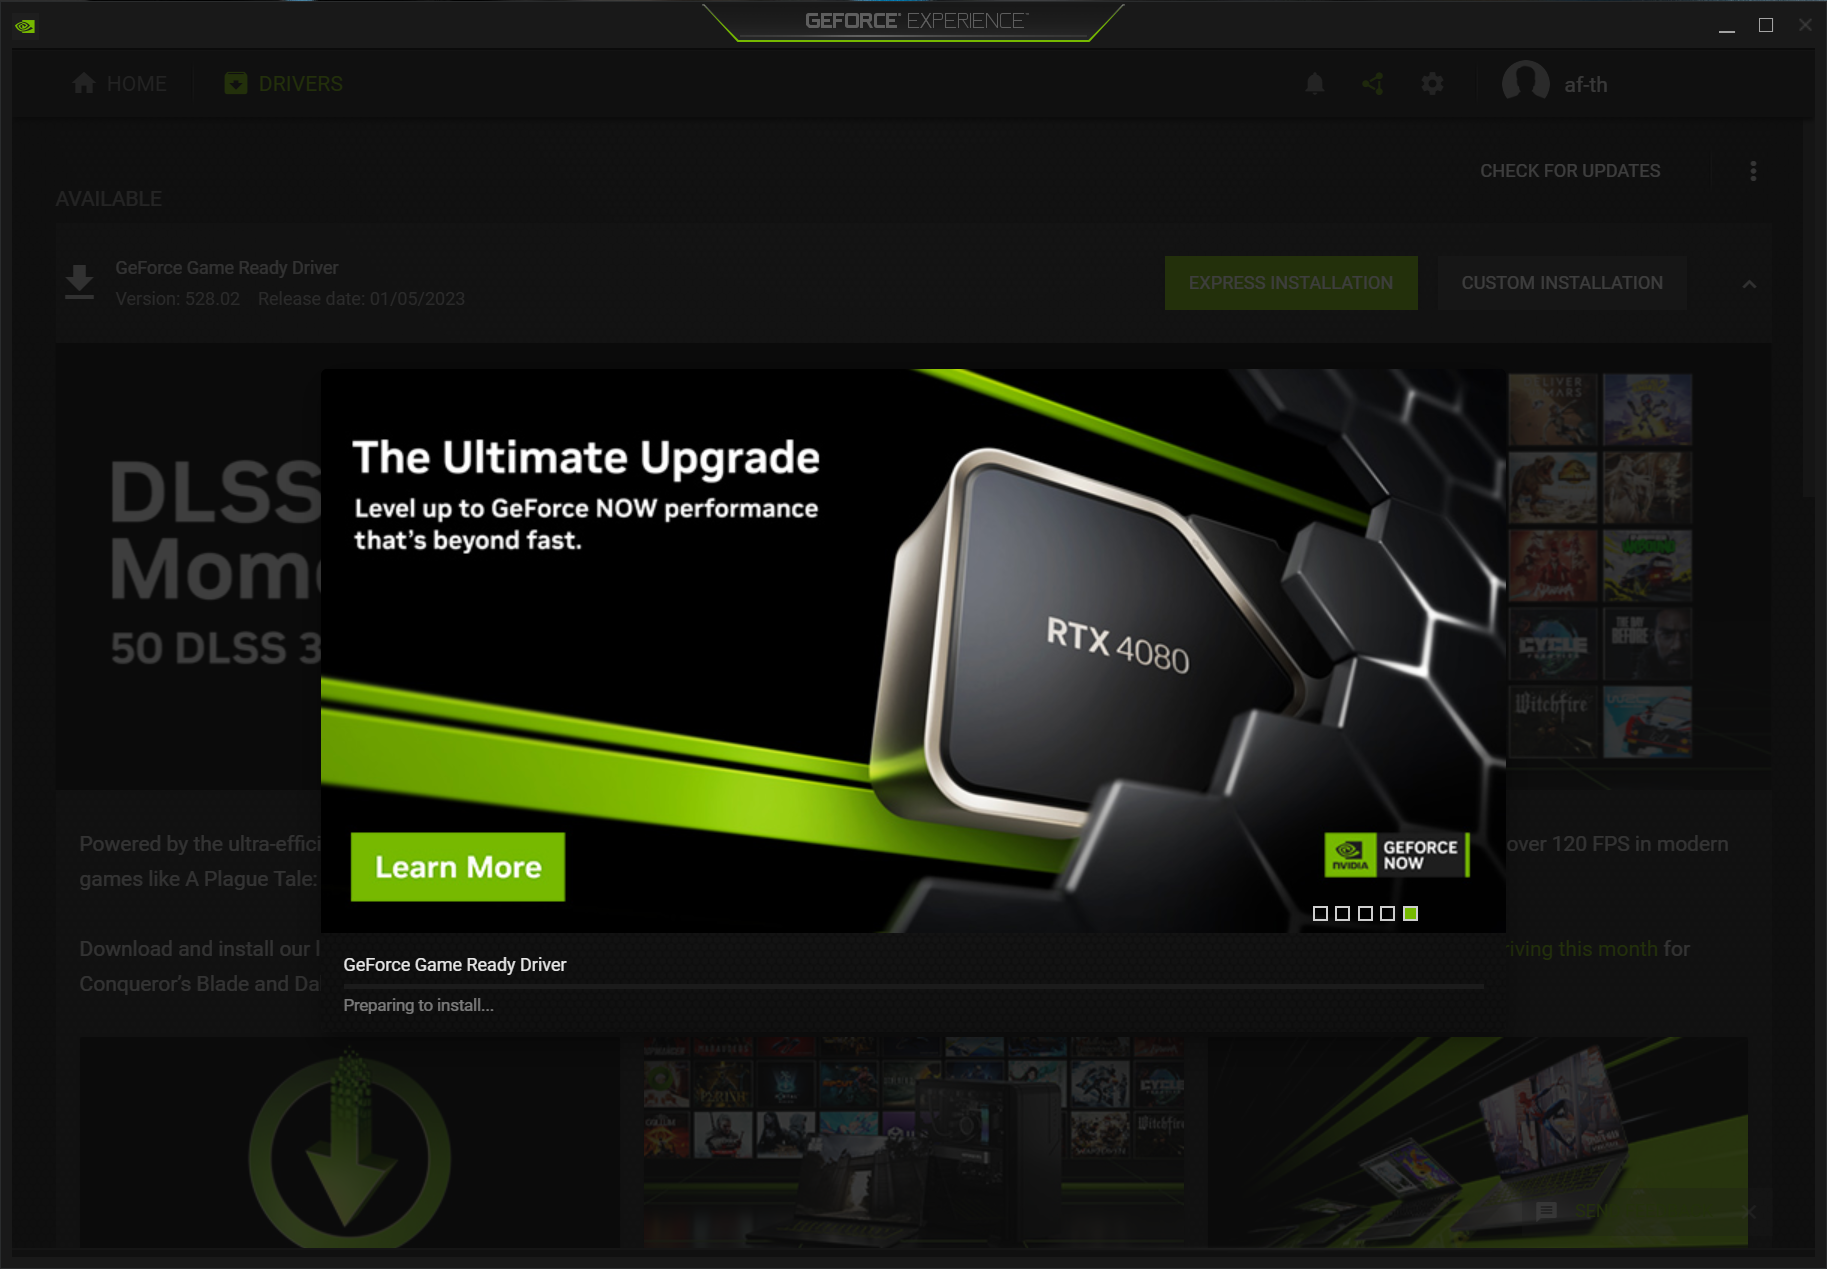
Method 1: Using NVIDIA GeForce Experience (Recommended for Most Users)
This is the simplest and most recommended method for the majority of NVIDIA users, particularly those with GeForce GPUs who also use the software for game optimization and other features.
- Launch GeForce Experience: Open the NVIDIA GeForce Experience application on your PC.
- Navigate to the Drivers Tab: Click on the “Drivers” tab located at the top-left of the application window.
- Check for Updates: GeForce Experience will automatically check for new drivers. If an update is available, it will display a notification and the new driver version.
- Download the Driver: Click the “Download” button to begin downloading the latest driver package. This may take some time depending on your internet speed and the driver size.
- Choose Installation Type: Once downloaded, you will be presented with two installation options:
- Express Installation: This is the default and recommended option for most users. It automatically installs the new driver over your existing one, retaining previous NVIDIA settings.
- Custom Installation: This option allows you to select specific components to install (e.g., driver, GeForce Experience, PhysX, HD Audio Driver). Crucially, it also offers a “Perform a clean installation” checkbox. Performing a clean installation is highly recommended, especially if you’re experiencing issues or want to ensure a fresh driver install without carrying over potential conflicts from previous versions. A clean install uninstalls the old driver, restarts your system (sometimes more than once), and then installs the new driver, essentially wiping away old configurations.
- Complete Installation: Follow the on-screen prompts. Your screen may flicker or go black momentarily during the installation process, which is normal.
- Restart Your System: Although not always explicitly prompted by GeForce Experience, it is highly recommended to restart your PC after any driver installation to ensure all changes take full effect and to prevent potential conflicts.
Method 2: Manual Download from NVIDIA’s Official Website (Recommended for Professionals/Troubleshooting)
This method provides more control and is ideal if you prefer not to install GeForce Experience, are performing a clean Windows installation, or are troubleshooting driver-related issues.
- Identify Your GPU Model and Operating System: You need to know the exact model of your NVIDIA graphics card (e.g., GeForce RTX 4070, Quadro P2000) and your operating system (e.g., Windows 11 64-bit). You can find your GPU model in Device Manager or by using a system information tool.
- Visit the Official NVIDIA Driver Download Page: Go to NVIDIA’s official driver download website (e.g.,
www.nvidia.com/drivers). - Use the Driver Search: Select your:
- Product Type (e.g., GeForce, Quadro, NVS)
- Product Series (e.g., GeForce RTX 40 Series, GeForce GTX 16 Series)
- Product (your specific GPU model, e.g., RTX 4070)
- Operating System (e.g., Windows 11 64-bit)
- Download Type (Game Ready Driver or Studio Driver, choose based on your primary use case)
- Click “Search.”
- Download the Latest Driver: The search results will display the latest compatible driver. Click “Get Download” and then “Download” again to save the executable file to your computer.
- Prepare for Installation (Optional but Recommended for Clean Install):
- Download DDU (Display Driver Uninstaller): For a truly clean install, especially if you’re experiencing problems, it’s advisable to use a third-party tool like DDU to completely remove old drivers. Download it from a reputable source (e.g., Wagnardsoft’s forum on Guru3D).
- Boot into Safe Mode: Disconnect from the internet, then boot your PC into Windows Safe Mode. This ensures no conflicting processes interfere with DDU.
- Run DDU: Run DDU, select “GPU” and “NVIDIA,” then choose “Clean and restart.” DDU will meticulously remove all NVIDIA driver components.
- Run the Installer: Once your system restarts (or directly if you skipped DDU), locate the downloaded NVIDIA driver executable file and double-click it.
- Follow On-Screen Prompts:
- The installer will first extract its contents.
- Agree to the license terms.
- Select “Custom (Advanced)” for the installation type. This allows you to choose “Perform a clean installation” (which is crucial for a manual clean install).
- Deselect any components you don’t need (e.g., if you don’t use 3D Vision, you can uncheck it).
- Click “Next” to begin the installation.
- Restart Your System: Again, restart your PC after the installation is complete.
Method 3: Updating via Windows Device Manager (Least Recommended)
While possible, using Windows Device Manager to update NVIDIA drivers is generally the least effective method as it often only installs generic drivers or older versions found in Microsoft’s update catalog, not the latest optimized ones from NVIDIA.
- Open Device Manager: Right-click the Start button and select “Device Manager.”
- Expand Display Adapters: Locate and expand “Display adapters.”
- Update Driver: Right-click on your NVIDIA graphics card and select “Update driver.”
- Search Automatically: Choose “Search automatically for drivers.” Windows will attempt to find a driver online or locally. If it finds a newer driver, it will install it. However, this is rarely the latest NVIDIA-specific driver.
Best Practices After a Driver Update
Updating your NVIDIA drivers is more than just running an installer; a few post-update steps can ensure everything is functioning optimally.
Restart Your System
As emphasized earlier, restarting your computer is crucial after any driver installation. This allows the operating system to fully integrate the new drivers, finalize any pending changes, and ensure all associated services are running correctly. Skipping this step can lead to unexpected behavior or a lack of full performance benefits.
Monitor Performance and Stability
After an update, take some time to observe your system’s behavior.
- Gaming: Play a few of your favorite games to check for improved frame rates, reduced stuttering, or new graphical options.
- Applications: Test any professional applications that heavily rely on your GPU (e.g., video editors, 3D software) to ensure they launch and perform as expected.
- General Usage: Pay attention to overall system responsiveness, boot times, and stability during daily tasks.
Troubleshooting Common Issues
While driver updates are generally smooth, issues can arise. Common problems include installation failures, display issues (like black screens or incorrect resolutions), or even performance degradation.
- Consult NVIDIA’s Knowledge Base: NVIDIA’s support website has extensive FAQs and troubleshooting guides.
- Community Forums: Online communities (e.g., Reddit’s r/nvidia, NVIDIA’s official forums) are excellent resources for shared experiences and solutions.
- Roll Back Driver: If a new driver causes significant issues, Windows allows you to roll back to the previous driver. Go to Device Manager > Display adapters > NVIDIA Graphics Card > Properties > Driver tab > “Roll Back Driver.” This is a critical fallback option.
When to Roll Back a Driver
Rolling back a driver should be considered if:
- Your system experiences immediate, severe instability (e.g., constant crashes, BSODs).
- Performance significantly degrades in critical applications or games.
- New, unresolvable graphical artifacts appear.
- Crucial hardware (like a monitor) stops functioning correctly.
Before rolling back, ensure you’ve tried basic troubleshooting steps like restarting your PC and verifying settings. If the issues persist, reverting to a stable previous version is a sensible temporary measure while you await a more stable update or seek specific solutions.
Common Pitfalls and Troubleshooting Tips
Even with careful execution, sometimes things go awry during a driver update. Being aware of potential issues and how to address them can save you a lot of frustration.
Installation Failures
An installation failure often results in a message indicating that the driver could not be installed.
- Ensure Compatibility: Double-check that you downloaded the correct driver for your exact GPU model and operating system version (e.g., Windows 10 vs. Windows 11, 64-bit).
- Close Background Programs: Anti-virus software, firewalls, and other running applications can sometimes interfere. Temporarily disable them (if safe to do so) or perform the installation in Safe Mode.
- Clean Installation: Always try a clean installation, either through GeForce Experience’s custom option or by using DDU (as described in Method 2), as residual files from previous drivers can cause conflicts.
- Corrupted Download: Re-download the driver file; the original download might have been corrupted.
Black Screen or Display Issues
A temporary black screen during installation is normal. However, if your screen remains black, displays at a low resolution, or shows artifacts after the process, it’s a cause for concern.
- Wait a Few Minutes: Sometimes the system just needs a bit more time to fully initialize the new display driver.
- Reboot in Safe Mode: If the screen stays black or is unusable, force-restart your PC and try booting into Safe Mode. From Safe Mode, you can either roll back the driver or attempt a clean installation of the correct driver.
- Check Cables: Ensure your display cables (HDMI, DisplayPort) are securely connected to both your GPU and monitor.
Performance Degradation Post-Update
Occasionally, a new driver might introduce an unexpected performance drop, especially if it’s a very new release or if it interacts poorly with specific system configurations.
- Monitor Temperatures: Ensure your GPU isn’t overheating, which can throttle performance.
- Check Game/App Settings: Sometimes, driver updates can reset application-specific settings. Verify your in-game or application graphics settings.
- Roll Back the Driver: If the performance hit is significant and consistent across multiple benchmarks or applications, rolling back to your previous stable driver version is the most direct solution. Keep an eye out for subsequent driver releases that might address the issue.
Driver Signature Verification Errors
Windows requires drivers to be digitally signed to ensure their authenticity and integrity. If you encounter a “driver signature verification” error, it typically means the driver is either corrupt, modified, or from an untrusted source.
- Download from Official Source: Always download drivers directly from NVIDIA’s official website. Avoid third-party sites.
- Check System Integrity: Run a Windows System File Checker (SFC) scan (
sfc /scannowin Command Prompt) to ensure core Windows files are not corrupted. - Disable Driver Signature Enforcement (Temporary): In rare cases, for legitimate reasons, you might need to temporarily disable driver signature enforcement to install a specific driver. This is generally not recommended for everyday use and should be done with extreme caution.
Conclusion
Keeping your NVIDIA drivers updated is a simple yet profoundly impactful practice for anyone using an NVIDIA GPU. It’s a proactive measure that guarantees access to the latest performance optimizations, critical bug fixes, enhanced stability, and robust security. While the process is generally straightforward with tools like GeForce Experience, understanding the manual installation method and knowing how to troubleshoot potential issues empowers you to maintain your system at its peak. By integrating regular driver updates into your PC maintenance routine, you ensure your NVIDIA graphics card continues to deliver the powerful, reliable, and secure experience it was designed for, allowing you to fully unleash its potential whether for gaming, professional work, or everyday computing.
aViewFromTheCave is a participant in the Amazon Services LLC Associates Program, an affiliate advertising program designed to provide a means for sites to earn advertising fees by advertising and linking to Amazon.com. Amazon, the Amazon logo, AmazonSupply, and the AmazonSupply logo are trademarks of Amazon.com, Inc. or its affiliates. As an Amazon Associate we earn affiliate commissions from qualifying purchases.