In an era where technology and personal safety intersect more than ever, the demand for robust home surveillance has skyrocketed. While the market is flooded with “plug-and-play” wireless options, serious homeowners and tech enthusiasts often turn to wired security camera systems for their unmatched reliability, superior video quality, and long-term cost-effectiveness. A wired system—specifically a Power over Ethernet (PoE) setup—is the gold standard for those who prioritize digital security and consistent performance.
Installing a wired system may seem daunting compared to its battery-powered counterparts, but the benefits are profound. This guide provides a detailed, step-by-step walkthrough on how to install wired security cameras, ensuring your property is protected by a professional-grade infrastructure.
1. Planning Your Surveillance Strategy: Why Wired Wins
Before picking up a drill, it is essential to understand the strategic advantages of a wired system. In the world of tech and digital security, “wired” usually means a Power over Ethernet (PoE) system. This technology allows a single Cat5e or Cat6 cable to provide both a high-speed data connection and electrical power to the camera.
The Benefits of a Hardwired Connection
Unlike Wi-Fi cameras, which are prone to signal interference, bandwidth congestion, and “dead zones,” wired cameras offer a dedicated pipeline for data. This is crucial if you are recording in 4K or 8K resolution, as these high bitrates can easily choke a standard home Wi-Fi network. Furthermore, because they are powered by a central Network Video Recorder (NVR), you never have to worry about charging batteries or cameras going offline during a critical moment due to a weak signal.
Mapping Your Property
The first step in installation is a site survey. Identify “choke points”—areas where an intruder is most likely to enter or pass through. Common locations include:
- The Front Door: Statistically the most common entry point for burglars.
- Off-Street Windows: Side or rear windows that are hidden from public view.
- Driveways and Garages: To protect vehicles and secondary entry points.
- The Perimeter: High-angle views that cover the yard or fence line.
When choosing locations, consider the “Brand Strategy” of your home security. Visible cameras act as a powerful deterrent, signaling to potential intruders that your property is a “hard target.” However, ensure cameras are mounted high enough (8-10 feet) to prevent tampering but low enough to capture clear facial features.
2. Essential Tools and Component Checklist
A successful installation requires the right tech stack. Investing in quality hardware upfront saves money on maintenance and replacements down the line.
The Hardware Setup
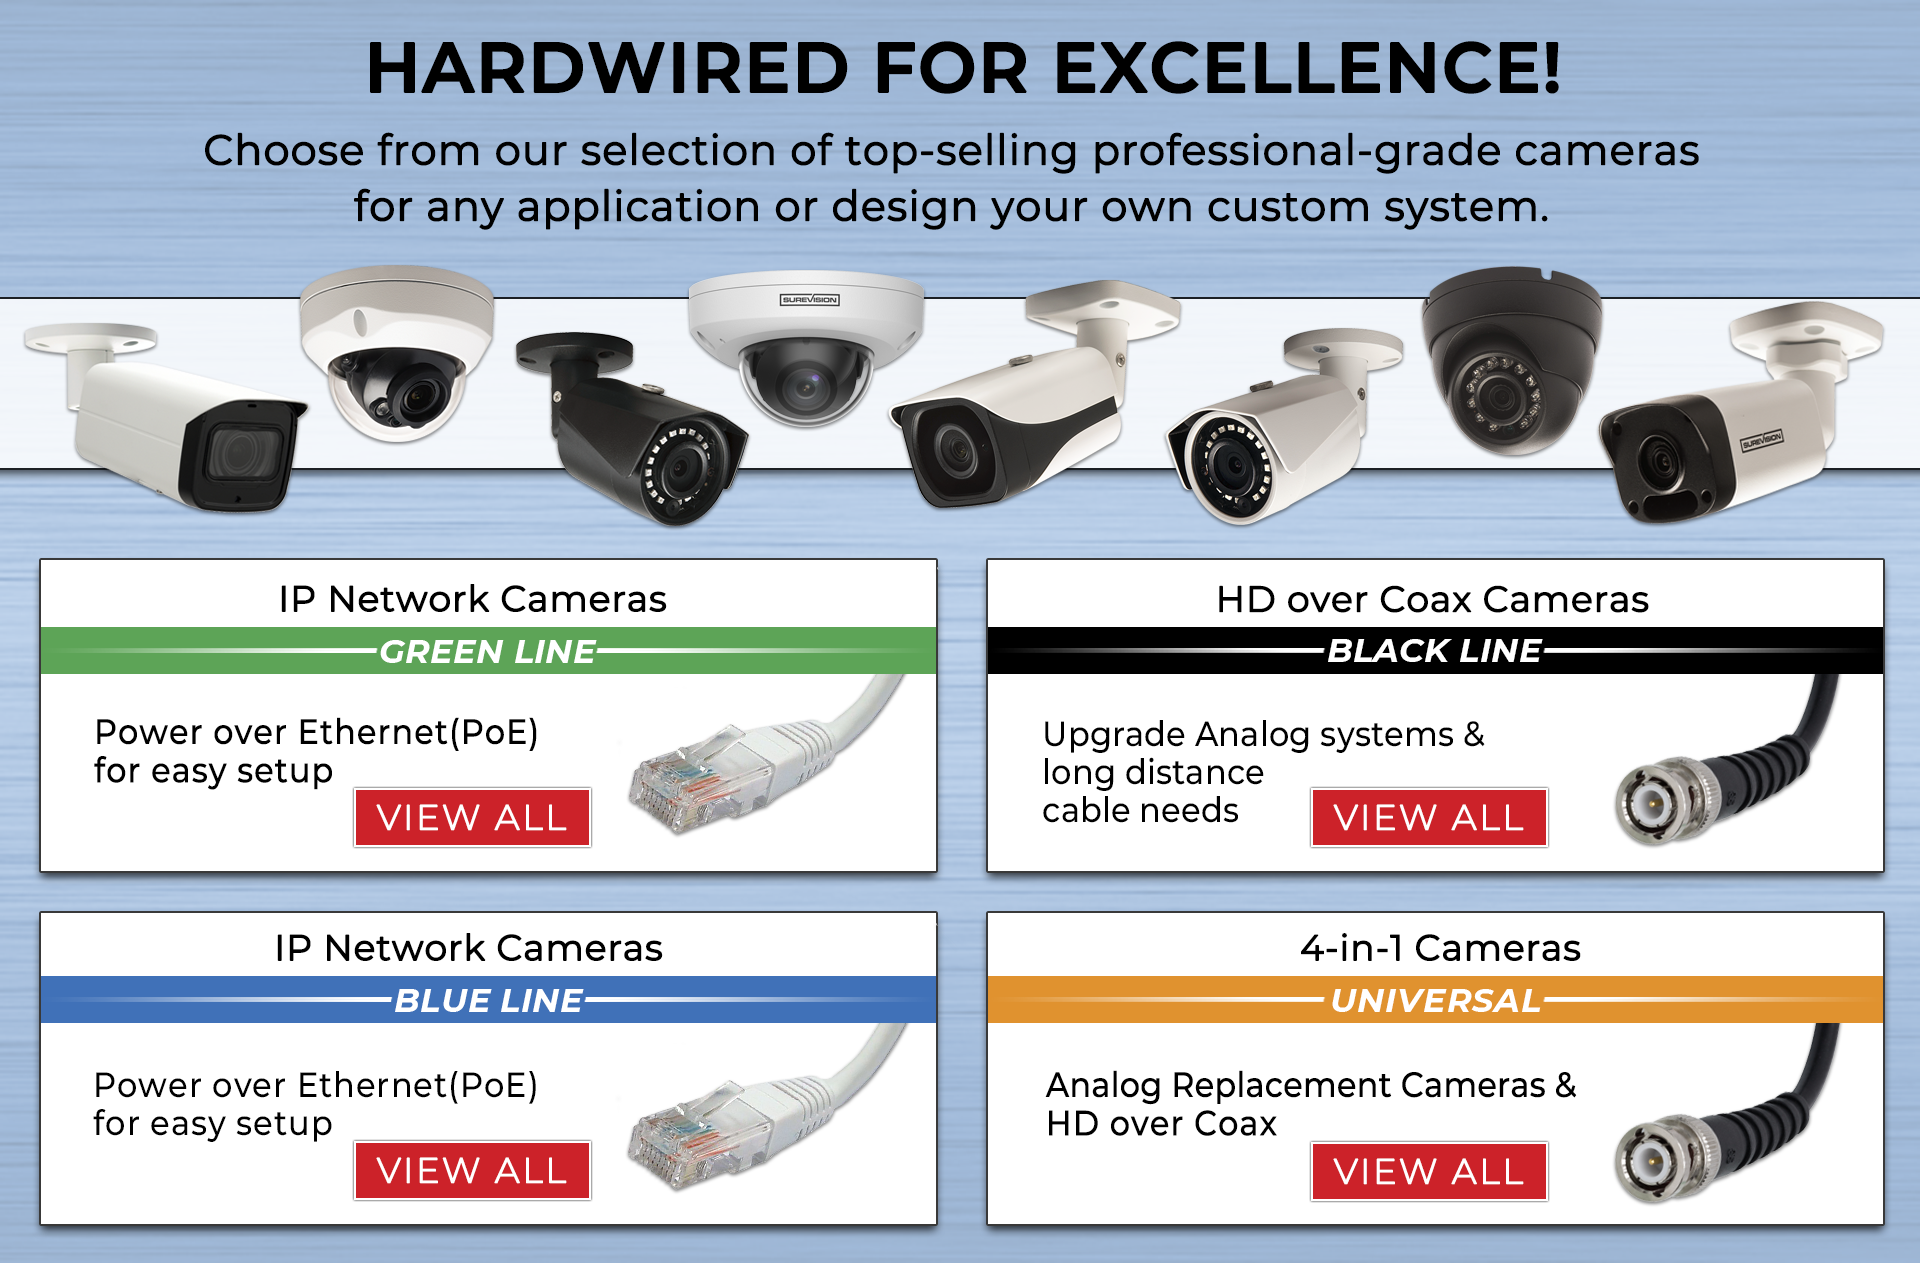
- IP Cameras: Look for cameras with at least 4MP (2K) or 8MP (4K) resolution, infrared night vision, and weatherproofing (IP66 or IP67 rating).
- Network Video Recorder (NVR): This is the brain of your system. Ensure it has enough channels (e.g., an 8-channel NVR for 8 cameras) and a high-capacity surveillance-grade hard drive (WD Purple or Seagate SkyHawk).
- Ethernet Cables: Cat6 is recommended for future-proofing, though Cat5e is sufficient for most 4K streams.
- PoE Switch (Optional): If your NVR doesn’t have enough built-in ports, a PoE switch can expand your capacity.
The Toolkit
- Power drill with masonry and wood bits.
- Fish tape or a “glow rod” (essential for pulling cable through walls).
- Silicone sealant (to waterproof entry holes).
- A ladder.
- A monitor and mouse (for initial NVR configuration).
- Cable staples or conduit (for neat cable management).
3. The Step-by-Step Installation Process
Once you have your plan and tools, it’s time to move into the execution phase. Installing wired cameras is as much about cable management as it is about mounting hardware.

Step 1: Setting Up the Hub
Identify a central, secure location for your NVR. This should be a cool, ventilated area—perhaps a home office, a basement rack, or a ventilated closet. Connect the NVR to a monitor and your internet router. This central hub will be the point where all camera cables eventually meet.
Step 2: Running the Cables
This is often the most labor-intensive part of the project. For a clean look, you will want to run cables through the attic, crawlspace, or behind walls.
- Drill the Exit Hole: Drill a hole through the exterior wall where the camera will be mounted.
- Fish the Cable: Use fish tape to pull the Ethernet cable from the camera location back to the NVR. If you are working with a multi-story home, utilizing soffits (the underside of your roof’s overhang) is a common “pro tip” for hiding wires.
- Label Everything: As you run cables, label both ends (e.g., “Front Door,” “Driveway”). This will save hours of frustration during the final connection phase.
Step 3: Mounting the Cameras
With the cable in place, connect it to the camera to ensure the connection is live before permanently mounting it.
- Secure the Bracket: Use the provided templates to mark screw holes. If mounting on brick or stone, use wall anchors.
- Connect and Seal: Plug the Ethernet cable into the camera’s pigtail. Use the waterproof connector cover included with most IP cameras.
- Fix the Angle: Secure the camera to the mount. Don’t tighten the adjustment screws completely until you’ve checked the view on your monitor to ensure the framing is perfect.
4. Configuring Software and Enhancing Digital Security
In the modern tech landscape, hardware is only half the battle. Software configuration determines how useful your footage is and how secure your data remains.
NVR Setup and AI Features
Modern NVRs come equipped with powerful AI tools. Instead of simple “motion detection” which might be triggered by a blowing leaf or a cat, look for:
- Human and Vehicle Detection: This filters out 90% of false alerts.
- Line Crossing/Intrusion Zones: Draw virtual lines on your screen; if someone crosses them, you get an instant mobile notification.
- Schedule Recording: Decide if you want 24/7 recording or “motion-only” to save hard drive space.
Strengthening Your Digital Perimeter
Since your NVR is connected to the internet for remote viewing, it is a potential target for hackers. Protecting your digital security is paramount:
- Change Default Passwords: This is the most common vulnerability. Use a strong, unique password for the NVR.
- Enable Two-Factor Authentication (2FA): If your camera brand’s app supports it, enable 2FA immediately.
- Update Firmware: Manufacturers frequently release patches to fix security vulnerabilities. Check for updates at least once a quarter.
- VLANs (Advanced Tech Tip): If you are tech-savvy, put your security cameras on a separate Virtual LAN (VLAN) to isolate them from your primary home network.
5. The Financial Logic: ROI on Wired Security
From a “Money” and “Business Finance” perspective, a wired security system is an investment rather than an expense. While the initial hardware and installation time are higher than a $50 wireless “smart” camera, the long-term ROI is superior.
Avoiding Subscription Traps
Most wireless camera brands (like Nest or Ring) require monthly subscriptions to view recorded footage or use advanced AI features. Over five years, these fees can easily exceed $600–$1,000. A wired NVR system records to your own hard drive, meaning zero monthly fees. You own your data, and you own the storage.
Protecting Your Assets and Reputation
Beyond the lack of fees, a high-quality surveillance system can lower your homeowners’ insurance premiums. More importantly, in the event of a theft or property dispute, high-resolution 4K footage from a wired camera is far more likely to be used as admissible evidence by law enforcement than grainy, compressed Wi-Fi footage. In terms of “Personal Branding” and property value, a professionally installed, hardwired system is a premium feature that adds tangible value to a home during resale.

Conclusion
Installing wired security cameras is a significant weekend project, but it is one of the most rewarding upgrades you can make for your home. By merging high-end tech with strategic physical placement, you create a surveillance net that is reliable, secure, and cost-effective.
In a world where digital security is constantly challenged, a hardwired PoE system offers the peace of mind that comes with knowing your “eyes” are always on, unaffected by Wi-Fi outages or dead batteries. Follow the steps of planning, precise installation, and rigorous software configuration, and you will have a professional-grade security infrastructure that protects both your family and your financial investments for years to come.
aViewFromTheCave is a participant in the Amazon Services LLC Associates Program, an affiliate advertising program designed to provide a means for sites to earn advertising fees by advertising and linking to Amazon.com. Amazon, the Amazon logo, AmazonSupply, and the AmazonSupply logo are trademarks of Amazon.com, Inc. or its affiliates. As an Amazon Associate we earn affiliate commissions from qualifying purchases.