In the fast-evolving landscape of technology, where new tools and frameworks emerge daily, some foundational applications stand the test of time, proving their indispensable value. Vim is one such cornerstone, a powerful, highly configurable text editor that has been an essential tool for developers, system administrators, and power users for decades. Far more than just a simple text editor, Vim (Vi IMproved) offers an unparalleled level of efficiency and control, primarily through its unique modal editing paradigm and keyboard-centric workflow. For those deeply invested in the tech world – whether tracking technology trends, optimizing software development, or enhancing digital security – mastering Vim can be a significant leap in personal productivity and operational fluidity.
This comprehensive tutorial from GlobalizeThis.com, a hub for insights across Technology, Brand, and Money, will guide you through the process of installing Vim on various operating systems. We’ll delve into why Vim remains so relevant in today’s tech ecosystem, how to get it up and running, and offer a glimpse into its vast potential for enhancing your workflow. By the end of this guide, you won’t just have Vim installed; you’ll understand its place as a tool that contributes to a more productive technological existence, indirectly supporting your brand as a skilled professional, and even optimizing your time, which, as they say, is money.
Why Choose Vim? Understanding its Enduring Appeal
Before we dive into the installation specifics, it’s worth exploring why Vim continues to be a favorite among tech professionals. In an era dominated by sleek graphical user interfaces and integrated development environments (IDEs), Vim’s text-based, keyboard-driven interface might seem like a relic. However, its enduring appeal stems from several key advantages that align perfectly with the objectives of efficiency and mastery in the tech domain.
Firstly, Vim is synonymous with productivity. Its modal editing system allows users to perform complex text manipulations with a few keystrokes, eliminating the constant context switching between keyboard and mouse. For anyone looking to optimize their workflow and execute tasks with speed and precision, Vim offers a steep but incredibly rewarding learning curve. This focus on keyboard efficiency directly translates into faster coding, quicker configuration file edits, and a generally more streamlined interaction with text, a fundamental component of all software.
Secondly, Vim is remarkably lightweight and powerful. It consumes minimal system resources, making it an ideal choice for remote servers, embedded systems, or older hardware where performance is critical. Despite its minimalist footprint, Vim is incredibly feature-rich, offering syntax highlighting for hundreds of languages, robust search and replace capabilities, multi-level undo/redo, and a vast array of customization options. This duality – lightweight yet powerful – speaks to its engineering elegance and makes it a versatile tool for various computing environments, from a high-powered developer workstation to a stripped-down cloud instance.
Thirdly, its universality and extensibility are unmatched. Vim is available on virtually every operating system and Unix-like environment imaginable, ensuring a consistent editing experience regardless of your platform. This cross-platform compatibility is crucial for modern tech professionals who often juggle multiple environments. Moreover, Vim’s open-source nature fosters a vibrant community that continuously develops plugins and scripts, allowing users to extend its functionality to suit almost any need, from file explorers and fuzzy finders to sophisticated IDE-like features. The ability to tailor Vim to one’s precise needs enhances individual productivity and reinforces one’s personal brand as a capable and efficient technologist, someone who chooses tools that amplify their skills rather than constrain them.
Finally, the long-standing community and historical significance of Vim contribute to its “brand” as a robust and reliable piece of software. It’s not just a tool; it’s a legacy. Learning Vim is an investment in a skill that remains relevant and highly valued within the tech industry. It also represents a commitment to efficiency, a value that can indirectly lead to more productive work, potentially freeing up time for side hustles or simply enhancing one’s financial well-being by improving overall work output without requiring investment in expensive proprietary software.
Getting Started: Pre-Installation Considerations
Before embarking on the installation journey, it’s wise to perform a quick check to see if Vim is already present on your system. Many Linux distributions and macOS come with a basic version of Vim or its predecessor, Vi, pre-installed. You can usually check this by opening your terminal or command prompt and typing:
vim --version
If Vim is installed, this command will output version information. If not, or if you have an older version (like vi instead of vim or a “tiny” version of Vim lacking certain features), you’ll likely want to proceed with a fresh installation or upgrade to ensure you have the full capabilities of the latest Vim.
For a seamless installation process, especially on Linux and macOS, we highly recommend utilizing package managers. These tools simplify software installation, updates, and removal by handling dependencies automatically. They are central to maintaining a secure and up-to-date software ecosystem on your machine, embodying best practices in digital security and software management (a key aspect of our Tech focus).
Installing Vim Across Major Operating Systems
The installation process for Vim varies slightly depending on your operating system. Below, we provide detailed instructions for Linux, macOS, and Windows, covering the most common and recommended methods.
Installation on Linux: The Command-Line Warrior’s Friend
Linux is Vim’s natural habitat. Most distributions include Vim in their official repositories, making installation straightforward using their respective package managers.
Using apt (Debian/Ubuntu/Linux Mint)
For Debian-based distributions like Ubuntu or Linux Mint, the Advanced Package Tool (apt) is your go-to. First, it’s good practice to update your package lists:
sudo apt update
Then, you can install the full version of Vim (often referred to as vim-gtk or vim-gnome for GUI support, or simply vim for terminal-only) with:
sudo apt install vim
To ensure you get all the features, you might want to install vim-gnome or vim-gtk3 which usually brings the “big” Vim package with GUI support and most features:
sudo apt install vim-gnome # or vim-gtk3
This will install a feature-rich version of Vim, suitable for both terminal and GUI use (if supported by your desktop environment).
Using yum or dnf (Red Hat/CentOS/Fedora)
For Red Hat-based systems like CentOS, Fedora, or RHEL, yum (older) or dnf (newer, Fedora-centric) are the package managers of choice.
For Fedora (using dnf):
sudo dnf install vim
For CentOS/RHEL (using yum):
sudo yum install vim
Compiling from Source (Advanced Users)
While package managers are generally recommended for stability and ease of maintenance, compiling Vim from source allows you to get the absolute latest version, custom-tailor compilation flags for specific features, or install it in a non-standard location. This is an advanced procedure and might be preferred by those who want complete control or need features not yet available in stable package manager versions.
-
Install dependencies: You’ll need build tools and development libraries. For Ubuntu:
sudo apt install build-essential libncurses-dev python3-dev(Dependencies vary; check Vim’s official documentation for specifics).
-
Download source code: Clone the official Git repository:
git clone https://github.com/vim/vim.git cd vim -
Configure and Compile:
bash

./configure --with-features=huge --enable-python3interp --enable-gui=auto --prefix=/usr/local

make

sudo make install
The--prefixflag determines where Vim will be installed./usr/localis a common choice for manually compiled software. The--with-features=hugeenables most features, and--enable-python3interpallows Python 3 scripting within Vim, a common requirement for many plugins.
After installation, regardless of the method, confirm by typing vim --version in your terminal.
Installation on macOS: Harnessing Homebrew’s Power
macOS, being a Unix-like system, also benefits from package managers. While a basic vi (or even a limited vim) is often pre-installed, using Homebrew is the preferred method for managing software on macOS for its simplicity and robustness.
Using Homebrew (Recommended)
If you don’t have Homebrew installed, open your Terminal.app and run:
/bin/bash -c "$(curl -fsSL https://raw.githubusercontent.com/Homebrew/install/HEAD/install.sh)"
Follow the on-screen instructions to complete the Homebrew installation. Once Homebrew is ready, installing Vim is a single command:
brew install vim
Homebrew will download and compile the latest stable version of Vim with most features enabled. If you need a specific version or additional flags, Homebrew also supports that, but the default brew install vim is usually sufficient for most users.
Verification
After installation, ensure that the vim command now points to the Homebrew-installed version (which will be a more feature-rich variant than the macOS system default):
vim --version
You should see output indicating a recent Vim version and typically mentioning “Homebrew” in the path or build information.
Installation on Windows: Bridging the Gap
Windows users have several excellent options for installing Vim, ranging from traditional installers to modern package managers and even leveraging the Linux environment through WSL.
Official Installer (GUI Approach)
The easiest method for most Windows users is to download the official self-installing executable.
- Visit the official Vim website: Navigate to the official Vim download page, usually found at
www.vim.org/download.php. - Download the latest executable: Look for the “Self-installing executable” link under the “PC: MS-DOS and MS-Windows” section (e.g.,
gvim<version_number>.exe). - Run the installer: Double-click the downloaded
.exefile and follow the on-screen instructions. The installer will guide you through selecting components, installation directories, and creating shortcuts. It usually installs both the GUI version (gVim) and the terminal version.
Using Scoop or Chocolatey (Package Managers)
For developers and power users on Windows, package managers like Scoop or Chocolatey offer a command-line experience similar to Linux and macOS, simplifying software management.
Using Scoop:
If you don’t have Scoop, open PowerShell and run:
Set-ExecutionPolicy RemoteSigned -Scope CurrentUser # Required once to allow scripts
irm get.scoop.sh | iex
Then, install Vim:
scoop install vim
Using Chocolatey:
If you don’t have Chocolatey, open an elevated PowerShell prompt (Run as Administrator) and run:
Set-ExecutionPolicy Bypass -Scope Process -Force; [System.Net.ServicePointManager]::SecurityProtocol = [System.Net.ServicePointManager]::SecurityProtocol -bor 3072; iex ((New-Object System.Net.WebClient).DownloadString('https://community.chocolatey.org/install.ps1'))
Then, install Vim:
choco install vim
Windows Subsystem for Linux (WSL)
For Windows developers who primarily work with Linux toolchains, installing Vim within the Windows Subsystem for Linux (WSL) is an excellent option. This provides a native Linux environment directly on Windows, where you can install and use Vim just as you would on a regular Linux distribution.
- Enable WSL: If not already enabled, open PowerShell as Administrator and run:
powershell

wsl --install
This will install WSL and typically Ubuntu as the default distribution. You’ll need to reboot. - Launch your WSL distribution: Open the “Ubuntu” app (or whichever distribution you installed).
- Install Vim within WSL: Once inside the Linux environment, use the
aptcommands as described in the Linux section:
bash

sudo apt update

sudo apt install vim
This approach not only provides Vim but also an entire Linux development ecosystem, which can significantly boost productivity for tasks involving Linux servers, Docker, or other Unix-centric tools.
Verification for Windows
After any Windows installation method, open Command Prompt or PowerShell and type:
vim --version
You should see the version information, confirming that Vim is correctly installed and accessible from your system’s PATH.
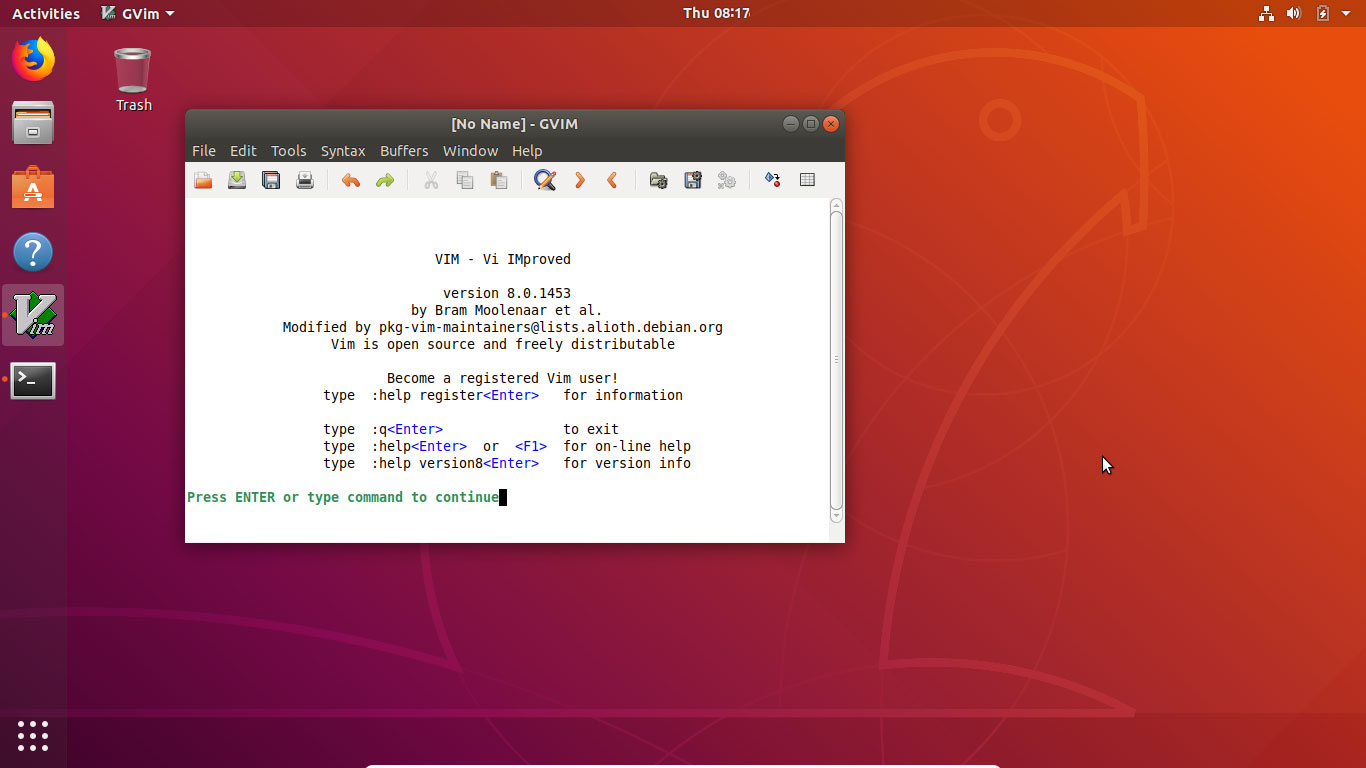
Verifying Your Vim Installation and First Steps
Once Vim is installed, verifying its presence and getting a taste of its basic functionality is the next logical step.
To verify, simply open your terminal (Command Prompt, PowerShell, Git Bash on Windows; Terminal.app on macOS; your chosen terminal emulator on Linux) and type:
vim --version
This command will output the version number of Vim, its compilation details, and enabled features. If you see this output, congratulations – Vim is successfully installed!
Now, for your very first interaction:
- Open Vim: Type
vimand press Enter. You’ll enter Vim’s normal mode, greeted by a blank screen or a welcome message. - Enter Insert Mode: To start typing, you need to switch to “Insert Mode” by pressing the
ikey. You should see-- INSERT --at the bottom left of your terminal. Now you can type text like in any other editor. - Basic Navigation (in Normal Mode): To navigate, first press
Escto return to Normal Mode. Then, useh(left),j(down),k(up),l(right) to move your cursor. - Save and Quit:
- To save your changes, ensure you are in Normal Mode (press
Esc), then type:w(write) and press Enter. - To quit Vim, while in Normal Mode, type
:q(quit) and press Enter. - To save and quit at once:
:wqand Enter. - If you made changes and don’t want to save, you can force quit with
:q!and Enter.
- To save your changes, ensure you are in Normal Mode (press
These fundamental commands (i, Esc, :w, :q) are your gateway into the Vim world. They might feel awkward at first, but they are the building blocks of its incredible efficiency.
Beyond Installation: Embracing the Vim Ecosystem
Installing Vim is merely the first step on a journey toward truly transforming your text editing and coding workflow. The real power of Vim lies in its vast customizability and extensible ecosystem.
The .vimrc File: Your Personal Command Center
At the heart of Vim’s customization capabilities is the .vimrc file. This plain-text configuration file, typically located in your home directory (~/.vimrc on Linux/macOS, or _vimrc in your user directory on Windows), allows you to define Vim’s behavior, appearance, and key mappings.
Here are a few essential settings you might want to add to your .vimrc to get started:
" Enable syntax highlighting
syntax on

" Show line numbers
set number

" Enable mouse support in terminal
set mouse=a

" Set tab to 4 spaces
set tabstop=4
set shiftwidth=4
set expandtab

" Enable smart indenting
set autoindent
set smartindent

" Enable filetype-specific plugins and indenting
filetype plugin indent on
By customizing your .vimrc, you tailor Vim to your specific preferences, enhancing your personal brand as a technologist who not only uses powerful tools but also masters their configuration for optimal productivity. This level of personalization is a core aspect of making any tech tool truly yours.
Plugins and Extensibility: Supercharging Your Workflow
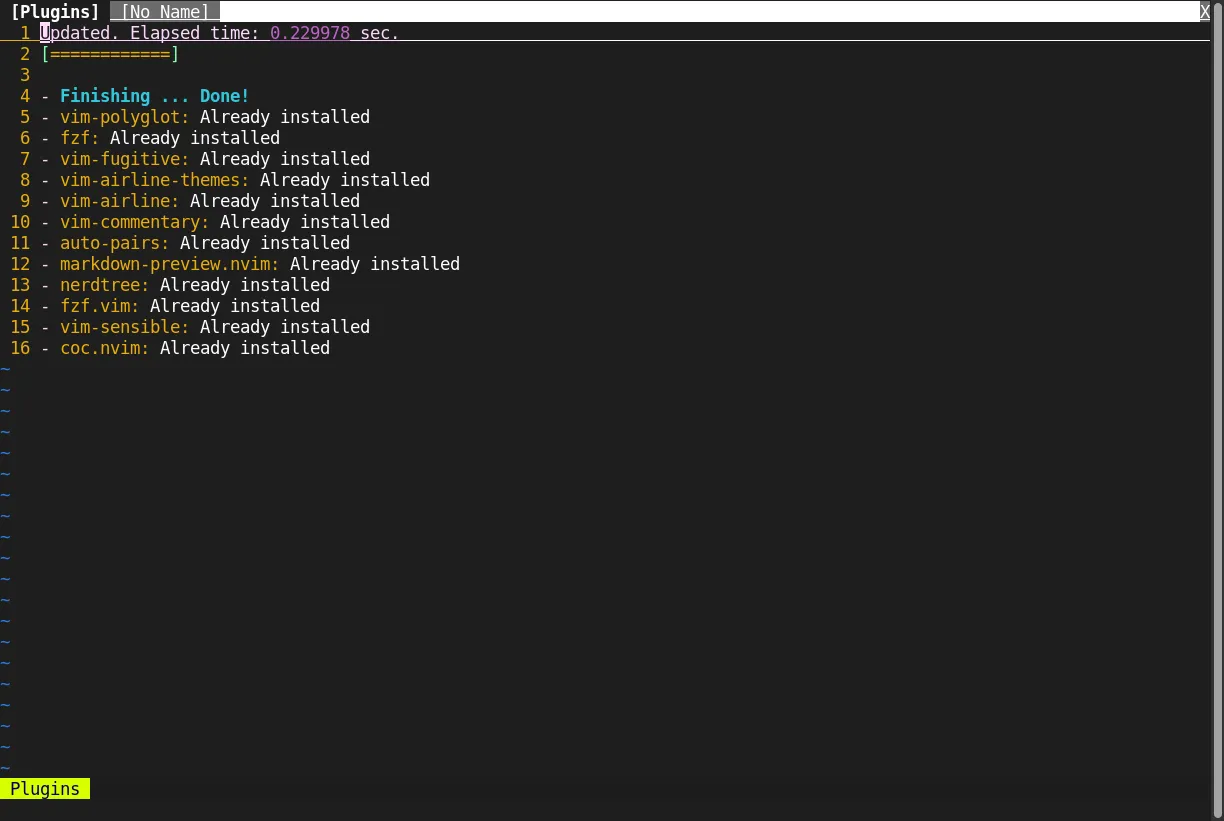
Vim’s extensibility through plugins is where it truly rivals full-fledged IDEs. There are plugins for virtually anything you can imagine: file explorers (like NerdTree), fuzzy finders (fzf.vim), auto-completion, linting, Git integration, language-specific IDE features, and much more.
To manage plugins effectively, you’ll want to use a plugin manager. Popular choices include:
- Vundle.vim: One of the older, but still reliable, options.
- Pathogen: Simple, requires manual cloning of plugins.
- vim-plug: A popular, fast, and lightweight plugin manager.
Installing a plugin manager is usually a quick process, often involving cloning a Git repository into your .vim/pack directory or a similar location, and then adding configuration lines to your .vimrc to specify which plugins you want. For example, with vim-plug, your .vimrc might look like this:
call plug#begin('~/.vim/plugged')

" The default plugin for file navigation
Plug 'scrooloose/nerdtree'

" A powerful fuzzy finder
Plug 'junegunn/fzf', { 'dir': '~/.fzf', 'do': './install --all' }
Plug 'junegunn/fzf.vim'

call plug#end()
After adding these lines, you would typically open Vim and run :PlugInstall to fetch and install the plugins. Exploring and integrating plugins is a continuous process that allows you to refine your workflow and constantly boost your productivity, directly impacting the “Tech” and “Productivity” aspects of our website’s focus. The time saved through these efficient tools can also indirectly contribute to better time management, allowing for more focus on potentially income-generating activities or personal finance planning (“Money” perspective).
Learning Curve and Community Support
It’s important to acknowledge that Vim has a notorious learning curve. Its modal editing and command-line interface are fundamentally different from most modern editors. However, this initial difficulty quickly pays off in terms of speed and efficiency. The key is consistent practice.
Fortunately, the Vim community is one of the most active and supportive in the open-source world. You’ll find an abundance of resources:
vimtutor: A built-in, interactive tutorial that you can start by simply typingvimtutorin your terminal. This is highly recommended for beginners.- Online Documentation: Vim’s
:helpcommand is incredibly comprehensive. - Websites and Blogs: Countless tutorials, tips, and tricks are available.
- Forums and Communities: Reddit’s r/vim, Stack Overflow, and various Discord servers offer robust support.
Embracing this learning journey not only equips you with a powerful tool but also enhances your capabilities as a technologist, burnishing your personal brand as someone dedicated to mastering their craft. This dedication can lead to better professional opportunities and more efficient project completion, ultimately contributing to your financial success by making you a more valuable asset in the tech marketplace.
Conclusion
Installing Vim is the first step on a journey that can profoundly transform your interaction with text and code. From its robust presence on Linux, elegant integration via Homebrew on macOS, to flexible options on Windows, Vim’s accessibility ensures that nearly every tech professional can leverage its power. More than just a text editor, Vim is a philosophy of efficiency, a testament to enduring software design, and a cornerstone for serious developers and system administrators.
By embracing Vim, you’re not just adopting a piece of software; you’re investing in a skillset that will enhance your productivity, refine your command-line prowess, and elevate your personal brand within the tech community. The initial investment in learning is amply rewarded with unparalleled speed and control, leading to more efficient work and ultimately, more time—a valuable commodity in both professional and financial pursuits. So, install Vim today, delve into its configuration, and unlock a new dimension of computing power. Your fingers, and your future, will thank you.
aViewFromTheCave is a participant in the Amazon Services LLC Associates Program, an affiliate advertising program designed to provide a means for sites to earn advertising fees by advertising and linking to Amazon.com. Amazon, the Amazon logo, AmazonSupply, and the AmazonSupply logo are trademarks of Amazon.com, Inc. or its affiliates. As an Amazon Associate we earn affiliate commissions from qualifying purchases.