Valheim, the survival sandbox that thrusts players into a procedurally generated purgatory inspired by Norse mythology, has captivated a massive audience. Its blend of exploration, challenging combat, and intricate building mechanics offers a deeply engaging experience. However, as with many beloved games, the community’s creativity often extends beyond the base game’s offerings. This is where Valheim mods come into play, allowing players to significantly alter, enhance, and personalize their gameplay. Whether you’re looking to streamline tedious tasks, add new creatures and biomes, or simply tweak the game’s visual fidelity, modding Valheim can breathe new life into your adventures.

This comprehensive guide will walk you through the process of installing Valheim mods, covering everything from understanding modding basics to troubleshooting common issues. We’ll explore the essential tools you’ll need and provide step-by-step instructions to ensure a smooth and successful modding journey.
Understanding the Valheim Modding Landscape
Before diving into the installation process, it’s crucial to understand the different types of mods and the primary methods for managing them. Valheim modding generally revolves around two main approaches: client-side mods and server-side mods.
Client-Side Mods: Personalizing Your Gameplay
Client-side mods are installed directly on your computer and primarily affect your individual gameplay experience. These mods can range from visual enhancements like improved lighting or texture packs to quality-of-life improvements such as advanced mapping tools or automatic resource collection. When you play with client-side mods, only you see the changes. This means you can experiment with a vast array of modifications without needing to coordinate with other players on a server.
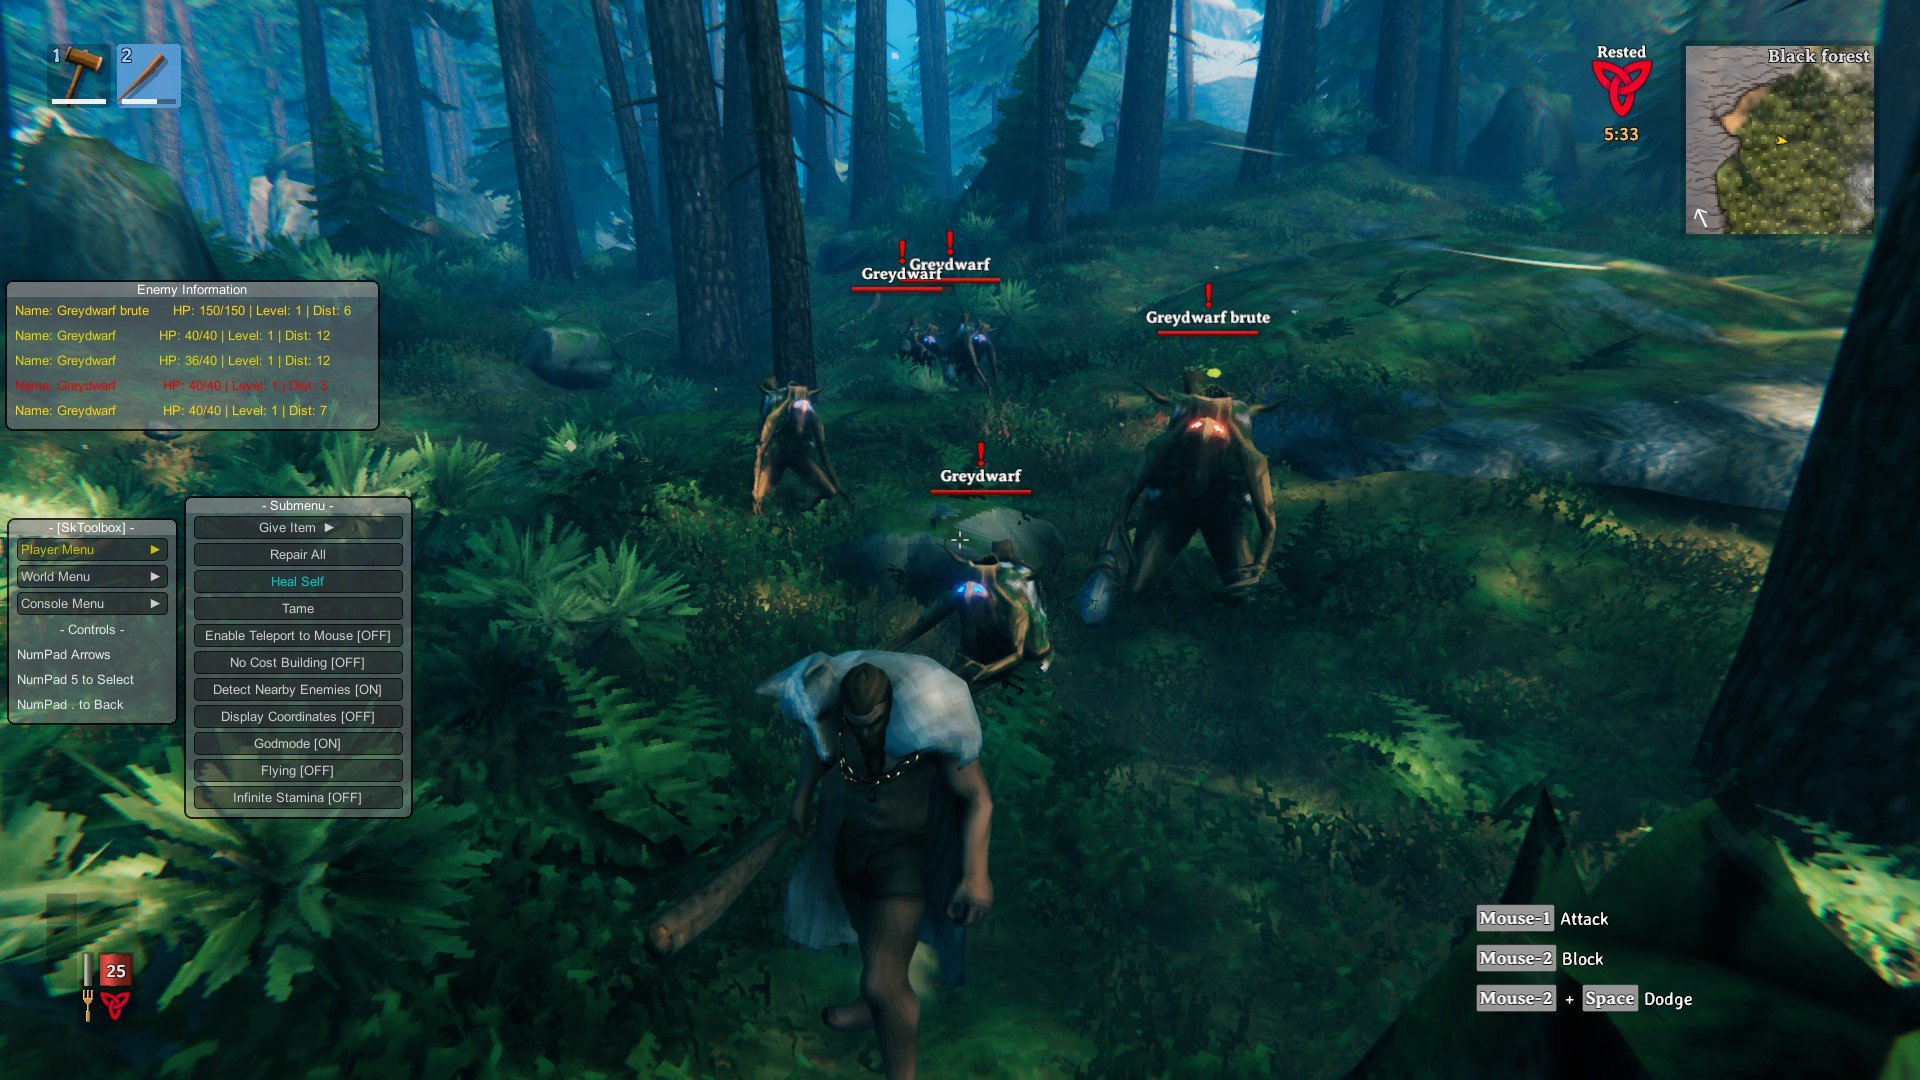
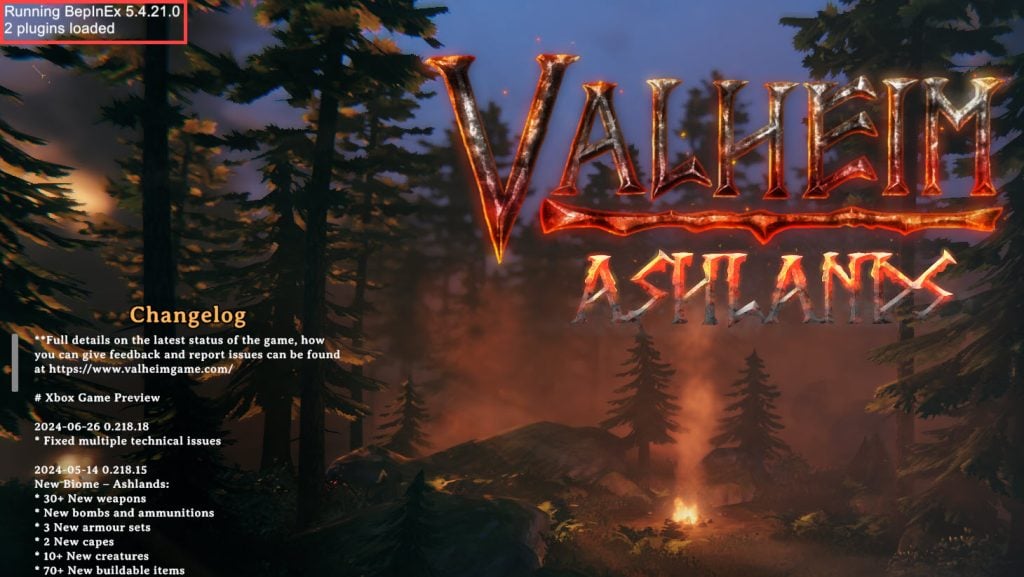
The most common way to install client-side mods is by using a mod loader, the most popular and widely recommended being BepInEx. BepInEx is a powerful framework that allows developers to easily create and distribute mods for Unity games, including Valheim. It acts as a foundational layer, injecting custom code into the game and enabling mods to function.
Server-Side Mods: Shared Experiences and Enhanced Worlds
Server-side mods, on the other hand, are installed on the Valheim server itself. This means that when you connect to a modded server, all players will experience the same modifications. Server-side mods are essential for introducing significant gameplay changes that affect everyone, such as new enemy types, altered crafting recipes, expanded world events, or even entirely new game modes.
Running a modded server requires a bit more technical know-how, as you’ll need to manage the server files and ensure compatibility between mods. However, the reward is a truly unique and collaborative gaming experience. For server administrators, managing mods often involves similar tools to client-side modding, but with the added consideration of server stability and performance.
Essential Tools for Valheim Modding
To successfully install and manage Valheim mods, you’ll need a few key pieces of software. The primary tool you’ll encounter is the mod loader.
BepInEx: The Premier Valheim Mod Loader
BepInEx is the backbone of Valheim modding for most players. It’s an open-source plugin framework that simplifies the process of loading and running mods. Think of it as a manager for your mods, allowing them to interact with the game’s code without directly altering the game’s core files. This makes updating the game easier, as mods compatible with BepInEx are less likely to break after a game patch.
The installation process for BepInEx is generally straightforward and involves downloading the correct version for Valheim and placing its files into your game’s directory. Once BepInEx is installed, it creates a plugins folder where you’ll place your downloaded mods.
Vortex Mod Manager: Streamlining the Process (Optional but Recommended)
For those who prefer a more automated and organized approach, mod managers like Vortex can be incredibly helpful. Vortex is a popular free mod manager developed by Nexus Mods, a major hub for game modifications. Vortex automates many of the tedious aspects of modding, including downloading, installing, and managing mod conflicts.
While Valheim modding can be done manually, using Vortex can significantly reduce the risk of errors and make it easier to keep track of your installed mods. Vortex can directly interact with BepInEx, simplifying the installation of mods that are compatible with this framework. It also offers features for deploying mods, managing load orders, and even staging changes to prevent game corruption.
Nexus Mods: Your Central Hub for Valheim Mods
Nexus Mods is the go-to website for finding and downloading Valheim mods. It hosts a vast library of community-created modifications, ranging from simple UI tweaks to complex gameplay overhauls. When browsing Nexus Mods, you’ll find detailed descriptions of each mod, installation instructions, user comments, and compatibility information.
It’s essential to read the descriptions carefully for each mod you intend to install. Many mods will specify whether they require BepInEx or other dependencies. Pay close attention to any installation steps outlined by the mod author, as they may have specific requirements beyond the general BepInEx setup.
Step-by-Step Guide to Installing Valheim Mods with BepInEx
This section will detail the most common and recommended method for installing Valheim mods using BepInEx.
Step 1: Download and Install BepInEx
- Locate your Valheim game directory: This is usually found within your Steam library. Right-click on Valheim in your Steam Library, select “Manage,” and then “Browse local files.”
- Download the latest BepInEx release for Valheim: You can usually find the download link on the BepInEx GitHub page or on Nexus Mods. Ensure you download the correct version, specifically tailored for Valheim if available, or the general Unity x64 version.
- Extract the BepInEx files: Once downloaded, extract the contents of the BepInEx archive into your Valheim game directory. You should see folders like
core,config, andpluginsappear in the root of your Valheim installation. - Run Valheim once: After extracting BepInEx, it’s crucial to run Valheim at least once. This action initializes BepInEx and creates any necessary configuration files. Close the game after it has launched.
Step 2: Find and Download Your Desired Mods
- Browse Nexus Mods: Navigate to the Valheim section on Nexus Mods (https://www.nexusmods.com/valheim).
- Search for mods: Use the search bar to find mods that interest you. Consider keywords related to gameplay, visuals, items, or specific features you’d like to add.
- Read Mod Descriptions Carefully: Before downloading, thoroughly read the description of each mod. Pay attention to:
- Dependencies: Does the mod require other mods or specific versions of BepInEx?
- Installation Instructions: Are there any unique steps the author recommends?
- Compatibility: Is the mod known to be compatible with other popular mods or the current game version?
- Download the Mod Files: Most mods will come in a
.zipor.rararchive. Download the files as instructed on the mod page.
Step 3: Install the Downloaded Mods
- Locate the
pluginsfolder: Navigate back to your Valheim game directory. Inside, you’ll find theBepInExfolder, and within that, apluginsfolder. - Extract mod files into the
pluginsfolder: Open the downloaded mod archive. You’ll typically find one or more.dllfiles and possibly other subfolders. Drag and drop these files and folders directly into theBepInEx/pluginsfolder within your Valheim directory.- Important: Do not extract the entire mod archive into the
pluginsfolder. You only want to place the individual mod files (usually.dllfiles) and any associated folders provided by the author.
- Important: Do not extract the entire mod archive into the
- Repeat for each mod: Follow this process for every mod you wish to install.
Step 4: Launch Valheim and Test Your Mods
- Start Valheim: Launch the game through Steam.
- Check for errors: When the game loads, keep an eye out for any error messages that might appear on the screen, especially during the initial loading screens.
- Test in-game: Load into your world and test the functionality of your installed mods. For example, if you installed a mapping mod, check if the map is displaying correctly. If you installed a mod that adds new items, try to craft or find them.
Advanced Modding and Troubleshooting
While the basic installation process is generally smooth, you might encounter situations that require more advanced troubleshooting or configuration.
Managing Mod Conflicts
Mod conflicts occur when two or more mods attempt to alter the same game elements in incompatible ways. This can lead to crashes, unexpected behavior, or certain mods simply not working.
- Read Mod Descriptions: Always check if a mod author mentions known conflicts with other popular mods.
- Install Mods Gradually: Install mods one or two at a time and test them thoroughly. This makes it easier to identify which mod is causing a conflict if issues arise.
- Load Order: While less common with BepInEx compared to some other game modding frameworks, the order in which mods are loaded can sometimes matter. If you suspect a conflict, try moving the problematic mod to a different position within the
pluginsfolder (though BepInEx generally handles this well). - Mod Configuration Files: Many mods come with configuration files (often in the
BepInEx/configfolder) that allow you to tweak their settings. Sometimes, adjusting these settings can resolve conflicts or customize the mod’s behavior. - Seek Community Help: If you’re struggling with a conflict, visit the Valheim modding communities on platforms like Nexus Mods forums, Reddit (r/valheim, r/valheimmodding), or Discord servers. Other players may have encountered and solved similar issues.
Server-Side Modding Considerations
Setting up a modded Valheim server is a more involved process. It generally requires:
- A Dedicated Server: You’ll need to run a dedicated Valheim server, either hosted by yourself or a third-party provider.
- Server-Side Mod Loader: Many server-side mods also rely on BepInEx, but it needs to be installed on the server’s executable.
- Mod Compatibility: Ensure that the mods you choose are designed to work on a server and are compatible with each other.
- Player Client Mods: Players connecting to a modded server often need to have the same client-side mods installed for certain features to work correctly or to avoid visual glitches.
Keeping Your Mods Updated
The Valheim game itself receives updates from its developers. These updates can sometimes break mod compatibility.
- Check for Mod Updates: Regularly visit Nexus Mods and check if your installed mods have newer versions available. Mod authors usually update their mods after game patches.
- Update BepInEx: It’s also a good practice to keep your BepInEx installation updated to the latest stable version.
- Backup Your Game Files: Before applying any major game updates or significant mod changes, it’s always wise to back up your Valheim installation folder and your save game files.
Conclusion: Unleash the Full Potential of Valheim
Modding Valheim opens up a universe of possibilities, transforming the game into something uniquely your own. From subtle quality-of-life improvements to monumental gameplay overhauls, the power lies in the hands of the modding community. By understanding the basics of mod loaders like BepInEx, utilizing resources like Nexus Mods, and following the installation steps carefully, you can easily enhance your Viking adventures. Remember to always read mod descriptions, manage potential conflicts, and keep your mods updated to ensure a stable and enjoyable modding experience. So, dive in, experiment, and craft your ultimate Valheim journey!
aViewFromTheCave is a participant in the Amazon Services LLC Associates Program, an affiliate advertising program designed to provide a means for sites to earn advertising fees by advertising and linking to Amazon.com. Amazon, the Amazon logo, AmazonSupply, and the AmazonSupply logo are trademarks of Amazon.com, Inc. or its affiliates. As an Amazon Associate we earn affiliate commissions from qualifying purchases.