In the modern digital landscape, a Mac isn’t just a computer; it’s a powerful workstation, a creative studio, and a gateway to a world of innovation. For many professionals, entrepreneurs, and tech enthusiasts, the Mac ecosystem represents a pinnacle of design, user experience, and robust performance. However, to truly unlock its potential, you need to understand how to effectively install and manage the software that drives your productivity, fuels your creativity, and secures your digital life.
While macOS is renowned for its user-friendly interface, installing programs isn’t always a one-size-fits-all process. From the streamlined simplicity of the Mac App Store to the intricate precision of command-line tools, understanding the various installation methods is crucial. This knowledge not only ensures you can access the applications you need but also empowers you to make informed decisions about security, system performance, and even the financial implications of your software choices.
This comprehensive guide will demystify the process of installing programs on your Mac, exploring each method in detail. We’ll delve into best practices, security considerations, and practical tips designed to optimize your digital workflow. Whether you’re a newcomer to the Apple ecosystem or a seasoned user looking to refine your approach, mastering software installation is a foundational step towards maximizing your Mac’s capabilities and, by extension, your own productivity and digital well-being.
The Mac App Store: Simplicity, Security, and Seamless Updates
For many Mac users, the Mac App Store is the first and often only stop for acquiring new software. Introduced by Apple in 2011, it revolutionized the way users discover and install applications, providing a curated, secure, and incredibly user-friendly experience. It’s an indispensable resource for anyone prioritizing ease of use, robust security, and hassle-free updates, making it a cornerstone of any effective digital strategy for both personal and professional users.
Navigating the Mac App Store: Your Gateway to Curated Software
Accessing the Mac App Store is as straightforward as clicking its icon in your Dock or Applications folder. Once inside, you’re presented with a beautifully organized interface featuring categories, trending apps, editor’s choices, and powerful search functionality.
Here’s how to install an app from the Mac App Store:
- Launch the App Store: Click the blue App Store icon.
- Search or Browse: Use the search bar in the top-left corner to find a specific app, or explore categories like Productivity, Creativity, Lifestyle, and more.
- Select an App: Click on an app’s icon to view its dedicated page. Here, you’ll find detailed descriptions, screenshots, user reviews, ratings, system requirements, and in-app purchase information. Pay attention to reviews and developer reputation – especially important when thinking about the ‘Brand’ aspect of software providers. A well-regarded app often comes from a developer with a strong brand identity and commitment to quality.
- Download and Install: For free apps, click the “Get” button, which will then change to “Install App.” For paid apps, click the price button, which will then change to “Buy App.” You’ll be prompted to enter your Apple ID password, use Touch ID, or Face ID to confirm the purchase or download.
- Automatic Installation: Once authorized, the app will download and automatically install itself into your Applications folder. You’ll see its icon appear in your Dock with a download progress indicator.
- Launch and Enjoy: Once the download is complete, the button will change to “Open.” Click it to launch your new application, or find it in your Applications folder or via Spotlight search (Command + Space).
Advantages of App Store Installations: Digital Security and Efficiency
The Mac App Store offers a multitude of benefits that align perfectly with the modern emphasis on digital security, productivity, and streamlined operations:
- Verified and Secure Applications: Every app submitted to the Mac App Store undergoes a rigorous review process by Apple. This vetting ensures that apps meet Apple’s security guidelines, are free from known malware, and adhere to privacy standards. This sandboxing approach significantly reduces the risk of malicious software compromising your system, offering a crucial layer of digital security.
- Effortless Updates: Apps installed from the App Store can be updated automatically in the background or with a single click from the “Updates” section. This ensures you always have the latest features, performance improvements, and, critically, the most recent security patches, which is vital for maintaining a robust digital security posture.
- Unified Management: All your App Store purchases and downloads are linked to your Apple ID, making it easy to reinstall apps on new Macs or after a system restore. This unified management saves time and effort, contributing to overall productivity.
- Simplified Uninstallation: Removing an App Store app is usually as simple as dragging its icon from the Applications folder to the Trash. While some may leave behind minor preference files, the core application and its associated components are cleanly removed.
- In-App Purchase Security: All in-app purchases are handled securely through your Apple ID, simplifying transactions and providing a clear record of your spending, which can be beneficial for personal finance tracking.
Limitations and When to Look Elsewhere
While the Mac App Store is incredibly convenient, it has its limitations:
- Limited Selection: Not all software developers choose to publish their applications on the Mac App Store. Many professional-grade tools, specialized utilities, or niche applications are only available directly from the developer’s website. This includes a vast array of AI tools, advanced development environments, or specific creative software that might not meet Apple’s strict sandboxing requirements or prefer their own distribution model.
- Version Control: For users who need specific older versions of an application for compatibility or workflow reasons, the App Store’s focus on the latest version can be a drawback.
- Subscription Models: While convenient, the subscription models prevalent in the App Store might not always align with every user’s budget or preferences, requiring careful consideration of the ‘Money’ aspect of software acquisition.
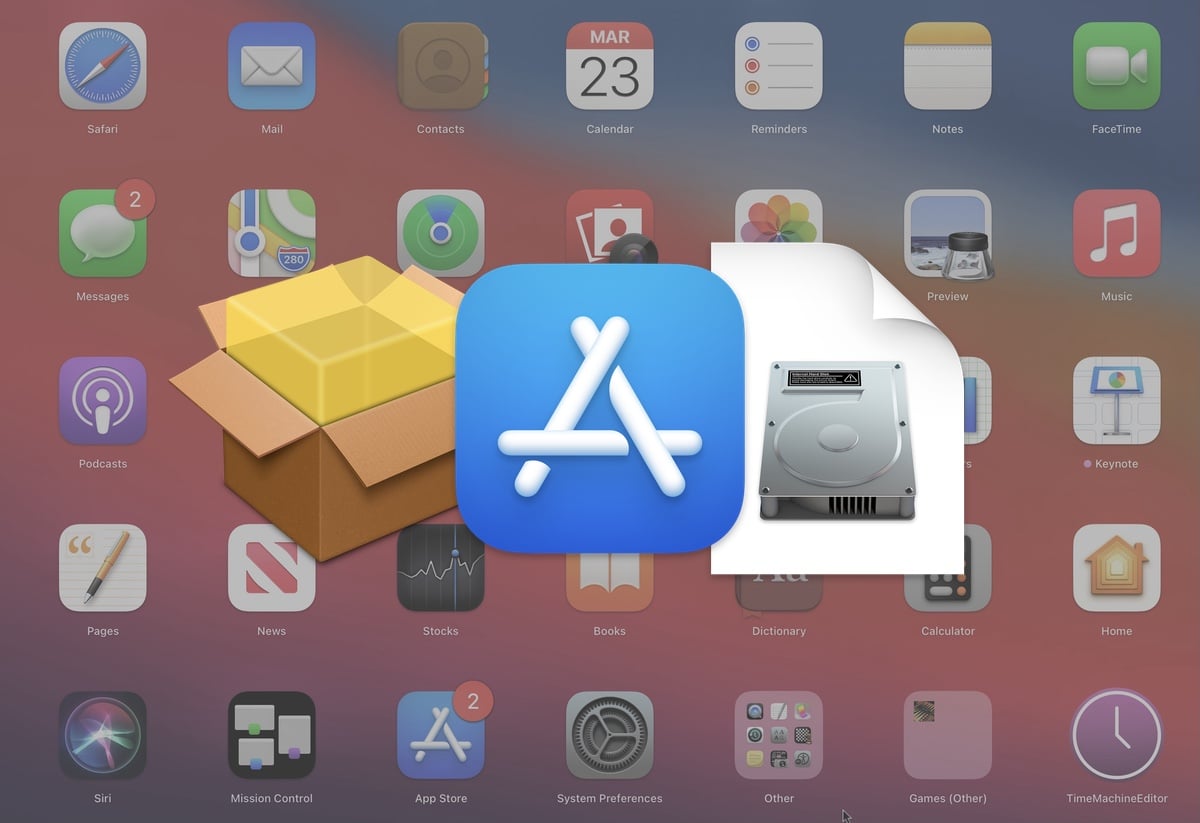
Beyond the App Store: Installing Software from the Web
Despite the App Store’s advantages, a significant portion of macOS software exists outside its confines. Many powerful applications, especially those tailored for specific professional tasks, development, or advanced customization, are distributed directly by their creators via their websites. Understanding how to safely and effectively install these programs is essential for unlocking your Mac’s full potential and accessing a wider array of tools for productivity and specialized tasks. This method requires a bit more vigilance regarding digital security but offers unparalleled flexibility.
The .dmg File: The Familiar Drag-and-Drop Installation
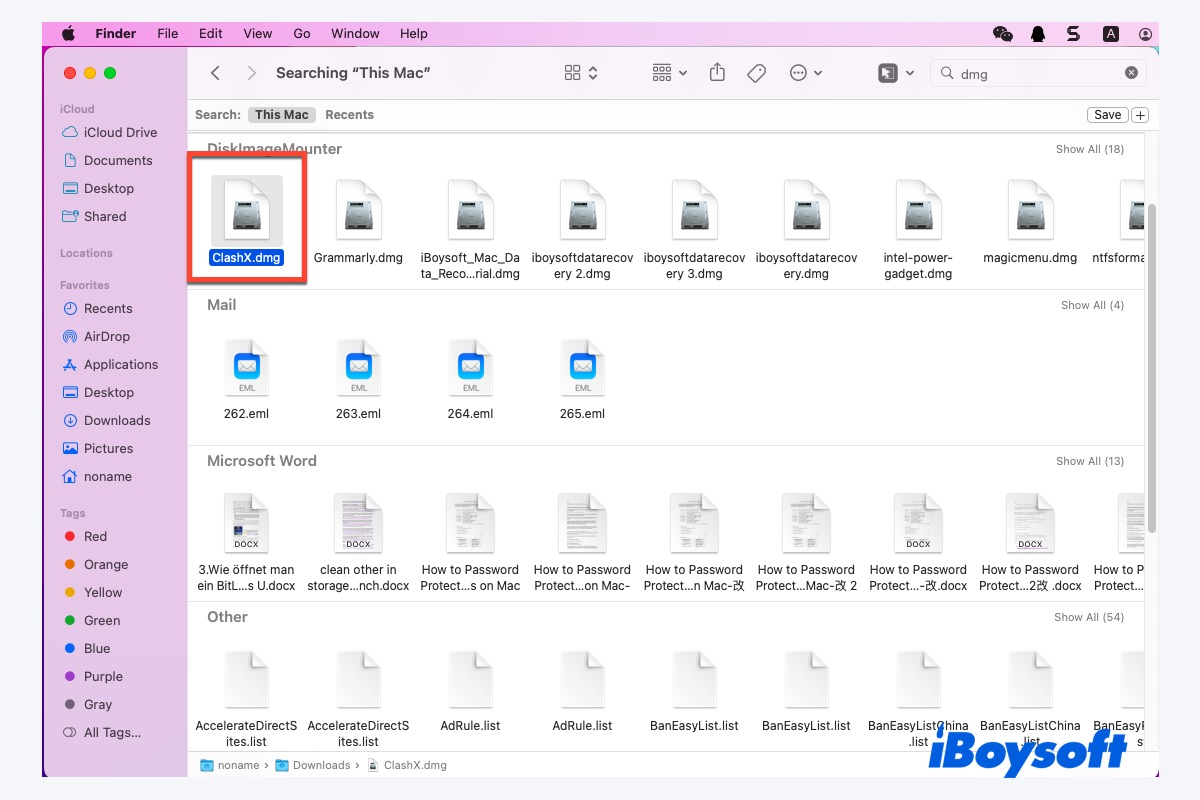
The Disk Image file, commonly known as a .dmg file, is the most prevalent method for distributing macOS applications outside the App Store. It functions like a virtual hard drive that you “mount” on your system, much like inserting a physical CD or USB drive.
Steps for installing from a .dmg file:
- Download the
.dmgfile: Navigate to the software developer’s official website and download the.dmgfile. Always prioritize official sources to ensure digital security and avoid compromised software. - Open the
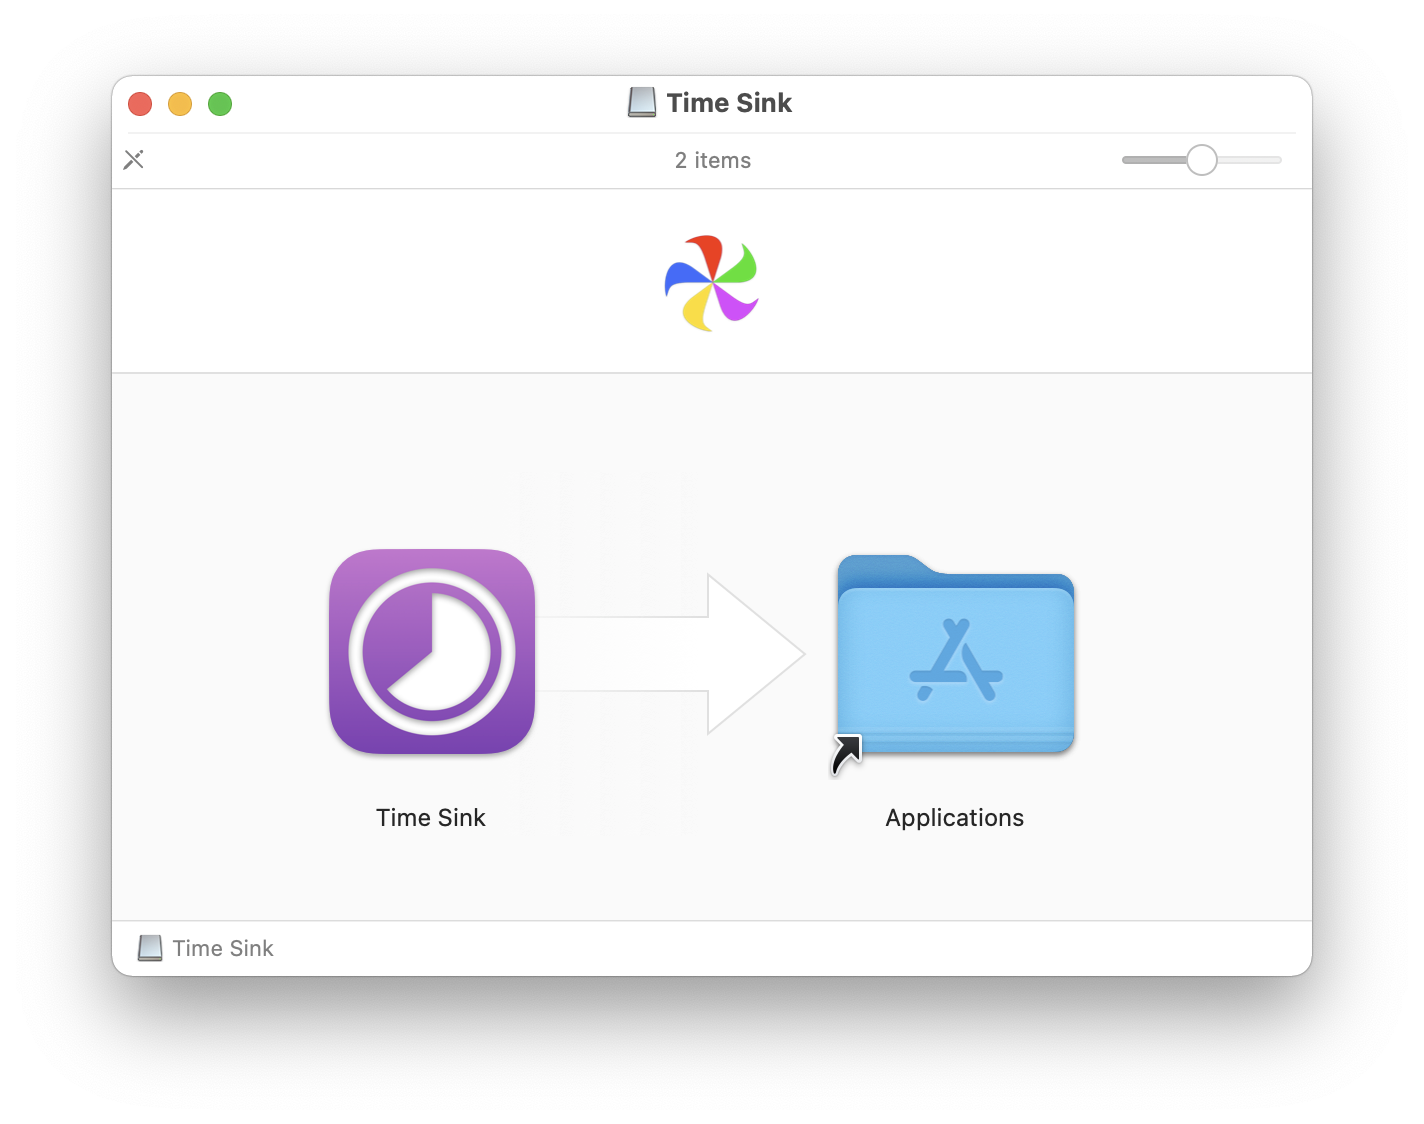
.dmgfile: Double-click the downloaded.dmgfile. macOS will “mount” it, and a new window will typically appear showing the application icon and often an alias to your Applications folder. - Drag and Drop: The most common instruction is to drag the application icon directly into the Applications folder alias shown in the
.dmgwindow. This copies the application into your main Applications directory.- Pro Tip: For some
.dmgfiles, you might also be able to drag the app icon directly from the.dmgwindow to your Dock or any other folder you prefer, though the Applications folder is the standard and recommended location.
- Pro Tip: For some
- Eject the Disk Image: After copying the application, it’s crucial to “eject” the virtual disk image. You can do this by dragging the
.dmgicon from your Desktop or Finder sidebar to the Trash (which will change to an eject symbol), right-clicking the icon and selecting “Eject,” or using the eject button next to its entry in the Finder sidebar. This frees up system resources. - Delete the
.dmgfile: Once the app is installed and the disk image ejected, you can move the original.dmgfile you downloaded to the Trash. It’s no longer needed. - Launch the App: You can now find and launch the application from your Applications folder, Launchpad, or via Spotlight.
The .pkg File: Guided Installer Packages for Complex Setups
For applications that require deeper system integration, install multiple components, or need specific permissions, developers often use a .pkg (package) file. These are guided installers that resemble the installation wizards found on other operating systems.
Steps for installing from a .pkg file:
- Download the
.pkgfile: As with.dmgfiles, download the.pkginstaller from the official developer’s website. - Open the
.pkgfile: Double-click the downloaded.pkgfile. This will launch the macOS Installer application. - Follow the Installer Wizard: The Installer will guide you through a series of steps:
- Introduction: Provides information about the software.
- License Agreement: Requires you to agree to the software’s terms and conditions. Pay attention to these, especially concerning data usage or subscription requirements, as they impact your ‘Money’ and ‘Brand’ (privacy) considerations.
- Destination Select: Allows you to choose where to install the software (usually the main hard drive).
- Installation Type: Sometimes offers options for custom installations (e.g., selecting specific components).
- Installation: Performs the actual installation. You may need to enter your administrator password to authorize the installation, as
.pkgfiles often modify system-level files.
- Completion: Once the installation is complete, the Installer will confirm success and usually offer an option to close the wizard.
- Launch the App: The application will be located in your Applications folder and can be launched as usual.
- Delete the
.pkgfile: After successful installation, you can move the.pkgfile to the Trash.
Navigating Security Warnings and Gatekeeper: Digital Security First
When installing applications from outside the Mac App Store, macOS’s built-in security feature, Gatekeeper, plays a crucial role. Gatekeeper checks applications for a valid developer ID and notarization from Apple, helping to prevent the execution of malicious software.
- “App can’t be opened because it is from an unidentified developer.” This common warning appears when an app hasn’t been notarized by Apple or isn’t from a registered developer. While it doesn’t necessarily mean the app is malicious, it signals that Apple hasn’t verified it.
- “App can’t be opened because Apple cannot check it for malicious software.” This message indicates the app is not notarized and Gatekeeper cannot verify its safety.
How to open apps from unidentified developers (use with caution):
- Right-Click (or Control-Click) the App: Instead of double-clicking, right-click (or Control-click) the application icon in your Applications folder.
- Select “Open”: From the contextual menu, choose “Open.”
- Confirm in Dialog: A new dialog box will appear, providing the same warning but now offering an “Open” button. Click this to launch the application.
- Permanently Allow (Optional): Once opened this way, macOS usually remembers your decision, and you can launch the app normally in the future.
Important Digital Security Considerations:
- Trust the Source: ONLY override Gatekeeper warnings if you absolutely trust the developer and have downloaded the software from their official website. Avoid downloading software from torrent sites, file-sharing platforms, or unfamiliar websites, as these are common vectors for malware. This directly ties into the concept of a software brand’s reputation – a reputable brand prioritizes security.
- Research the Developer: If unsure, do a quick online search for the developer’s reputation, user reviews, and any known security issues.
- Antivirus/Anti-Malware: While macOS has robust built-in security, running a reputable third-party antivirus or anti-malware scanner can provide an additional layer of protection, especially when frequently installing software from the web. This is a critical component of a comprehensive digital security strategy.
Advanced Installation & Management: Power Tools for the Savvy User
While the App Store and direct downloads cover the vast majority of software installations, a more advanced approach exists for power users, developers, and those who seek granular control over their software ecosystem. This includes using package managers and understanding the nuances of comprehensive software management, which are crucial for maintaining system health, boosting productivity, and securing specialized tools.
Harnessing Homebrew: The macOS Package Manager
Homebrew is an open-source package manager that simplifies the installation of command-line tools, libraries, and even graphical applications (via Homebrew Cask) on macOS. It’s an indispensable tool for developers, system administrators, and anyone comfortable working in the Terminal. Homebrew represents a core aspect of advanced ‘Tech’ management, enabling access to cutting-edge tools and utilities.
Why use Homebrew?
- Simplified Installation: Install complex software with a single command (e.g.,
brew install <package_name>). Homebrew handles dependencies, compilation, and PATH configurations. - Up-to-Date Software: Easily update all your Homebrew-managed software with
brew updateandbrew upgrade. - Version Management: Install specific versions of packages if needed.
- Access to a Vast Ecosystem: Provides access to thousands of open-source tools not available elsewhere, including many AI tools, programming languages, and development utilities.
- Clean Uninstallation: Remove software cleanly with
brew uninstall <package_name>, ensuring no leftover files.
Basic Homebrew Installation and Usage:
- Install Homebrew: Open Terminal (Applications > Utilities > Terminal) and paste the following command, then press Enter:
/bin/bash -c "$(curl -fsSL https://raw.githubusercontent.com/Homebrew/install/HEAD/install.sh)"
Follow the on-screen prompts, which may include installing Apple’s Command Line Tools and entering your administrator password. - Install a Package: To install a command-line tool (a “formula”), use:
brew install <formula_name>(e.g.,brew install git) - Install a Graphical Application (Cask): To install a regular macOS application (a “cask”), use:
brew install --cask <app_name>(e.g.,brew install --cask firefox) - Update Homebrew and Packages:
brew update(updates Homebrew itself and its list of available packages)
brew upgrade(upgrades all installed packages to their latest versions) - Uninstall a Package:
brew uninstall <formula_name_or_cask_name>(e.g.,brew uninstall gitorbrew uninstall --cask firefox)
Homebrew significantly enhances productivity for specific user groups by automating software management and providing access to a broader suite of development and utility tools.
Managing Your Software Ecosystem: Updates and Uninstallation
Effective software management extends beyond just installation; it encompasses keeping applications updated and performing thorough uninstallation when no longer needed. This impacts system performance, digital security, and overall productivity.
Keeping Your Apps Up-to-Date: A Digital Security Imperative
Regularly updating your software is paramount for:
- Digital Security: Updates often include critical security patches that protect against newly discovered vulnerabilities. Running outdated software is a major security risk.
- Performance and Stability: Developers constantly optimize their applications, fixing bugs and improving performance with each update.
- New Features: Updates bring new functionalities that can enhance your workflow and productivity.
Methods for updating applications:
- Mac App Store: As mentioned, App Store apps update automatically or manually via the “Updates” tab.
- In-App Updaters: Many non-App Store applications include their own built-in update mechanisms. You might find an “Check for Updates” option in the application’s menu bar (e.g.,
[App Name] > Check for Updates) or within its preferences. - Homebrew: For applications installed via Homebrew,
brew update && brew upgradewill handle both command-line tools and Cask applications. - Developer Websites: In some cases, especially for larger, less frequently updated software, you might need to manually download and install a new version from the developer’s website.
Proper Uninstallation: Maintaining a Clean and Efficient Mac
Simply dragging an app’s icon to the Trash often doesn’t remove all its associated files (preferences, caches, support files) that can accumulate over time, cluttering your system and potentially impacting performance. While a few leftover files usually aren’t harmful, a build-up can lead to issues.
Best practices for uninstallation:
- Use Dedicated Uninstallers: Some applications, especially those installed via
.pkgfiles, come with their own uninstaller application, often found within the original.dmgfile or in the Application’s folder itself. Always use these if available, as they are designed to remove all components. - Drag to Trash (for simple apps): For most apps installed via
.dmg(especially those without complex system integrations), dragging the app from the Applications folder to the Trash is sufficient for the core application. Empty the Trash afterward. - Third-Party Uninstaller Tools: For more thorough cleaning, consider using reputable third-party uninstaller applications (e.g., AppCleaner, CleanMyMac X). These tools scan your system for all associated files of a deleted application and allow you to remove them completely. This is a great example of a ‘Productivity’ tool that also contributes to system health. When choosing such tools, always consider the ‘Brand’ reputation of the developer and read reviews to ensure you’re using a safe and effective solution.
Strategic Software Selection: Optimizing Your Mac for Success
Beyond merely knowing how to install programs, a truly savvy Mac user understands the strategic importance of which programs to install. In an era saturated with software options, making informed choices can significantly impact your productivity, digital security, and even your financial bottom line. This section bridges the gap between technical installation and the broader themes of effective technology utilization, personal finance, and building a strong professional brand.
Free vs. Paid: Weighing the Costs and Benefits for Your Budget
The decision between free and paid software is often a complex one, touching upon both ‘Money’ and ‘Productivity’ considerations. While free software can be enticing, it’s crucial to evaluate its true value.
-
Free Software (Freemium, Open Source, Ad-Supported):
- Pros: No upfront cost, accessible for budget-conscious users, often a good starting point for new tasks. Open-source software can be highly customizable and community-supported.
- Cons: May lack advanced features, receive less frequent updates, offer limited or no customer support, or contain ads. “Freemium” models often gate essential features behind a paywall. Some free software might come with privacy trade-offs (e.g., data collection) or even bundled unwanted programs, posing a digital security risk if not from reputable sources.
- Example: LibreOffice (free office suite) vs. Microsoft 365 (paid subscription).
-
Paid Software (One-time Purchase, Subscription):
- Pros: Typically offers a more comprehensive feature set, dedicated customer support, regular updates, better performance, and enhanced digital security due to a vested interest from the developer. Subscription models ensure continuous development and cloud integration.
- Cons: Upfront or recurring costs impact personal finance. Can be a significant investment, especially for professional tools. Requires careful evaluation to ensure the value justifies the expense.
- Example: Adobe Creative Cloud (subscription) vs. GIMP (free image editor).
Strategic Consideration: For core productivity tools, specialized professional software, or applications handling sensitive data, investing in reliable paid options often yields better long-term returns in terms of efficiency, support, and digital security. For casual use or experimentation, free alternatives can be excellent. Always balance immediate cost savings with potential future limitations or risks.
Productivity and Performance: Choosing Tools that Work for You
The right software can revolutionize your workflow; the wrong software can cripple it. Strategic selection is key to optimizing your Mac for maximum productivity. This links directly to ‘Tech’ and ‘Productivity’ themes.
- Impact on Workflow: Evaluate how a new application integrates with your existing tools and processes. Does it streamline tasks or create new hurdles? Consider its learning curve – time spent learning is an investment.
- System Resources: Be mindful of an application’s resource demands (CPU, RAM, storage). Bloated or inefficient software can slow down your entire system, hindering overall performance and productivity. Check reviews or developer specifications for minimum and recommended system requirements.
- Features vs. Bloat: Don’t automatically opt for the app with the most features. Often, a simpler, more focused tool that excels at its core function can be more productive than an feature-rich behemoth you only use 10% of.
- Reviews and Recommendations: Leverage online reviews, tech publications, and expert recommendations (e.g., from tech blogs, YouTube channels, or specialized forums) to gauge an app’s reputation, usability, and actual performance. Look for consistency in positive feedback regarding efficiency and bug-free operation.
- Compatibility: Always check an app’s compatibility with your current macOS version and other critical software you use. Incompatible software can lead to crashes, data loss, and significant productivity roadblocks.
Digital Security and Software Reputation: Protecting Your Digital Brand
Your choice of software is also a critical component of your ‘Digital Security’ strategy and can indirectly impact your ‘Personal Brand’ or ‘Corporate Identity’. Using insecure or compromised software exposes you to risks, which can have financial and reputational repercussions.
- Verifying Software Authenticity: Always download software from the official developer’s website. Be wary of third-party download sites that might bundle adware, modify installers, or distribute older, vulnerable versions.
- Developer Reputation: A strong developer ‘Brand’ signifies a commitment to quality, regular updates, and responsiveness to security issues. Research the developer’s history. Are they transparent about their privacy policies? Do they have a good track record? This becomes especially important when considering niche tools or new ‘AI Tools’.
- Privacy Policies: Before installing, especially for apps that request extensive permissions, read the privacy policy. Understand what data the app collects, how it’s used, and whether it’s shared. This is crucial for protecting your digital identity and personal information.
- Avoiding Pirated Software: Beyond the legal and ethical implications, pirated software is a significant digital security risk. It often comes bundled with malware, ransomware, or spyware, potentially compromising your entire system, leading to data breaches, financial loss, and severe damage to your digital security and reputation.
By thoughtfully evaluating these factors, you can make strategic software choices that not only enhance your Mac’s capabilities but also fortify your digital security, optimize your finances, and ultimately bolster your overall productivity and professional standing.
Conclusion: Mastering Your Mac, Empowering Your Digital Journey
Mastering the art of installing programs on your Mac is far more than a mere technical skill; it’s a foundational element of effective digital literacy. Whether you’re harnessing the curated simplicity of the Mac App Store, navigating the direct downloads of .dmg and .pkg files, or leveraging the advanced control of Homebrew, each method offers unique advantages and requires a keen awareness of best practices.
The journey to an optimized Mac involves making deliberate choices: from evaluating the cost-benefit analysis of free versus paid software to scrutinizing the security posture and reputation of developers. By prioritizing digital security, understanding the impact on your productivity, and making financially savvy decisions about your software toolkit, you transform your Mac from a mere device into a powerful, secure, and efficient partner in your personal and professional endeavors.
Ultimately, an informed approach to software installation and management empowers you. It ensures that your Mac remains a high-performing asset, protected from digital threats, and consistently equipped with the tools you need to innovate, create, and succeed in an ever-evolving technological landscape. Embrace these strategies, and take full control of your Mac’s potential, enhancing every aspect of your digital journey.
aViewFromTheCave is a participant in the Amazon Services LLC Associates Program, an affiliate advertising program designed to provide a means for sites to earn advertising fees by advertising and linking to Amazon.com. Amazon, the Amazon logo, AmazonSupply, and the AmazonSupply logo are trademarks of Amazon.com, Inc. or its affiliates. As an Amazon Associate we earn affiliate commissions from qualifying purchases.