Minecraft has evolved far beyond its humble beginnings as a simple indie project into a global technological phenomenon. As a sandbox platform that bridges the gap between gaming and creative computing, its installation process involves navigating various software environments, runtime dependencies, and architectural differences between versions. Whether you are looking to deploy the Java Edition for its extensive modding capabilities or the Bedrock Edition for its cross-platform interoperability, understanding the technical nuances of the installation process is crucial for a stable and high-performance experience.
This guide provides a professional technical deep dive into the installation, configuration, and optimization of Minecraft, ensuring that your digital environment is correctly staged for the software.
1. Hardware and Software Prerequisites: Assessing System Readiness
Before initiating the installation process, it is essential to evaluate whether your hardware can sustain the computational demands of Minecraft’s procedural generation and rendering engines. While the game is known for its “blocky” aesthetic, the underlying mathematics of chunk loading and lighting updates can be intensive.
Hardware Specifications and Resource Allocation
To run the modern iterations of Minecraft (specifically version 1.20 and beyond), your system should ideally exceed the minimum requirements. From a technical standpoint, Minecraft is heavily dependent on single-core CPU performance.
- CPU: While a multi-core processor is beneficial for background tasks, the game’s main engine thrives on high clock speeds. An Intel Core i5-4690 or AMD A10-7800 is the baseline for a fluid experience.
- RAM: This is perhaps the most critical component. While the game lists 4GB as a minimum, 8GB is the professional standard. For those looking to utilize high-resolution texture packs or shaders, allocating more dedicated RAM through the JVM (Java Virtual Machine) arguments is necessary.
- GPU: The transition to the “RenderDragon” engine for Bedrock and the increased OpenGL requirements for Java Edition mean that integrated graphics are often insufficient. A dedicated GPU with OpenGL 4.4 support is recommended.
Operating System and Driver Compliance
The software environment must be optimized to allow the Minecraft Launcher to communicate effectively with the hardware.
- Windows: Ensure you are running Windows 10 or 11 (version 1903 or higher) to support the modern Minecraft Launcher and the Microsoft Store integration.
- Graphics Drivers: Outdated drivers are the primary cause of “OpenGL Error” crashes. Users should ensure that NVIDIA, AMD, or Intel drivers are updated to their latest stable releases to support the game’s rendering pipeline.
- Java Runtime Environment (JRE): Historically, users had to install Java manually. Modern versions of the Minecraft Launcher now come bundled with a standalone JRE. However, for specialized server deployments or advanced modding, understanding how to point the launcher to a specific OpenJDK build remains a vital skill.
2. Deploying the Minecraft Launcher on Desktop Platforms
The Minecraft Launcher serves as the central hub for the game’s various “flavors.” Understanding how to install and manage this software is the first step in a successful deployment.
The Microsoft Store vs. Standalone Installer
For Windows users, there are two primary methods of installation. The Microsoft Store version is the modern standard, facilitating seamless updates and integration with Xbox Game Pass. However, the standalone .msi or .exe installer provided by Mojang is often preferred by power users who wish to bypass the potential overhead of the Windows Store architecture.
- Navigate to the official Minecraft website.
- Authenticate using your Microsoft account.
- Download the “Launcher for Windows 10/11.”
- Execute the installer and follow the directory prompts. By default, the game files are stored in the
%appdata%.minecraftdirectory, a hidden folder that houses everything from world saves to resource packs.
Java Edition vs. Bedrock Edition: Technical Distinctions
During the installation, you must choose which version to launch. This is not merely a preference of gameplay but a choice of software architecture.
- Java Edition: Built using the Java programming language, this version is the “legacy” version favored by the modding community. It allows for deep manipulation of the game code but can be more resource-heavy due to the overhead of the Java Virtual Machine.
- Bedrock Edition: Written in C++, this version is designed for performance and cross-play. It utilizes the RenderDragon engine and is highly optimized for mobile, console, and lower-end PC hardware. It lacks the deep modding capabilities of Java but offers superior frame rates and stability.
Installation on macOS and Linux
Minecraft’s cross-platform nature extends to macOS and various Linux distributions.
- macOS: The installation follows a standard
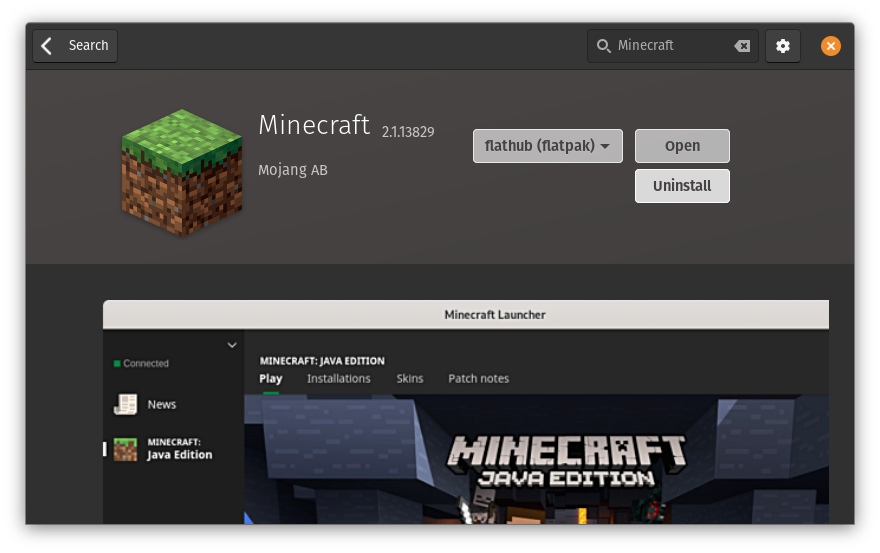
.dmgdrag-and-drop process. Users on Apple Silicon (M1/M2/M3 chips) should note that the game runs via the Rosetta 2 translation layer, though native ARM support is increasingly optimized in newer snapshots. - Linux: For Debian-based systems (like Ubuntu), a
.debpackage is provided. For other distributions, an Arch-compatible or flatpak version is often available via community repositories. Linux users often find that the Java Edition performs exceptionally well due to the efficiency of Linux-based memory management.
3. Mobile and Console Architecture: Seamless Integration
Installing Minecraft on non-PC platforms involves navigating ecosystem-specific storefronts while maintaining the integrity of the user’s digital identity across devices.
Deployment on iOS and Android
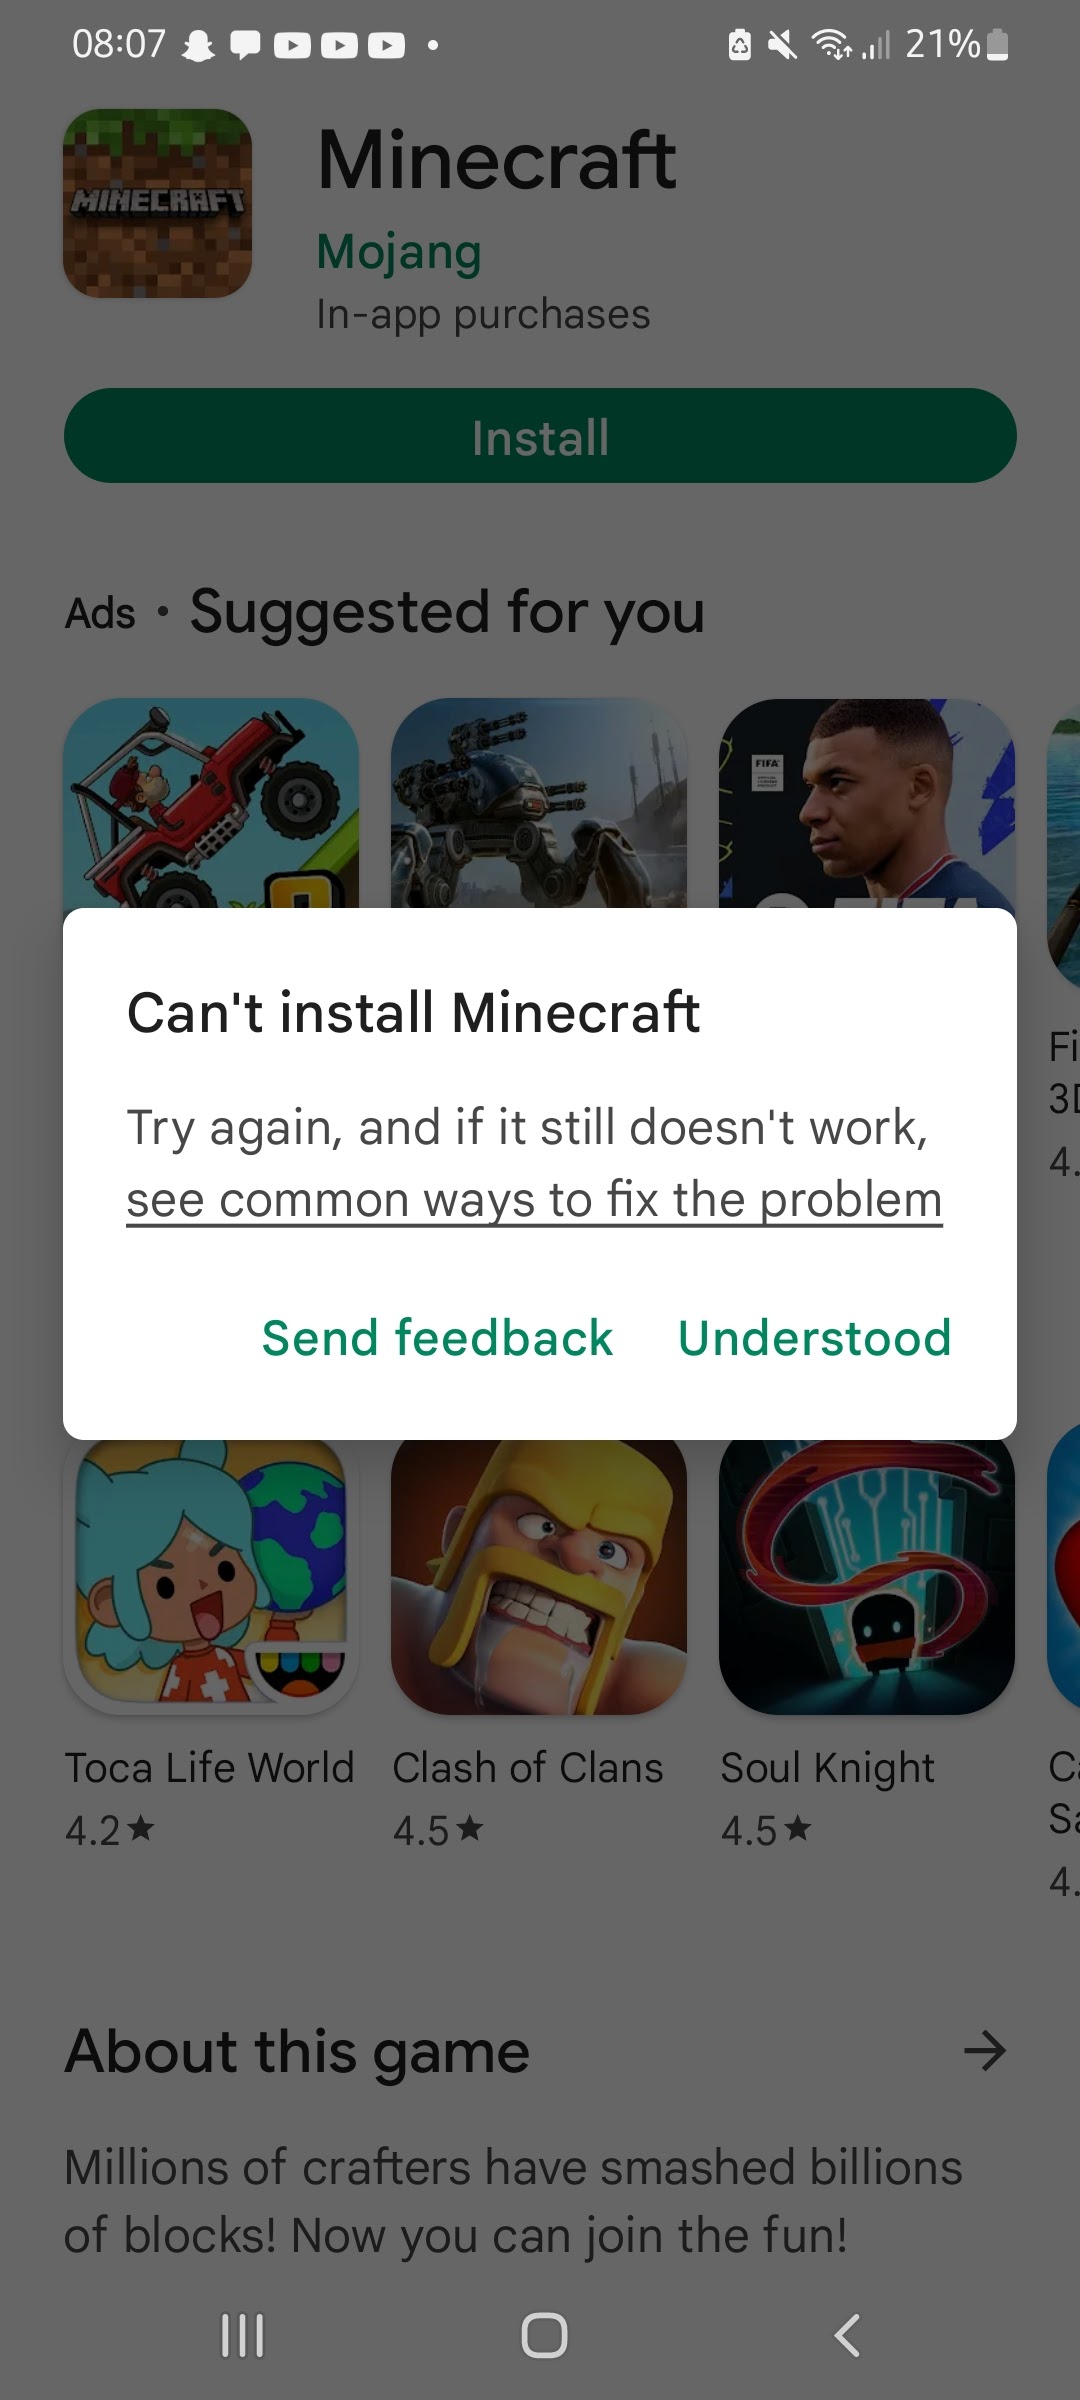
The mobile version of Minecraft (formerly Pocket Edition) is now part of the unified Bedrock codebase.
- Installation: Obtained through the Apple App Store or Google Play Store. The technical requirement here is storage space; while the initial app is small, world files and cached data from servers can quickly grow to several gigabytes.
- Synchronization: By signing into a Microsoft account on mobile, the software synchronizes your marketplace purchases and “Realms” subscriptions. This highlights the “Platform-as-a-Service” model Minecraft has adopted.
Console Ecosystems: Xbox, PlayStation, and Switch
On consoles, Minecraft is a high-performance C++ application optimized for the specific hardware of the machine.
- Updates: Unlike the PC version, where the user can choose specific historical versions of the game, consoles are “evergreen,” meaning they always run the latest stable version of the Bedrock engine.
- Data Migration: If upgrading from a legacy console (like the Xbox 360) to a modern one, specific tools within the game menu allow for the migration of world saves, though this is a one-way process involving the conversion of the old save format to the modern Bedrock format.
4. Advanced Configuration and Performance Optimization
Once the software is installed, the default settings are rarely optimal for high-level use. Fine-tuning the configuration can significantly enhance the software’s efficiency.
Memory Allocation and JVM Arguments
For Java Edition users, the default 2GB of RAM allocation is often a bottleneck. To adjust this:
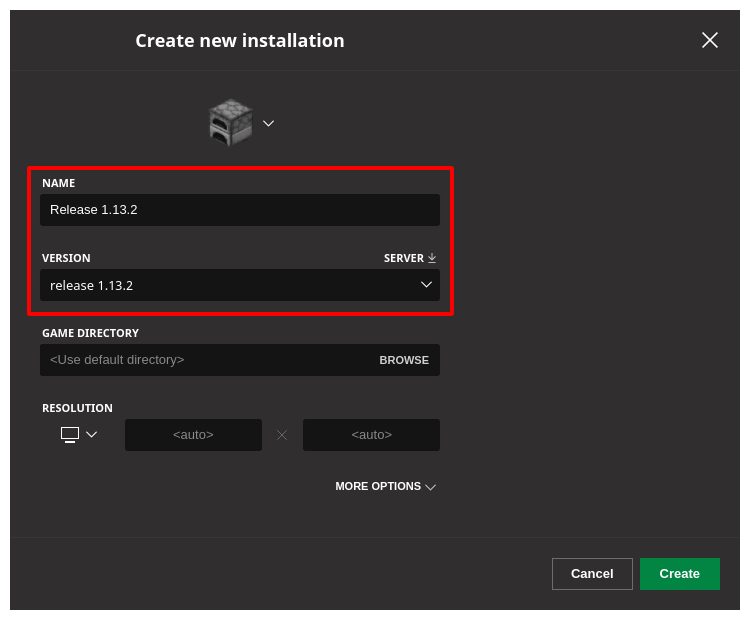
- Open the Minecraft Launcher and go to the “Installations” tab.
- Select your version and click “More Options.”
- Locate the “JVM Arguments” field.
- Change the string
-Xmx2Gto-Xmx4G(or higher, depending on your system’s capacity). This instructs the Java Virtual Machine to reserve more heap memory for the game, reducing “garbage collection” stutters.
Optimization Mods: OptiFine and Sodium
In the tech community, the vanilla Minecraft client is often seen as unoptimized. Many users choose to install third-party optimization layers.
- Sodium: A modern rendering engine replacement for Java Edition that significantly improves frame rates and reduces micro-stuttering by optimizing OpenGL calls.
- OptiFine: The legacy standard for optimization, offering support for high-definition textures and shaders.
Installing these requires the use of a “mod loader” like Forge or Fabric, which acts as a middleware between the game code and the modifications.
5. Ensuring Digital Integrity and Security
In an era of increasing digital threats, securing your Minecraft installation and the account associated with it is a critical technical necessity.
Microsoft Account Migration and MFA
The transition from legacy Mojang accounts to Microsoft accounts was a strategic move to bolster security. Microsoft accounts offer Multi-Factor Authentication (MFA), which is the most effective defense against unauthorized access.
- Implementation: Users should enable the Microsoft Authenticator app or SMS-based verification. This protects not just the game installation but the associated “Minecraft Marketplace” wallet and personal data.
Safe Installation Practices
The popularity of Minecraft makes it a frequent target for malware disguised as “free launchers” or “mod installers.”
- Authentic Sources: Only download the launcher from official domains (minecraft.net) or verified app stores.
- Mod Security: When downloading community-created content, stick to reputable repositories like CurseForge or Modrinth. These platforms scan uploaded files for malicious code, ensuring that your installation remains secure.
- Directory Management: Regularly back up the
.minecraft/savesfolder. In the event of software corruption or a failed update, having an external copy of your world data is the only way to ensure continuity of your creative work.
By following these professional technical guidelines, you ensure that your Minecraft installation is not just functional, but optimized for performance, security, and long-term stability. The complexity of the game’s architecture demands a methodical approach, but the result is a robust gateway into one of the world’s most versatile digital sandboxes.
aViewFromTheCave is a participant in the Amazon Services LLC Associates Program, an affiliate advertising program designed to provide a means for sites to earn advertising fees by advertising and linking to Amazon.com. Amazon, the Amazon logo, AmazonSupply, and the AmazonSupply logo are trademarks of Amazon.com, Inc. or its affiliates. As an Amazon Associate we earn affiliate commissions from qualifying purchases.