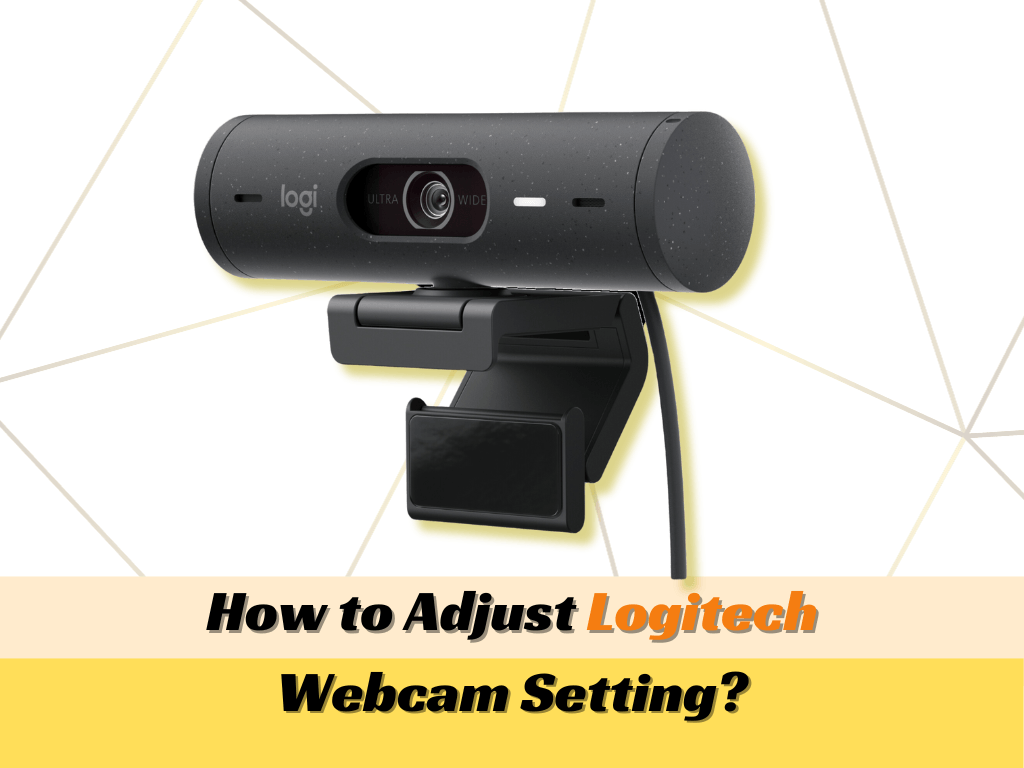
In today’s interconnected world, a webcam is no longer a mere accessory but a fundamental tool for communication, collaboration, and content creation. Whether you’re a remote professional, an aspiring streamer, a student attending virtual classes, or simply someone who enjoys connecting with loved ones, a reliable webcam is indispensable. Among the myriad options available, Logitech stands out as a dominant brand, renowned for its quality, innovation, and user-friendly products. However, even the most intuitive technology requires proper setup to unlock its full potential. This guide will walk you through every step of installing your Logitech webcam, ensuring a smooth, hassle-free experience while also touching upon the broader implications for your tech setup, personal brand, and even your financial endeavors.
Beyond the basic plug-and-play functionality that many modern devices offer, understanding the nuances of webcam installation, driver management, and software optimization can significantly enhance your video quality, audio clarity, and overall digital presence. We’ll delve into the technical aspects that guarantee peak performance, explore how a well-integrated webcam contributes to a polished professional brand, and consider the practical value and return on investment (ROI) that a quality Logitech device brings to various aspects of your life. Get ready to transform your virtual interactions from mediocre to magnificent.
The Essential Pre-Installation Checklist: Paving the Way for Success
Before you even unbox your new Logitech webcam, a little preparation can save a lot of potential headaches. Think of this as laying a solid foundation for your digital communication infrastructure. Rushing this stage often leads to compatibility issues, driver conflicts, or suboptimal performance, undermining the very reason you invested in a quality webcam.
Understanding Your Logitech Webcam Model and System Requirements
Logitech offers a diverse range of webcams, each with unique features, specifications, and sometimes, specific installation quirks. Models like the C920, StreamCam, Brio, or even older C310, all have distinct capabilities. The first step is to identify your exact model number, typically found on the product packaging, the webcam itself, or its accompanying documentation. This information is crucial for downloading the correct drivers and software later.
Once you know your model, consult its official specifications (usually available on Logitech’s website or in the manual) to understand the minimum system requirements. These requirements typically include:
- Operating System (OS) Compatibility: Is your computer running Windows (specific version like 10 or 11), macOS (specific version), or even Chrome OS? Ensure your OS is supported.
- Processor Speed: While webcams aren’t incredibly CPU-intensive, a decent processor ensures smooth video encoding and streaming, especially for higher resolutions like 1080p or 4K.
- RAM: Sufficient RAM helps your system handle the video feed and any accompanying software without lag.
- USB Port Type: Most modern webcams use USB 2.0 or USB 3.0/3.1. USB 3.0 (often blue inside) offers faster data transfer, which is beneficial for high-resolution cameras, but they are generally backward compatible with USB 2.0 (albeit with potential performance limitations). Ensure you have an available port of the recommended type.
- Internet Connection: While not directly for installation, a stable and fast internet connection is essential for effective use of your webcam for online meetings or streaming, especially for high-definition video.
Verifying these details upfront ensures that your hardware and software environment is ready to integrate your new webcam seamlessly, preventing compatibility frustrations down the line.
Gathering Your Tools and Workspace Preparation
While “tools” for webcam installation are minimal, preparing your physical and digital workspace is key. Physically, ensure you have:
- A clean, well-lit space: For testing your webcam and making sure it’s positioned correctly.
- The webcam itself: Obviously.
- Any included accessories: Such as a USB extension cable, tripod, or privacy shutter.
- Your computer: With power connected and ready.
Digitally, prepare by:
- Closing unnecessary applications: Especially those that might use camera or microphone resources, like other video conferencing apps, streaming software, or even browser tabs with video players. This minimizes resource conflicts during installation.
- Ensuring administrative privileges: You’ll likely need admin rights on your computer to install drivers and software.
- Temporarily disabling antivirus/firewall (optional, with caution): In rare cases, overly aggressive security software can interfere with driver installation. If you encounter issues, you might temporarily disable it, but remember to re-enable it immediately after installation.
A prepared workspace contributes to a focused installation process, reducing distractions and potential issues.
Disconnecting Previous Webcams and Driver Cleanup
This is a critical, often overlooked step, especially if you’re upgrading from an old webcam or experiencing issues with a previously installed one. Old drivers or conflicting software can wreak havoc on your new device’s functionality.
- Disconnect any existing webcams: Physically unplug them from your computer.
- Uninstall old webcam drivers and software:
- On Windows: Go to “Device Manager” (search for it in the Start menu). Expand “Cameras” or “Imaging devices.” Right-click on any old webcam entries (or even generic “USB Video Device” if you suspect it belongs to an old one) and select “Uninstall device.” If prompted, check the box to “Delete the driver software for this device.” Then, go to “Add or Remove Programs” (or “Apps & Features” in Windows 10/11) and uninstall any software associated with your previous webcam or even generic camera utilities that are no longer needed.
- On macOS: Webcams typically use native drivers. If you had third-party camera software, uninstall it by dragging its application from the Applications folder to the Trash and emptying it. You might also want to check
~/Library/Application Support/or/Library/Application Support/for any leftover folders from old webcam applications and delete them.
Cleaning up these digital remnants ensures that your new Logitech webcam has a fresh, clean slate to install its dedicated drivers and software, preventing system instability or functionality issues that could compromise your streaming or video conferencing quality.
Step-by-Step Installation: From Unboxing to First Light
With your preparations complete, it’s time for the main event: installing your Logitech webcam. This process is generally straightforward, thanks to Logitech’s commitment to user-friendly design, but following the steps precisely will guarantee optimal performance and a smooth initial experience.
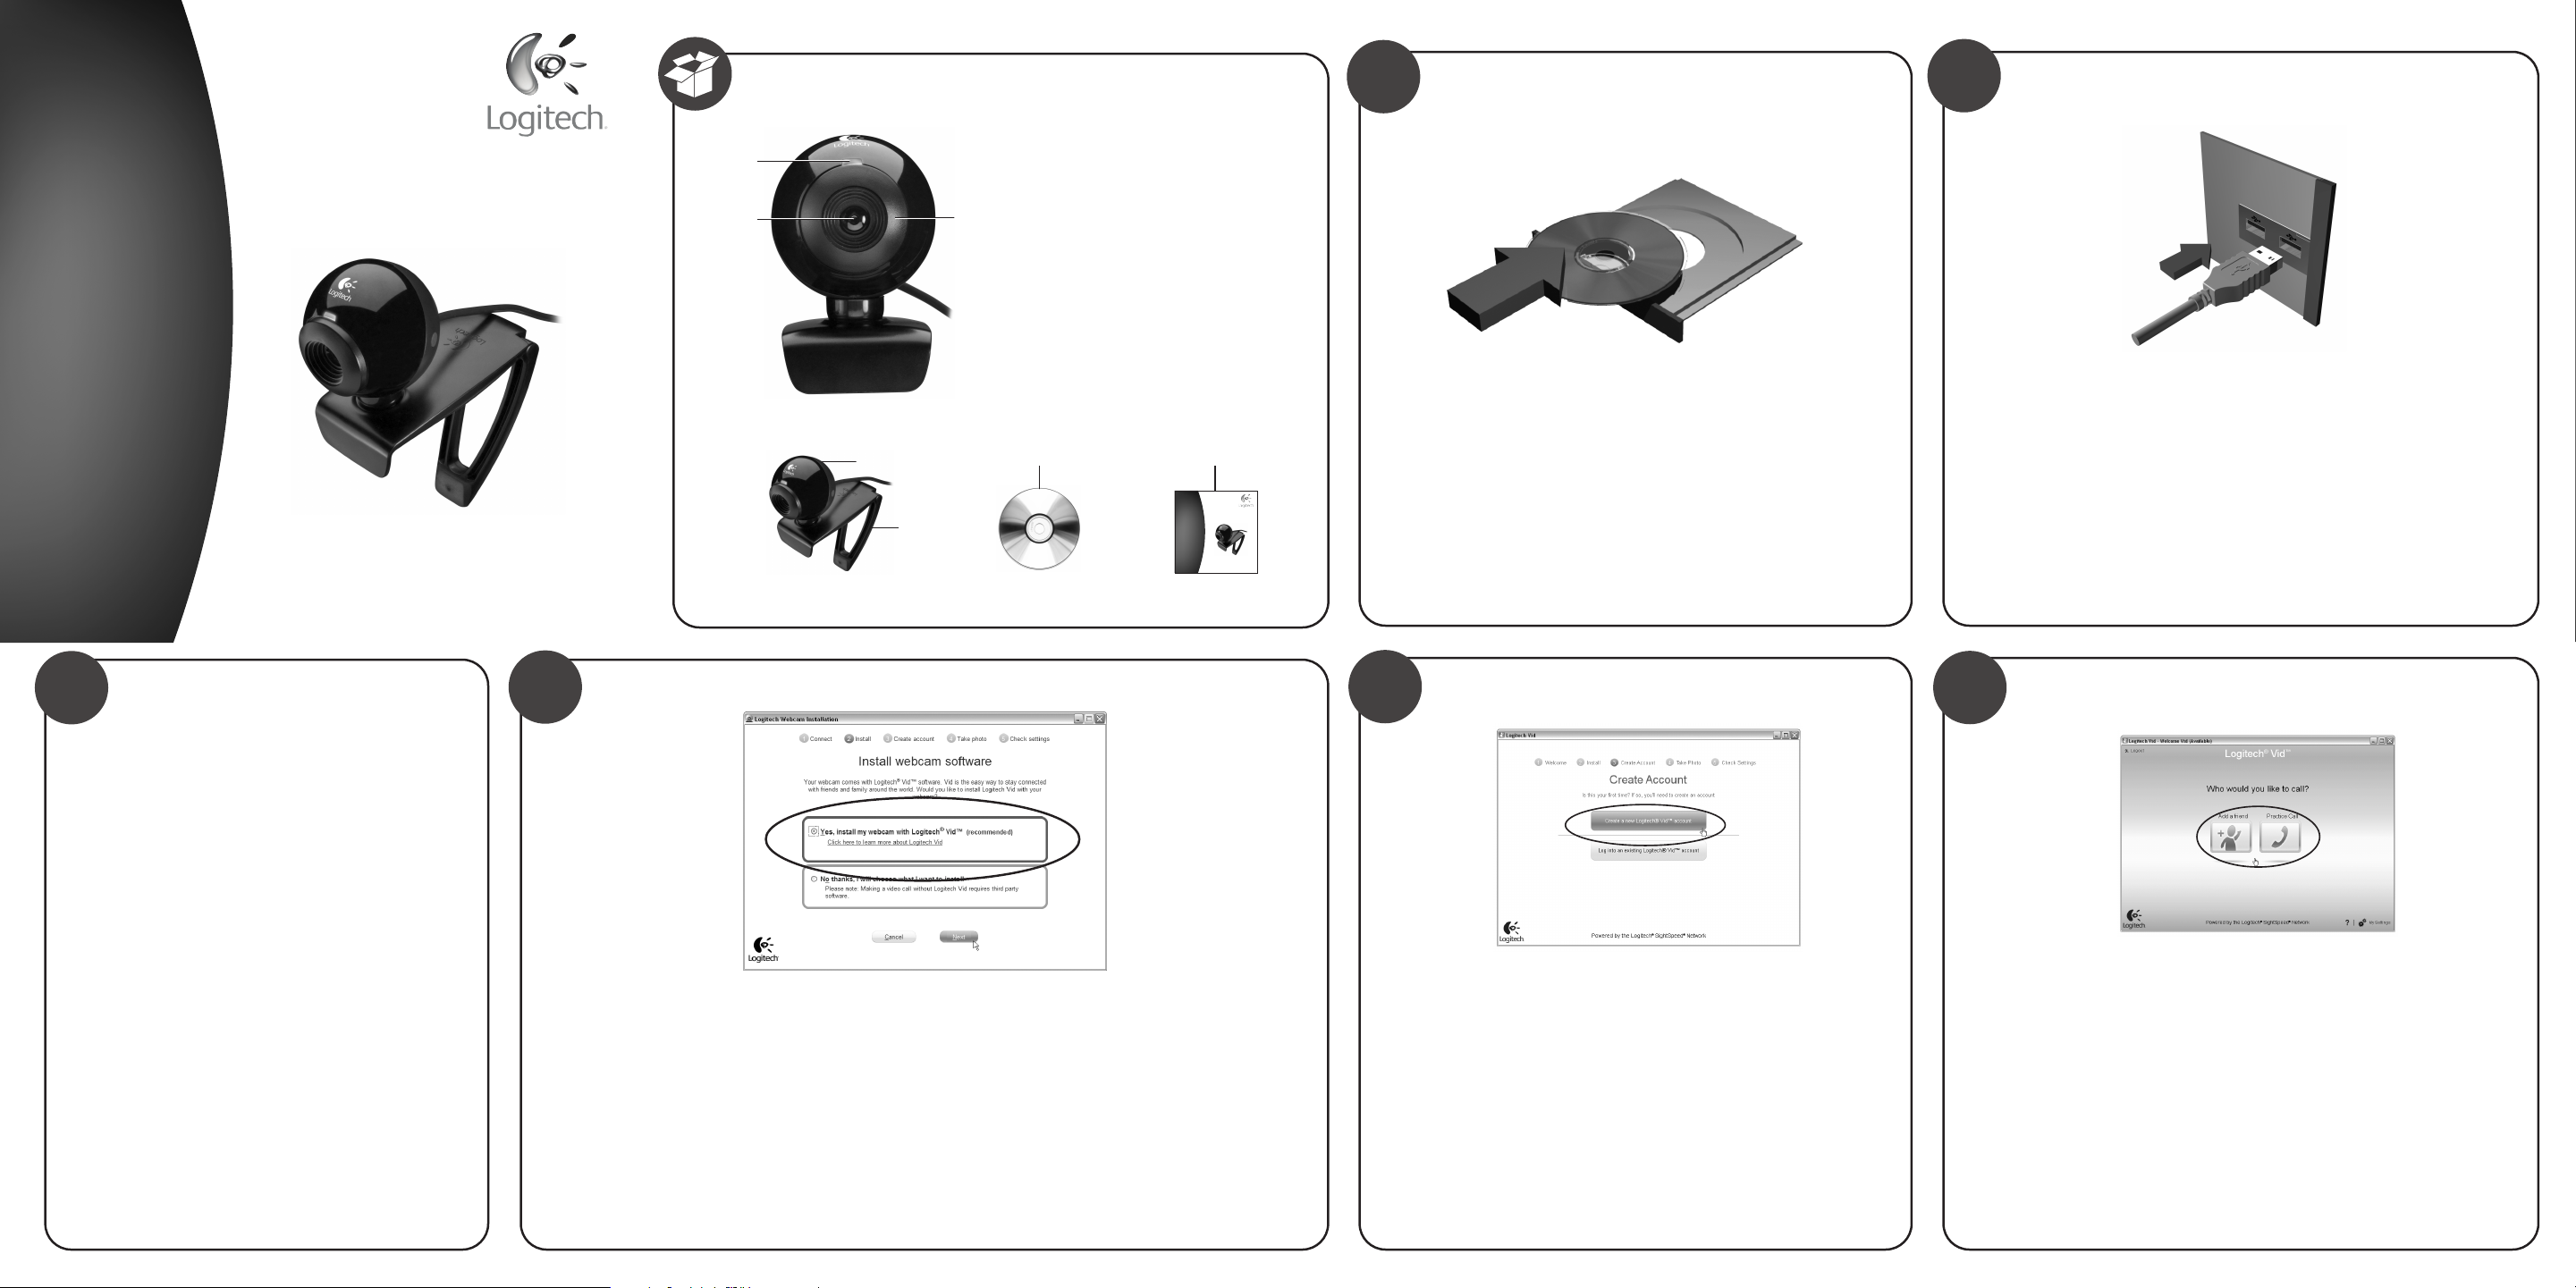
Physical Connection: Plugging In Your Webcam
This is often the simplest part. Most Logitech webcams connect via a USB cable.
- Unpack your webcam: Carefully remove it from its packaging.
- Mount the webcam:
- Laptop users: The integrated clip is designed to securely rest on top of your laptop screen. Adjust it so the camera lens is centered and stable.
- Desktop monitor users: Similar to laptops, the clip should fit securely on your monitor.
- Tripod users: If your webcam has a tripod mount (standard 1/4-inch thread), screw it onto a compatible tripod for more flexible positioning.
- Standalone: Some models have a flat base for placing directly on your desk.
- Plug in the USB cable: Connect the webcam’s USB cable directly into an available USB port on your computer.
- Avoid USB hubs (initially): While USB hubs can be convenient, for initial setup and troubleshooting, it’s best to plug the webcam directly into a USB port on your computer. This eliminates potential power delivery or data transfer issues that can sometimes arise with certain hubs.
- Prioritize USB 3.0/3.1: If your webcam and computer support it, use a USB 3.0 (blue internal plastic) port for faster data transfer, especially important for high-resolution webcams.
Upon connection, your operating system should typically detect the new hardware and attempt to install generic drivers. You might see a notification like “Device setup is complete” or “Installing device drivers.” This is normal, but often not enough for full functionality.
Driver Installation: The Brains Behind the Operation
While Windows and macOS often install generic drivers that allow basic functionality, Logitech provides specific drivers and utility software that unlock the full range of features, better image quality, and advanced settings. This is where the “Tech” aspect truly comes into play, ensuring your hardware communicates optimally with your software.
- Automatic Driver Installation: For many newer Logitech webcams, particularly on Windows 10/11 and recent macOS versions, the system might automatically download and install the correct Logitech drivers and basic software components from Windows Update or Apple’s software updates once the device is plugged in. Wait a few minutes after plugging in to see if this happens.
- Manual Driver Download (Recommended for Best Performance): Even if automatic installation occurs, it’s often best practice to visit the official Logitech support website for your specific webcam model.
- Go to
support.logi.com. - Search for your webcam model (e.g., “C920,” “StreamCam,” “Brio”).
- Navigate to the “Downloads” or “Software” section.
- Download the latest drivers and any recommended utility software for your operating system.
- Run the downloaded installer file. Follow the on-screen prompts, agreeing to terms and conditions. The installer will guide you through the process, which usually involves a few clicks. You might be asked to restart your computer after the installation; it’s generally a good idea to do so to ensure all drivers are properly loaded.
- Go to
This manual step ensures you have the most up-to-date, specialized drivers and firmware, which are optimized for your specific Logitech model, often providing performance improvements, bug fixes, and compatibility enhancements that generic drivers simply cannot offer. This focus on getting the latest, official software is a critical part of a robust tech setup.
Logitech Capture Software: Unlocking Advanced Features
Beyond basic drivers, Logitech offers powerful companion software like “Logitech Capture” (for many consumer webcams) or “Logi Tune” (for business and higher-end models). These applications transform your webcam from a simple capture device into a versatile tool for content creation and enhanced video conferencing. This is where Logitech differentiates its brand through software experience.
- Download and Install: If not already bundled with the drivers, download Logitech Capture (or relevant software like G HUB for gaming-focused cams, or Logi Tune for business) from the same support page where you found your drivers.
- Explore Features: Once installed, launch the software. You’ll gain access to:
- Camera Settings: Adjust resolution, frame rate, field of view (FOV), zoom, pan, tilt, autofocus, white balance, exposure, and anti-flicker settings.
- Filters and Effects: Some models allow applying filters, text overlays, or even virtual backgrounds (though this often depends on the webcam and your system’s capabilities).
- Multi-Source Recording: Logitech Capture specifically allows you to record from multiple cameras or even combine your webcam feed with a screen share, perfect for tutorials or presentations.
- Streaming Integration: It often integrates directly with popular streaming software like OBS Studio or Streamlabs OBS, providing a virtual camera source.
- Firmware Updates: This software often provides notifications for critical firmware updates that can improve performance or add features.
Installing and learning to use Logitech’s proprietary software is not just about getting more features; it’s about leveraging the full engineering and design prowess of the brand. It allows you to tailor your webcam’s output to your specific needs, whether that’s looking your best in a video call or producing high-quality content.
Testing Your Webcam: The Moment of Truth
Once drivers and software are installed, it’s time to confirm everything is working correctly.
- Use Logitech Software: The easiest way to test is within Logitech Capture or Logi Tune. Open the application, and you should immediately see your webcam feed. Adjust settings to see changes reflected in real-time.
- Use Built-in Camera App:
- Windows: Search for and open the “Camera” app.
- macOS: Open “Photo Booth” or “QuickTime Player” (File > New Movie Recording).
- Your Logitech webcam should be available as a selectable camera source.
- Test in Video Conferencing Apps: Open your preferred communication platform (Zoom, Microsoft Teams, Google Meet, Skype, Discord, etc.).
- Go to its Settings or Preferences section.
- Navigate to the Audio & Video or Devices tab.
- Select your Logitech webcam from the list of available cameras and your Logitech microphone (if it has one) from the list of microphones.
- You should see your video feed and hear your audio (if applicable). Make sure the correct devices are selected.
- Crucial Tip: Often, the issue isn’t the webcam itself, but the conferencing software defaulting to an incorrect camera (like an integrated laptop camera) or microphone. Always check the application’s settings.
Thorough testing ensures that your webcam is recognized by all necessary applications and is functioning at its best, ready for your next meeting, stream, or video call.
Optimizing Your Logitech Webcam Experience: Beyond Basic Functionality
Installing the webcam is just the first step. To truly get the most out of your Logitech investment and consistently project a professional image, optimization and maintenance are crucial. This section delves into refining your setup and addressing potential issues, cementing your tech prowess.
Customizing Settings for Enhanced Performance
The default settings on a webcam rarely offer the best performance for every environment or user. Utilizing Logitech’s software allows you to fine-tune aspects that significantly impact your video quality and overall presence.
- Resolution and Frame Rate: For general video calls, 720p at 30fps is usually sufficient. For streaming or content creation, aim for 1080p at 30 or 60fps (if your webcam supports it and your internet can handle it). Higher resolutions consume more bandwidth and CPU resources.
- Field of View (FOV): Some Logitech webcams (like the Brio or C922) offer adjustable FOV. A narrower FOV focuses on you, while a wider one shows more of your background. Choose what best suits your environment.
- Autofocus vs. Manual Focus: While autofocus is convenient, it can sometimes “hunt” for focus, especially if you move a lot or have objects passing in front of the lens. Logitech’s software often allows you to lock focus or switch to manual focus for a sharper, more consistent image.
- Exposure and White Balance:
- Exposure: If your image is too dark or too bright, manually adjust the exposure. Aim for natural lighting.
- White Balance: This corrects color temperature. If you look too orange or too blue, adjust the white balance to make colors appear more natural, matching your skin tone and environment accurately.
- Brightness, Contrast, Sharpness: Experiment with these to enhance clarity and vibrance without over-processing. A little adjustment can make a big difference in how professional you appear.
- Anti-Flicker: If you see horizontal lines or flickering, especially under artificial lighting (like fluorescent lights), adjust the anti-flicker setting (50Hz or 60Hz) to match your region’s electrical grid frequency.
Thoughtful customization not only improves your visual output but also demonstrates attention to detail—a subtle but powerful element of your personal brand in the digital realm.
Troubleshooting Common Installation Issues
Even with careful preparation, issues can arise. Knowing how to troubleshoot effectively is a valuable tech skill.
- Webcam Not Detected:
- Try a different USB port, preferably directly on the motherboard (for desktops).
- Restart your computer.
- Check Device Manager (Windows) or System Information (macOS) to see if the device is listed, even with an error. If so, right-click and “Update driver” or “Uninstall device” and reinstall.
- Ensure all cables are firmly connected.
- Video Feed is Black or Frozen:
- Ensure no other application is using the camera in the background. Close all apps that might access the camera and try again.
- Check privacy settings (Windows: Settings > Privacy > Camera; macOS: System Settings > Privacy & Security > Camera) to ensure apps are allowed to access the camera.
- Restart Logitech Capture or the problematic application.
- Poor Video Quality/Lag:
- Check your internet connection speed, especially for streaming.
- Lower the resolution and frame rate in Logitech Capture or your application settings.
- Ensure your computer meets the minimum system requirements. Close background applications to free up CPU/RAM.
- Update your graphics card drivers.
- Microphone Issues (if integrated):
- Verify the correct microphone is selected in your application’s audio settings.
- Check sound input settings in your OS (Windows: Sound Settings; macOS: Sound Preferences > Input).
- Ensure the microphone isn’t muted (physically or in software).
Effective troubleshooting requires patience and a systematic approach. Logitech’s support website also offers extensive FAQs and troubleshooting guides specific to each model.
Maintaining Your Webcam for Longevity and Peak Performance
Like any electronic gadget, a little care goes a long way in preserving your webcam’s lifespan and performance.
- Keep Drivers Updated: Regularly check Logitech’s support site for new driver or software updates. These often include performance enhancements, bug fixes, and new features.
- Clean the Lens: Dust and smudges on the lens can significantly degrade image quality. Use a soft, lint-free microfiber cloth (like those for eyeglasses) to gently wipe the lens. Avoid abrasive cleaners or harsh chemicals.
- Protect from Dust and Damage: When not in use, consider using a privacy shutter (many Logitech cams include one) or simply placing a cover over the lens to protect it from dust and accidental scratches. Store it in a safe place if you frequently move it.
- Cable Management: Prevent unnecessary strain on the USB cable and port by ensuring it’s not sharply bent or pulled taut. Proper cable management can prevent wear and tear.
These simple maintenance tips ensure your Logitech webcam remains a reliable tool, delivering consistent quality for years to come, protecting your initial financial outlay on the device.
The Strategic Value of a Quality Webcam: Tech, Brand, and Your Bottom Line
Investing time in properly installing and optimizing your Logitech webcam goes far beyond merely getting it to work. It’s a strategic move that touches upon your technological efficiency, personal and corporate brand, and ultimately, your potential for financial growth and success in the digital economy.
Enhancing Your Digital Professionalism: A Brand Statement
In an era dominated by virtual interactions, your webcam feed is often the primary visual representation of you or your business. A blurry, pixelated, or poorly lit image, coupled with choppy audio, reflects poorly on your professionalism. Conversely, a crisp, clear, well-framed video from a high-quality Logitech webcam immediately conveys competence, attention to detail, and respect for your audience.
- First Impressions: In job interviews, client meetings, or networking events, your visual presence is critical. A superior webcam image builds trust and credibility.
- Consistent Branding: For content creators, online educators, or remote team leaders, consistent high-quality video is a cornerstone of their brand identity. Logitech’s reliability helps maintain this consistency.
- Reduced Distractions: Clear video and audio mean your audience focuses on your message, not on technical glitches or poor visual quality. This strengthens your message and enhances engagement.
A quality webcam, properly installed and optimized, isn’t just a piece of tech; it’s an investment in your personal and professional brand, signaling that you take your digital presence seriously.
Leveraging Your Webcam for Productivity and Online Opportunities
Beyond looking good, a well-functioning webcam directly impacts your productivity and opens doors to various income-generating opportunities.
- Improved Collaboration: Seamless video calls with clear communication reduce misunderstandings and facilitate more effective team collaboration, whether you’re working on a project or negotiating a deal. This directly impacts business efficiency and profitability.
- Remote Work Efficiency: For remote employees, a reliable webcam is a lifeline. It enables participation in crucial meetings, virtual whiteboarding sessions, and fosters a sense of connection with colleagues, contributing to overall job performance and career stability.
- Content Creation and Online Income: For aspiring YouTubers, Twitch streamers, online coaches, or course creators, a Logitech webcam is an essential tool. It allows you to produce high-definition videos, engage with your audience, and monetize your content. The better the visual and audio quality, the more professional your output, which can translate directly into subscriber growth, ad revenue, or sales.
- Online Teaching and Tutoring: Educators leveraging platforms like Zoom or Google Meet can provide a more engaging and effective learning experience with clear visuals, which can attract more students and justify higher rates.
- Virtual Events and Webinars: Hosting or participating in virtual events with a professional setup enhances your reputation and reach, potentially leading to new leads, partnerships, and revenue streams.
From streamlining daily tasks to building an online empire, a properly installed and optimized Logitech webcam is a powerful asset in the modern digital economy. It’s an investment that pays dividends in both efficiency and potential earnings.
The Logitech Brand Promise: Why It Matters for Your Investment
Logitech’s long-standing reputation for quality, innovation, and user experience is not accidental. When you choose a Logitech webcam, you’re not just buying hardware; you’re investing in a brand known for:
- Reliability and Durability: Logitech products are generally built to last, offering consistent performance over time, which means less frequent replacements and better ROI.
- Software Ecosystem: As seen with Logitech Capture and Logi Tune, the brand provides robust software that enhances hardware functionality, continually improving the user experience through updates.
- Customer Support: Access to comprehensive support resources, drivers, and troubleshooting guides ensures that help is available if you encounter issues, protecting your investment.
- Innovation: Logitech consistently pushes boundaries with features like 4K resolution, advanced low-light correction, AI-powered framing, and seamless integration with popular platforms, ensuring your setup remains cutting-edge.
This brand promise means that your initial investment in a Logitech webcam is likely to be a wise one, delivering sustained value for your tech needs, brand aspirations, and financial goals. It’s about buying peace of mind and performance, knowing you’re backed by a leader in digital peripherals.
Conclusion
Installing your Logitech webcam is a gateway to enhancing your digital life, whether for professional productivity, personal connections, or creative endeavors. By meticulously following the pre-installation checklist, executing each step of the installation process, and then dedicating time to optimization and maintenance, you transform a simple device into a powerful tool.
Beyond the immediate functionality, understanding the interplay between your webcam’s technology, its contribution to your personal or corporate brand, and its potential impact on your financial opportunities reveals the strategic value of this seemingly small investment. A well-integrated Logitech webcam ensures not just crystal-clear video and audio, but also projects an image of professionalism and competence, paving the way for more effective communication, greater productivity, and expanded possibilities in an increasingly virtual world. So go ahead, set up your Logitech webcam with confidence, and step into a clearer, more connected future.
aViewFromTheCave is a participant in the Amazon Services LLC Associates Program, an affiliate advertising program designed to provide a means for sites to earn advertising fees by advertising and linking to Amazon.com. Amazon, the Amazon logo, AmazonSupply, and the AmazonSupply logo are trademarks of Amazon.com, Inc. or its affiliates. As an Amazon Associate we earn affiliate commissions from qualifying purchases.