Virtualization has transformed the landscape of modern computing, allowing developers, security researchers, and tech enthusiasts to run multiple operating systems on a single physical machine. Oracle VM VirtualBox stands as one of the most popular open-source hypervisors due to its versatility and cost-effectiveness. However, a common frustration for newcomers is the “out-of-the-box” experience: a small screen resolution, lack of shared clipboard functionality, and sluggish mouse performance.
The solution to these limitations lies in a software package called VirtualBox Guest Additions. This suite of drivers and system applications optimizes the guest operating system for performance and usability. In this comprehensive guide, we will explore the technical nuances of Guest Additions, provide detailed installation steps for various platforms, and troubleshoot common hurdles to ensure your virtual environment runs as smoothly as a native installation.
Understanding VirtualBox Guest Additions and Their Benefits
Before diving into the technical installation, it is crucial to understand what Guest Additions actually are. Technically, they are a set of device drivers and system applications that are installed inside the guest virtual machine (VM). They facilitate a closer integration between the host and the guest, effectively bridging the gap between the virtualized hardware and the physical components of your computer.
Enhanced Graphics and Resolution
One of the most immediate benefits of installing Guest Additions is the transition from a fixed, low-resolution window (typically 800×600) to a dynamic, high-definition display. Guest Additions include a custom video driver that supports high resolutions and, more importantly, “Automatic Resizing.” This allows the guest OS resolution to adjust instantly as you resize the VirtualBox window on your host desktop. Furthermore, it enables 3D acceleration and 2D video hardware acceleration, which are essential for running modern desktop environments and graphical software.
Seamless Mouse and Clipboard Integration
Without Guest Additions, the virtual machine often “traps” your mouse cursor. You have to press a “Host Key” (usually the Right Ctrl key) to release the mouse back to your main operating system. Guest Additions implement “Mouse Pointer Integration,” allowing the cursor to move seamlessly between the host and guest without manual switching. Additionally, it enables the Shared Clipboard and Drag-and-Drop features, allowing you to copy text or move files between the host and guest OS effortlessly—a massive productivity booster for developers and sysadmins.
Shared Folders and Time Synchronization
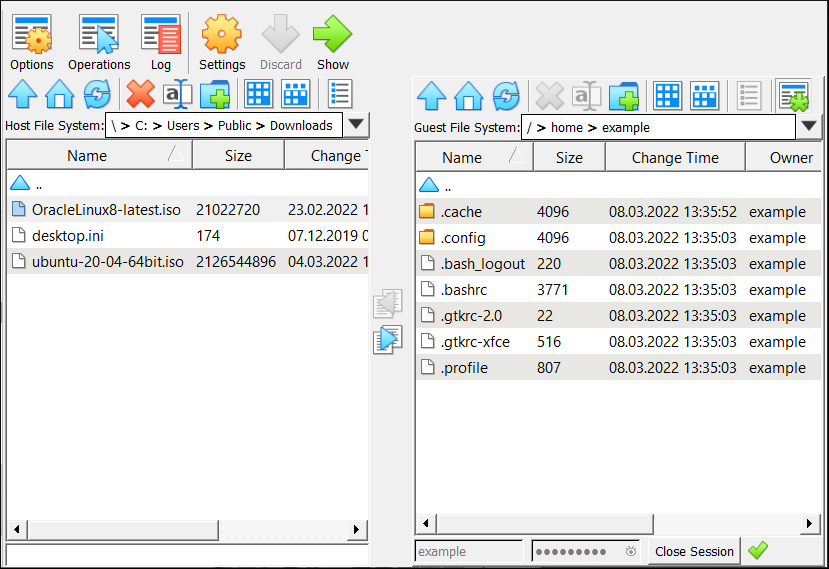
Data management is simplified through the “Shared Folders” feature. This allows you to map specific directories from your host machine to the guest VM, making them appear as network drives or local folders. This is far more efficient than using cloud storage or USB drives to move data. Furthermore, Guest Additions ensure that the guest VM’s clock is perfectly synchronized with the host’s clock, preventing time-drift issues that can break security certificates and scheduled tasks.
Preparing Your Virtual Machine for Guest Additions
The installation process is not a “one-click” affair for every operating system. Proper preparation prevents the most common installation failures, particularly on Linux-based guest systems where kernel headers and build tools are required.
Ensuring Software Compatibility
Always ensure that your VirtualBox version on the host machine is up to date. VirtualBox frequently releases updates to improve compatibility with new versions of Windows 11 or the latest Linux kernels. Once the host software is updated, you should ensure the Guest OS itself is stable. If you are running a Windows guest, ensure you have administrative privileges. For Linux guests, ensure your package manager is functional.
Installing Dependencies on Linux Guests
Linux distributions do not usually come with the necessary tools to compile the Guest Additions drivers. Before attempting the installation, you must install the “build-essential” packages and the kernel headers that match your current kernel version. For Debian or Ubuntu-based systems, this is typically achieved by running:
sudo apt update && sudo apt install build-essential dkms linux-headers-$(uname -r)
For Fedora or RHEL-based systems, you would use:
sudo dnf install kernel-devel kernel-headers gcc make
Skipping this step is the leading cause of the “modconf” or “kernel headers not found” errors during the Guest Additions setup.
Step-by-Step Installation on Windows and Linux Guest OS
The process of installing Guest Additions involves “inserting” a virtual CD image into the guest VM and executing the installer contained within.
Installing on Windows Guest OS
Installing on a Windows VM is relatively straightforward, as the installer handles most of the driver registrations automatically.
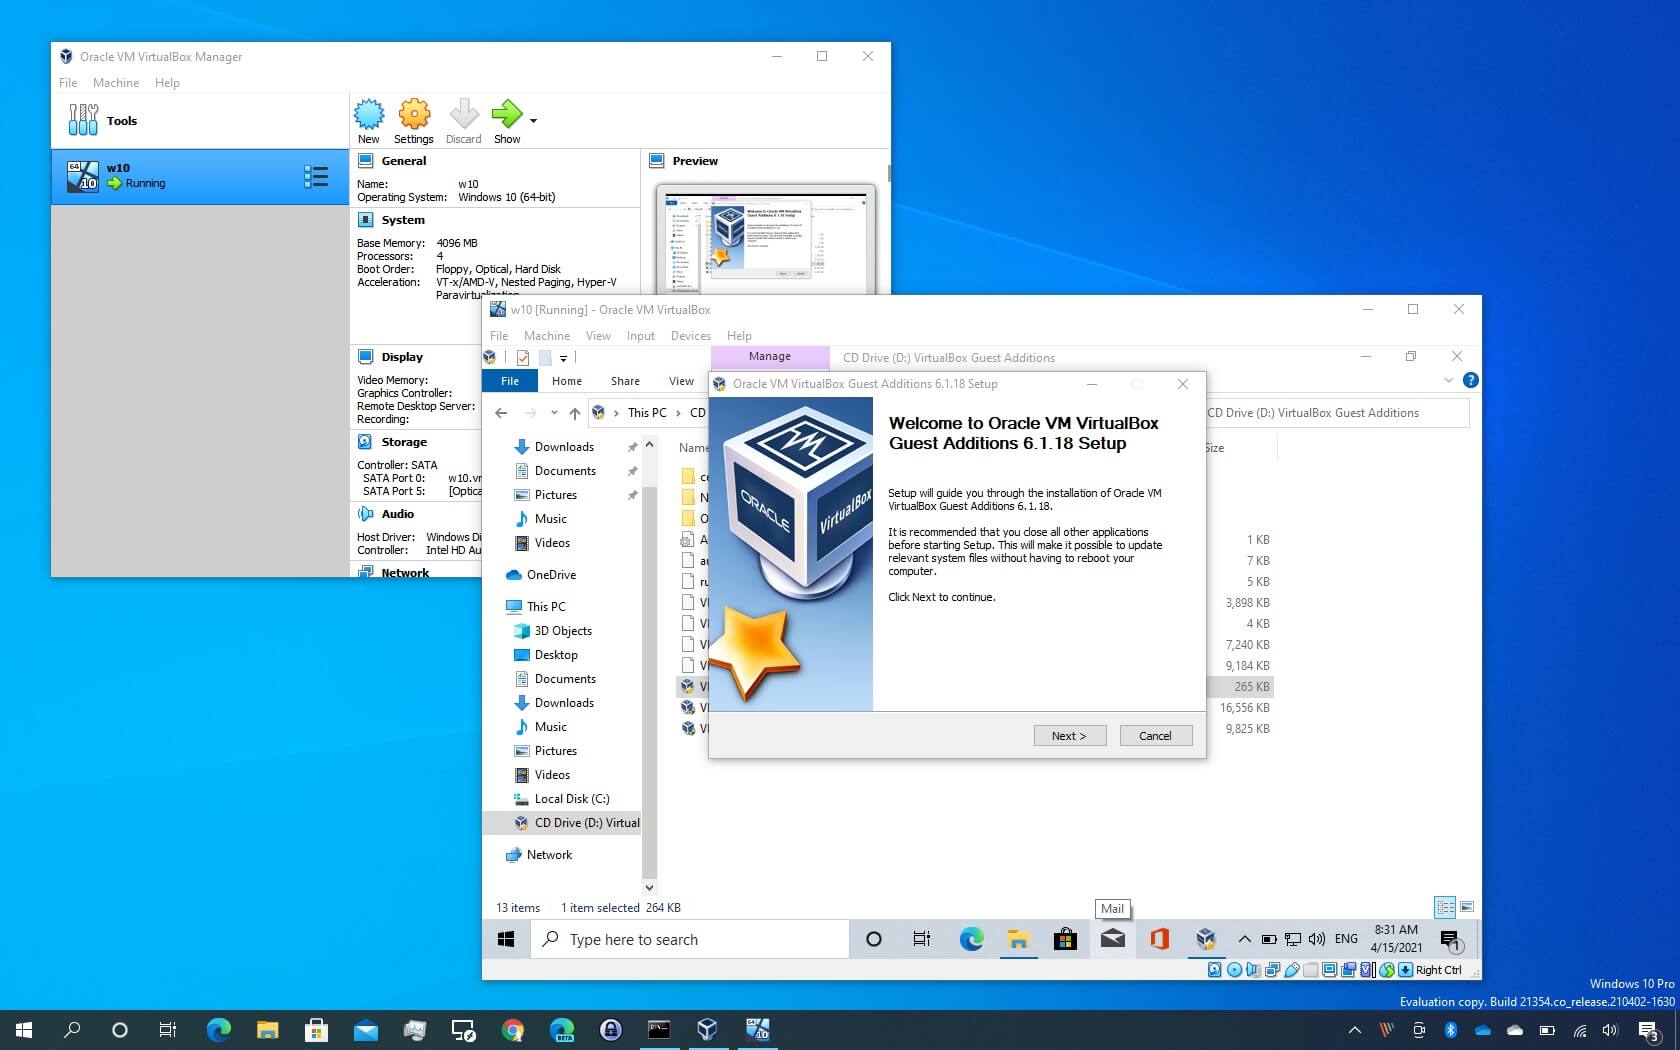
- Insert the Image: With the VM running, go to the VirtualBox menu bar at the top, select Devices, and then click Insert Guest Additions CD image…
- Execute the Installer: Open “File Explorer” inside the guest Windows VM. You should see a virtual CD drive labeled “VirtualBox Guest Additions.” Double-click it to open.
- Choose the Architecture: Run
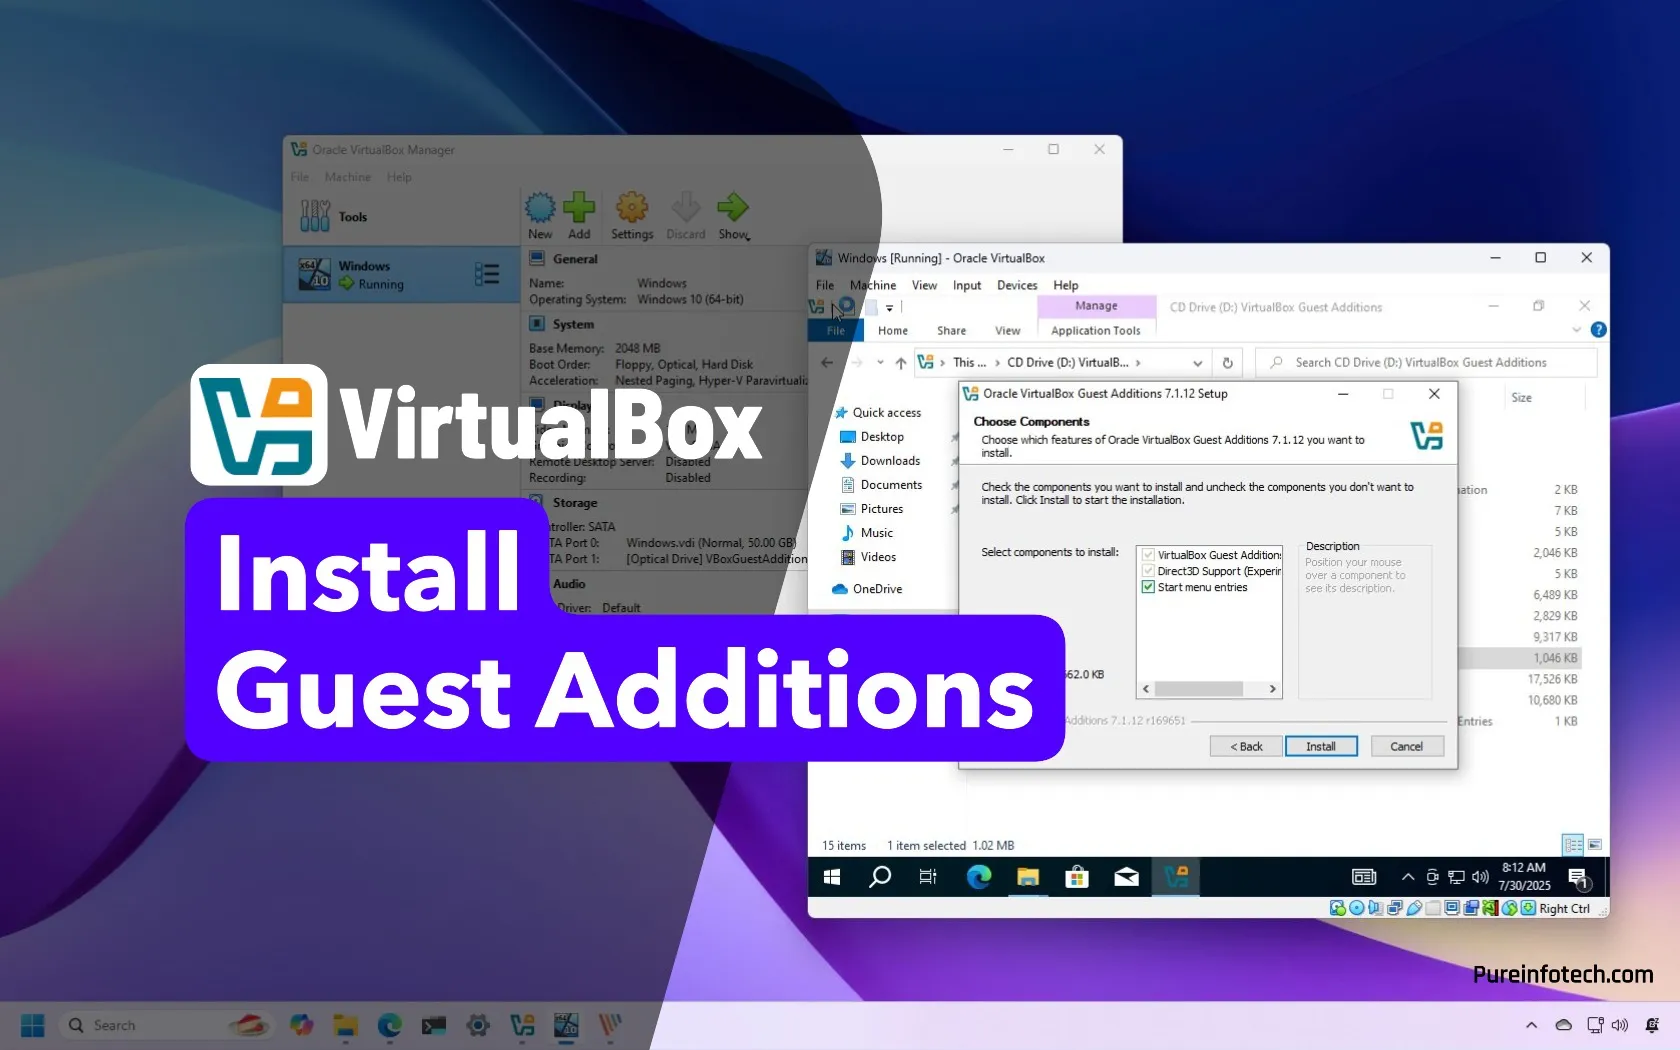
VBoxWindowsAdditions.exe. If you are prompted by User Account Control (UAC), click “Yes.” - Follow the Wizard: Click through the installation wizard. It is generally recommended to keep the default components selected (Direct3D support might require a reboot in Safe Mode on older Windows versions, but for Windows 10/11, the standard install is sufficient).
- Reboot: Once the installation finishes, the wizard will prompt you to “Reboot Now.” This is mandatory to load the new drivers into the Windows kernel.
Installing on Linux Guest OS (Terminal Method)
Linux requires a bit more manual intervention because the “Auto-run” feature is often disabled for security reasons.
- Insert the Image: Just like in Windows, go to Devices > Insert Guest Additions CD image…
- Mount the Drive: In some distributions, the CD will mount automatically. If not, open a terminal and create a mount point:
sudo mkdir -p /mnt/cdromthen mount it:sudo mount /dev/cdrom /mnt/cdrom. - Run the Script: Navigate to the mounted directory:
cd /mnt/cdrom. Execute the Linux-specific installer:sudo sh ./VBoxLinuxAdditions.run. - Monitor the Output: The terminal will display the progress of building the kernel modules. If it says “done” or “success,” the installation was successful. If it mentions “failed,” check if you installed the kernel headers mentioned in the preparation section.
- Reboot: Execute
sudo rebootto apply the changes.
Troubleshooting Common Installation Issues
Even with a detailed guide, virtualization can present unique challenges based on your hardware configuration or software versions.
The “VBoxGuestAdditions.iso Not Found” Error
Occasionally, VirtualBox may report that it cannot find the Guest Additions ISO file. This usually happens if the software was installed without the extra guest packages. To fix this, you can manually download the ISO from the official Oracle VirtualBox website (ensure the version of the ISO matches your VirtualBox version) and manually point the VM’s virtual optical drive to that downloaded file via the “Storage” settings.
Graphics and Display Glitches
If you have installed Guest Additions but still cannot resize the window or enable 3D acceleration, check your VM settings on the host. Shut down the VM and go to Settings > Display. Ensure that the “Graphics Controller” is set to VMSVGA (for Linux/Windows) and that the “Enable 3D Acceleration” checkbox is ticked. Additionally, allocate at least 128MB of Video Memory to the guest.
Handling “Kernel Module Failed” on Linux
If the Linux installer fails, the log file (usually located at /var/log/vboxadd-setup.log) is your best friend. It will tell you exactly what went wrong. Usually, it is a mismatch between the installed kernel and the kernel headers. Running sudo apt upgrade and then rebooting before trying the Guest Additions install again often solves this, as it ensures you are running the latest kernel that your headers match.
Conclusion: Maximizing Your Virtualization Workflow
Installing VirtualBox Guest Additions is an essential final step in setting up any virtual environment. It transforms a clunky, limited interface into a fluid and integrated workspace that feels like a native part of your operating system. By enabling shared clipboards, folder synchronization, and high-performance graphics, you unlock the true potential of VirtualBox for professional development, testing, and learning.
While the process varies slightly between Windows and Linux, the core principle remains the same: providing the guest OS with the specific drivers it needs to communicate effectively with the VirtualBox hypervisor. By following the preparation steps and troubleshooting tips outlined in this guide, you can ensure a stable, high-performance virtual machine that enhances your digital workflow and maximizes your hardware’s efficiency.
aViewFromTheCave is a participant in the Amazon Services LLC Associates Program, an affiliate advertising program designed to provide a means for sites to earn advertising fees by advertising and linking to Amazon.com. Amazon, the Amazon logo, AmazonSupply, and the AmazonSupply logo are trademarks of Amazon.com, Inc. or its affiliates. As an Amazon Associate we earn affiliate commissions from qualifying purchases.