Upgrading your PC’s graphics card, often referred to as a GPU (Graphics Processing Unit), is one of the most impactful ways to boost its performance, especially for gaming, video editing, 3D rendering, and other graphically intensive tasks. While the prospect might seem daunting to some, the actual process is surprisingly straightforward. This comprehensive guide will walk you through everything you need to know, from choosing the right card to safely installing it and ensuring your system recognizes its new powerhouse.
The world of PC hardware can feel like a labyrinth of technical jargon and compatibility concerns. However, understanding the core components and their roles is key to making informed decisions. The graphics card is the engine that drives everything you see on your monitor. It handles the complex calculations required to render images, textures, and animations, making it crucial for an immersive and responsive visual experience. Whether you’re a seasoned gamer looking for higher frame rates and visual fidelity, a creative professional aiming for smoother rendering times, or simply someone wanting to breathe new life into an aging system, a graphics card upgrade can be a game-changer.
This article is designed to demystify the process. We’ll cover the essential steps, from preparing your PC and gathering the necessary tools to the physical installation and the final software configuration. By the end, you’ll have the confidence to tackle this upgrade yourself, saving money on professional installation and gaining a deeper understanding of your computer’s inner workings.
Understanding Your Needs and Choosing the Right Graphics Card
Before you even think about opening your PC case, the most crucial step is determining what kind of graphics card you actually need. This involves a bit of self-assessment and research.
Assessing Your Current System and Needs
The first question to ask yourself is: “What do I want to achieve with this upgrade?”
- For Gamers: If gaming is your primary motivation, consider the types of games you play and the resolution and refresh rate of your monitor. Are you playing the latest AAA titles at high settings, or are you more interested in esports titles that prioritize high frame rates? For 1080p gaming, a mid-range card is often sufficient. For 1440p or 4K gaming, you’ll need a more powerful and consequently, more expensive, GPU. Check the recommended system requirements for the games you want to play.
- For Creative Professionals: Video editors, 3D modelers, and graphic designers rely heavily on GPU acceleration for their workflows. The amount of VRAM (Video Random Access Memory) on a graphics card becomes particularly important here. More VRAM allows for handling larger projects, higher-resolution textures, and more complex scenes without performance bottlenecks. Software like Adobe Premiere Pro, After Effects, Blender, and DaVinci Resolve often have specific GPU recommendations.
- For General Use and Light Tasks: If you’re not a gamer or a creative professional, and your current GPU is integrated (meaning it’s part of your CPU), even a modest dedicated graphics card can offer a noticeable improvement for everyday tasks, multi-monitor setups, and casual media consumption.
Beyond your needs, you must also consider your current PC’s capabilities to ensure compatibility.
- Power Supply Unit (PSU): Graphics cards, especially high-end ones, consume a significant amount of power. Your PSU must have enough wattage to support the new card, plus all your other components. Manufacturers typically list the recommended PSU wattage for their GPUs. It’s also crucial to ensure your PSU has the necessary PCIe power connectors (6-pin, 8-pin, or 12-pin) required by the graphics card.
- Motherboard: Most modern motherboards come with at least one PCIe x16 slot, which is the standard interface for graphics cards. Ensure your motherboard has this slot and that it’s compatible with the generation of your chosen GPU (e.g., PCIe 3.0, 4.0, or 5.0). While newer PCIe versions are backward compatible, you might not get the full bandwidth of a newer card on an older slot.
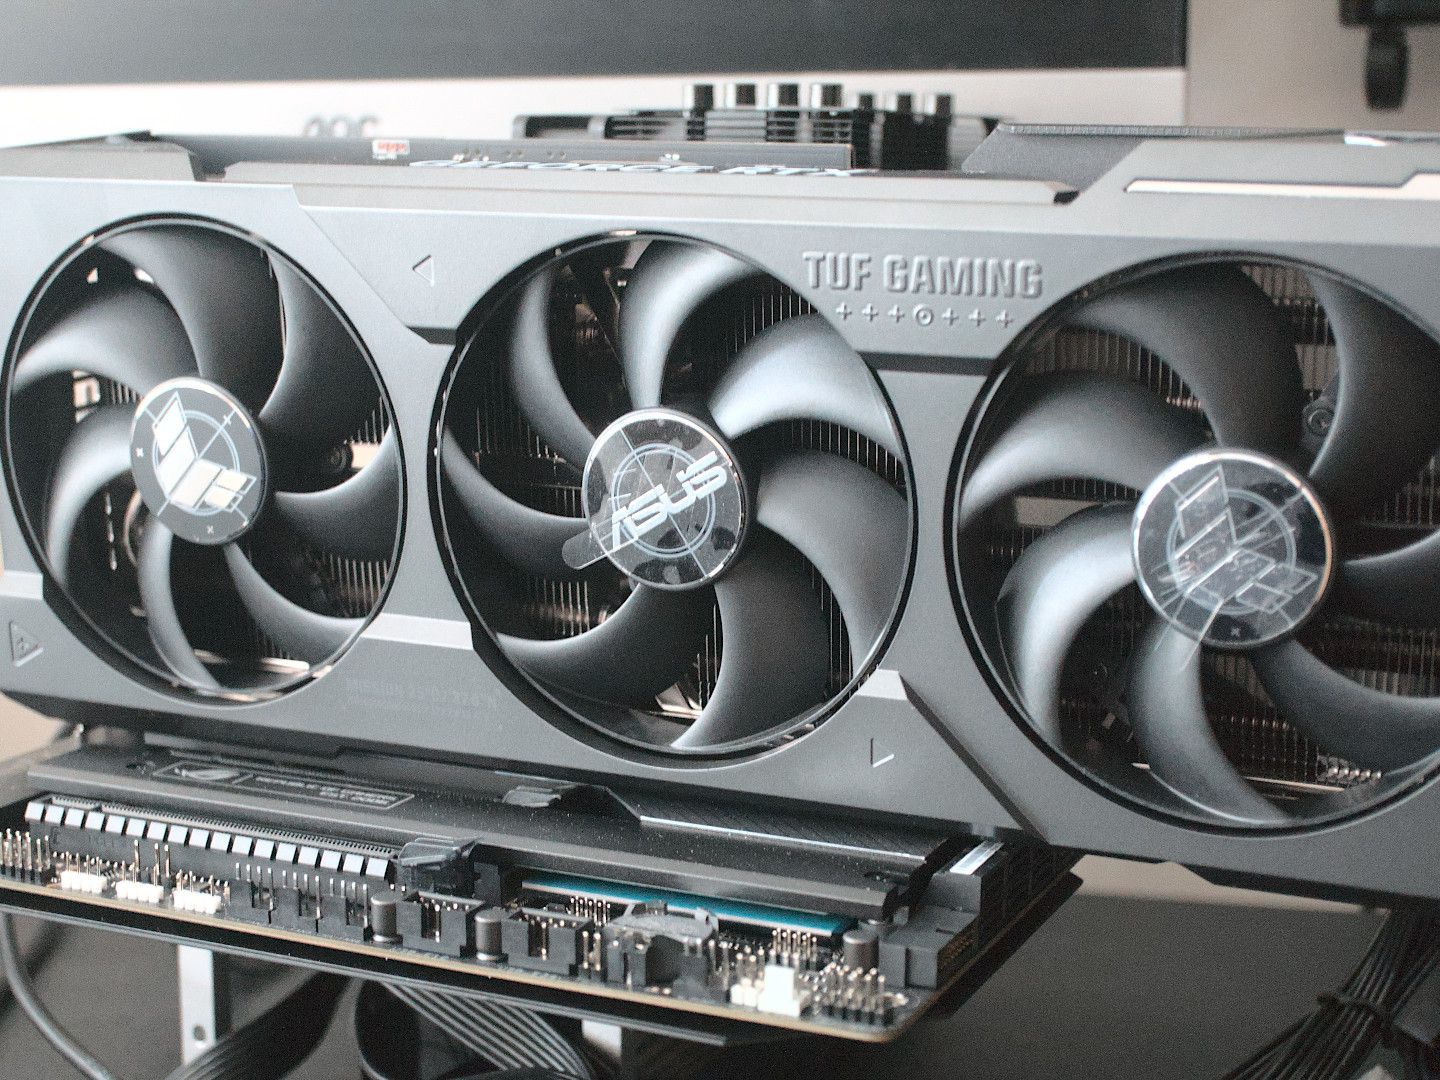
- PC Case Size: Graphics cards come in various sizes, from compact single-fan models to large triple-fan behemoths. Measure the available space within your PC case, paying attention to length, height, and width. Check the dimensions of the graphics card you’re considering and compare them to your case’s specifications.
Key Specifications to Look For
When comparing graphics cards, several key specifications will help you make an informed decision:
- GPU Chipset: This is the core of the graphics card, manufactured by NVIDIA (GeForce RTX/GTX series) or AMD (Radeon RX series). Each series offers different performance tiers.
- VRAM (Video RAM): This is the dedicated memory for the graphics card. More VRAM is better for higher resolutions, complex textures, and demanding applications. For 1080p, 6GB-8GB is generally good. For 1440p, 8GB-12GB is recommended. For 4K and professional workloads, 12GB and above is ideal.
- Clock Speed: This refers to how fast the GPU core can process information. Higher clock speeds generally translate to better performance, though it’s not the only factor.
- CUDA Cores (NVIDIA) / Stream Processors (AMD): These are the processing units within the GPU. More cores generally mean more processing power.
- Memory Bandwidth: This determines how quickly the GPU can access its VRAM. Higher bandwidth is better for performance.
- Ray Tracing and DLSS/FSR Support: Technologies like ray tracing enhance visual realism, while DLSS (NVIDIA) and FSR (AMD) are upscaling technologies that can boost frame rates with minimal visual impact. If these are important to you, ensure the card supports them.
Once you have a clear understanding of your needs and have researched compatible options within your budget, you’re ready to proceed with the installation.
Preparing for Installation and Gathering Tools
A smooth installation process relies on proper preparation. This involves not only gathering the necessary tools but also ensuring your PC is in a state that minimizes risk.
Essential Tools and Materials
You won’t need a sophisticated toolkit for this job. Most of what you need is common household equipment.
- Phillips Head Screwdriver: This is the most critical tool. Ensure it’s a medium-sized one with a magnetic tip if possible, as this makes it easier to handle small screws.
- Anti-Static Wrist Strap: This is highly recommended to prevent electrostatic discharge (ESD), which can damage sensitive electronic components. You can find these at most electronics stores or online. If you don’t have one, you can periodically touch a grounded metal object (like your PC case before you unplug it) to discharge static.
- Small Container or Tray: To keep the screws you remove organized. Losing screws is a common frustration, so having a dedicated place for them is crucial.
- Flashlight (Optional but Recommended): To illuminate dark corners inside your PC case.
- Compressed Air Can (Optional): A good opportunity to blow out some dust from your PC components while you have it open.
- Your New Graphics Card: Of course, you’ll need the new GPU you’ve purchased. Keep it in its anti-static bag until you’re ready to install it.
- User Manuals: Keep your PC’s motherboard manual and your new graphics card’s manual handy. They can be invaluable references.
Safety Precautions and Workspace Setup
Before you begin, prioritize safety and a clean, well-lit workspace.
- Power Down and Unplug: This is the most important safety step. Completely shut down your PC. Then, turn off the power switch on the back of the power supply unit and unplug the power cable from the wall or the PSU.
- Ground Yourself: Wear your anti-static wrist strap and connect it to a grounded metal object, such as an unpainted part of your PC case. If you don’t have a strap, regularly touch the metal chassis of your PC to discharge any static electricity. Avoid working on carpeted surfaces, as these can generate more static.
- Clear Workspace: Find a clean, well-lit area with plenty of space to work. A table or desk is ideal. Ensure you have enough room to lay out your tools and components without feeling cramped.
- Handle Components with Care: Always hold electronic components by their edges. Avoid touching the gold contacts or the circuit board directly.
- Keep it Organized: As mentioned, use a container for screws. This prevents them from getting lost or mixed up. Note which screws go where if they differ in size or type.
Once you’ve gathered your tools and taken the necessary precautions, you’re ready to open your PC case and begin the physical installation process.
The Installation Process: Step-by-Step
This section details the physical steps involved in removing your old graphics card (if applicable) and installing the new one.
Removing the Old Graphics Card (If Applicable)
If you’re upgrading an existing graphics card, you’ll need to remove the old one first.
- Open the PC Case: Most PC cases have side panels that are secured with thumbscrews or regular screws at the back. Unscrew and remove the appropriate panel to gain access to the interior.
- Locate the Old Graphics Card: It will be plugged into one of the long PCIe slots on your motherboard, usually the topmost one closest to the CPU. It will also have cables running to it from the power supply and will be secured to the back of the case by its ports.
- Disconnect Power Cables: Graphics cards often require supplemental power from the PSU. Look for PCIe power cables (usually 6-pin or 8-pin connectors) plugged into the top or side of the graphics card. Gently press the clip on the connector and pull it straight out.
- Unscrew the Card from the Case: The graphics card’s I/O (input/output) bracket, where the display ports are, will be screwed into the back of your PC case. Unscrew these one or two screws.
- Release the PCIe Slot Latch: At the end of the PCIe slot on the motherboard, there is usually a small plastic latch or clip that locks the graphics card in place. You’ll need to press this latch down or slide it to the side to release the card. This is a crucial step; attempting to pull the card out without releasing the latch can damage the motherboard or the card.
- Gently Remove the Old Card: Once the power cables are disconnected, the screws are removed, and the PCIe latch is released, you should be able to gently pull the graphics card straight up and out of the PCIe slot. Support the card with your hand as you remove it. Place it in an anti-static bag.
Installing the New Graphics Card
Now, for the main event – installing your shiny new GPU.
- Prepare the PCIe Slot: Identify the primary PCIe x16 slot on your motherboard (usually the top one). If you’re replacing a card, the slot will be empty. If this is your first dedicated GPU, you might need to remove slot covers from the back of your PC case to allow the new card’s ports to protrude. These covers are typically held in by screws or clips. Remove the covers that correspond to the size of your new graphics card (most modern cards take up two or three expansion slots).
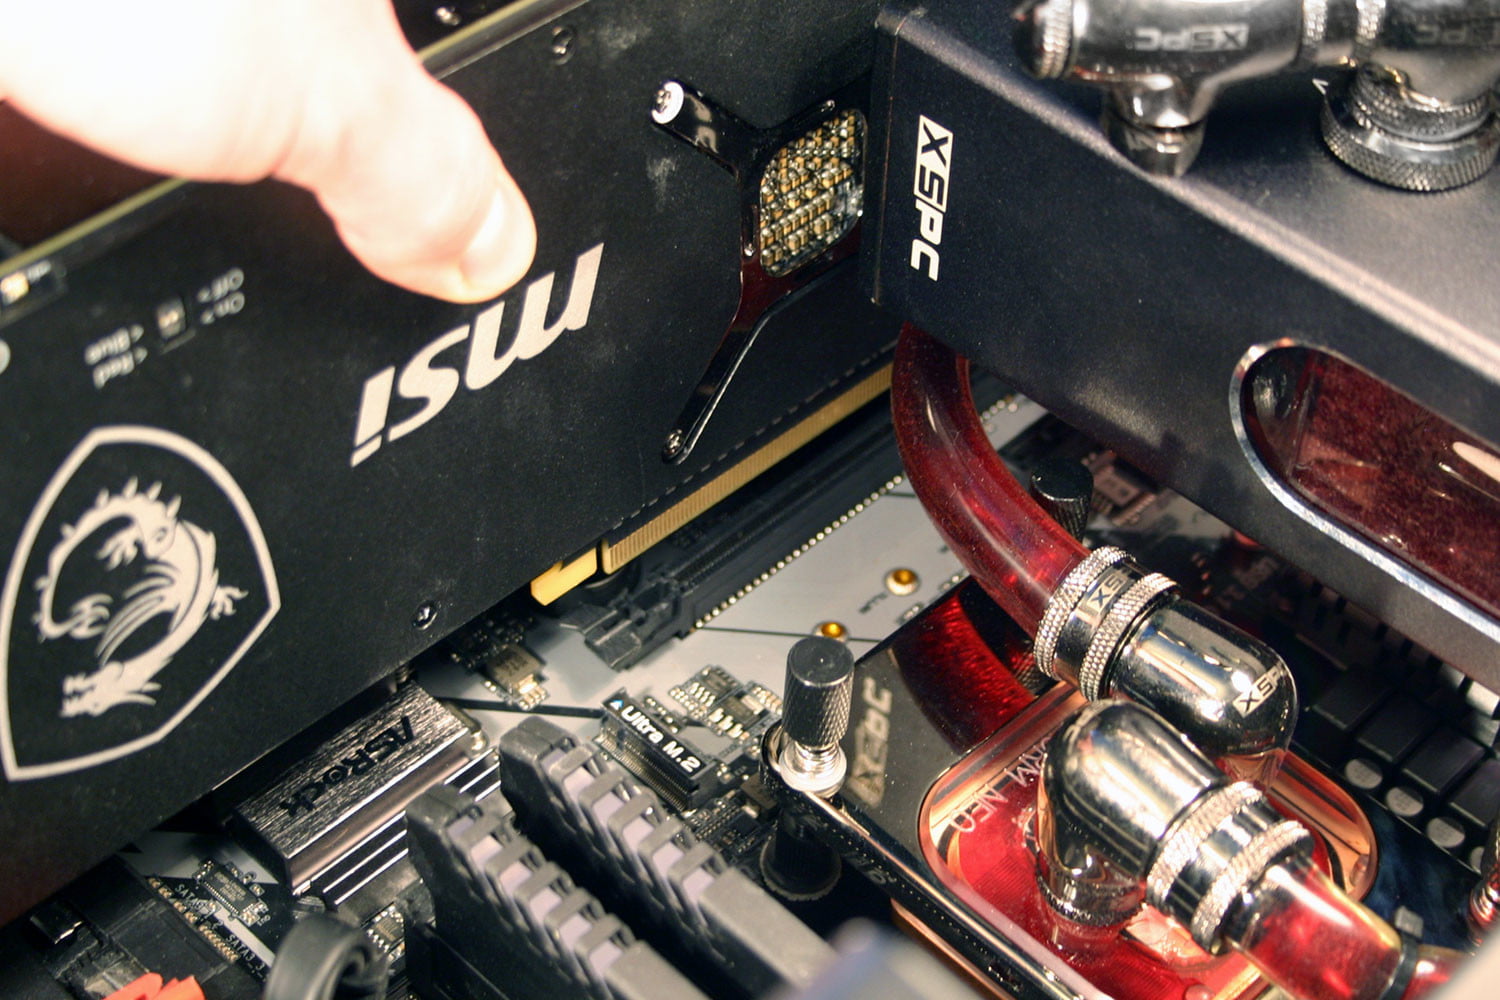
- Align and Insert the New Card: Carefully unbox your new graphics card and remove it from its anti-static bag. Hold it by the edges and align the gold connector on the bottom of the card with the PCIe slot on the motherboard.
- Press Firmly and Evenly: Once aligned, gently but firmly press the graphics card straight down into the slot. You should feel it click into place, and the PCIe latch on the motherboard should automatically engage or be easy to close. Ensure the card is seated all the way into the slot.
- Secure the Card to the Case: Screw the new graphics card’s I/O bracket into the back of your PC case using the screws you removed earlier. This provides physical stability.
- Connect Power Cables: Connect the necessary PCIe power cables from your PSU to the power connectors on your new graphics card. Ensure you’re using the correct cables and connectors as specified by your graphics card manufacturer. These are often 6-pin, 8-pin, or the newer 12-pin connectors.
Initial Boot-Up and Driver Installation
With the hardware physically installed, it’s time to bring your PC to life and get the software side sorted.
- Reassemble Your PC: Carefully replace the side panel of your PC case and secure it with its screws.
- Reconnect Peripherals: Plug your monitor cable into one of the ports on your new graphics card (not the motherboard’s integrated graphics ports). Reconnect your keyboard, mouse, and power cable.
- Power On Your PC: Turn on the power switch on your PSU, then press the power button on your PC. If all has gone well, your PC should boot up, and you should see the BIOS screen or your operating system loading.
- Install Graphics Drivers: Even though your OS might install generic drivers, it’s crucial to install the latest drivers from NVIDIA or AMD for optimal performance and stability.
- For NVIDIA Cards: Visit the NVIDIA driver download page, select your graphics card model and operating system, and download the latest GeForce drivers.
- For AMD Cards: Visit the AMD driver download page, select your Radeon graphics card and operating system, and download the latest drivers.
- Installation: Run the downloaded driver installer. Follow the on-screen prompts. You’ll typically have the option for a “Clean Installation,” which is recommended as it removes any old driver remnants. Your screen may flicker or go black momentarily during the driver installation – this is normal.
- Restart Your PC: After the driver installation is complete, restart your computer.
Once your PC has restarted, your new graphics card should be fully recognized and ready to go. You can verify this by checking your Device Manager (Windows) or by looking at the display resolution options.
Troubleshooting Common Issues and Best Practices
Even with careful preparation, you might encounter minor hiccups. Knowing how to address them can save you time and frustration.
Common Installation Problems and Solutions
-
No Display Output:
- Check Monitor Connection: Ensure the monitor cable is plugged into the new graphics card, not the motherboard.
- Reseat the Card: Power off and unplug the PC, then carefully remove and reinsert the graphics card to ensure it’s fully seated in the PCIe slot.
- Check Power Connections: Ensure all PCIe power cables are securely plugged into the graphics card and the PSU.
- Try a Different Monitor Port: Sometimes a specific port on the GPU or monitor might be faulty.
- Try Integrated Graphics (if available): If your CPU has integrated graphics, try plugging your monitor into the motherboard’s display output. If you get a display, this strongly suggests an issue with the new graphics card or its installation.
-
PC Boots, but No Graphics Card Detected:
- Check Device Manager: In Windows, right-click the Start button, select “Device Manager,” and expand “Display adapters.” See if your new card is listed. If it has a yellow exclamation mark, there’s a driver issue.
- Reinstall Drivers: Uninstall any existing graphics drivers (use DDU – Display Driver Uninstaller for a thorough removal) and perform a clean installation of the latest drivers.
- Ensure Card is Seated Correctly: As with no display, reseating the card is a good first step.
-
System Crashing or Freezing:
- Overheating: Ensure your PC case has good airflow and that the graphics card’s fans are spinning. Monitor GPU temperatures using software like HWMonitor or MSI Afterburner.
- Insufficient Power: Your PSU might not be powerful enough. Check the recommended PSU wattage for your graphics card.
- Faulty Card: Though rare, the card itself might be defective.
-
Performance Issues or Artifacts (Weird Lines/Flickering):
- Driver Issues: Again, a clean driver installation is key.
- Overclocking: If you’ve overclocked the card, revert to default settings.
- Faulty Card or VRAM: This could indicate a hardware problem with the GPU.

Ongoing Maintenance and Best Practices
- Keep Drivers Updated: Regularly check for and install the latest graphics drivers. This often includes performance improvements and bug fixes.
- Monitor Temperatures: Use monitoring software to keep an eye on your GPU’s temperature, especially during demanding tasks. If it’s consistently running too hot, improve your PC’s cooling.
- Clean Your PC: Dust buildup can impede airflow and cause components to overheat. Periodically clean your PC case, fans, and heatsinks with compressed air.
- Handle with Care: When moving your PC, try to support it in a way that doesn’t put undue stress on the graphics card.
By following these steps and troubleshooting tips, you can successfully install your new graphics card and unlock a significant performance upgrade for your PC. Enjoy the enhanced visuals and smoother experiences!
aViewFromTheCave is a participant in the Amazon Services LLC Associates Program, an affiliate advertising program designed to provide a means for sites to earn advertising fees by advertising and linking to Amazon.com. Amazon, the Amazon logo, AmazonSupply, and the AmazonSupply logo are trademarks of Amazon.com, Inc. or its affiliates. As an Amazon Associate we earn affiliate commissions from qualifying purchases.