The world of software development thrives on robust tools, and among the most foundational is the compiler. For developers working with languages like C, C++, Fortran, and others, the GNU Compiler Collection (GCC) stands as an undisputed titan. While GCC is the default compiler on Linux and Unix-like systems, bringing its power to Windows can unlock a myriad of possibilities, from compiling open-source projects to developing high-performance applications natively.
This guide provides a detailed, step-by-step walkthrough on how to install GCC on Windows, focusing on the most modern and recommended approach using MSYS2 and MinGW-w64. Whether you’re a student learning programming, a professional porting cross-platform code, or simply an enthusiast eager to leverage the full potential of open-source tools, this tutorial will equip you with the knowledge to set up your development environment seamlessly. We’ll explore the underlying concepts, compare different distribution options, and ensure you have GCC up and running efficiently, ready to compile your next big project.

Understanding the GNU Compiler Collection (GCC) and Its Importance
Before diving into the installation process, it’s crucial to understand what GCC is and why it holds such a significant position in the software development landscape. Its widespread adoption and continuous evolution speak volumes about its reliability and versatility, making it a cornerstone for technology trends and software development alike.
What is GCC?
The GNU Compiler Collection, or GCC, is a free software project produced by the GNU Project. It is a highly optimizing compiler that supports numerous programming languages. Initially developed by Richard Stallman in 1987 for the C language, it quickly expanded to support C++, Objective-C, Fortran, Ada, Go, and others.
GCC’s primary function is to translate source code written in these high-level programming languages into machine code or assembly code that a computer’s processor can execute. It’s more than just a compiler; it’s a collection of compilers and supporting tools that form a comprehensive toolchain. This makes it an indispensable component of nearly every Unix-like operating system and a vital part of the open-source ecosystem. Its architecture allows it to target a wide array of processors and platforms, making it incredibly flexible for diverse development needs, from embedded systems to supercomputers.
Why Use GCC on Windows?
While Visual Studio and its accompanying MSVC compiler are native to Windows and popular for Windows-centric development, there are compelling reasons why developers choose to install and use GCC on a Windows machine:
- Cross-Platform Compatibility: Many open-source projects, libraries, and frameworks are primarily developed and tested using GCC on Linux or other Unix-like environments. Having GCC on Windows allows developers to compile and test these projects with minimal modifications, ensuring greater compatibility and easier porting. This is particularly useful for projects that rely heavily on POSIX standards.
- Performance and Optimization: GCC is renowned for its aggressive optimization capabilities. It can generate highly optimized machine code, leading to faster and more efficient applications. For performance-critical applications, GCC often competes favorably with proprietary compilers.
- Open-Source Advantages: Being an open-source tool, GCC benefits from a vast global community of contributors. This translates into continuous improvements, bug fixes, and robust support. Developers gain transparency into the compilation process and are not locked into proprietary ecosystems.
- Educational Value: For students and aspiring developers, understanding the GCC compilation process is fundamental. It provides insights into how code is transformed from human-readable text to executable programs, a crucial aspect of computer science education.
- Integration with Modern Toolchains: GCC integrates seamlessly with popular development tools like the
makeutility for build automation,gdbfor debugging, and various IDEs and text editors such as Visual Studio Code, Code::Blocks, or CLion. This allows for a flexible and powerful development environment that enhances developer productivity. - Access to Specific Language Features: Some C++ standards and language extensions might be more readily or fully supported by GCC versions compared to other compilers, especially in the context of cutting-edge features.
By bringing GCC to Windows, developers gain a versatile and powerful tool that bridges the gap between different operating systems, empowering them to work on a broader range of projects and contribute more effectively to the open-source community.
Navigating the Options: Choosing Your GCC Distribution for Windows
Installing GCC on Windows isn’t as straightforward as a single click, mainly because Windows’ native environment differs significantly from the Unix-like systems GCC was originally designed for. Several projects have emerged to bridge this gap, each offering a distinct approach to bringing GCC and its ecosystem to Microsoft’s operating system. Understanding these options is key to choosing the right setup for your specific development needs.
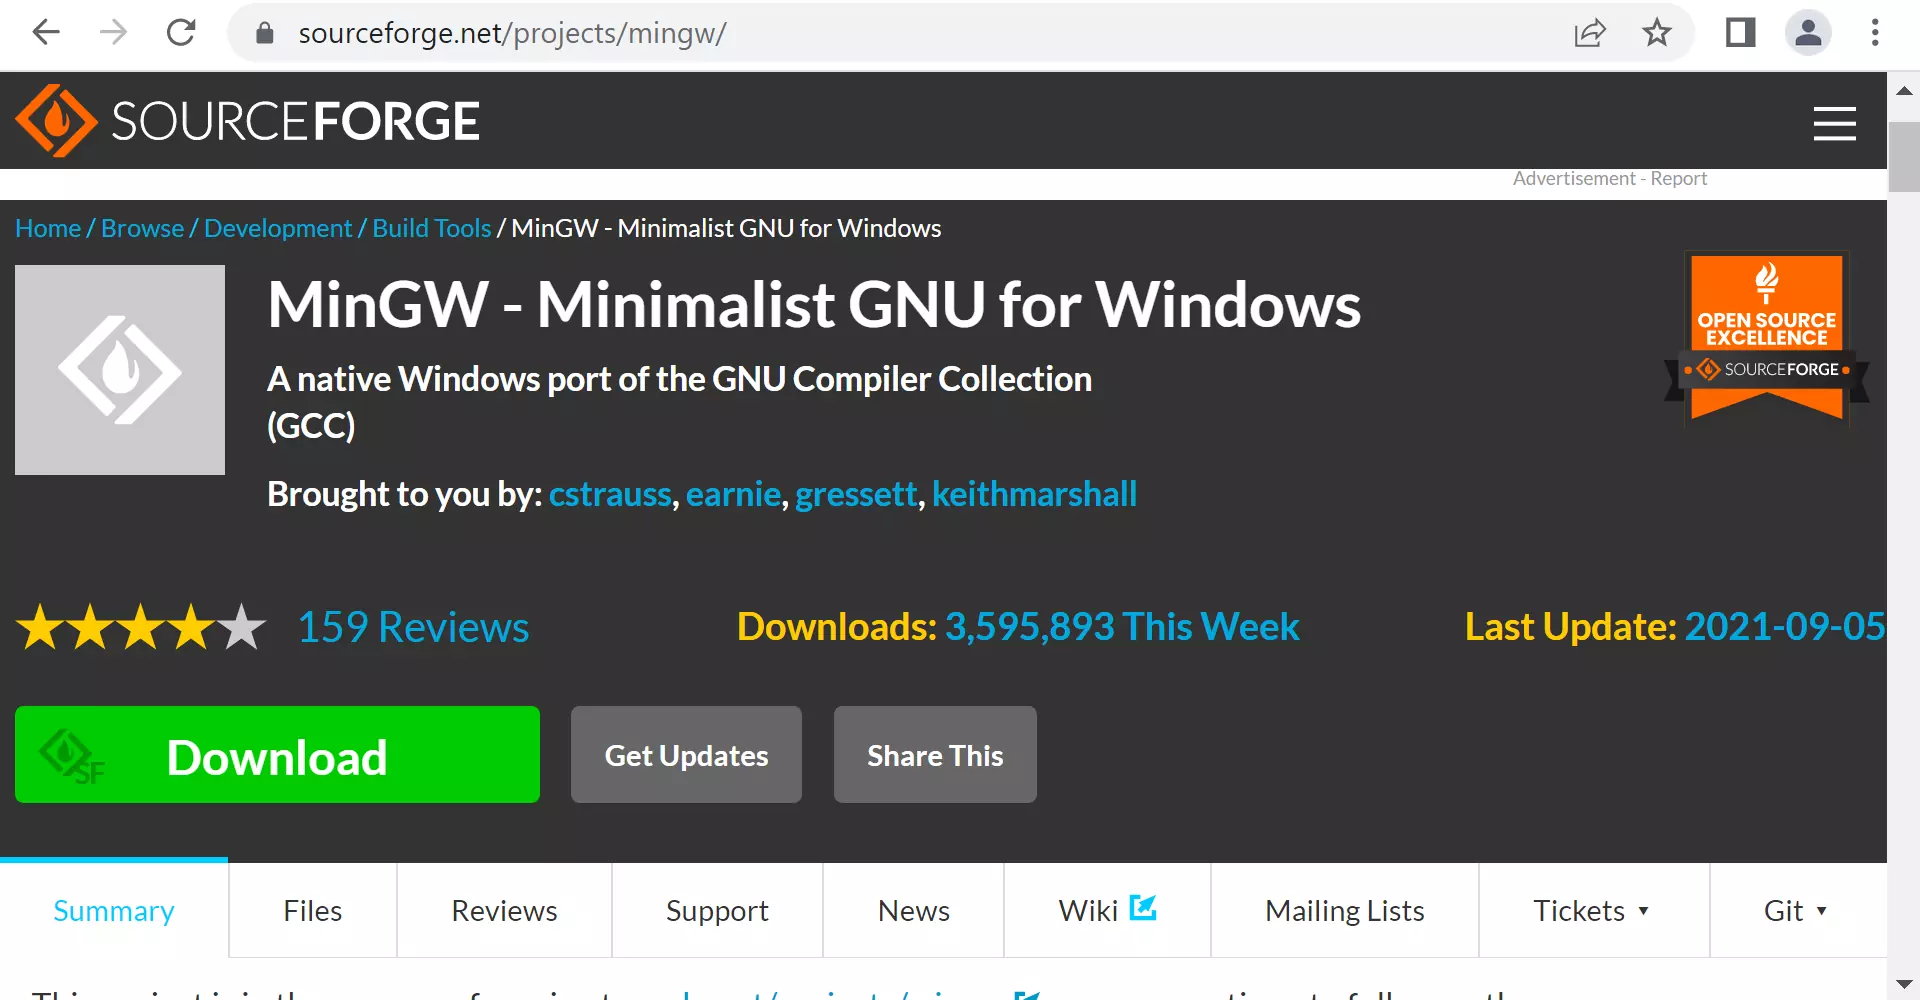
MinGW (Minimalist GNU for Windows) – The Pioneer
MinGW is an abbreviation for “Minimalist GNU for Windows.” It provides a minimalist development environment for native Microsoft Windows applications. MinGW includes a port of the GCC, along with other essential GNU utilities, to allow developers to compile and link C, C++, Fortran, and other programs directly on Windows, producing native Windows executables (.exe files) that do not depend on a POSIX compatibility layer (like Cygwin).
Historically, MinGW was one of the first and most popular ways to get GCC working on Windows. However, its development largely focused on 32-bit Windows targets, and its maintenance has become less active in recent years compared to its successors. While still functional, it might not always be the best choice for modern 64-bit applications or when seeking the latest GCC versions.
MinGW-w64 – The Modern Successor
MinGW-w64 is an advancement over the original MinGW project, designed to support both 32-bit and 64-bit Windows environments. It offers a more complete and up-to-date set of tools, including the latest GCC versions, and improved compatibility with Windows APIs. MinGW-w64 is actively maintained and provides robust support for modern Windows development.
When you install a GCC toolchain for Windows that produces native .exe files, you are most likely installing a distribution built upon MinGW-w64. It’s the preferred choice for developers who want to create Windows-native applications (without requiring any external DLLs specific to the build environment) while benefiting from GCC’s features and performance.
Cygwin – A Full Unix-like Environment
Cygwin takes a different approach. Instead of merely porting the GCC compiler, Cygwin aims to provide a comprehensive Unix-like environment on Windows. It achieves this by implementing a substantial part of the POSIX API (Portable Operating System Interface) on top of the Windows kernel. This means you get a powerful Bash shell, along with thousands of Unix tools and applications, all compiled to run within the Cygwin environment.
The executables produced by Cygwin’s GCC are not strictly “native” Windows applications in the same way MinGW-w64’s are. They typically depend on cygwin1.dll at runtime, which provides the POSIX compatibility layer. Cygwin is ideal for:
- Porting Unix Applications: If you need to port complex Unix applications that rely heavily on POSIX features, file system structures, or process management, Cygwin provides the closest resemblance to a true Unix environment on Windows.
- Developers Accustomed to Unix: Those who prefer a Unix command-line experience and want access to a vast array of open-source tools directly on Windows will find Cygwin invaluable.
However, if your primary goal is to compile simple, self-contained Windows .exe files without an extra dependency, MinGW-w64 is generally a more appropriate choice.
MSYS2 – The Recommended Platform for MinGW-w64
MSYS2 (Minimal SYStem 2) is a software distribution and building platform for Windows. It provides a Unix-like environment, a command-line interface based on Bash, and a powerful package manager called pacman (borrowed from Arch Linux). What makes MSYS2 particularly relevant for GCC installation is its ability to host multiple MinGW-w64 toolchains (both 32-bit and 64-bit) and manage them effectively.
Why MSYS2 is the Preferred Choice:
- Simplified Installation and Management: MSYS2 streamlines the process of installing and updating MinGW-w64 GCC,
gdb(debugger),make(build system), and thousands of other open-source libraries and tools.pacmanhandles dependencies automatically. - Native Windows Binaries: While MSYS2 itself provides a Unix-like shell, the MinGW-w64 toolchains it installs generate true native Windows
.exefiles that do not rely on MSYS2’s runtime environment. - Consistent Development Environment: MSYS2 provides a consistent and reproducible build environment, making it easier to manage projects and ensure that all team members are using the same tool versions.
- Flexibility: It allows for easy switching between 32-bit and 64-bit MinGW-w64 environments, catering to different project requirements.
For the purposes of this comprehensive guide, we will focus on installing GCC using MSYS2 and the MinGW-w64 toolchain. This method offers the best balance of ease of use, modern features, and native Windows compatibility, making it the most recommended approach for most developers today.
Step-by-Step Installation of GCC on Windows Using MSYS2
This section will guide you through the complete installation process of GCC on your Windows machine using MSYS2. We will cover downloading, installing, updating, and configuring MSYS2 to host the MinGW-w64 GCC toolchain, ensuring a smooth setup for your development environment.
Pre-Installation Checklist
Before you begin, ensure you have the following:
- Stable Internet Connection: Required for downloading MSYS2 and its packages.
- Administrator Privileges: You’ll need these to install MSYS2 and modify system environment variables.
- Sufficient Disk Space: MSYS2 and the GCC toolchain, along with other potential packages, can consume a few gigabytes of disk space.
Step 1: Downloading MSYS2
- Visit the Official Website: Open your web browser and navigate to the official MSYS2 website: https://www.msys2.org/
- Download the Installer: On the homepage, you will typically find a download link for the installer. Look for the
msys2-x86_64-*.exeinstaller. It’s recommended to choose the 64-bit version for modern Windows systems, as it can host both 32-bit and 64-bit MinGW-w64 toolchains. - Save the installer file to a location on your computer, such as your
Downloadsfolder.
Step 2: Installing MSYS2
- Run the Installer: Locate the downloaded
msys2-x86_64-*.exefile and double-click it to start the installation process. You might be prompted by User Account Control (UAC); click “Yes” to allow the installer to make changes. - Follow On-Screen Prompts:
- Click “Next” on the welcome screen.
- Choose Installation Folder: The default installation path is
C:msys64. It is highly recommended to keep this default path as it avoids potential issues with spaces or special characters in the path, which can sometimes cause problems with command-line tools. Click “Next.” - Choose start menu folder name (default is fine), click “Next.”
- The installer will proceed to copy files. This might take a few minutes.
- Finish Installation: Once the installation is complete, you’ll see a screen indicating that MSYS2 has been installed. Uncheck “Run MSYS2 now” as we need to perform some manual updates before using it. Click “Finish.”
Step 3: Initializing and Updating MSYS2
MSYS2 requires an initial update process to ensure all its core components and packages are up-to-date. This is crucial for stability and compatibility.
- Open MSYS2 MSYS Terminal: From your Windows Start Menu, search for “MSYS2” and open the
MSYS2 MSYSterminal. This is the base shell for managing MSYS2 itself. - Initial Package Database Update: In the MSYS2 terminal, type the following command and press Enter:
bash

pacman -Syu
pacmanis the package manager for MSYS2.-Syustands for “sync,” “refresh,” and “upgrade.” This command synchronizes package databases and updates core system packages.- The terminal might close automatically after this step, as some core components may need to be restarted. This is normal.
- Reopen and Complete System Upgrade: If the terminal closed, reopen the
MSYS2 MSYSterminal from the Start Menu. Now, run the full system upgrade command:
bash

pacman -Syuu
- The second
uinSyuuhandles potential system updates that involve architectural changes or package splits. - Press
Yand Enter when prompted to proceed with the installation. - Let the update process complete. This might take some time depending on your internet speed.
- The second
Step 4: Installing the MinGW-w64 GCC Toolchain
Now that MSYS2 is updated, we can install the actual GCC compiler toolchain. We’ll install the MinGW-w64 version.
- Choose the Correct MSYS2 Shell: MSYS2 provides different shells tailored for different environments. To install the MinGW-w64 toolchain, you need to open the correct shell:
- For 64-bit native Windows applications (recommended for most modern development): Open
MinGW-w64 Win64 Shellfrom the Start Menu. - For 32-bit native Windows applications: Open
MinGW-w64 Win32 Shellfrom the Start Menu.
Ensure you open the correct shell, as this determines whichpacmanrepository you access and which version of GCC will be installed.
- For 64-bit native Windows applications (recommended for most modern development): Open
- Install GCC: In the chosen MinGW-w64 shell, enter the appropriate command:
- For 64-bit GCC:
bash

pacman -S mingw-w64-x86_64-gcc
- For 32-bit GCC:
bash

pacman -S mingw-w64-i686-gcc
- The command will display a list of packages to be installed (including GCC, G++, and other utilities). Press
Yand Enter to confirm and proceed with the installation. - Wait for the installation to complete.
- For 64-bit GCC:
Step 5: Configuring Windows Environment Variables (PATH)
To be able to run gcc or g++ commands from any standard Windows command prompt (CMD, PowerShell) without having to navigate to the MSYS2 directory or always use the MSYS2 shells, you need to add the MinGW-w64 bin directory to your Windows system’s PATH environment variable. This is a critical step for seamlessly integrating GCC into your Windows development workflow.
- Open System Properties:
- Search for “Edit the system environment variables” in the Windows Start Menu and click on the result.
- Alternatively, right-click “This PC” or “My Computer” -> “Properties” -> “Advanced system settings” -> “Environment Variables…” button.
- Edit the Path Variable:
- In the “Environment Variables” window, under the “System variables” section (not User variables), find the variable named
Pathand select it. - Click the “Edit…” button.
- In the “Environment Variables” window, under the “System variables” section (not User variables), find the variable named
- Add the MinGW-w64 Bin Directory:
- In the “Edit environment variable” window, click “New” and add the path to your MinGW-w64
bindirectory.- If you installed the 64-bit GCC, the path is typically:
C:msys64mingw64bin - If you installed the 32-bit GCC, the path is typically:
C:msys64mingw32bin
- If you installed the 64-bit GCC, the path is typically:
- Important: Ensure this path is added correctly. You might want to move it up in the list to give it higher precedence, especially if you have other compiler toolchains installed that might conflict.
- Click “OK” on all open windows (Edit environment variable, Environment Variables, and System Properties) to save the changes.
- In the “Edit environment variable” window, click “New” and add the path to your MinGW-w64
Step 6: Verifying Your GCC Installation
After adding GCC to your system’s PATH, it’s essential to verify that the installation was successful and that Windows can find the gcc command.
- Open a NEW Command Prompt or PowerShell Window: It is crucial to open a new CMD or PowerShell window after modifying environment variables. Existing windows will not have the updated
PATH. - Check GCC Version: In the new command prompt or PowerShell window, type the following command and press Enter:
cmd

gcc --version
You should see output similar to this (version numbers may vary):
gcc (RevX.Y.Z, Built by MSYS2 project) X.Y.Z

Copyright (C) 20XX Free Software Foundation, Inc.

This is free software; see the source for copying conditions.  There is NO

warranty; not even for MERCHANTABILITY or FITNESS FOR A PARTICULAR PURPOSE.
- Check G++ Version (for C++): If you plan to compile C++ code, also verify the G++ compiler:
cmd

g++ --version
You should see similar version output for g++.
If you see the version information for both gcc and g++, congratulations! You have successfully installed the GNU Compiler Collection on your Windows machine.
Your First Compilation: “Hello, World!” with GCC
Now that GCC is installed and configured, let’s write and compile a simple “Hello, World!” program to confirm everything is working as expected. This will be your first step into leveraging the power of this new toolchain.
Writing the Code
You can use any plain text editor (like Notepad, VS Code, Sublime Text, or Atom) to write your code.
-
Create a C Program:
-
Open your text editor.
-
Copy and paste the following C code:
#include <stdio.h> int main() { printf("Hello, World! from GCC on Windows (C)n"); return 0; } -
Save the file as
hello.cin a convenient directory (e.g.,C:dev).
-
-
Create a C++ Program (Optional):
-
Open your text editor.
-
Copy and paste the following C++ code:
#include <iostream> int main() { std::cout << "Hello, World! from GCC on Windows (C++)" << std::endl; return 0; } -
Save the file as
hello.cppin the same directory (e.g.,C:dev).
-
Compiling and Running
- Open a Command Prompt or PowerShell: Open a new CMD or PowerShell window.
- Navigate to Your Code Directory: Use the
cdcommand to change the directory to where you saved yourhello.candhello.cppfiles. For example:
cmd

cd C:dev
- Compile the C Program: Use the
gcccommand to compile your C code. The-oflag specifies the name of the output executable file.
cmd

gcc hello.c -o hello_c
If there are no errors, the command prompt will return without any messages, and an executable file namedhello_c.exewill be created in your current directory. - Run the C Program: Execute the compiled program:
cmd

./hello_c
You should see the output:Hello, World! from GCC on Windows (C) - Compile the C++ Program: Use the
g++command to compile your C++ code:
cmd

g++ hello.cpp -o hello_cpp
This will create an executable file namedhello_cpp.exe. - Run the C++ Program:
cmd

./hello_cpp
You should see the output:Hello, World! from GCC on Windows (C++)
Congratulations! You have successfully written, compiled, and executed your first programs using GCC on Windows. This simple act opens the door to a vast world of C and C++ development, allowing you to build everything from command-line utilities to complex applications.
Troubleshooting Common Issues and Advanced Tips
Even with a detailed guide, you might encounter issues during installation or usage. This section addresses common problems and provides advanced tips to enhance your GCC development experience on Windows.
“gcc is not recognized as an internal or external command”
This is by far the most common issue after installation, and it almost always points to a problem with your PATH environment variable.
Causes and Solutions:
- Incorrect Path: Double-check that the exact path to your MinGW-w64
bindirectory (C:msys64mingw64binfor 64-bit orC:msys64mingw32binfor 32-bit) was added to the SystemPathvariable. A single typo will prevent Windows from finding the executable. - Path Not Refreshed: Remember to open a new Command Prompt or PowerShell window after making changes to environment variables. Existing windows will not reflect the changes. Close all open terminals and open a fresh one.
- Conflicting Installations: If you have other development tools (like Visual Studio, Python, Java) installed, they might have added their own
bindirectories toPath. Sometimes, the order matters. EnsureC:msys64mingw64binis placed higher in thePathlist to give it precedence. - Installation Error: Less likely if
pacmanreported a successful installation, but ensure thegcc.exefile actually exists in theC:msys64mingw64bin(ormingw32bin) directory.
Compiler Errors During Installation (pacman)
If pacman -Syu or pacman -S mingw-w64-x86_64-gcc fails:
- Network Issues: Ensure you have a stable internet connection.
pacmanneeds to download packages. - Proxy Settings: If you are behind a corporate proxy, MSYS2’s
pacmanmight need proxy configuration. This is usually done by settinghttp_proxyandhttps_proxyenvironment variables within the MSYS2 shell. Consult MSYS2 documentation for specific proxy configuration. - Corrupted Package Database: Sometimes, the package database might get corrupted. You can try refreshing it:
bash

pacman -Syy # Force refresh all package databases

pacman -Syu # Then update
- Disk Space: Ensure you have enough free disk space for the downloads and installations.
Integrating with IDEs and Text Editors
While the command line is powerful, many developers prefer the convenience of an Integrated Development Environment (IDE) or an advanced text editor. GCC can be seamlessly integrated with popular choices:
- Visual Studio Code (VS Code): This is an incredibly popular choice.
- Install the “C/C++” extension from Microsoft.
- VS Code can detect your GCC installation if it’s in your system’s
PATH. - You’ll need to configure
tasks.json(for compilation) andlaunch.json(for debugging with GDB) to point to yourgcc.exe,g++.exe, andgdb.exefrom your MinGW-w64 installation. The C/C++ extension provides templates to help with this.
- Code::Blocks: A free, open-source C/C++ IDE that comes with built-in support for MinGW-w64. If you already have it installed, you can simply point it to your MSYS2 MinGW-w64 directory.
- CLion: A commercial IDE by JetBrains. It has excellent support for CMake and GCC. You can configure CLion to use the GCC toolchain installed via MSYS2.
Exploring Other GNU Tools
MSYS2 provides access to a wealth of other GNU tools that are indispensable for C/C++ development:
- GNU Debugger (GDB): Essential for debugging your programs. You can install it via
pacman:
bash

pacman -S mingw-w64-x86_64-gdb # For 64-bit

# Or pacman -S mingw-w64-i686-gdb for 32-bit
Once installed, you can debug your compiled programs usinggdb ./my_program.exe. - GNU Make: A build automation tool that helps manage complex projects with multiple source files. Install it with:
bash

pacman -S mingw-w64-x86_64-make # For 64-bit

# Or pacman -S mingw-w64-i686-make for 32-bit
You can then usemaketo automate compilation from aMakefile. - Other Utilities: Explore the vast repositories of MSYS2 (
pacman -Ss <keyword>) for other useful tools likegit,grep,awk,sed,vim,nano, and many more, bringing a full Unix-like command-line utility set to your Windows machine.
By installing GCC and its accompanying toolchain on Windows, you’ve unlocked a powerful and flexible development environment. Whether you’re building simple scripts or complex applications, embracing open-source tools like GCC enhances your productivity and broadens your capabilities as a developer. Keep exploring, keep building, and enjoy the journey into the world of C/C++ programming!
Conclusion
The journey of installing the GNU Compiler Collection on Windows, while involving a few detailed steps, is an invaluable investment for any serious developer. By carefully following this comprehensive guide, you’ve successfully set up a robust, modern, and open-source development environment using MSYS2 and MinGW-w64. This empowers you to compile C, C++, and other language projects, leveraging the same powerful toolchain that drives much of the world’s open-source software.
This setup not only grants you access to cutting-edge compiler features and optimizations but also seamlessly integrates with popular IDEs and other GNU tools like GDB and Make. The ability to produce native Windows executables while benefiting from a Unix-like development experience bridges critical gaps, enhancing cross-platform compatibility and expanding your development horizons.
In an ever-evolving tech landscape, having a versatile toolkit is paramount. The GNU Compiler Collection stands as a testament to the power of open-source collaboration, offering unparalleled flexibility and performance. By mastering its installation and basic usage, you’ve taken a significant step towards greater productivity, digital security through open-source transparency, and a deeper engagement with the vibrant community of software developers worldwide. Now, go forth and build amazing things!
aViewFromTheCave is a participant in the Amazon Services LLC Associates Program, an affiliate advertising program designed to provide a means for sites to earn advertising fees by advertising and linking to Amazon.com. Amazon, the Amazon logo, AmazonSupply, and the AmazonSupply logo are trademarks of Amazon.com, Inc. or its affiliates. As an Amazon Associate we earn affiliate commissions from qualifying purchases.