In an increasingly connected world, ensuring the security of your home or business has become paramount. Smart security cameras, like those offered by Arlo, provide an accessible and powerful solution, offering peace of mind through remote monitoring, motion detection, and crisp video recording. While the idea of setting up a sophisticated security system might seem daunting, installing an Arlo camera is remarkably straightforward, designed with the average homeowner in mind. This comprehensive guide will walk you through every step, from unboxing to optimizing your system, ensuring a seamless setup experience and robust protection for your property.
Arlo has established itself as a leading brand in the smart home security market, renowned for its wire-free designs, high-definition video quality, and intuitive app experience. By choosing Arlo, you’re investing in cutting-edge technology that empowers you to keep an eye on what matters most, whether you’re at work, on vacation, or simply in another room. This tutorial is crafted not only to guide you through the technical steps but also to impart the knowledge needed to maximize your camera’s performance and leverage its advanced digital security features effectively.
I. Preparing for Your Arlo Camera Installation
Before you even touch a screwdriver, a little preparation goes a long way in ensuring a smooth and successful Arlo camera installation. This initial phase involves understanding your system, gathering necessary tools, and meticulously planning the ideal placement for your cameras to achieve optimal coverage and performance.
A. Choosing the Right Arlo System and Unpacking Your Kit
Arlo offers a range of camera models, from essential wire-free options to advanced floodlight cameras and doorbells. While the core installation principles remain similar, understanding your specific model – be it an Arlo Pro, Ultra, Essential, or Go – is crucial. For instance, wire-free models offer unparalleled flexibility but rely on battery life, whereas wired models provide continuous power but require careful cable management.
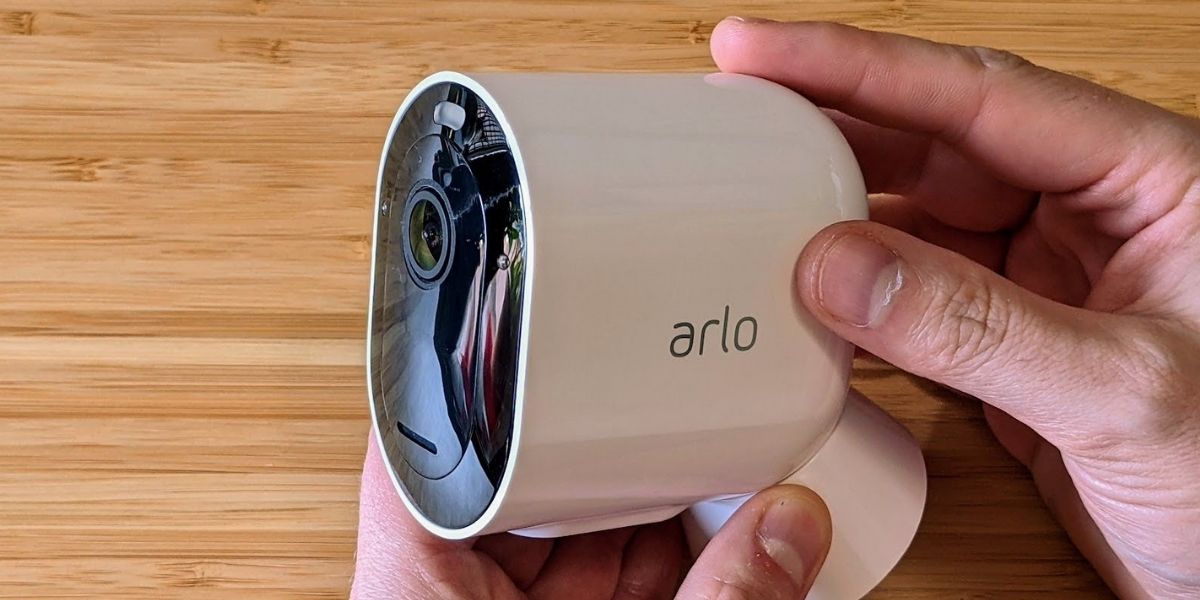
Once you have your Arlo system, the first step is to unpack everything carefully. Inside the box, you’ll typically find:
- Arlo Camera(s): Your chosen camera unit(s).
- Rechargeable Batteries: (For wire-free models) Often partially charged.
- Charging Cable and Power Adapter: To charge batteries or power wired cameras.
- Mounting Kits: Includes screw-in mounts, magnetic mounts, screws, and wall anchors.
- Arlo SmartHub or Base Station: (For some multi-camera systems) This central hub connects to your router and communicates with your cameras, often extending battery life and offering local storage options.
- Ethernet Cable: (For SmartHub/Base Station) To connect to your internet router.
- Quick Start Guide: A brief manual to get you started.
Take a moment to familiarize yourself with each component. Ensure all items are present and undamaged.
B. Gathering Your Tools and Essential Information
Having the right tools at hand will prevent frustrating pauses during the installation process. Here’s a checklist of what you’ll likely need:
- Power Drill: With appropriate drill bits for masonry, wood, or drywall, depending on your mounting surface.
- Phillips Head Screwdriver: For securing mounting brackets.
- Ladder or Step Stool: If installing cameras at a height.
- Pencil: For marking drill holes.
- Measuring Tape: To ensure precise placement.
- Wi-Fi Network Name (SSID) and Password: Crucial for connecting your devices.
- Smartphone or Tablet: To download the Arlo app and configure your system.
- Safety Goggles: Always recommended when drilling.
Before you begin, ensure your internet connection is stable and robust. A strong Wi-Fi signal is fundamental for your Arlo cameras to operate effectively, providing seamless streaming and reliable notifications.
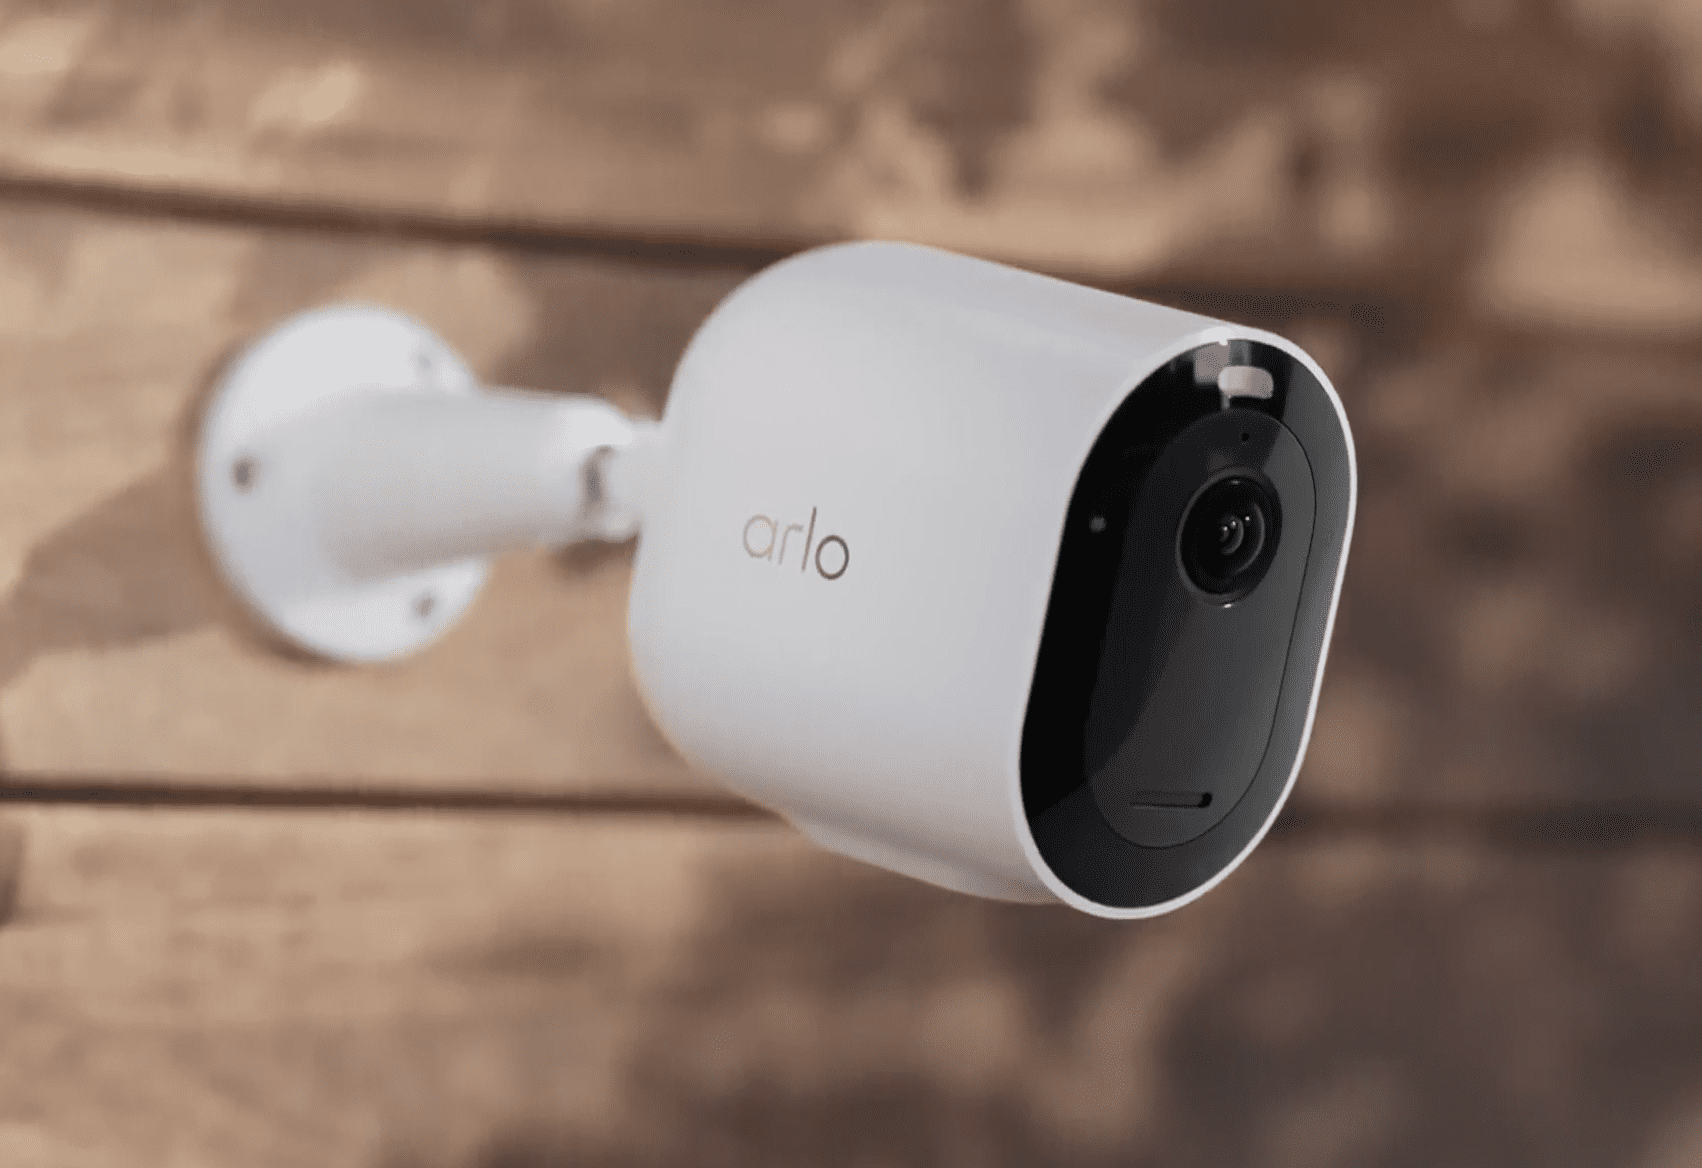
C. Strategic Placement: Where to Mount Your Arlo Camera
The location of your Arlo camera is perhaps the most critical decision you’ll make, impacting its effectiveness and your overall security. Consider the following factors:
- Field of View (FoV): Arlo cameras typically offer wide-angle lenses. Aim to cover entry points (doors, windows), driveways, or areas of concern. Walk through your property to identify blind spots.
- Height: Mount cameras high enough (7-10 feet) to prevent easy tampering but low enough to capture clear facial features. Too high, and subjects might appear small; too low, and they’re within reach.
- Lighting Conditions: Avoid pointing cameras directly into strong light sources (like the sun) as this can cause glare and washed-out images. Conversely, ensure adequate ambient light or leverage the camera’s night vision capabilities.
- Range from SmartHub/Wi-Fi: Wire-free cameras need a strong wireless signal. Use the Arlo app’s signal strength indicator (available during setup) to test potential locations before permanent mounting. If using a SmartHub, ensure it’s centrally located to maximize range.
- Power Source (if wired): For wired cameras, plan for proximity to an outdoor electrical outlet or be prepared for professional electrical wiring.
- Obstructions: Clear any tree branches, bushes, or other objects that might block the camera’s view, trigger false motion alerts, or interfere with night vision.
- Privacy and Legal Considerations: Be mindful of your neighbors’ privacy. Aim your camera at your own property and avoid capturing excessive views of adjacent homes or public spaces where individuals have a reasonable expectation of privacy. Local regulations regarding surveillance may apply.
A good practice is to temporarily hold the camera in potential spots and check the live feed on your phone to visualize the coverage before drilling. This preliminary scouting can save significant time and effort.
II. The Arlo Camera Software Setup: Getting Connected
With your physical preparations complete, the next phase involves connecting your Arlo devices to your home network and configuring them through the intuitive Arlo app. This digital setup is essential for your cameras to communicate, record, and send you alerts.
A. Powering Up Your Arlo System
- Charging Batteries: If you have wire-free Arlo cameras, the first step is to fully charge their batteries. Pop them into the camera and connect the camera to its power adapter, or use a dedicated Arlo charging station if you have one. A full charge can take several hours, so it’s a good idea to do this while you’re tackling other setup steps.
- Connecting the SmartHub/Base Station (if applicable): If your Arlo system includes a SmartHub or Base Station, connect it to power using its adapter. Then, use the provided Ethernet cable to connect the SmartHub to an available LAN port on your internet router. Wait for the indicator lights on the SmartHub to show it’s fully booted up and connected (usually solid green). This hub acts as the brain of your system, managing camera connections and often enhancing battery life and providing local storage options via a USB drive. For systems that connect directly to Wi-Fi (like Arlo Essential cameras), this step is skipped.
B. Downloading and Setting Up the Arlo App
The Arlo app is your command center for your entire security system.
- Download: Head to the App Store (for iOS) or Google Play Store (for Android) and search for “Arlo Secure.” Download and install the app.
- Account Creation/Login: Open the app. If you’re a new user, you’ll need to create an Arlo account. This involves providing an email address, creating a strong password, and agreeing to the terms of service. If you already have an account, simply log in. Always choose a unique, complex password for digital security, and enable two-factor authentication (2FA) for an added layer of protection – Arlo typically prompts you to do this.
C. Adding Your Arlo Devices to the App
This is where your cameras come to life. Follow the in-app instructions, which are generally very clear.
- Select “Add New Device”: From the main screen of the Arlo app, tap the “Add Device” or “+” icon.
- Choose Your Device Type: Select “Cameras” and then your specific Arlo camera model (e.g., Arlo Pro 4, Arlo Essential Spotlight Camera, Arlo Ultra 2).
- Follow On-Screen Prompts:
- For SmartHub-connected systems: The app will guide you to power on your SmartHub, then direct you to sync each camera. This usually involves pressing the “Sync” button on the SmartHub and then the “Sync” button on the camera within a specific timeframe. You’ll hear a chime from the camera confirming successful pairing.
- For Wi-Fi-direct systems: The app will instruct you to connect your phone to your home Wi-Fi network (2.4 GHz usually), then prompt you to enter your Wi-Fi password. The camera will then generate a QR code for you to scan with its lens, establishing the direct connection.
- Naming Your Cameras: Once a camera is detected, you’ll be prompted to give it a unique name (e.g., “Front Door,” “Backyard,” “Living Room”). This is crucial for easy identification, especially if you have multiple cameras.
- Initial Firmware Updates: Your cameras may require a firmware update immediately after setup. Allow these updates to complete without interruption, as they often contain critical security patches and performance improvements.
Once all cameras are added, you should see them listed in the Arlo app, ready for live viewing and configuration.
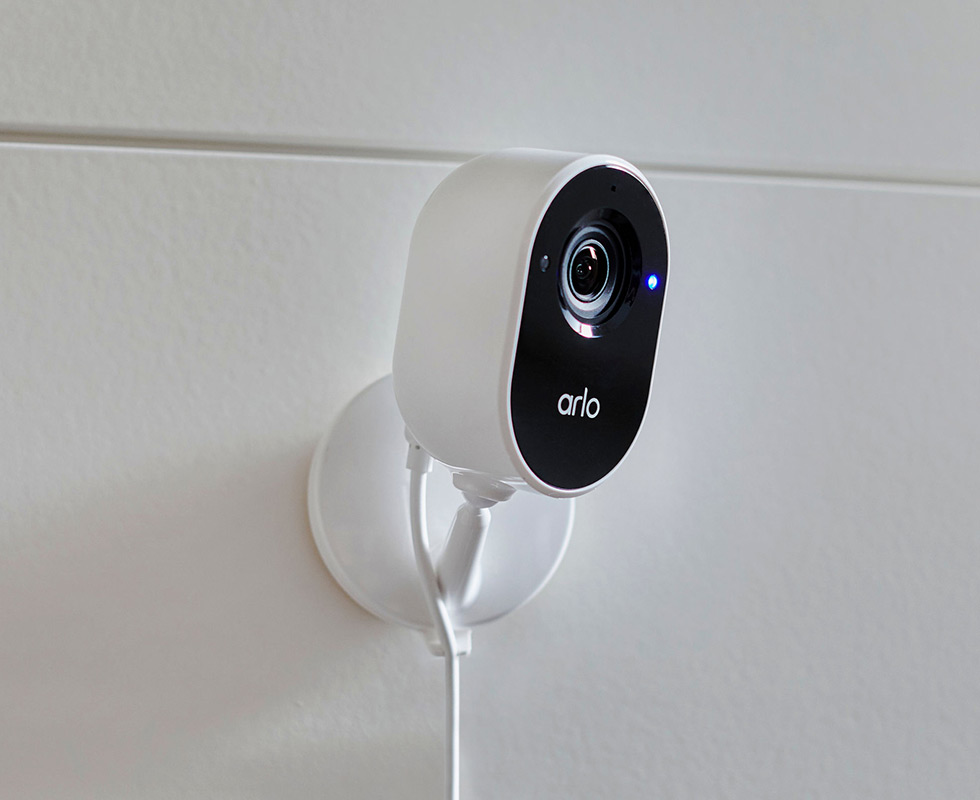
III. Physical Installation: Mounting Your Arlo Camera
With your Arlo cameras successfully paired and recognized by the app, it’s time for the physical installation – securely mounting them in their pre-determined strategic locations.
A. Marking and Drilling
- Position the Mount: Hold the camera’s mounting plate or bracket against the wall or surface where you intend to install it. Use your pencil to mark the exact locations for the screw holes. Many Arlo mounts come with a small template or pre-drilled holes you can use as a guide.
- Drill Pilot Holes: Using your power drill, carefully drill pilot holes at the marked spots. The size of the drill bit will depend on the type of screw and wall anchors you are using.
- For wood: A smaller pilot hole (typically the same diameter as the screw’s shaft) will suffice.
- For drywall or stucco: You will likely need to insert wall anchors first. Drill a hole large enough for the anchor to fit snugly, then gently tap or screw the anchor into place until flush with the surface. The anchor provides a secure base for the screw.
- For brick or masonry: You’ll need a masonry drill bit and appropriate masonry anchors.
B. Attaching the Mounting Bracket
Align the mounting bracket with the drilled pilot holes (or inserted anchors). Use your Phillips head screwdriver to firmly attach the bracket to the surface with the provided screws. Ensure it is stable and secure; the camera’s weight and any environmental factors (wind, vibration) require a robust mount. Avoid overtightening, especially with plastic brackets.
C. Securing the Arlo Camera
- Attach Camera to Bracket: Most Arlo cameras either screw directly onto a threaded mount or magnetically attach to a spherical mount.
- Screw-on Mounts: Carefully twist the camera onto the threaded post of the mount until it feels secure.
- Magnetic Mounts: Simply snap the camera onto the magnetic base. These offer great flexibility for angle adjustment but consider using a screw-in mount for higher security or windy locations.
- Adjust the Angle: Once the camera is attached, open the Arlo app and view the live feed. Adjust the camera’s angle and tilt until you achieve the desired field of view. Ensure there are no major obstructions and that the key areas of interest are clearly visible. Tighten any locking rings or screws on the mount to secure the camera in its final position.
D. Wired Arlo Cameras: Powering and Cable Management
If you have a wired Arlo camera, this step is crucial for continuous power.
- Connect Power: Route the power cable from the camera to the power adapter, and then plug the adapter into a suitable outdoor-rated electrical outlet. Ensure the outlet is weatherproof or use a weather-resistant enclosure for the connection.
- Cable Management: For security and aesthetics, try to conceal or neatly secure the power cable. Use cable clips or conduit to run the cable along walls or trim, preventing it from being easily cut or becoming a tripping hazard. If drilling through walls is required, ensure proper sealing to prevent water ingress.
IV. Post-Installation Optimization and Essential Tips
Your Arlo camera is now physically installed and connected. The next step is to fine-tune its settings and understand ongoing maintenance to ensure it performs at its peak, providing reliable security and leveraging its smart features.
A. Fine-Tuning Camera Settings
The Arlo app offers a wealth of customization options:
- Motion Detection Zones and Sensitivity: Define specific areas within the camera’s view where motion detection should be active. This helps reduce false alarms from passing cars or pets. Adjust sensitivity levels to capture relevant events without being overly triggered.
- Activity Zones: Similar to motion zones, these allow you to highlight specific areas of interest for more precise monitoring.
- Recording Quality and Frame Rate: You can typically choose between various video qualities (e.g., 1080p, 2K, 4K depending on model) and frame rates. Higher quality consumes more battery and bandwidth but provides clearer footage.
- Audio Settings: Enable or disable the microphone for audio recording and adjust speaker volume for two-way talk functionality.
- Arm/Disarm Modes: Set schedules for when your cameras are active, or manually arm/disarm them. You can create custom modes for “Home,” “Away,” “Night,” etc.
B. Utilizing Smart Features
Arlo cameras, especially with an Arlo Secure subscription, offer advanced AI-powered features that enhance their utility:
- Person, Vehicle, Animal Detection: Differentiate between types of motion, reducing irrelevant notifications.
- Package Detection: Get alerts when a package is delivered or picked up from your doorstep.
- Cloud Storage: Arlo Secure plans provide secure cloud storage for your video recordings, accessible anytime, anywhere.
- Rich Notifications: Receive notifications with thumbnail images or brief video clips directly on your smartphone, allowing for quick assessment of an event.
- Emergency Response: In some regions, Arlo Secure plans offer a one-touch emergency call feature to contact local authorities directly through the app.
These features transform your security camera into a proactive security assistant, providing intelligent alerts and actionable insights.
C. Regular Maintenance for Optimal Performance
To ensure your Arlo system continues to operate flawlessly:
- Battery Management (for wireless models): Monitor battery levels regularly through the app. Recharge batteries promptly when low. Consider having a spare charged battery for quick swaps to minimize downtime.
- Lens Cleaning: Dust, dirt, cobwebs, or water spots can obscure the camera’s view. Gently wipe the lens with a soft, clean microfiber cloth to maintain crystal-clear video quality.
- Firmware Updates: Regularly check the Arlo app for firmware updates for your cameras and SmartHub/Base Station. These updates often include performance enhancements, new features, and crucial security patches.
- Checking Connectivity: Periodically ensure your cameras show a strong Wi-Fi signal in the app. If a camera frequently goes offline, consider repositioning it or your SmartHub, or investing in a Wi-Fi extender.
D. Digital Security Best Practices for Your Arlo System
As your Arlo system contributes to your home’s digital security, it’s vital to protect the system itself:
- Strong, Unique Passwords: Always use a complex password for your Arlo account that is different from passwords used for other online services.
- Two-Factor Authentication (2FA): Enable 2FA on your Arlo account. This requires a second verification step (like a code sent to your phone) when logging in, significantly enhancing security.
- Regular Security Checks: Periodically review who has access to your Arlo account. If you’ve shared access with others, ensure they still require it.
- Secure Wi-Fi Network: Ensure your home Wi-Fi network is secured with a strong password (WPA2 or WPA3 encryption) and that your router’s firmware is up to date.
V. Troubleshooting Common Arlo Installation Issues
Even with the best preparation, you might encounter minor hurdles during or after installation. Here are some common issues and their solutions:
A. Connectivity Problems (Offline Camera, Poor Signal)
- Camera Offline:
- Check Battery: Ensure the camera has sufficient battery charge or is properly connected to power.
- Reboot: Try power cycling the camera (remove/reinsert battery) or the SmartHub/Base Station and your Wi-Fi router.
- Re-sync: Attempt to re-sync the camera with the SmartHub or re-connect it to Wi-Fi via the app.
- Poor Signal:
- Reposition: Move the camera closer to the SmartHub or Wi-Fi router.
- Relocate Hub/Router: Position your SmartHub or Wi-Fi router more centrally in your home.
- Reduce Interference: Avoid placing cameras near large metal objects, thick walls, or other devices that emit strong wireless signals (e.g., microwaves, cordless phones).
- Wi-Fi Extender: Consider a Wi-Fi extender or mesh system to boost signal strength in weaker areas.
B. Battery Life Issues
- Short Battery Life:
- High Activity: Cameras in high-traffic areas will record more frequently, draining batteries faster. Consider adjusting motion sensitivity and activity zones.
- Recording Quality: Higher video quality (4K, 2K) and longer recording durations consume more power.
- Temperature: Extreme cold or heat can impact battery performance.
- Weak Wi-Fi Signal: A camera struggling to maintain a connection uses more power.
- Firmware: Ensure your camera’s firmware is up to date.
- Genuine Batteries: Always use genuine Arlo rechargeable batteries and charging accessories.
C. Motion Detection Glitches
- False Alarms:
- Adjust Sensitivity: Lower the motion sensitivity in the app.
- Set Activity Zones: Use activity zones to exclude areas with irrelevant motion (e.g., street traffic, swaying branches).
- Environmental Factors: Wind, changes in light, reflections, or insects can sometimes trigger motion. Clean the lens and adjust placement if possible.
- Missed Events:
- Increase Sensitivity: Gradually increase motion sensitivity.
- Check Placement: Ensure the camera’s field of view covers the desired area and isn’t obstructed.
- Power Mode: Some power-saving modes might slightly delay recording; switch to an optimized mode if available.
D. Picture Quality Concerns
- Blurry or Grainy Video:
- Clean Lens: Gently wipe the camera lens with a microfiber cloth.
- Lighting: Ensure adequate lighting, especially at night. If night vision is poor, consider adding an external light source.
- Wi-Fi Bandwidth: Ensure your internet connection has enough upload bandwidth, especially for higher resolution recordings.
- Discoloration:
- White Balance: The camera’s automatic white balance might be struggling in certain lighting. While usually automatic, check for any in-app settings if available.
- Infrared Glare: If using night vision, ensure the IR lights aren’t reflecting off nearby surfaces (like a wall or window frame). Adjust the camera angle to minimize this.
Conclusion
Installing your Arlo camera system is a rewarding DIY project that significantly enhances your home’s security posture. By diligently following these steps – from meticulous preparation and strategic placement to careful software configuration and physical mounting – you can achieve a professional-grade setup without the need for external help. Remember that optimal performance relies not just on the initial installation but also on ongoing maintenance and smart utilization of the Arlo app’s features.
Embrace the peace of mind that comes with knowing your property is under vigilant watch. With Arlo, you’re not just installing a camera; you’re deploying an intelligent guardian for your home, allowing you to monitor events, receive instant alerts, and interact with visitors or intruders from anywhere in the world. Enjoy the advanced technology and robust digital security that your newly installed Arlo camera system provides.
aViewFromTheCave is a participant in the Amazon Services LLC Associates Program, an affiliate advertising program designed to provide a means for sites to earn advertising fees by advertising and linking to Amazon.com. Amazon, the Amazon logo, AmazonSupply, and the AmazonSupply logo are trademarks of Amazon.com, Inc. or its affiliates. As an Amazon Associate we earn affiliate commissions from qualifying purchases.