For many users transitioning from a Windows environment or for those new to the world of computing altogether, the macOS ecosystem presents a unique, streamlined, and occasionally idiosyncratic approach to software management. Unlike the traditional “InstallShield” wizards often found on other platforms, Apple has designed macOS to handle applications as self-contained packages. This design philosophy emphasizes security and simplicity, but it also means there are multiple pathways to getting your favorite tools up and running.
Whether you are looking to download a creative suite from the official App Store, install a specialized utility from a developer’s website, or utilize advanced command-line tools, understanding the nuances of macOS installation is vital for maintaining a healthy and efficient system. This guide provides a deep dive into the various methods of installing apps on a Mac, the security protocols governing them, and best practices for long-term management.
1. The Mac App Store: The Gold Standard of Security and Convenience
The Mac App Store is the primary gateway for software on the Apple platform. Modeled after the iOS experience, it offers a centralized, curated environment where every piece of software undergoes a rigorous review process by Apple. This method is the most recommended for general users because it ensures that the apps are free of malware, adhere to privacy standards, and are optimized for the hardware.
Browsing and Searching for Software
Navigating the Mac App Store is intuitive. Users can explore curated “Discover” tabs, look through categories like Productivity or Games, or use the search bar to find specific titles. Each app listing provides critical information, including version history, system requirements, and user reviews. Because these apps are linked to your Apple ID, the App Store acts as a digital ledger, keeping track of your purchases and allowing you to re-download software across multiple Mac devices without additional costs.
The One-Click Installation Process
The hallmark of the App Store is its simplicity. Once you click “Get” or the price button, macOS handles the rest. There are no installation wizards to click through and no destination folders to select. The system automatically downloads the package, uncompresses it, and places the executable file directly into your “Applications” folder. This “sandboxed” approach ensures that the app operates within a restricted environment, preventing it from interfering with critical system files.
Managing Updates and Reinstallations
One of the greatest advantages of the App Store is centralized update management. Instead of each app running its own background update service—which can drain system resources—the App Store monitors all installed software. You can set the system to update apps automatically or manage them manually via the “Updates” tab. Furthermore, if you ever upgrade your Mac or need to wipe your drive, your entire library is available under the “Purchased” section (or your Account profile), making the migration process remarkably seamless.
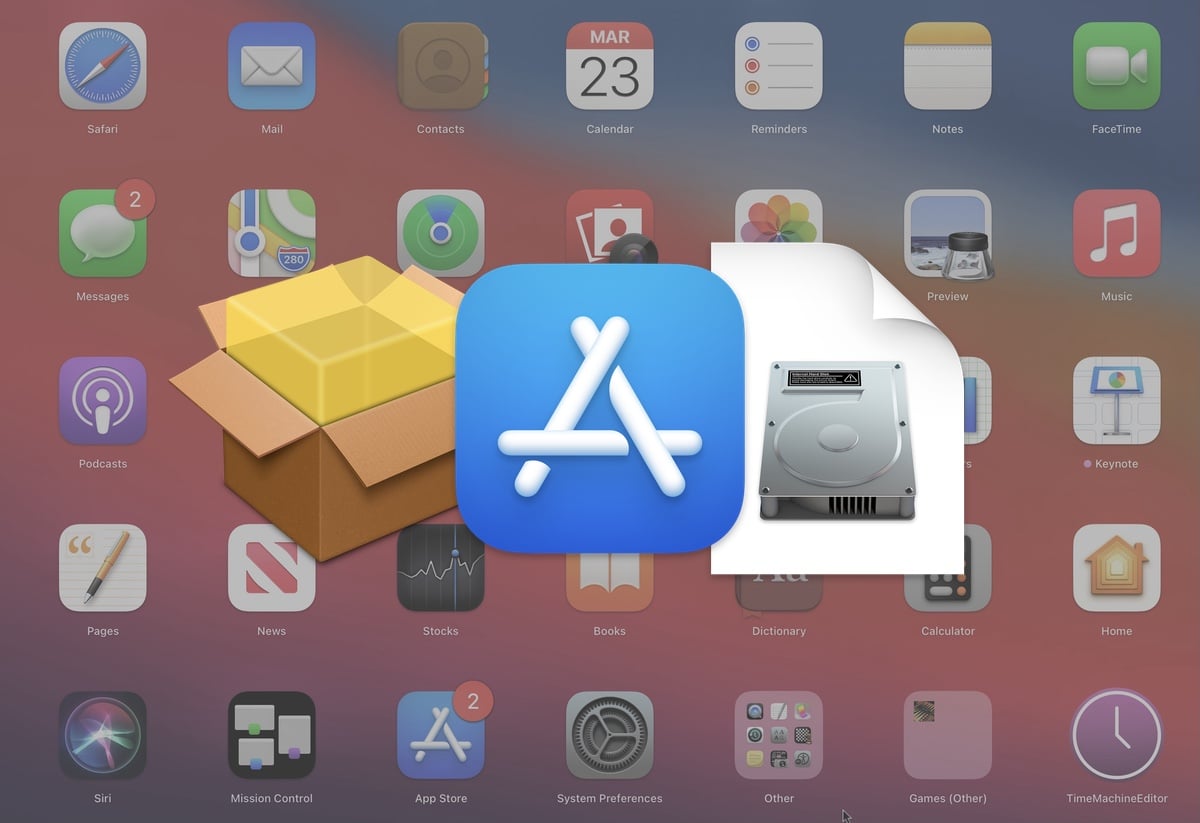
2. Installing via DMG and PKG Files: Beyond the App Store
While the App Store is convenient, many powerful professional tools—such as Adobe Creative Cloud, Google Chrome, or specialized development environments—are distributed directly by developers. These are typically packaged in two formats: Disk Images (.dmg) and Installer Packages (.pkg).
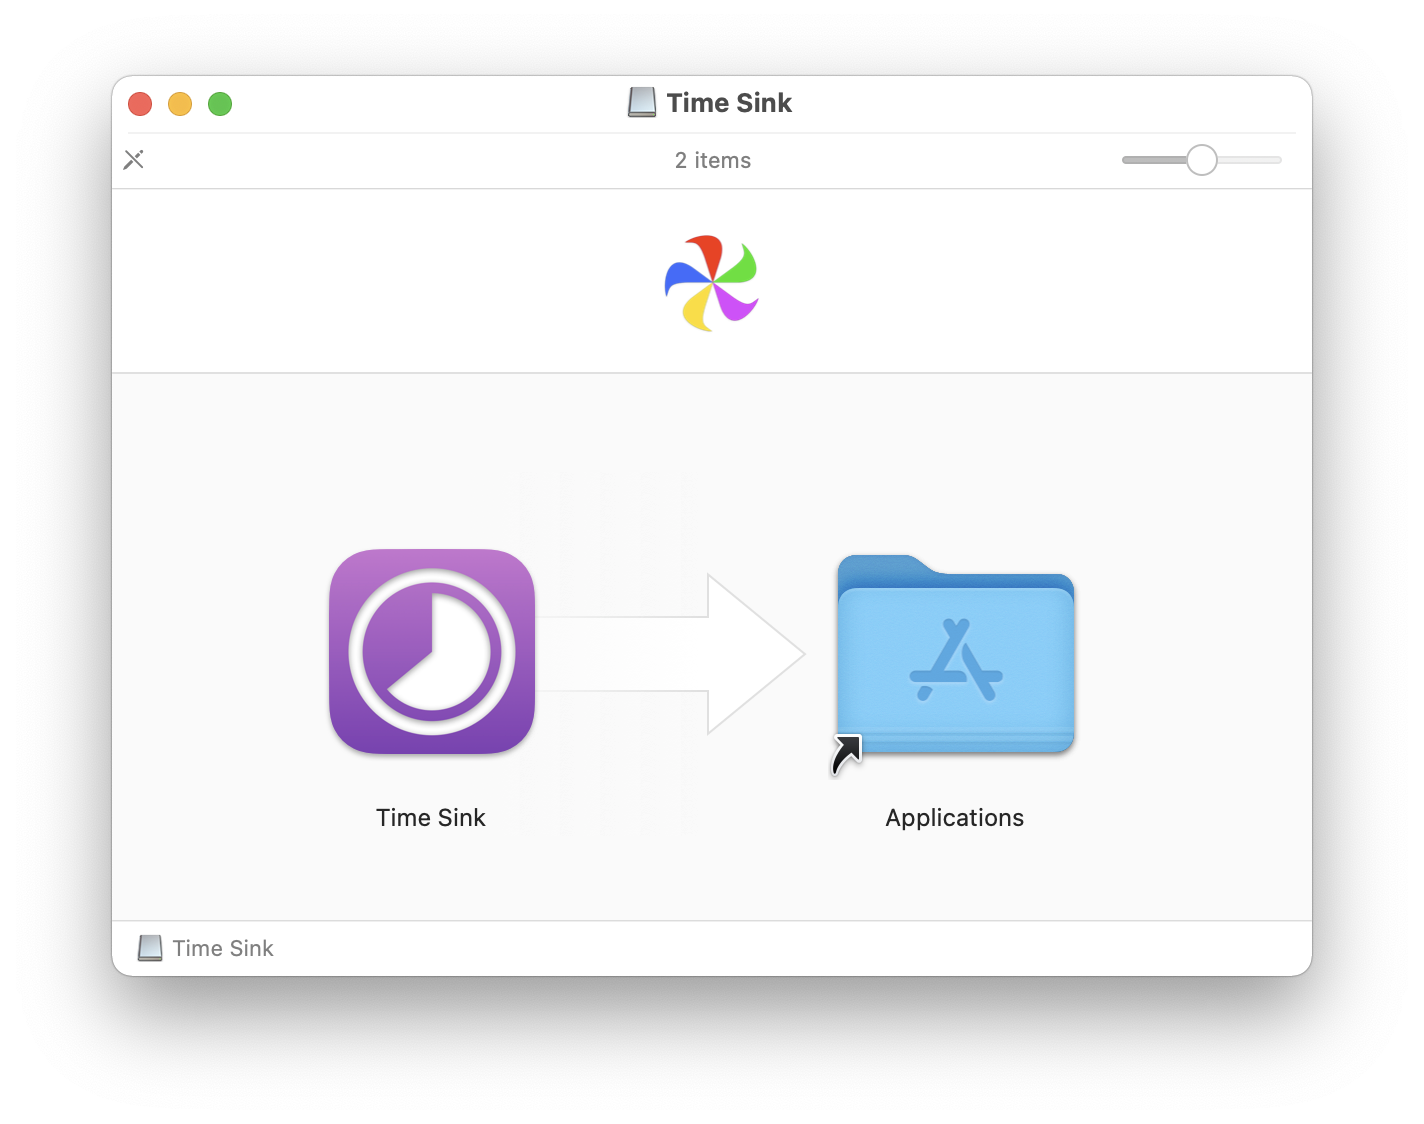
The Classic “Drag-and-Drop” Method (DMG)
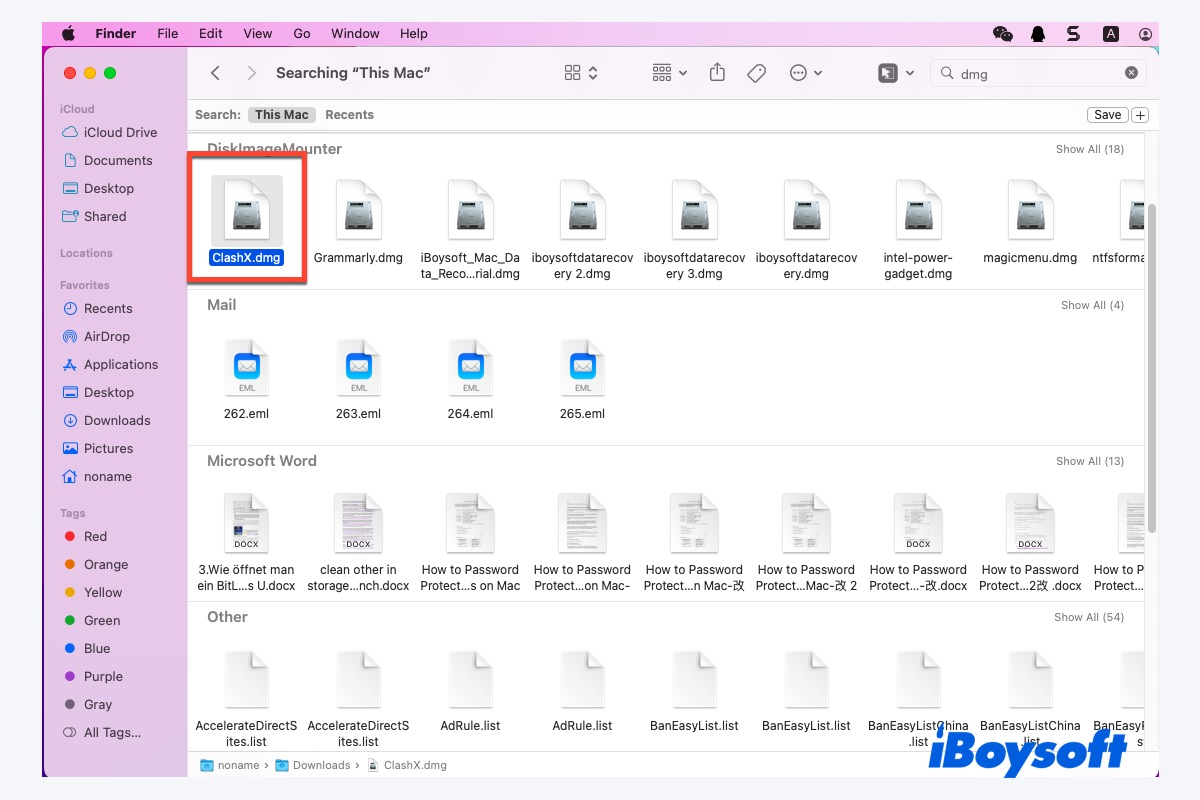
The .dmg file is perhaps the most iconic element of the Mac software experience. A DMG is essentially a digital version of a physical disc. When you double-click a .dmg file, it “mounts” to your system like an external drive.
Inside the mounted window, you will usually see the application icon and a shortcut to your Applications folder. To install the app, you simply click and drag the icon into the folder. This process is often confusing for newcomers who try to run the app directly from the DMG window. It is important to remember that running an app from the DMG is temporary; dragging it to the Applications folder is what actually installs it onto your internal storage.
Working with Installer Packages (PKG)
Some software requires more integration with the system than a simple drag-and-drop can provide. This is common for drivers, system utilities, or large software suites. These are delivered as .pkg files. Double-clicking a PKG file launches a guided installation wizard similar to those on Windows. This wizard may ask for your administrator password and might require a system restart. This is because PKG files often write data to the system library or create background services necessary for the software to function.
Handling the “Eject” Process
A common mistake among new Mac users is leaving mounted disk images on their desktop indefinitely. Once you have dragged the application icon to your Applications folder or completed the PKG installation, the DMG file is no longer needed. You should “Eject” the virtual drive by right-clicking it on the desktop or clicking the eject icon in the Finder sidebar. After ejecting, you can safely move the original .dmg file from your Downloads folder to the Trash.
3. Understanding Gatekeeper and macOS Security Protocols
Apple’s commitment to security means that macOS does not blindly trust every file you download from the internet. The system employs a security layer known as Gatekeeper to protect users from malicious software.
The “App Can’t Be Opened” Warning
When you attempt to open an app downloaded from outside the App Store, you might encounter a dialogue box stating that the app “cannot be opened because it is from an unidentified developer” or “Apple cannot check it for malicious software.” This is Gatekeeper in action. It cross-references the app’s digital signature with Apple’s database of notarized developers. If the developer hasn’t submitted the app for notarization, macOS blocks it by default to prevent potential “zero-day” exploits.
Bypassing Restrictions Safely
For power users who trust the source of their software (such as open-source projects), these restrictions can be bypassed. The most professional way to do this is through System Settings (or System Preferences on older versions). Navigate to Privacy & Security, scroll down to the Security section, and you will see a notification about the blocked app. Clicking “Open Anyway” will authorize that specific version of the app to run on your system. Alternatively, you can right-click (or Control-click) the app icon and select “Open” from the context menu; this provides a similar override option.
Notarization and the Future of Mac Security
In recent years, Apple has moved toward a “notarization” requirement. Developers are encouraged to submit their apps to Apple’s automated scanning service even if they aren’t selling through the App Store. This provides a middle ground: users can enjoy software from diverse sources, while Apple maintains a level of oversight to ensure that no known malware is being distributed through these channels.
4. Advanced Installation Methods for Power Users and Developers
For tech enthusiasts, developers, and IT professionals, the standard GUI-based installation methods might not be efficient enough. The macOS backend—based on Unix—offers powerful alternatives for software management.
Using Homebrew: The Missing Package Manager for macOS
Homebrew is an essential tool for any Mac power user. It is a command-line package manager that allows you to install software by simply typing a command in the Terminal. For example, typing brew install vlc will automatically download and install the VLC media player. Homebrew manages dependencies (other small pieces of software an app might need to run) and makes updating all your non-App Store software as simple as typing brew upgrade.
Managing Web-Based and Electron Apps
In the modern tech landscape, many “apps” are actually web-wrappers using technologies like Electron. Apps like Slack, Discord, and VS Code often fall into this category. While they install like standard DMG files, they frequently have their own internal update mechanisms that bypass both the App Store and Gatekeeper. Understanding how these apps function is key to troubleshooting performance issues, as they can often be more resource-intensive than “native” Swift or Objective-C applications.
5. Maintaining a Clean System: Best Practices for App Management
Installing an app is only half the battle; maintaining an organized and fast system requires a proactive approach to app management and eventual removal.
Organizing the Applications Folder
By default, the Applications folder can become cluttered. macOS offers “Launchpad” as a visual interface to view apps, but the folder itself is where the data lives. You can create sub-folders (e.g., “Design Tools” or “Games”) within the Applications directory to keep things organized. However, be aware that some apps expect to remain in the root Applications folder to function correctly with system updates.
Uninstalling Software Properly
On macOS, there is no “Add or Remove Programs” control panel. For App Store apps, you can simply delete them from the Launchpad. For others, the common advice is to “drag the app to the Trash.” While this removes the main executable, it often leaves behind “residue” in the ~/Library/Application Support or ~/Library/Preferences folders. To keep a system truly clean, many tech professionals use uninstaller utilities that scan the system for these orphaned files, ensuring that when an app is gone, its digital footprint is completely erased.
The Role of Rosetta 2
With the transition from Intel processors to Apple Silicon (M1, M2, and M3 chips), a new layer of installation logic was introduced: Rosetta 2. When you install an older app designed for Intel Macs on a newer Apple Silicon Mac, macOS will prompt you to install Rosetta 2. This is a transparent translation layer that allows older software to run with impressive performance on new hardware. Understanding whether an app is “Universal” (optimized for both) or “Intel” (requiring Rosetta) can help you make better decisions about which software versions to download for maximum efficiency.
Conclusion
Installing apps on a Mac is a reflection of the broader macOS philosophy: a blend of high-level simplicity for the average user and deep, Unix-based flexibility for the professional. By mastering the App Store, understanding the mechanics of DMG and PKG files, and respecting the security boundaries set by Gatekeeper, you can ensure that your Mac remains a powerful, secure, and organized tool. As the ecosystem continues to evolve—blurring the lines between mobile and desktop software—staying informed about these installation methodologies will allow you to leverage the full potential of your hardware.
aViewFromTheCave is a participant in the Amazon Services LLC Associates Program, an affiliate advertising program designed to provide a means for sites to earn advertising fees by advertising and linking to Amazon.com. Amazon, the Amazon logo, AmazonSupply, and the AmazonSupply logo are trademarks of Amazon.com, Inc. or its affiliates. As an Amazon Associate we earn affiliate commissions from qualifying purchases.