In an age where digital security often takes center stage, the physical safeguarding of our most prized possessions remains paramount. While we meticulously protect our online accounts and digital identities, the tangible assets – cherished heirlooms, important documents, emergency cash, or even discreetly stored personal items – deserve equally robust protection. This is where a wall safe comes into play, offering a blend of inconspicuous security and convenient accessibility. Beyond its primary function, installing a wall safe can also be a rewarding DIY project, integrating elements of smart design, careful planning, and a touch of financial savvy, aligning perfectly with the core tenets of our platform: Tech, Brand, and Money.
This comprehensive guide will walk you through the entire process of installing a wall safe, from initial planning and selection to the final touches. We’ll explore the technological aspects of modern safes, the branding considerations of choosing and integrating a safe into your home, and the financial implications of this investment in security.
1. Planning and Preparation: Laying the Foundation for Secure Storage
Before you even pick up a drill, meticulous planning is the cornerstone of a successful and secure wall safe installation. This phase involves understanding your needs, assessing your space, and making informed choices that will impact both the safety and aesthetics of your home.
1.1. Assessing Your Security Needs and Safe Selection
The first crucial step is to determine what you intend to store. Are you looking to protect documents like passports and birth certificates, precious jewelry, firearms, or a substantial amount of cash? Your storage needs will dictate the size, fire resistance, and burglary rating required for your wall safe.
-
Size Matters: Measure the dimensions of the items you plan to store. It’s often wise to err on the side of slightly larger than you think you’ll need, as storage needs can evolve. Consider the depth, width, and height.
-
Fire and Water Resistance: If you’re storing documents or electronics, fire resistance is a critical feature. Look for safes with UL (Underwriters Laboratories) ratings that specify the duration and temperature the safe can withstand during a fire. Water resistance is also important, especially if the safe will be located in an area prone to leaks or floods.
-
Burglary Rating: Wall safes are typically rated for their resistance to forced entry. While most residential wall safes are not designed to withstand a determined, prolonged attack, they offer a significant deterrent against opportunistic theft. Higher security ratings mean thicker steel, more robust locking mechanisms, and often a more complex installation process.
-
Locking Mechanism: Wall safes come with various locking mechanisms:
- Key Locks: Simple and reliable, but keys can be lost or duplicated.
- Combination Locks (Dial): Traditional and secure, requiring a physical dial turn.
- Electronic (Digital) Locks: Offer quick access, programmable codes, and often features like audit trails. These are increasingly popular due to their convenience and the “tech” integration they represent. Many advanced electronic locks offer biometric fingerprint scanners for an extra layer of security and seamless access.
- Dual-Lock Safes: Some safes offer a combination of two lock types for enhanced security.
-
Brand Reputation and Reviews: When it comes to security, trust is paramount. Research reputable safe manufacturers. Read reviews from other users and consult professional security reviews. Brands that invest in rigorous testing and offer good customer support are generally a wise choice. This ties directly into the “Brand” aspect – you’re investing in the reputation and reliability of a security provider.
1.2. Choosing the Right Location: The Art of Concealment and Accessibility
The effectiveness of a wall safe hinges on its placement. An ideal location should offer both a high degree of concealment and reasonable accessibility for authorized users.
- Within a Closet: The back wall of a closet is a classic and often effective location. The existing shelving and hanging clothes can easily hide the safe’s presence.
- Behind Artwork or Mirrors: A well-placed wall safe can be artfully disguised behind a large picture frame, a custom-built mirror, or even a functional piece like a bookshelf that swings open. This adds an element of “stealth tech” to your home security.
- Inside Built-in Furniture: If you have built-in shelving or cabinetry, you might be able to integrate a safe within the structure, making it virtually invisible.
- Avoid Obvious Spots: Steer clear of locations that are too easy to find, such as directly next to the front door or in plain sight in a living room.
- Structural Considerations: Crucially, the chosen location must have a wall cavity suitable for the safe’s dimensions. You’ll need to consider the depth of your wall studs and any electrical wiring, plumbing, or ductwork that might be present within the wall.
1.3. Gathering Your Tools and Materials: The DIY Toolkit
A successful installation requires the right tools. Having them ready before you begin will prevent frustrating interruptions.
- Safety Gear: Safety glasses are non-negotiable. Gloves are also recommended.
- Measuring Tools: Tape measure, level.
- Cutting Tools: Stud finder, drywall saw or reciprocating saw, utility knife.
- Drilling Tools: Power drill with various drill bits (wood and masonry, depending on your wall type).
- Fastening Tools: Screwdriver set, wrench set.
- Fasteners: Appropriate screws or bolts for securing the safe to wall studs.
- Anchoring Materials: Depending on your wall construction and safe, you may need specialized anchors.
- Pry Bar: For making precise cuts or adjustments.
- Dust Mask: Especially when cutting drywall.
- Stud Finder: Essential for locating wall studs to provide a solid mounting point.
2. Installation Process: From Wall Cavity to Secure Enclosure
This is where the hands-on work begins. Precision and careful execution are key to ensuring the safe is securely installed and functions as intended.
2.1. Measuring and Cutting the Wall Opening
This is perhaps the most critical step, as a precise opening is vital for a flush and secure installation.

- Determine Safe Dimensions: Carefully measure the external dimensions of your wall safe. Pay close attention to the flange or lip that will rest against the wall.
- Locate Wall Studs: Use your stud finder to locate the center of two adjacent wall studs in your chosen location. The safe needs to be mounted securely to these studs for stability and to prevent the wall from being compromised. Mark the stud locations clearly.
- Mark the Opening: Position the safe against the wall where you intend to install it. Trace the outline of the safe’s body (not including the flange) onto the drywall. Ensure your tracing is perfectly plumb and level.
- Cut the Drywall: Using your drywall saw or reciprocating saw, carefully cut along the traced lines. Go slowly and deliberately. Aim for a clean cut that creates a snug fit for the safe. Pro Tip: It’s often better to cut slightly smaller and then gradually widen the opening than to cut too large initially.
- Check for Obstructions: Before proceeding, use a flashlight to peer into the newly created opening to check for any hidden wires, pipes, or structural elements that you may have missed with your initial assessment. If you encounter any, you may need to adjust your location or consult a professional.
2.2. Mounting the Safe: Securing it to the Structure
With the opening prepared, the next step is to securely anchor the safe to the wall studs.
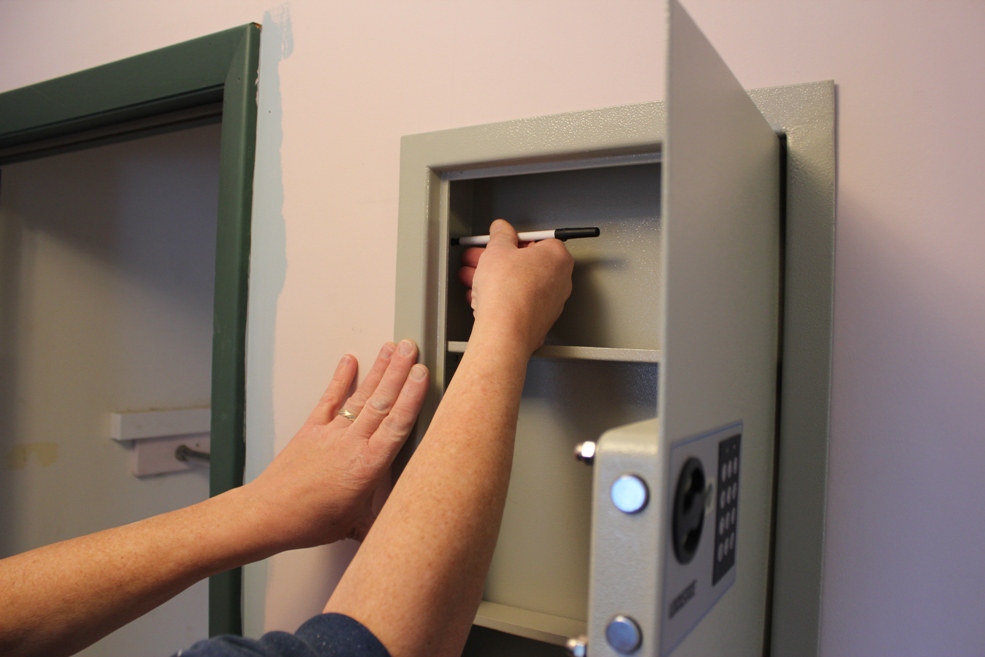
- Position the Safe: Carefully insert the wall safe into the opening. The flange of the safe should sit flush against the drywall.
- Align with Studs: Ensure the safe is properly aligned with the wall studs. Most wall safes have pre-drilled holes in their flanges that are designed to line up with standard stud spacing.
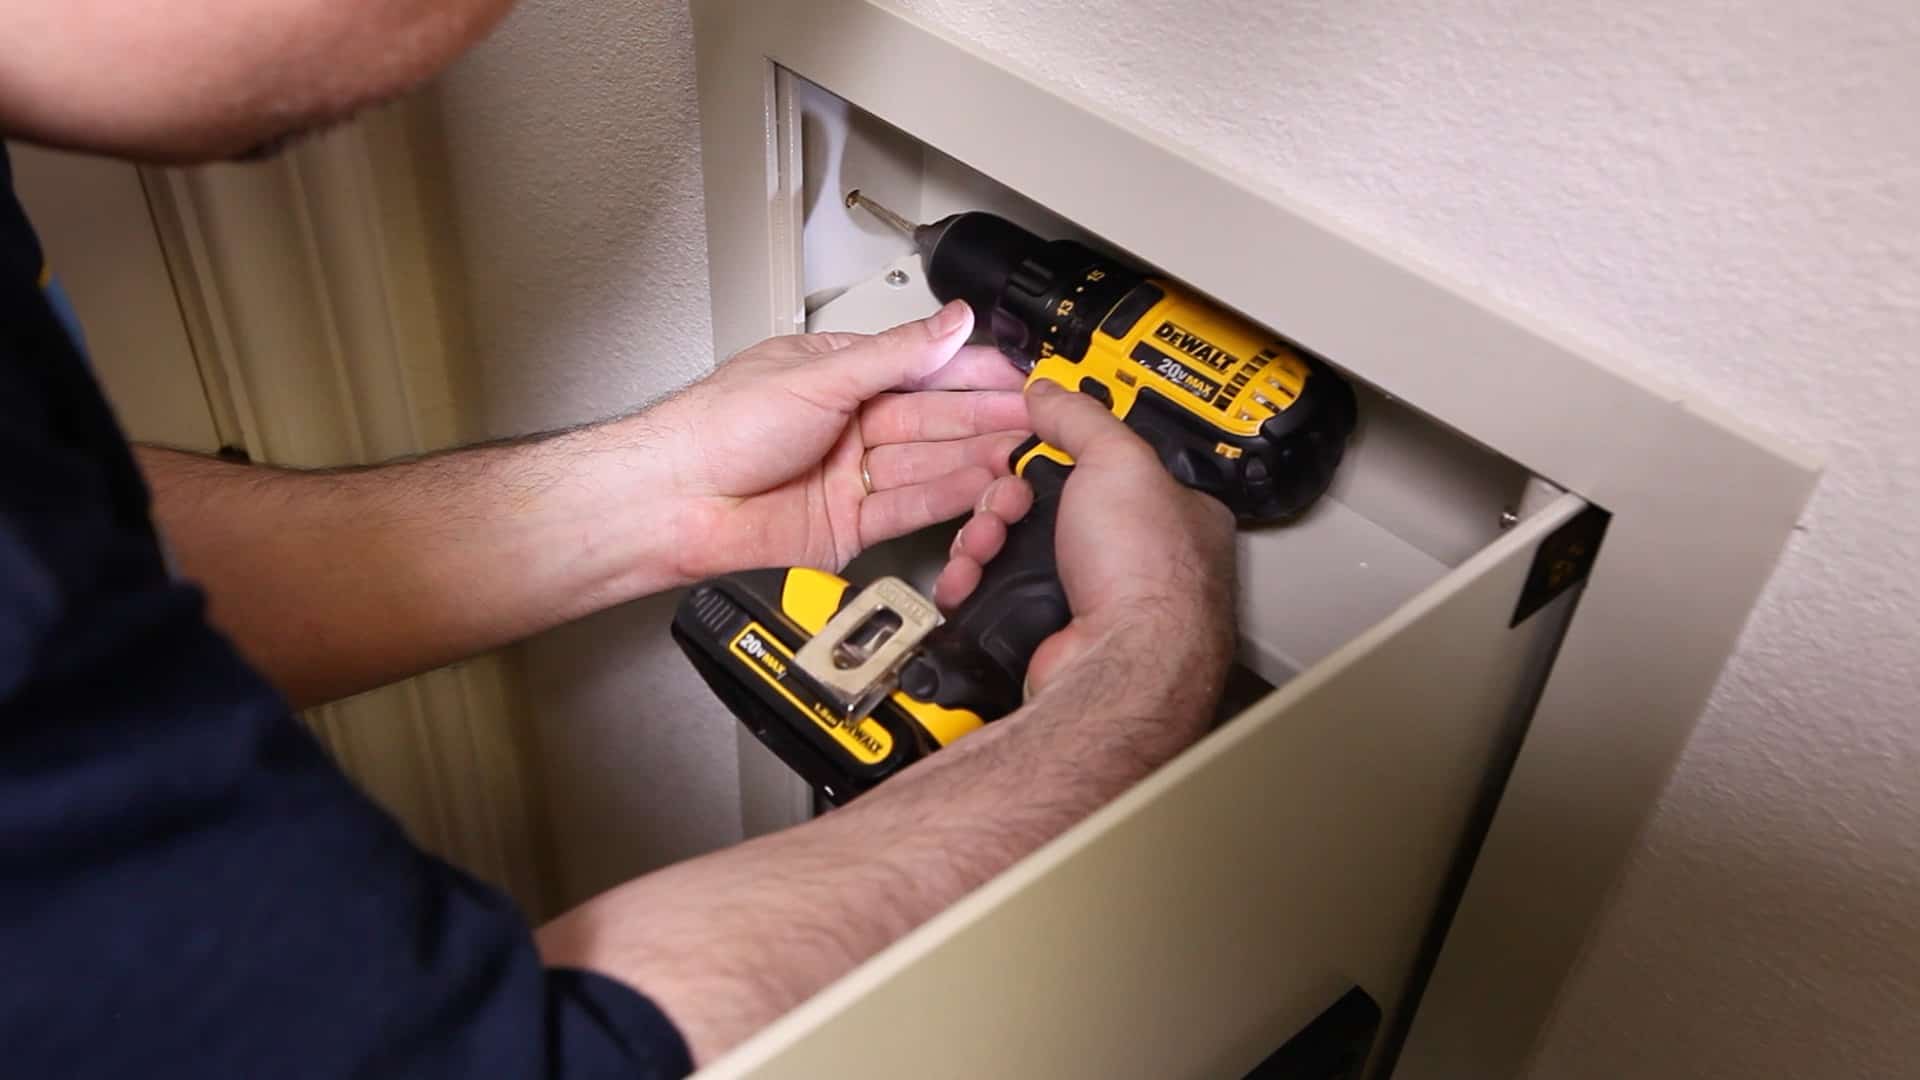
- Secure with Fasteners: Using appropriate screws or bolts (often provided with the safe, or recommended by the manufacturer), fasten the safe directly into the wall studs. Use a level to ensure the safe is perfectly plumb and level as you tighten the fasteners. This step is crucial for both security and functionality. A crooked safe can be difficult to open and close, and may not provide the intended security.
- Reinforce if Necessary: For added security or if your wall construction is less robust, you might consider adding additional bracing behind the studs or using specialized wall anchors designed for heavy loads.
2.3. Finishing Touches: Blending Security with Aesthetics
The final stages involve making the safe as inconspicuous and functional as possible.
- Covering the Opening: If your safe’s flange is designed to be visible, you might paint it to match your wall color. However, most wall safes are designed with a lip that sits behind the drywall, making it largely invisible once installed.
- Hiding the Safe: This is where your creative “branding” of your home security comes into play.
- Artwork or Mirrors: Re-hang your chosen piece of art, mirror, or shelving unit to conceal the safe. Ensure it can be easily moved to access the safe when needed.
- Custom Solutions: Consider building a shallow cabinet or shelf unit around the safe that can be opened, or a decorative panel that can be easily removed.
- Consider Accessibility: While concealment is important, ensure you can still access the safe quickly and easily in an emergency.
- Testing the Safe: Once everything is installed and disguised, thoroughly test the locking mechanism. Open and close the safe multiple times, ensuring the door operates smoothly and the lock engages and disengages without issue. If it’s an electronic lock, program your desired codes and test them.
3. Beyond Installation: Smart Use and Financial Considerations
Installing a wall safe is an investment, and like any investment, it requires ongoing thought and strategy.
3.1. Digital Security Integration: The Modern Wall Safe
The evolution of technology has brought sophisticated features to even traditional physical security.
- Smart Locks and Connectivity: Many modern wall safes now feature electronic locks with advanced features. Some can be connected to your home’s Wi-Fi network, allowing you to remotely monitor their status, receive alerts if the safe is tampered with, or even grant temporary access to trusted individuals via a smartphone app. This integration of “tech” into physical security is a significant trend.
- Biometric Access: Fingerprint scanners offer a fast and secure way to access your safe, eliminating the need to remember complex codes. This leverages cutting-edge technology for practical security.
- Audit Trails: Electronic locks often provide an audit trail, logging who accessed the safe and when. This is invaluable for tracking access and ensuring accountability.
3.2. The Financial Case for a Wall Safe: Investing in Peace of Mind
A wall safe isn’t just a purchase; it’s an investment in the security of your assets and your peace of mind.
- Cost vs. Value: The cost of a wall safe varies significantly based on size, features, and security ratings. However, the cost is often minimal compared to the value of the items you’re protecting. Consider the replacement cost of jewelry, the inconvenience and potential loss associated with stolen documents, or the risk of financial instability if emergency cash is compromised.
- Insurance Benefits: In some cases, having a properly installed and rated safe can lead to lower home insurance premiums, especially if you store valuable items like jewelry or firearms. Consult with your insurance provider for details.
- DIY Savings: By undertaking the installation yourself, you save on professional labor costs, further increasing the financial efficiency of this security upgrade. This aligns with the “Side Hustles” and “Personal Finance” aspects of our platform, encouraging resourcefulness and cost-saving.
3.3. Maintenance and Best Practices: Long-Term Security
Even the best-installed safe requires occasional attention to ensure its continued effectiveness.
- Regular Testing: Periodically test the lock mechanism, especially if it’s an electronic lock. Replace batteries in electronic locks proactively.
- Keep it Clean: Dust and debris can affect the smooth operation of locks and hinges.
- Secure the Key/Code: If you have a key lock, store the key in a secure but accessible location separate from the safe itself. For combination locks, choose a code that is difficult to guess and avoid obvious sequences. For electronic locks, regularly review who has access and update codes as needed.
- Review Your Needs: As your life and assets change, re-evaluate your security needs. You might find that your initial choice of safe no longer meets your requirements, necessitating an upgrade.
Installing a wall safe is more than just a home improvement project; it’s a strategic decision that integrates technology, thoughtful design, and financial prudence to protect what matters most. By following these steps, you can confidently install a wall safe that offers robust security and seamless integration into your home environment, providing lasting peace of mind.
aViewFromTheCave is a participant in the Amazon Services LLC Associates Program, an affiliate advertising program designed to provide a means for sites to earn advertising fees by advertising and linking to Amazon.com. Amazon, the Amazon logo, AmazonSupply, and the AmazonSupply logo are trademarks of Amazon.com, Inc. or its affiliates. As an Amazon Associate we earn affiliate commissions from qualifying purchases.