Python’s versatility and extensive ecosystem are largely thanks to its vast collection of third-party packages. These packages extend Python’s core functionality, offering solutions for everything from web development and data science to machine learning and game creation. Whether you’re a budding developer or an experienced programmer, knowing how to install and manage these packages is a fundamental skill. This guide will walk you through the most common and effective methods for installing Python packages, ensuring you can leverage the full power of the Python community’s innovations.
Understanding Python Package Management
Before diving into the installation process, it’s crucial to understand what Python packages are and how they are managed.
What are Python Packages?
In Python, a “package” is essentially a collection of modules (Python files containing code) organized in a directory hierarchy. This allows for a more structured and maintainable way to distribute and reuse code. Think of it like a toolbox – instead of having individual tools scattered everywhere, you have them neatly organized within a toolbox, making it easier to find what you need.
The Python Package Index (PyPI) is the official repository for third-party Python packages. It’s a vast database of libraries that developers have created and shared, making them accessible to the global Python community. When you install a package, you are typically downloading it from PyPI and making it available for your Python projects.
The Role of Package Managers
Manually downloading and placing Python modules into your project directories would be an incredibly tedious and error-prone process. This is where package managers come in. Package managers automate the process of finding, downloading, installing, upgrading, and uninstalling packages. They handle dependencies (other packages a given package needs to function), ensuring that all necessary components are present and compatible.
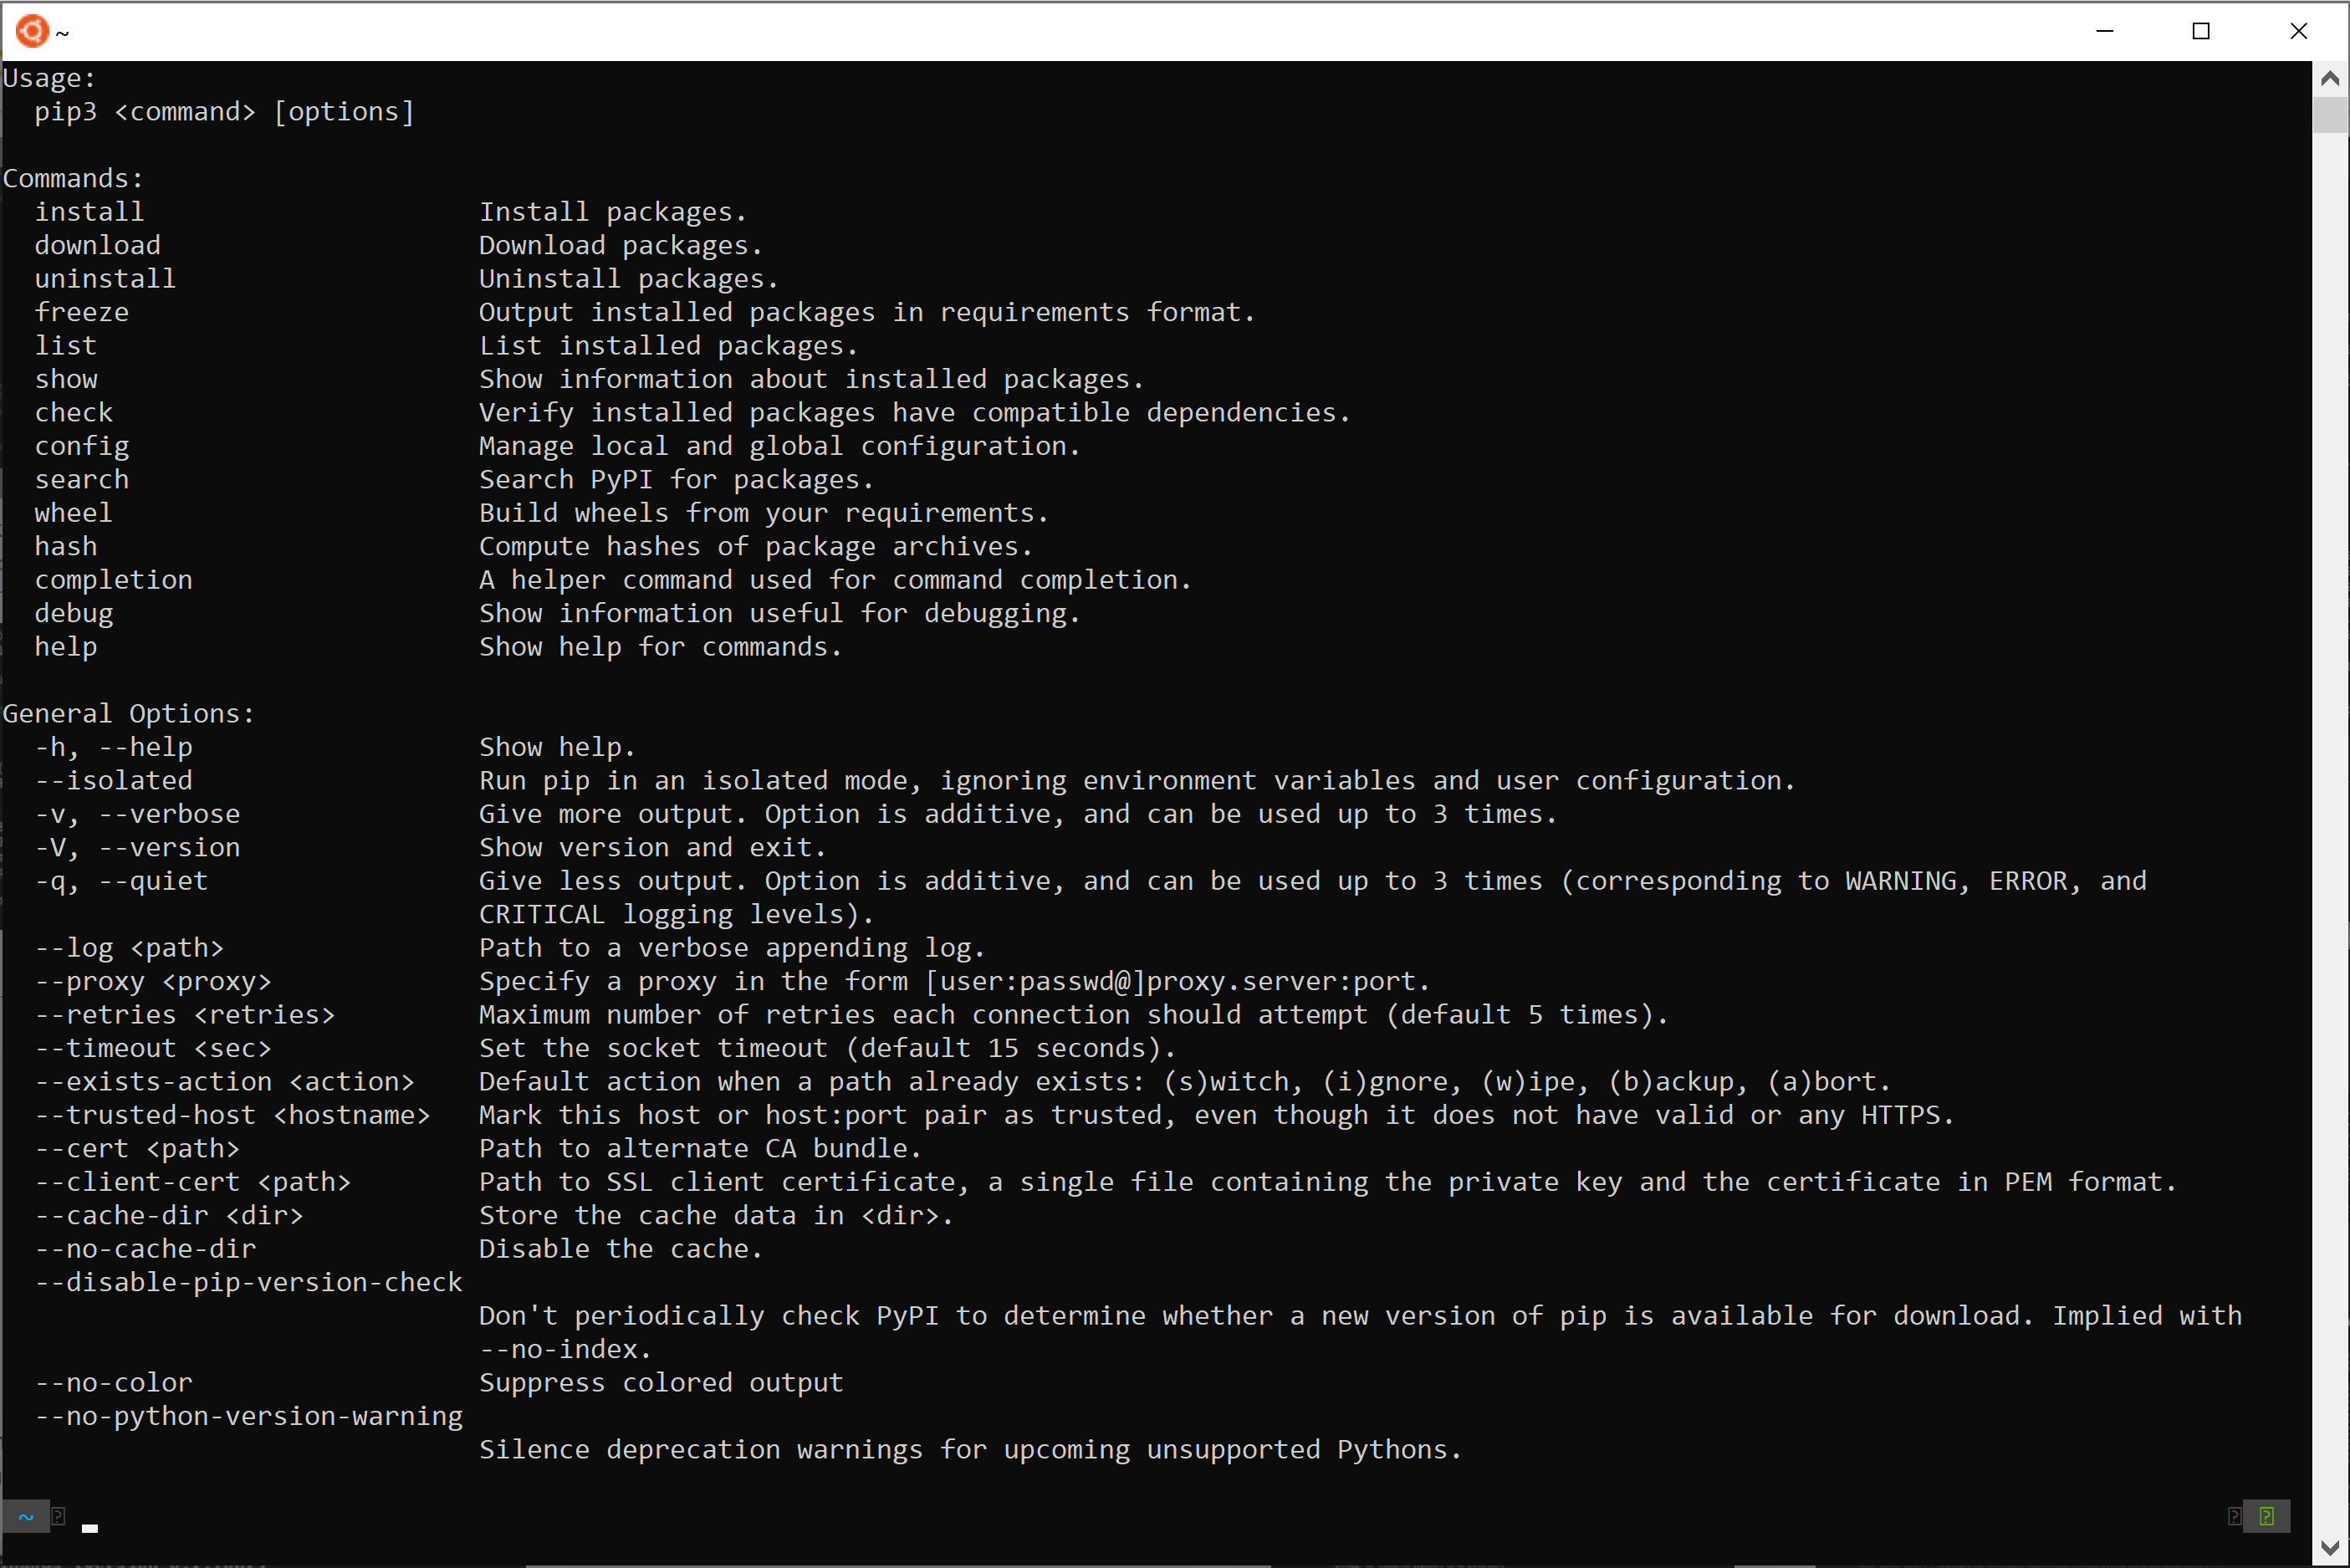
The de facto standard package manager for Python is pip. You’ll encounter pip in almost every discussion about Python package installation, and for good reason. It’s powerful, flexible, and comes bundled with most modern Python installations.
Installing Packages with pip: The Standard Approach
pip is the most common and recommended tool for installing packages in Python. It’s straightforward to use and handles most scenarios effectively.
Basic Installation
The most basic way to install a package using pip is by running a simple command in your terminal or command prompt.
Steps:
-
Open your terminal or command prompt.
- On Windows, search for “Command Prompt” or “PowerShell”.
- On macOS or Linux, open the “Terminal” application.
-
Execute the
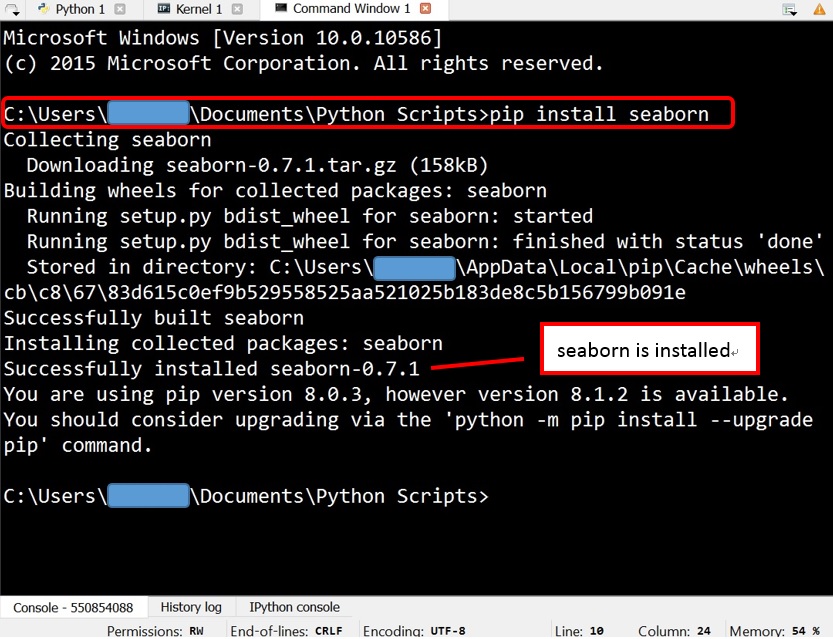
pip installcommand followed by the package name.For example, to install the popular
requestslibrary, which is used for making HTTP requests, you would type:pip install requestspipwill then connect to PyPI, find therequestspackage, download it, and install it into your Python environment. You’ll see output indicating the download progress and successful installation. -
Verify the installation (optional but recommended).
You can verify that the package has been installed by opening a Python interpreter and trying to import it.pythonThen, within the Python interpreter:
import requests
print(requests.__version__)
If the import is successful and no errors are displayed, and you see a version number, the package is installed correctly.
Installing Specific Versions
Sometimes, you might need a particular version of a package due to compatibility issues with other libraries or specific features you need. pip allows you to specify version numbers.
Syntax:
pip install package_name==version_number
Examples:
-
To install version
2.25.1ofrequests:pip install requests==2.25.1 -
To install a version greater than or equal to
2.20.0but less than3.0.0:pip install "requests>=2.20.0,<3.0.0"(Note the use of quotes around the version specifier to prevent shell interpretation.)
Upgrading and Uninstalling Packages
Maintaining your packages is as important as installing them. pip also provides commands for upgrading and uninstalling.
-
Upgrading a package:
pip install --upgrade package_nameor
pip install -U package_name -
Uninstalling a package:
pip uninstall package_namepipwill ask for confirmation before uninstalling.
Installing Packages from a Requirements File
For larger projects, managing individual package installations becomes cumbersome. It’s a best practice to maintain a list of all project dependencies in a file, conventionally named requirements.txt. This file lists each package and its version, allowing for reproducible environments.
Creating requirements.txt:
You can generate this file from your current environment using:
pip freeze > requirements.txt
This command will list all installed packages in your current Python environment and save them to requirements.txt.
Installing from requirements.txt:
To install all packages listed in requirements.txt, navigate to the directory containing the file in your terminal and run:
pip install -r requirements.txt
This command is invaluable for team collaboration, deploying applications, or setting up a project on a new machine.
Managing Python Environments: The Importance of Virtual Environments
While pip is excellent for installing packages, directly installing them into your global Python installation can lead to conflicts. Different projects might require different versions of the same package. Installing them globally can cause one project to break when you update a package for another. This is where virtual environments become indispensable.
What are Virtual Environments?
A virtual environment is an isolated Python environment that has its own installation of Python and its own set of installed packages. This isolation ensures that packages installed in one virtual environment do not affect other environments or the global Python installation.
Using venv (Built-in)
Python 3.3 and later include a built-in module called venv for creating virtual environments. It’s lightweight and generally recommended.
Steps to create and activate a virtual environment:
-
Navigate to your project directory in the terminal.
-
Create the virtual environment:
python -m venv env_nameReplace
env_namewith your desired name for the environment (e.g.,venv,.venv,my_project_env). This command will create a directory (e.g.,env_name) containing the Python interpreter and the necessary files for the environment. -
Activate the virtual environment:
-
On Windows:
.env_nameScriptsactivate -
On macOS and Linux:
-
    ```bash
    source env_name/bin/activate
    ```

Once activated, your terminal prompt will usually change to indicate that you are in the virtual environment (e.g., `(env_name) C:pathtoyourproject>`).
-
Install packages within the activated environment:
Now, when you usepip install, the packages will be installed only within this virtual environment, not globally.(env_name) pip install some_package -
Deactivate the virtual environment:
When you’re finished working in the environment, you can deactivate it by simply typing:deactivate
Using conda (for Data Science and More)
For users heavily involved in data science, machine learning, or scientific computing, conda is often preferred. Conda is a cross-platform package and environment management system that can manage not only Python packages but also other languages and their dependencies. It’s the primary package manager for the Anaconda and Miniconda distributions.
Steps to create and activate a conda environment:
-
Create a new conda environment:
conda create --name my_env_name python=3.9This command creates an environment named
my_env_namewith Python version 3.9. You can specify other Python versions or omit the version to use the default. -
Activate the conda environment:
-
On Windows, macOS, and Linux:
conda activate my_env_name
-
-
Install packages using conda or pip:
Within an active conda environment, you can install packages usingconda installorpip install.-
Using conda:
conda install numpy pandas -
Using pip (for packages not available via conda channels):
pip install some_package
-
-
Deactivate the conda environment:
conda deactivate
Conda environments are particularly useful because they can manage non-Python dependencies as well, making them powerful for complex scientific workflows.
Troubleshooting Common Installation Issues
While pip and virtual environments simplify package management, you might occasionally encounter issues. Here are some common problems and their solutions:
Permission Errors
If you encounter “Permission denied” errors when trying to install packages, it usually means you don’t have the necessary write permissions for the Python installation directory.
Solutions:
-
Use a virtual environment: This is the most robust solution, as virtual environments don’t require administrative privileges to install packages within them.
-
Install for the current user only: You can install packages that are available to your user account without needing system-wide permissions.
pip install --user package_name -
Run with administrator privileges (use with caution): On Windows, you can run your Command Prompt or PowerShell as an administrator. On Linux/macOS, you might use
sudo(though this is generally discouraged for general package installations in favor of virtual environments).# Example for Linux/macOS - use cautiously! sudo pip install package_name
“pip” Not Found or Not Recognized
This error typically means that Python or pip is not correctly installed, or its directory is not in your system’s PATH environment variable.
Solutions:
-
Ensure Python is installed correctly: Download the latest stable version from python.org. During installation, make sure to check the box that says “Add Python to PATH” (or similar).
-
Verify Python and pip installation: Open a new terminal and type:
python --version
pip --version
If these commands don’t work, you might need to reinstall Python or manually add Python’s
Scriptsdirectory to your PATH. -
Use
python -m pip: As a workaround, you can often invokepipas a module of your Python interpreter:python -m pip install package_name
Network or Proxy Issues
If pip cannot connect to PyPI, it might be due to network connectivity problems or corporate proxy settings.
Solutions:
-
Check your internet connection.
-
Configure pip to use a proxy: You can set environment variables or use
pip‘s configuration file (pip.conforpip.ini) to specify proxy settings.For example, to set proxy for a single command:
pip --proxy http://user:password@proxy.server:port install package_nameFor more permanent configuration, consult the
pipdocumentation on proxy settings.
Incompatible Package Versions
Sometimes, a package might have dependencies that conflict with other packages already installed, or it may not be compatible with your current Python version.
Solutions:
- Use virtual environments: This is the primary way to isolate dependencies and prevent conflicts. If a conflict arises, creating a new virtual environment with specific package versions can resolve it.
- Check package documentation: Read the
READMEor documentation of the package you’re trying to install. It often specifies compatible Python versions and other package dependencies. - Specify versions: As mentioned earlier, try installing a different version of the package or its dependencies.
By understanding these common pitfalls and their solutions, you can navigate the package installation process with greater confidence.
Beyond pip: Alternative Package Management Tools
While pip is the standard, other tools offer different features or cater to specific needs.
Poetry
Poetry is a more modern dependency management and packaging tool for Python. It aims to simplify the process of declaring, installing, and managing dependencies across different projects. Poetry uses a pyproject.toml file for configuration, which is becoming a standard for Python project metadata.
Key features of Poetry:
- Dependency Resolution: Uses a sophisticated resolver to ensure compatible dependency versions.
- Packaging and Publishing: Streamlines the process of building and publishing your own packages.
- Virtual Environment Management: Automatically creates and manages virtual environments for your projects.
Example usage (installing a package):
poetry add requests
Pipenv
Pipenv is another tool that aims to bring Python’s dependency management to a more streamlined and integrated level. It combines pip and virtualenv into a single workflow and uses Pipfile and Pipfile.lock to manage project dependencies.
Key features of Pipenv:
- Automatic Virtualenv Management: Creates and manages virtual environments for projects.
- Dependency Locking: Uses
Pipfile.lockto ensure deterministic builds, meaning the exact same dependencies are installed every time. - Security: Can help identify known security vulnerabilities in your dependencies.
Example usage (installing a package):
pipenv install requests
These tools offer more robust dependency management for complex projects and can be a good alternative to pip and venv for those who prefer their integrated workflows.

Conclusion
Mastering how to install Python packages is an essential step in unlocking the vast potential of the Python ecosystem. From the fundamental pip install command to the sophisticated dependency management offered by virtual environments, Poetry, and Pipenv, you now have the knowledge to effectively integrate third-party libraries into your projects. Remember that using virtual environments is a best practice that will save you countless hours of troubleshooting by preventing dependency conflicts. As you continue your Python journey, you’ll find that the ability to quickly and reliably install the right tools will be a cornerstone of your productivity and success. Happy coding!