In the fast-paced digital world, a sluggish computer can be more than just an annoyance; it can be a significant bottleneck to productivity, a security risk, and a drain on your digital life. Over time, even the most robust Windows 10 system can accumulate digital clutter, corrupted files, conflicting software, and remnants of uninstallations that slow it down to a crawl. When common troubleshooting steps fall short, a clean installation of Windows 10 emerges as the ultimate solution – a digital reset that wipes the slate clean, restoring your computer to its original, pristine state of performance and efficiency.

This comprehensive guide will walk you through every step of performing a clean install on Windows 10. Far from being a daunting task reserved for IT professionals, it’s a manageable process that empowers you to take control of your system’s health. By embracing this approach, you’re not just fixing problems; you’re investing in your digital well-being, enhancing your machine’s longevity, fortifying your digital security, and ultimately bolstering your personal and professional productivity. For those keen on leveraging technology to its fullest, maintaining a high-performing system isn’t just a technical detail—it’s a strategic move that aligns perfectly with themes of Tech optimization, safeguarding your personal Brand through reliability, and even saving Money by extending the life of your existing hardware.
A clean install involves completely erasing your hard drive and installing a fresh copy of Windows 10 from scratch. This differs significantly from a simple “reset” function, which often retains some of the existing system’s issues. The benefits are profound: a noticeable boost in speed and responsiveness, eradication of hidden malware or viruses, resolution of persistent software conflicts, and a refreshed sense of digital organization. Whether you’re dealing with stubborn performance issues, preparing to sell your device, or simply seeking a fresh start, understanding how to perform a clean install is an invaluable skill for any Windows user.
Before You Begin: Essential Preparations
Before embarking on the clean install journey, meticulous preparation is paramount. Skipping these critical initial steps can lead to data loss, frustrating delays, or an incomplete installation. Think of it as laying a robust foundation for your newly optimized digital workspace. This phase is crucial for ensuring a smooth process and safeguarding your valuable digital assets.
Backing Up Your Data: A Non-Negotiable Step
This is arguably the most important step in the entire process. A clean install will erase everything on your primary drive, meaning all your personal files, documents, photos, videos, music, and application data will be permanently deleted. The consequences of data loss can range from mild inconvenience to catastrophic, especially for those whose digital assets are integral to their personal brand or online income streams. Imagine losing years of client portfolios, tax documents, or unique creative content – the financial and reputational impact could be severe.
Therefore, dedicate ample time to creating a comprehensive backup. Consider these options:
- External Hard Drive: This is a reliable and straightforward method. Copy all your essential folders (Documents, Pictures, Videos, Music, Downloads, Desktop) to an external drive.
- Cloud Storage: Services like OneDrive, Google Drive, Dropbox, or iCloud offer automated syncing and can be an excellent option for backing up critical files, especially if you already use them regularly. Ensure your subscription has enough space for all your data.
- Network Attached Storage (NAS): For power users or small businesses, a NAS provides a robust, centralized backup solution that’s accessible across your network.
- Specific Application Data: Don’t forget data from specific applications. For example, export browser bookmarks and passwords, save game progress files, or back up email archives if you’re using a desktop client. Many applications have their own export/import functions.
- System Image (Optional but Recommended): While a clean install is about starting fresh, creating a full system image (using Windows’ built-in tools or third-party software) beforehand can act as an emergency fallback. This image captures your entire drive exactly as it is, allowing you to restore to that exact state if anything goes wrong or if you realize you forgot to back up something critical. However, remember this isn’t a replacement for backing up individual files for the clean install.
Double-check your backup. Connect your external drive or log into your cloud service to confirm that all important files are present and accessible. This diligence now will save immeasurable stress later.
Gathering Your Essentials: Product Key and Drivers
Before you wipe your system, ensure you have access to everything you’ll need after the install.
- Windows 10 Product Key:
- If your computer came pre-installed with Windows 10 (OEM), your license is likely embedded in the motherboard firmware (UEFI), and Windows will automatically activate after installation without needing to enter a key.
- If you purchased a retail copy of Windows 10, your product key will be on a sticker, in your email receipt, or linked to your Microsoft account. Make sure you have this 25-character alphanumeric code handy.
- You can often retrieve your current product key before the clean install using third-party tools or simple command-line prompts if you need to confirm it.
- Essential Device Drivers:
- While Windows 10 has a good selection of built-in drivers, it’s always best practice to download the latest drivers directly from your computer manufacturer’s website (e.g., Dell, HP, Lenovo, Acer, Asus) or the component manufacturers (e.g., NVIDIA, AMD, Intel) for critical hardware.
- Prioritize network drivers (Wi-Fi and Ethernet) so you can get online immediately after the install to download any remaining drivers or updates.
- Also consider chipset, graphics, audio, and any specialized peripheral drivers. Store these on a separate USB drive or your backup external drive for easy access. Having these pre-downloaded ensures your new system runs optimally from day one, avoiding potential glitches or reduced performance.
Creating Windows 10 Installation Media
You’ll need a bootable USB flash drive or a DVD to install Windows 10. A USB drive is generally faster and more convenient.
- What you need:
- A USB flash drive with at least 8GB of storage space (ensure it’s empty, as the process will format it).
- An internet connection to download the Windows Media Creation Tool.
- Steps to create the media:
- Go to the official Microsoft Windows 10 download page.
- Locate and download the “Media Creation Tool.”
- Run the tool. Accept the license terms.
- Select “Create installation media (USB flash drive, DVD, or ISO file) for another PC” and click Next.
- The tool will usually recommend the correct language, edition, and architecture (64-bit or 32-bit) based on your current PC. You can uncheck “Use recommended options for this PC” if you need to choose different settings (though this is rarely necessary for a clean install on the same machine).
- Choose “USB flash drive” as the media type and click Next.
- Select your USB drive from the list. Double-check that you’re selecting the correct drive, as it will be completely erased.
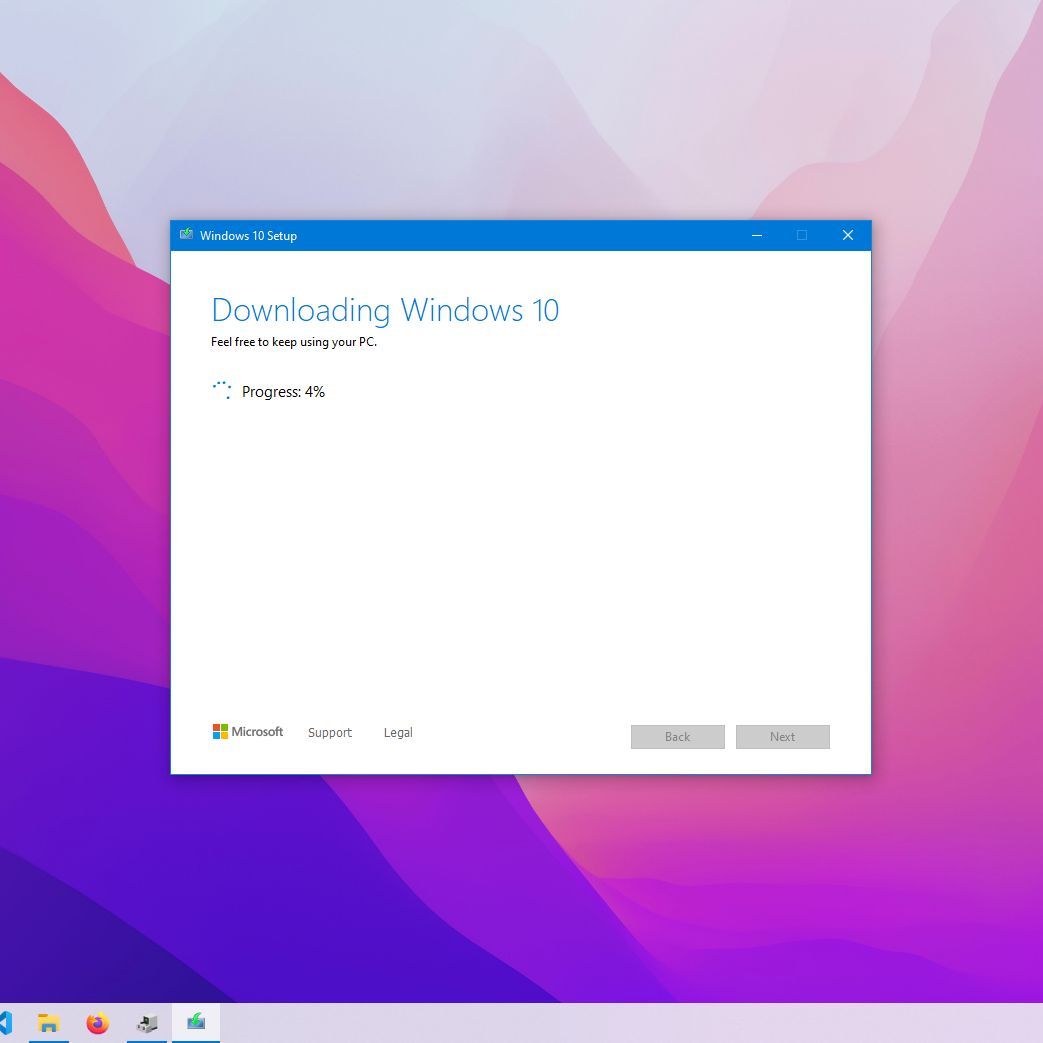
- Click Next to begin the download and creation process. This can take some time depending on your internet speed.
- Once completed, safely remove the USB drive. You now have your bootable Windows 10 installation media.
The Clean Install Process: Step-by-Step
With your data backed up and installation media ready, you’re prepared for the main event. This section details the process of booting from your installation media and navigating the Windows Setup wizard to perform a truly clean install.
Booting from Your Installation Media
The first step is to tell your computer to start from the USB drive or DVD instead of its internal hard drive.
- Insert the Installation Media: Plug your USB drive into an available port or insert your DVD into the optical drive.
- Restart Your Computer: Restart your PC.
- Access Boot Menu/BIOS/UEFI: As your computer starts up, you’ll need to press a specific key repeatedly to either:
- Enter the Boot Menu: This is usually F2, F10, F12, Esc, or Del, depending on your computer’s manufacturer (e.g., Dell, HP, Lenovo often use F12, Asus often uses F2 or Del). The boot menu allows you to select a boot device just for that session.
- Enter BIOS/UEFI Setup: If a boot menu option isn’t available or doesn’t work, you’ll need to enter the BIOS/UEFI settings and change the boot order. Look for a “Boot” or “Startup” tab and move your USB drive or DVD drive to the top of the boot priority list. Save and exit.
- Boot from Media: Once you’ve successfully selected your installation media, the system will boot from it. You might see a “Press any key to boot from CD or DVD…” message. If so, press a key quickly.
- Windows Setup Initialization: The Windows logo will appear, and the setup process will begin loading files.
Navigating the Windows Setup Wizard
The initial setup screens are straightforward:
- Language, Time, and Keyboard: On the first screen, select your preferred language, time and currency format, and keyboard or input method. Click “Next.”
- Install Now: Click the large “Install now” button.
- Activate Windows:
- If you have a product key, enter it here.
- If your Windows 10 license is digitally linked to your Microsoft account or embedded in your motherboard (common for OEM systems), you can click “I don’t have a product key” and Windows will activate automatically after the installation once it connects to the internet.
- License Terms: Read and accept the Microsoft Software License Terms. Check the box and click “Next.”
- Type of Installation: This is a crucial choice for a clean install. Select “Custom: Install Windows only (advanced).” Do NOT choose “Upgrade” as that will preserve your files and settings, which defeats the purpose of a clean install.
Deleting and Formatting Partitions
This is the step where you truly wipe your drive clean. Proceed with caution and ensure your backup is complete.
- Partition Selection Screen: You’ll see a list of drives and partitions on your computer. This might look confusing, showing multiple small “System,” “Recovery,” and “MSR” partitions alongside your main “Primary” partition (usually labeled C:).
- Identify Your Drive: If you have multiple physical drives, ensure you identify the correct drive where you want to install Windows. It’s usually
Drive 0. - Delete Existing Partitions: To ensure a truly clean install and remove any old system files or hidden recovery partitions, you should delete all partitions associated with the drive where Windows was previously installed. Select each partition one by one and click “Delete.” Be absolutely sure you are deleting partitions from the correct drive. If you have a separate data drive you wish to keep, do NOT delete its partitions.
- Unallocated Space: After deleting, the entire drive will show as “Drive X Unallocated Space.”
- Create New Partition (Optional but Recommended): You can either select the “Unallocated Space” and click “Next” to let Windows create the necessary partitions automatically (recommended for most users), or you can manually create a new partition. To manually create, select the “Unallocated Space,” click “New,” specify the size (usually the maximum available for your primary Windows partition), and then click “Apply.” Windows will then create additional small system partitions.
- Select for Installation: Once you have an unallocated space or a newly created “Primary” partition, select it and click “Next” to proceed. This is where Windows will be installed.

Initiating the Installation
Once you’ve selected the target partition, the actual installation begins:
- Windows will start copying files, installing features, and applying updates. This process is fully automated and will take some time, typically 20-45 minutes, depending on your system’s speed (especially if you have an SSD).
- Your computer will restart multiple times during this phase. Do NOT press any keys when prompted to “Press any key to boot from CD or DVD…” after a restart, as this will loop you back into the installation media. Let the computer boot from its internal drive.
- After the restarts, Windows will complete the final setup stages, prepare your desktop, and guide you through the initial configuration.
Initial Configuration:
- Region: Select your country/region.
- Keyboard Layout: Confirm your keyboard layout.
- Second Keyboard Layout (Optional): Add another if needed.
- Network Connection: Connect to your Wi-Fi or plug in an Ethernet cable. This is crucial for completing setup and activating Windows if your license is digital.
- Account Setup:
- Microsoft Account: Sign in with your Microsoft account (recommended for syncing settings, OneDrive, and accessing the Microsoft Store).
- Offline Account (Local Account): If you prefer not to use a Microsoft account, you can select “Offline account” (or “Domain join instead” in some versions, which leads to a local account setup).
- Create PIN (Optional): Set up a PIN for faster login.
- Privacy Settings: Review and adjust your privacy settings (location, diagnostic data, tailored experiences, etc.).
- Cortana (Optional): Choose whether to enable or disable Cortana.
Once these steps are complete, you’ll be greeted by a fresh Windows 10 desktop – a testament to your successful clean install!
Post-Installation: Optimizing Your Fresh System
The clean slate is ready, but the job isn’t quite done. To ensure your system is truly optimized, secure, and ready for productivity, a few crucial post-installation steps are necessary. This phase is about transitioning from a bare-bones operating system to your personalized and high-performing workstation.
Updating Drivers and Windows
This is paramount for stability, performance, and security.
- Windows Update:
- Immediately connect to the internet (if you haven’t already during setup).
- Go to
Settings > Update & Security > Windows Updateand click “Check for updates.” - Let Windows download and install all available updates. This includes security patches, feature updates, and often a significant number of basic drivers. Be prepared for several restarts. Repeat this process until no more updates are found.
- Install Manufacturer Drivers:
- Even after Windows Update, it’s highly recommended to install the latest specific drivers you downloaded earlier from your PC manufacturer’s website or component vendors (NVIDIA, AMD, Intel).
- Prioritize chipset, graphics (GPU), audio, and any proprietary peripheral drivers. These often unlock the full potential of your hardware, providing better performance and stability than generic drivers.
- Install them one by one, restarting your computer as prompted.
Reinstalling Your Essential Software
With a clean system, you have the opportunity to be selective and mindful about what you install. Avoid unnecessary bloatware.
- Antivirus/Security Software: While Windows Defender provides robust protection, if you prefer a third-party antivirus, install it next.
- Web Browser: Install your preferred web browser (Chrome, Firefox, Edge, Brave, etc.).
- Productivity Suite: Install your office suite (Microsoft Office, LibreOffice, Google Workspace apps).
- Creative Tools: Reinstall any essential creative software (Adobe Creative Cloud, video editors, CAD software).
- Communication Apps: Install messaging apps (Slack, Discord, Zoom).
- Utilities: Any other essential utilities like file compression tools, PDF readers, or specific hardware management software.
- Gaming Platforms: Install Steam, Epic Games Launcher, etc., if applicable.
When reinstalling software, always download from official sources to avoid malware. This step allows you to curate your digital environment, focusing on tools that truly serve your productivity and digital brand.
Restoring Your Backed-Up Data
Once your applications are installed and drivers are updated, it’s time to bring back your personal files.
- Connect your external hard drive or access your cloud storage.
- Copy your documents, pictures, videos, music, and other personal files back into their respective folders on your new Windows installation.
- If you backed up specific application data (like browser profiles or game saves), place them back into their correct directories.
- Organize your files as you restore them. A clean install offers a chance to implement better file management practices, contributing to a more efficient and productive workflow.
Configuring Privacy and Security Settings
A fresh install is the perfect time to review and reinforce your digital security posture.
- Windows Security Center: Familiarize yourself with the Windows Security Center (search for “Windows Security”). Here you can manage Firewall & network protection, App & browser control, Account protection, and Device security.
- Privacy Settings: Revisit
Settings > Privacyand adjust permissions for apps, location services, camera, microphone, notifications, and diagnostic data according to your preferences. Remember, robust digital security is not just about protecting your data; it’s about maintaining trust, crucial for any personal or corporate brand. - User Account Control (UAC): Ensure UAC is enabled (which it is by default) for an extra layer of security against unauthorized changes.
- Strong Passwords & Two-Factor Authentication (2FA): As you set up new accounts or log into existing ones, reinforce the use of strong, unique passwords and enable 2FA wherever possible. Consider using a password manager.
- BitLocker (for Pro/Enterprise): If you have Windows 10 Pro or Enterprise, consider enabling BitLocker for full disk encryption, providing an additional layer of data security.
Why a Clean Install Matters: Beyond Just Fixing Problems
The effort invested in performing a clean install extends far beyond merely resolving system errors. It’s a strategic move that fundamentally impacts your engagement with technology, your personal and professional brand, and even your financial savvy.
From a Tech perspective, a clean install revitalizes your hardware. It strips away years of accumulated software cruft, registry bloat, and conflicting background processes that bog down even powerful machines. The result is a system that performs closer to its original specifications, booting faster, launching applications quicker, and handling demanding tasks with greater efficiency. This maximizes the lifespan of your current hardware, potentially delaying costly upgrades and ensuring you get the most out of your technological investment. It also acts as a powerful debugging tool, definitively ruling out software-related issues when troubleshooting hardware problems.
Regarding your Brand, a reliable and responsive computer is often an extension of your professional identity. For freelancers, entrepreneurs, or anyone working remotely, a constantly crashing or slow system can severely impede productivity, miss deadlines, and convey an image of disorganization. A smooth-running machine ensures you can present your best self, whether it’s through seamless video calls, responsive creative work, or efficient client communication. Furthermore, the proactive approach to system maintenance, including robust backups and security configurations, demonstrates a commitment to data integrity and professional responsibility – qualities that enhance any personal or corporate brand. The digital security measures taken during and after a clean install (like robust privacy settings and updated security software) directly protect your sensitive information, ensuring that breaches don’t tarnish your reputation or compromise proprietary data.
Financially, a clean install can be a surprisingly Money-saving endeavor. By restoring performance, you effectively extend the usable life of your existing computer. Instead of feeling compelled to buy a new laptop or desktop because your old one is too slow, a clean install can breathe new life into it, saving you hundreds or even thousands of dollars. It also minimizes potential expenditures on professional tech support to diagnose and fix deep-seated software issues that a clean install resolves instantly. For those involved in online income or side hustles, every minute saved from a sluggish computer translates to more time for productive work, content creation, or client engagement, directly impacting your earning potential. Moreover, the peace of mind derived from a secure and efficient system reduces the risk of costly data recovery services or the financial fallout from identity theft caused by unaddressed security vulnerabilities.
In essence, a clean install is not just a technical procedure; it’s an investment in your digital future. It empowers you with a deeper understanding of your system, provides a foundation for optimal performance and security, protects your valuable data and reputation, and contributes to significant long-term savings and productivity gains.
In conclusion, performing a clean install of Windows 10 might seem like a significant undertaking, but the benefits it delivers in terms of performance, security, and overall user experience are well worth the effort. By meticulously backing up your data, preparing your installation media, and carefully following each step of the process, you can rejuvenate your computer and enjoy a fast, reliable, and secure operating system. Embrace this powerful maintenance technique to keep your digital life running smoothly, protect your valuable assets, and ensure your technology serves your goals rather than hindering them.
aViewFromTheCave is a participant in the Amazon Services LLC Associates Program, an affiliate advertising program designed to provide a means for sites to earn advertising fees by advertising and linking to Amazon.com. Amazon, the Amazon logo, AmazonSupply, and the AmazonSupply logo are trademarks of Amazon.com, Inc. or its affiliates. As an Amazon Associate we earn affiliate commissions from qualifying purchases.