In the dynamic world of software development, efficiency and robust tooling are not just advantages—they are necessities. Ruby, a powerful and elegant programming language known for its developer-friendliness and versatility, powers everything from web applications (with frameworks like Ruby on Rails) to automation scripts and data processing tools. However, the true potential of Ruby development often lies beyond the language itself, residing in the sophisticated ecosystem of plugins and extensions that augment integrated development environments (IDEs) and text editors.
This guide delves into the essential process of installing Ruby plugins, demystifying the “how-to” for various popular development environments. Whether you’re a seasoned developer aiming to streamline your workflow or a newcomer seeking to optimize your setup, understanding plugin installation is a critical step. We’ll explore the underlying reasons why these tools are indispensable, walk through the practical steps of integrating them, and discuss how a well-configured environment can significantly impact your productivity, fortify your professional brand, and ultimately contribute to your financial success in the tech landscape.
The Indispensable Role of Ruby and Its Development Environment
Ruby’s charm lies in its expressiveness and convention-over-configuration philosophy, which fosters rapid development and cleaner code. Yet, even the most elegant language benefits immensely from the right supporting cast of tools. This section illuminates Ruby’s significance and the crucial role plugins play in shaping an efficient development experience.
Understanding Ruby: A Language for Innovation
Ruby burst onto the scene with a promise: to make programming fun and productive. Its object-oriented design, dynamic typing, and garbage collection simplify many common programming tasks, allowing developers to focus more on problem-solving and less on boilerplate code. From startups building agile web services to enterprises managing complex systems, Ruby’s adaptability has cemented its place in the modern tech stack. Its active community consistently contributes to a rich array of libraries (gems) and tools, ensuring that Ruby remains relevant and powerful. Mastering Ruby is about more than just syntax; it’s about embracing a philosophy of elegant design and efficient execution, values that are further amplified by a carefully curated development environment.
Why Plugins Are Essential for Modern Development
Think of plugins as specialized enhancements that supercharge your IDE or text editor. They extend core functionalities, introduce new features, and tailor the development environment to the specific demands of Ruby programming. For Ruby developers, these enhancements are not mere conveniences; they are productivity multipliers.
Consider these key benefits:
- Syntax Highlighting and Linting: Plugins provide intelligent syntax highlighting, making code more readable, and real-time linting, which identifies errors and style violations as you type, preventing bugs before they even become an issue.
- Code Completion and Snippets: Accelerate coding with smart autocompletion suggestions and pre-defined code snippets for common Ruby constructs, reducing repetitive typing and minimizing errors.
- Debugging Tools: Seamlessly integrate debugging capabilities, allowing you to set breakpoints, inspect variables, and step through your Ruby code directly within your editor, dramatically simplifying the bug-fixing process.
- Refactoring Assistance: Tools that automate code refactoring operations—like renaming variables or extracting methods—ensure code quality and maintainability without manual, error-prone changes.
- Version Control Integration: Many plugins offer a visual interface for Git or other version control systems, making it easier to commit, push, pull, and manage branches directly from your editor.
- Testing Framework Integration: Run RSpec or Minitest tests with a single click, view test results graphically, and navigate directly to failing tests, making test-driven development (TDD) more efficient.
These capabilities translate directly into faster development cycles, higher code quality, and a more enjoyable coding experience. In an industry where time is money and quality is brand, leveraging these tools is a strategic imperative.
Preparing Your Workbench: Core Requirements Before Plugin Installation
Before diving into the exciting world of plugin installation, it’s crucial to lay a solid foundation. This involves ensuring your Ruby environment is correctly set up and selecting the right development tool for your needs. A little preparation here saves significant troubleshooting later.
Ensuring Ruby is Ready: Installation and Version Management
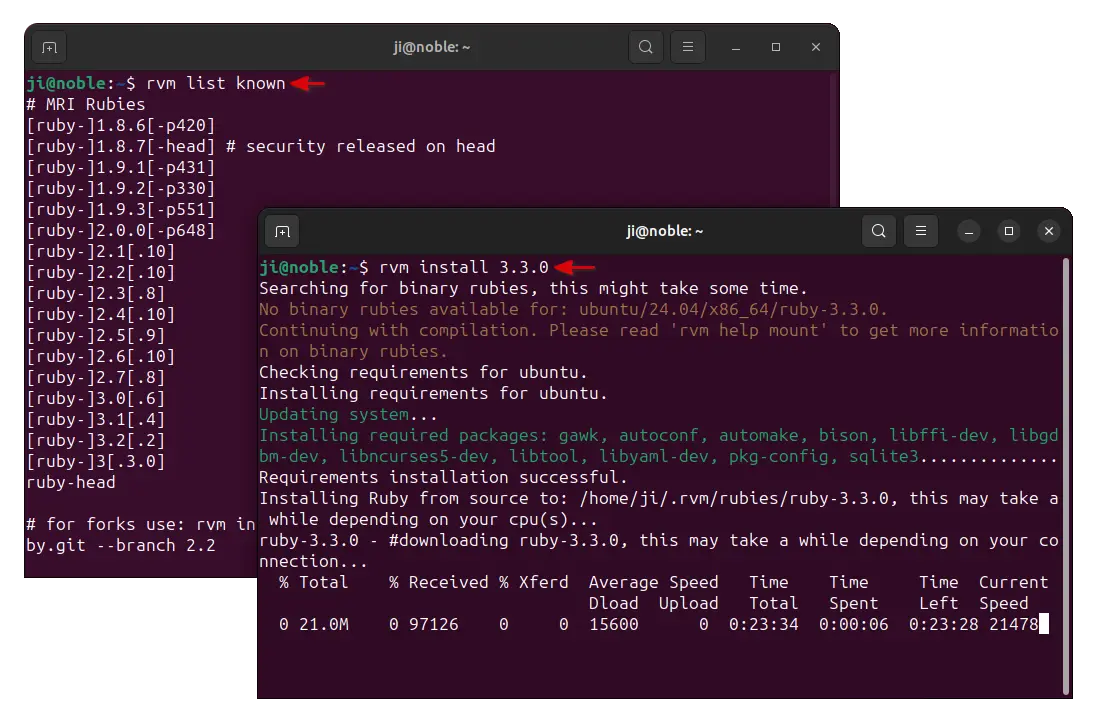
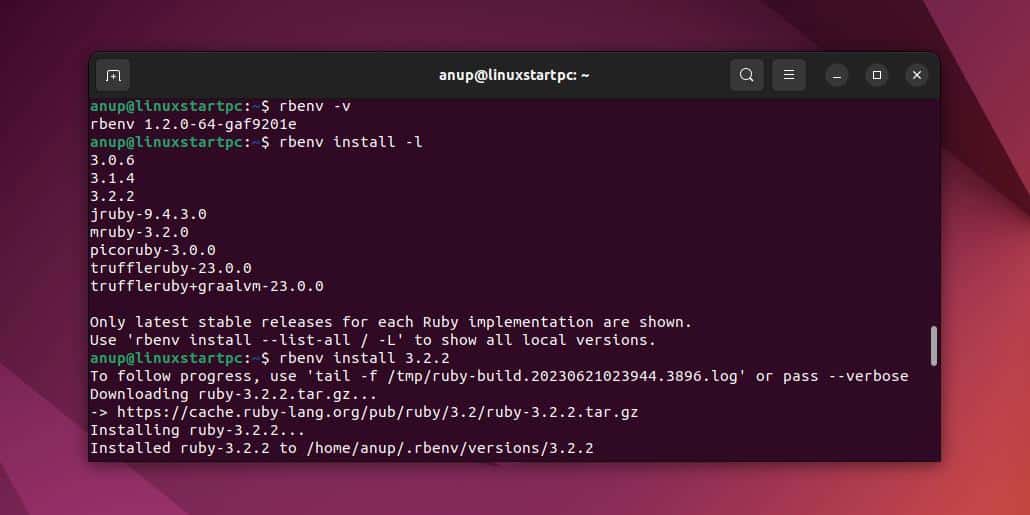
The first step for any Ruby developer is to have Ruby itself installed on their system. While some operating systems come with a pre-installed version, it’s often outdated or lacks the flexibility required for modern development. We recommend using a Ruby version manager, which allows you to install multiple Ruby versions and easily switch between them for different projects.
Popular Ruby version managers include:
- RVM (Ruby Version Manager): A powerful command-line tool that allows you to install, manage, and work with multiple Ruby environments.
- rbenv: A lightweight alternative to RVM, rbenv manages Ruby versions by altering the
PATHenvironment variable. - chruby: Another minimalist option, often favored for its simplicity and speed.
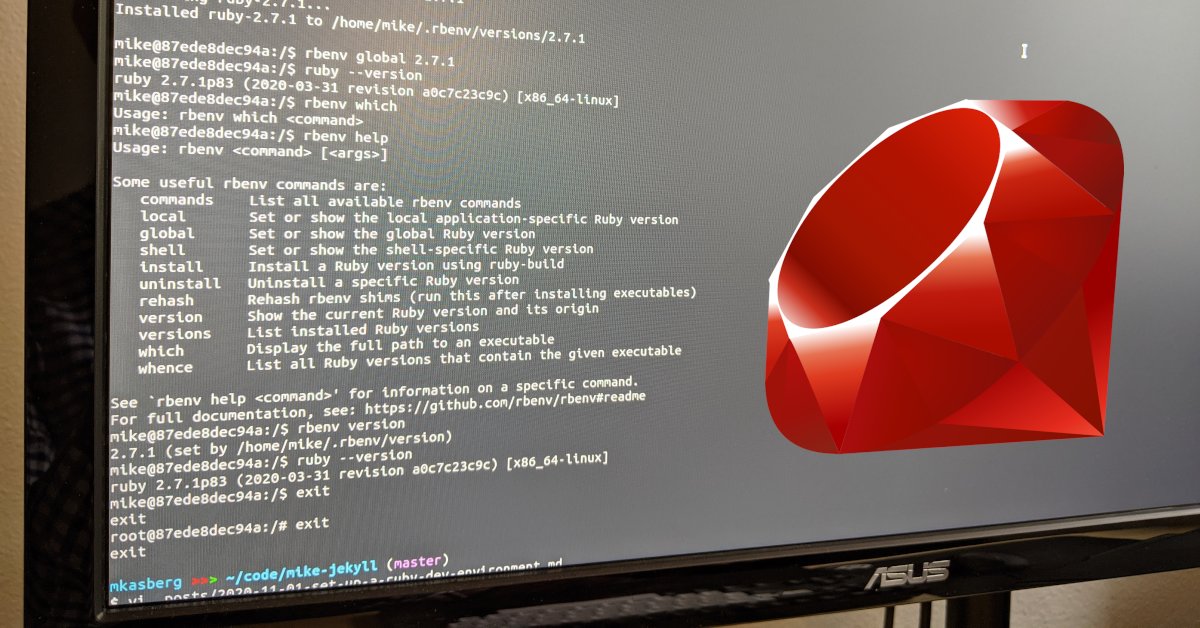
To install Ruby using a version manager, you typically open your terminal or console and follow a few simple commands. For example, with rbenv:
git clone https://github.com/rbenv/rbenv.git ~/.rbenv
echo 'export PATH="$HOME/.rbenv/bin:$PATH"' >> ~/.bashrc
echo 'eval "$(rbenv init -)"' >> ~/.bashrc
source ~/.bashrc

# To install a specific Ruby version:
rbenv install 3.2.2 # Or your desired version
rbenv global 3.2.2
ruby -v # Verify installation
Always verify your Ruby installation by typing ruby -v in your console. This confirms that Ruby is correctly installed and accessible, ensuring your development environment can interact with it effectively. This foundational step is paramount, as plugins often rely on specific Ruby versions or the presence of the ruby executable in your system’s PATH.
Choosing Your Integrated Development Environment (IDE) or Text Editor
The “console” in the original context of “Ruby plugin for console” can be interpreted broadly as your entire development environment, which often involves an IDE or a powerful text editor, alongside the literal terminal/console. The choice of your primary coding tool significantly influences how you install and manage plugins.
Here are some of the most popular choices for Ruby development:
- Visual Studio Code (VS Code): A free, open-source, and highly extensible editor from Microsoft. Its vast marketplace of extensions makes it incredibly versatile for Ruby and nearly any other language.
- Sublime Text: Known for its speed, efficiency, and elegant user interface, Sublime Text is a favorite among many developers, especially for its “Goto Anything” functionality and powerful multi-selection features.
- Atom: Developed by GitHub, Atom is a “hackable” text editor that is deeply customizable and has a strong community contributing to its package ecosystem.
- RubyMine: A commercial IDE specifically designed for Ruby and Rails development by JetBrains. RubyMine offers unparalleled built-in features, smart code assistance, and powerful debugging tools, often minimizing the need for external plugins.
Your choice often comes down to personal preference, project requirements, and whether you prefer a lightweight editor or a full-fledged IDE. Each has its own mechanism for plugin installation, which we will explore next.
Step-by-Step Plugin Installation for Popular Ruby Environments
Now that your Ruby environment is set up and you’ve chosen your development tool, let’s dive into the practical steps of installing Ruby plugins. We’ll cover the most popular options, providing a clear path to enhance your coding experience.
Visual Studio Code (VS Code): A Versatile Choice
VS Code’s popularity among developers stems from its flexibility and an extensive marketplace of extensions. For Ruby development, several key extensions can transform VS Code into a powerful IDE.
Installing Ruby Extensions in VS Code:
- Open VS Code.
- Access the Extensions View: Click on the Extensions icon in the Activity Bar on the side of the window (it looks like four squares, one detached). Alternatively, press
Ctrl+Shift+X(Windows/Linux) orCmd+Shift+X(macOS). - Search for Ruby Extensions: In the search bar at the top of the Extensions view, type “Ruby”.
- Install Recommended Extensions: You’ll see a list of relevant extensions. Look for highly rated and popular ones. Essential Ruby extensions typically include:
- “Ruby” by Stafford Group: Provides core Ruby language support, including syntax highlighting, snippets, and basic IntelliSense.
- “Ruby Solargraph” (or similar language server): Crucial for advanced features like go-to definition, intelligent code completion, and diagnostics. Solargraph is a powerful gem-based language server that integrates seamlessly.
- “VSCode Ruby” by Wingrunr: Often includes debugging capabilities and additional formatting options.
- “ERB Helper” (for Rails developers): Assists with ERB templates.
- “Prettier” (with Ruby plugin for it): For consistent code formatting.
- Click “Install”: For each desired extension, click the “Install” button. VS Code will handle the download and activation.
- Configure Settings (if necessary): Some extensions might require minor configuration. For Solargraph, you might need to install the gem:
gem install solargraphin your terminal. VS Code will often prompt you if a required gem is missing.
Once installed, open a Ruby file (.rb extension), and you should immediately notice enhanced syntax highlighting, code completion, and other features.
Sublime Text: Speed and Simplicity
Sublime Text relies on Package Control, its own package manager, for easily installing plugins (called “packages”).
Installing Packages in Sublime Text:
- Install Package Control: If you don’t have it, open Sublime Text, press
Ctrl+(Windows/Linux) orCmd+(macOS) to open the console, paste the installation code from the Package Control website (packagecontrol.io), and pressEnter. Restart Sublime Text. - Open Command Palette: Press
Ctrl+Shift+P(Windows/Linux) orCmd+Shift+P(macOS). - Select “Package Control: Install Package”: Type “install package” and select the corresponding option.
- Search for Ruby Packages: Type “Ruby” to filter the list. Recommended packages include:
- “Ruby” (built-in, often pre-installed): Basic syntax highlighting.
- “Sublime Text-Ruby” / “RubyTest”: Enhanced Ruby support, snippets, and testing integration.
- “RuboCop”: Integrates the RuboCop linter for Ruby style enforcement.
- “Solargraph” (via a Sublime Text plugin that wraps it): For advanced code intelligence.
- Select and Install: Choose the package you want and press
Enter. Sublime Text will download and install it.
Sublime Text’s speed means these changes are usually instantaneous.
Atom: The Hackable Editor
Atom’s core philosophy is hackability, making it highly customizable through packages (its term for plugins).
Installing Packages in Atom:
- Open Atom Settings: Go to
Atom>Preferences(macOS) orFile>Settings(Windows/Linux). - Navigate to “Install” Tab: In the settings panel, click on the “Install” tab on the left sidebar.
- Search for Ruby Packages: In the search box, type “Ruby”.
- Install Recommended Packages: Look for popular packages like:
- “language-ruby”: Provides core Ruby syntax highlighting.
- “autocomplete-ruby”: Intelligent code completion.
- “linter-rubocop”: Integrates RuboCop for real-time linting.
- “ruby-test”: Run tests directly from Atom.
- Click “Install”: For each package, click the “Install” button. Atom will download and activate them.
Atom’s package manager (apm) can also be used via the terminal: apm install language-ruby.
RubyMine: The Dedicated Powerhouse
RubyMine, as a dedicated IDE for Ruby and Rails, comes with most essential features built-in. It minimizes the need for extensive third-party plugins for core functionalities. However, it does support its own plugin ecosystem for specialized tasks or integrations.
Installing Plugins in RubyMine:
- Open RubyMine Settings/Preferences: Go to
RubyMine>Preferences(macOS) orFile>Settings(Windows/Linux). - Navigate to “Plugins”: In the settings panel, select “Plugins” from the sidebar.
- Browse Marketplace: Click on the “Marketplace” tab.
- Search and Install: Search for specific plugins (e.g., for database tools, alternative testing frameworks, or theme customizations). Click “Install” and restart RubyMine if prompted.
Leveraging Command-Line Tools and Gem-Based Plugins
While the above focuses on IDE/editor plugins, the “console” aspect from the original title can also refer to command-line tools and RubyGems that extend Ruby’s functionality and are often integrated into an IDE’s workflow. These are effectively “plugins” for your Ruby development environment accessible via the terminal.
- RuboCop: A static code analyzer (linter) that enforces style guidelines. Install with
gem install rubocop. Many IDE plugins integrate RuboCop directly. - Pry: An alternative to IRB (Interactive Ruby Shell), offering enhanced debugging and introspection capabilities. Install with
gem install pry. - Bundler: Manages your project’s Ruby dependencies. Install with
gem install bundler. Essential for almost any Ruby project. - Rake: A build tool, similar to Make, often used for defining and running tasks in Ruby projects (e.g.,
rake db:migrate). Comes with Ruby on Rails, but can be used standalone.
These gems are installed via the gem install command in your terminal/console and become part of your Ruby environment, ready to be used by your IDE or directly from the command line. They are integral to a fully equipped Ruby development “console” experience.
Verifying Your Setup and Troubleshooting Common Issues
After investing time in installing your Ruby plugins, it’s crucial to confirm everything is working as expected. This section covers post-installation checks and guides you through common troubleshooting steps, ensuring a smooth and productive development journey.
Post-Installation Checks: Ensuring Functionality
The best way to verify your plugin installation is to simply use them.
- Open a Ruby Project: Load an existing Ruby project or create a new
.rbfile. - Test Syntax Highlighting and Autocompletion: Start typing Ruby code. Do you see keywords highlighted correctly? Are suggestions appearing as you type methods or variables?
- Trigger Linting: Introduce a deliberate syntax error (e.g., a missing
endkeyword or a style violation as per RuboCop rules if installed). Does your editor flag the error immediately with a red underline or warning icon? - Run a Test: If you’ve installed a test runner plugin (e.g., for RSpec), try running a test directly from your editor. Does it execute, and are the results displayed within your IDE?
- Utilize Debugging: If you installed a debugger, set a breakpoint in your code and try running the file in debug mode. Does it pause at the breakpoint, allowing you to inspect variables?
- Format Code: If you installed a formatter (like Prettier with a Ruby plugin), try formatting a file. Does it re-arrange the code according to the configured style?
Successful execution of these checks confirms your plugins are active and correctly integrated into your development workflow.
Addressing Hurdles: Common Problems and Solutions
Even with careful installation, you might encounter issues. Here are some common problems and their solutions:
-
Plugin Not Activating/Working:
- Restart Your IDE/Editor: Often, a simple restart is enough to activate newly installed plugins or apply configuration changes.
- Check Output/Log Windows: Many IDEs have “Output,” “Problems,” or “Log” panels that provide diagnostic messages. Look for errors related to your Ruby extensions.
- Confirm Ruby Path: Ensure your IDE is pointing to the correct Ruby executable. Sometimes, environment variables aren’t picked up correctly. In VS Code, check settings like
ruby.executablePath. In RubyMine, verify your SDK configuration. - Install Required Gems: Many language server or linter plugins (like Solargraph or RuboCop) require their corresponding Ruby gems to be installed. Run
gem install <gem_name>in your terminal.
-
Slow Performance or High CPU Usage:
- Review Active Plugins: Too many plugins, or poorly optimized ones, can slow down your editor. Try disabling plugins one by one to identify the culprit.
- Check for Conflicts: Sometimes, two plugins might try to provide similar functionality and conflict. Disable one of them.
- Update Plugins and Editor: Ensure both your plugins and your IDE/editor are up to their latest versions, as performance improvements and bug fixes are frequently released.
-
Syntax Errors or Warnings from Linter (Incorrectly):
- Check Linter Configuration: Linters like RuboCop use configuration files (
.rubocop.yml). Ensure your project’s configuration is correct and that the linter plugin is respecting it. - Update Linter Gem: An outdated linter gem might misinterpret newer Ruby syntax. Update it with
gem update <linter_gem_name>.
- Check Linter Configuration: Linters like RuboCop use configuration files (
-
Debugging Not Working:
- Install Debugger Gem: Ruby debugging often requires a specific gem (e.g.,
ruby-debug-ide,debase,debug). Install it withgem install <debugger_gem>. - Check Launch Configuration: Debuggers in IDEs like VS Code require a
launch.jsonfile to specify how to start the debugging session. Ensure this configuration is correct for your project type (e.g., Rails, RSpec). - Verify Ruby Version Compatibility: Some debuggers are highly sensitive to Ruby versions. Ensure your debugger gem supports your installed Ruby version.
- Install Debugger Gem: Ruby debugging often requires a specific gem (e.g.,
By systematically addressing these common issues, you can quickly resolve most plugin-related problems and get back to productive coding.
Beyond Installation: Maximizing Productivity and Impact
Installing plugins is just the first step. To truly harness their power, you must integrate them into your daily workflow and understand their broader impact on your career and projects. This section explores how optimized tools translate into tangible benefits in terms of productivity, professional branding, and financial gain.
The Productivity Edge: How Plugins Save Time and Money
In development, time is a precious commodity. Plugins are designed to save you time in countless ways, directly translating into increased productivity and, for businesses, reduced costs, or for freelancers, more billable hours.
- Reduced Development Cycles: Automated tasks like code formatting, linting, and refactoring significantly cut down the time spent on manual adjustments, allowing developers to focus on feature implementation rather than stylistic corrections.
- Fewer Bugs and Higher Quality: Real-time feedback from linters and intelligent code completion helps catch errors early, preventing costly bugs from making it to production. Robust debugging tools streamline the bug-fixing process, leading to more stable and reliable software.
- Faster Onboarding: For new team members, a standardized, plugin-rich development environment ensures everyone operates efficiently from day one, reducing the learning curve for tooling.
- Streamlined Collaboration: When all developers use consistent tooling and adhere to the same code styles enforced by plugins, code reviews become smoother, and merge conflicts are minimized, fostering better team collaboration.
For a business, these efficiencies mean faster time-to-market for new features, lower maintenance costs for existing software, and higher quality products that enhance customer satisfaction. For an individual developer, it means completing projects quicker, delivering higher quality work, and ultimately increasing their value proposition.
Elevating Your Professional Brand Through Efficient Development
Your professional brand as a developer is built on the quality, speed, and reliability of your work. An optimized development environment, powered by carefully selected Ruby plugins, directly contributes to strengthening this brand.
- Demonstrate Professionalism: Producing clean, consistent, and error-free code showcases attention to detail and a commitment to best practices. Tools that enforce style guides and catch bugs reflect a professional approach to software craftsmanship.
- Increase Efficiency and Responsiveness: Being able to quickly iterate on features, diagnose issues, and deliver solutions demonstrates responsiveness and efficiency—highly valued traits in any tech role.
- Become a Go-To Expert: Mastering your tools and understanding how to leverage them effectively makes you a more capable and reliable developer, someone others can turn to for advice and solutions.
- Stay Competitive: The tech industry evolves rapidly. Developers who embrace new tools and continually optimize their workflows remain competitive and adaptable, enhancing their marketability.
A strong personal brand, bolstered by efficient development practices, opens doors to better opportunities, more challenging projects, and greater career satisfaction.
Staying Ahead: Continuous Learning and Plugin Updates
The world of software development is in constant motion. New Ruby versions, framework updates, and innovative tools emerge regularly. To maintain your productivity edge and professional brand, continuous learning and active management of your plugin ecosystem are vital.
- Regularly Update Plugins and Tools: Developers constantly release updates for plugins, bringing new features, performance improvements, and bug fixes. Regularly updating your IDE/editor and its extensions ensures you benefit from the latest advancements.
- Explore New Plugins: Periodically review the marketplace for new or highly-rated Ruby plugins. A new tool might offer a breakthrough in efficiency or introduce a feature you didn’t know you needed.
- Engage with the Community: Follow Ruby development blogs, participate in forums, and attend meetups. Learning about what tools and workflows other developers are using can provide valuable insights and inspiration.
- Tailor to Project Needs: Different Ruby projects might benefit from specialized plugins. Be flexible in your tooling choices, adapting your environment to the specific demands of each project.
By committing to this ongoing process, you ensure your development environment remains cutting-edge, maximally productive, and a testament to your dedication to excellence in Ruby development.
Conclusion
The journey from a raw Ruby installation to a highly optimized development environment is a strategic investment in your productivity, your professional brand, and ultimately, your financial success in the tech industry. By meticulously selecting and installing Ruby plugins for your chosen IDE or text editor, you unlock a realm of enhanced features, automation, and intelligent assistance that transforms the coding experience.
We’ve covered the crucial steps: preparing your environment with a robust Ruby setup, understanding the nuances of plugin installation across popular platforms like VS Code, Sublime Text, Atom, and RubyMine, and recognizing the power of gem-based command-line tools. More importantly, we’ve emphasized the “why” behind these actions—how streamlined workflows reduce development cycles, improve code quality, and contribute to a stronger personal and corporate brand.
In a competitive landscape where efficiency directly correlates with value, embracing an intelligent, plugin-rich development environment is no longer optional; it’s a cornerstone of modern software craftsmanship. Equip yourself with these tools, maintain a curious and adaptive mindset, and watch as your Ruby development journey becomes not just more efficient, but genuinely more enjoyable and impactful.
aViewFromTheCave is a participant in the Amazon Services LLC Associates Program, an affiliate advertising program designed to provide a means for sites to earn advertising fees by advertising and linking to Amazon.com. Amazon, the Amazon logo, AmazonSupply, and the AmazonSupply logo are trademarks of Amazon.com, Inc. or its affiliates. As an Amazon Associate we earn affiliate commissions from qualifying purchases.