JavaScript, the ubiquitous programming language that powers the interactive and dynamic elements of the modern web, often sparks a fundamental question for aspiring developers and tech enthusiasts: “How do you install JavaScript?” While the phrase “installing JavaScript” might conjure images of downloading and running executables, the reality is far more nuanced and, for many use cases, surprisingly simple. Unlike traditional software that requires a dedicated installation process, JavaScript’s deployment and execution are intrinsically linked to the environment in which it’s used.
This article delves into the multifaceted nature of JavaScript integration, moving beyond the simplistic notion of a single “installation.” We’ll explore how JavaScript is made available for different purposes, from running in web browsers to powering server-side applications and even mobile development. Understanding these distinctions is crucial for anyone looking to leverage the power of JavaScript in their projects, whether they’re focused on cutting-edge Tech trends, building a compelling Brand, or exploring avenues for Money generation through digital endeavors.
Understanding the Context: Where Does JavaScript Run?
The key to understanding “installing” JavaScript lies in recognizing its diverse execution environments. Unlike a standalone application that resides solely on your computer, JavaScript is often a component of a larger system.
1. JavaScript in the Web Browser: The Universal Runtime
For the vast majority of users and web developers, JavaScript’s primary home is the web browser. When you visit a website that uses JavaScript (which is virtually all modern websites), the JavaScript code is delivered to your browser along with the HTML and CSS. Your browser then has a built-in JavaScript engine – a sophisticated piece of software – that interprets and executes this code.
This means, in a fundamental sense, you don’t “install” JavaScript to browse the web. Your web browser (like Chrome, Firefox, Safari, or Edge) already comes equipped with a powerful JavaScript engine. These engines are continuously updated by browser developers to ensure compatibility with the latest JavaScript standards and to optimize performance.
Therefore, if your goal is simply to view and interact with dynamic websites, no explicit installation is required. The “installation” happened when you installed your web browser.
However, for developers who want to write and test their own JavaScript code for websites, the process involves setting up a local development environment. This often includes:
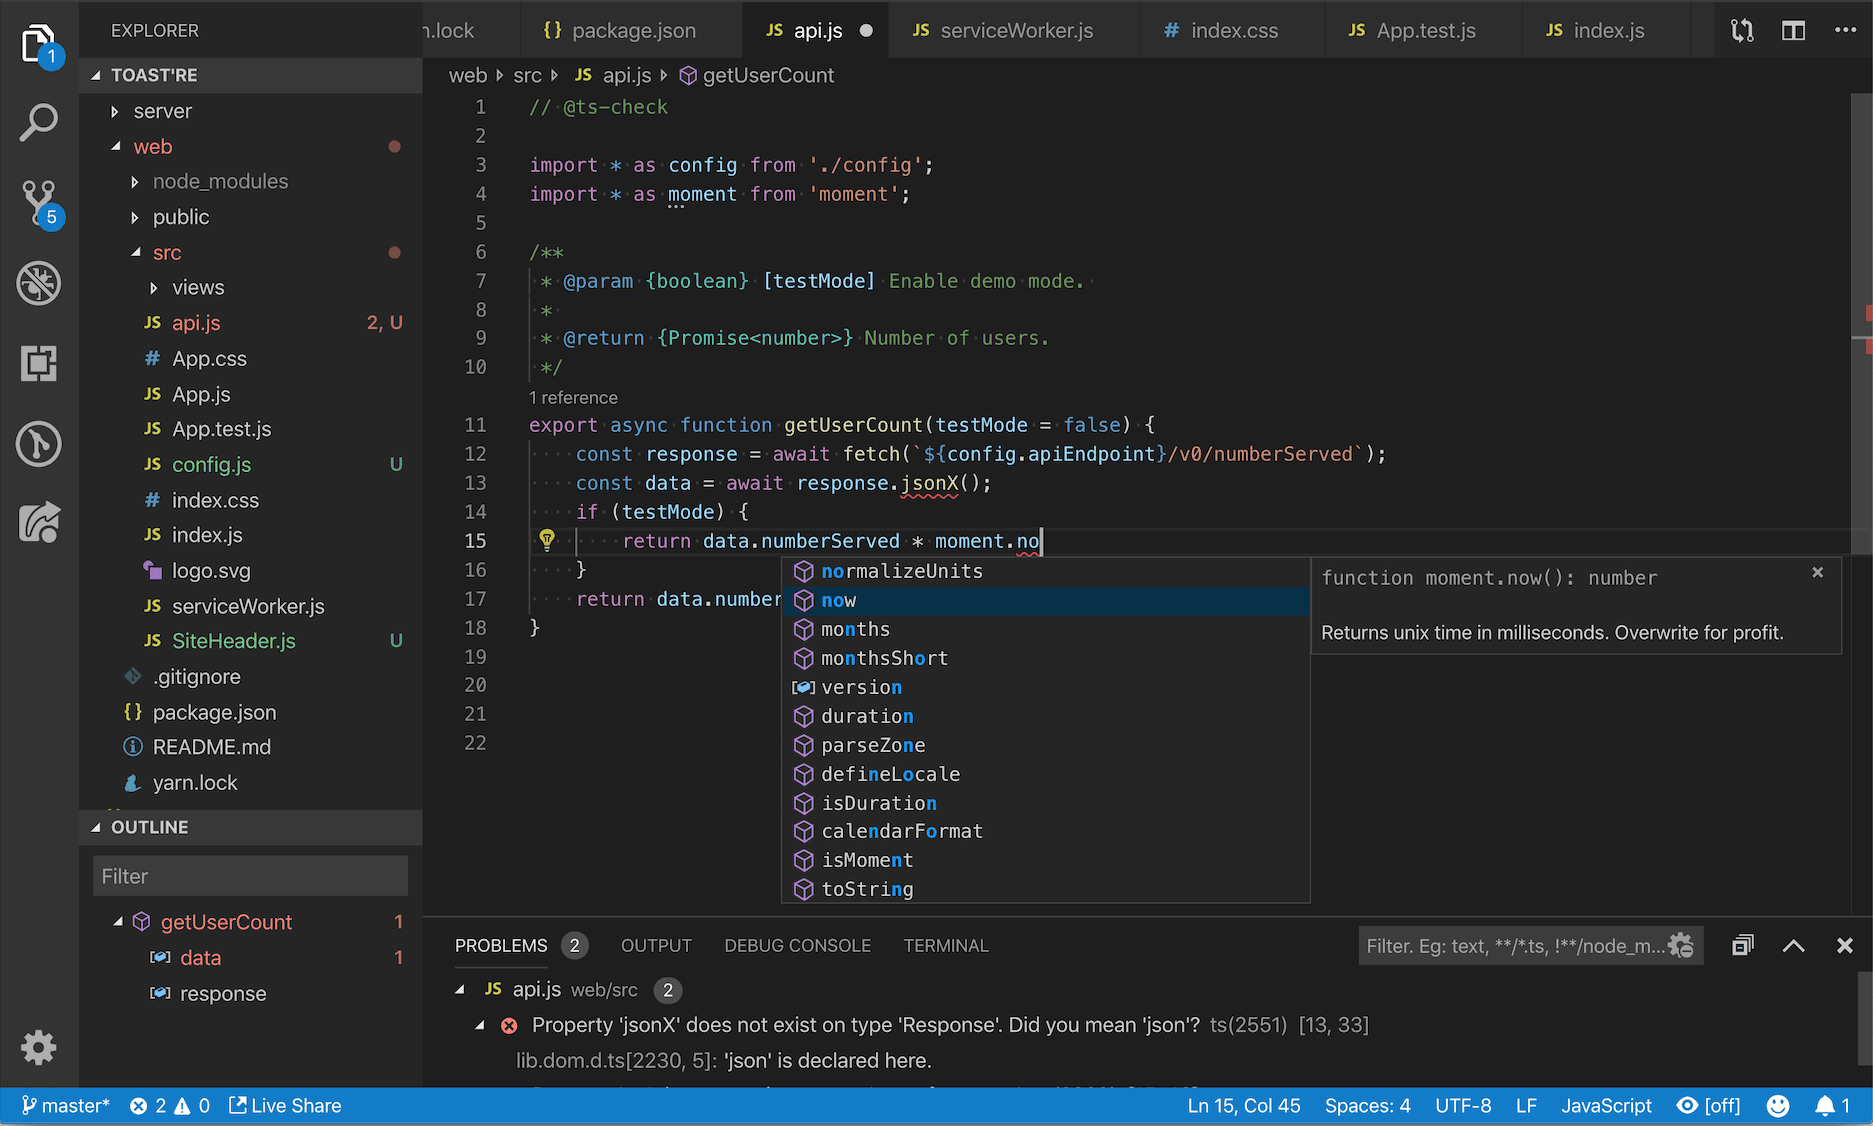
- A Text Editor or Integrated Development Environment (IDE): Tools like Visual Studio Code, Sublime Text, Atom, or WebStorm provide features for writing code, syntax highlighting, debugging, and managing projects. These are applications you do install on your computer.
- A Web Browser: To see your JavaScript in action, you’ll need a browser.
- Developer Tools: Modern browsers come with built-in developer tools (often accessed by pressing F12) that allow you to inspect HTML, CSS, and importantly, JavaScript. You can view console logs, debug errors, and even write and execute small snippets of JavaScript directly within the browser.
So, while you don’t install JavaScript itself for browsing, you install tools to develop it for the browser.
2. JavaScript on the Server: Node.js and Beyond
The landscape of JavaScript development dramatically expands when we consider its use beyond the browser. This is where the concept of “installing JavaScript” becomes more literal. The most prominent example is Node.js.
Node.js is a JavaScript runtime environment that allows you to execute JavaScript code outside of a web browser, typically on a server. This opens up a world of possibilities, enabling developers to build:
- Web Servers and APIs: Creating the backend logic for web applications.
- Command-Line Tools: Automating tasks and building scripts.
- Desktop Applications: Using frameworks like Electron.
- Mobile Applications: With frameworks like React Native.
To “install” JavaScript for server-side development with Node.js, you need to download and install the Node.js runtime environment.
Installing Node.js
The installation process for Node.js is relatively straightforward and depends on your operating system:
-
Windows and macOS:
- Visit the Official Node.js Website: Go to nodejs.org.
- Download the Installer: You’ll usually see two download options:
- LTS (Long Term Support): This is the recommended version for most users, as it’s more stable and receives extended support.
- Current: This version includes the latest features but might be less stable.
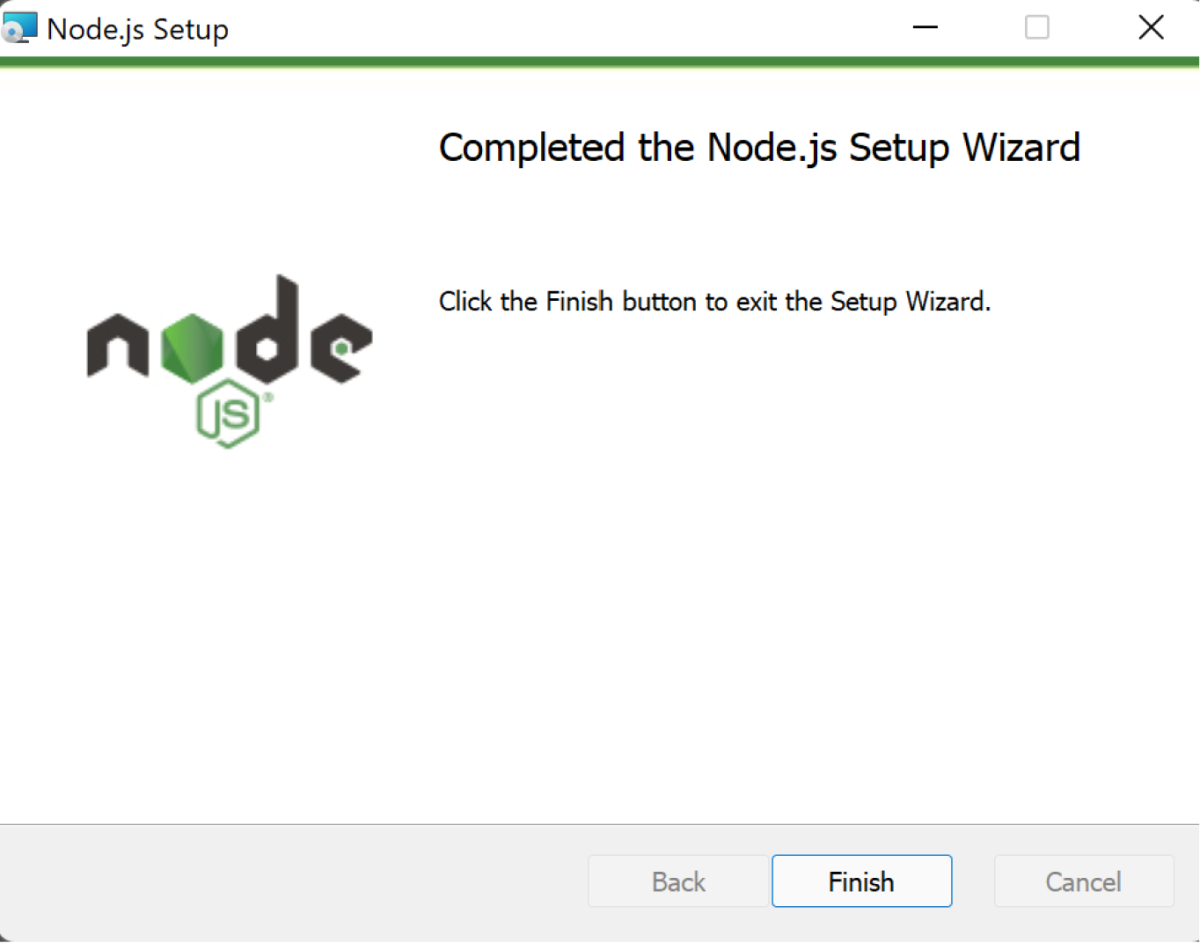
- Run the Installer: Once downloaded, execute the installer file. The process is generally guided, similar to installing any other application. You’ll typically accept the license agreement, choose an installation location, and select any optional components.
- Verification: After installation, open your command prompt (Windows) or Terminal (macOS/Linux) and type the following commands to verify:
bash

node -v

npm -v
These commands should display the installed versions of Node.js and npm (Node Package Manager), respectively. npm is bundled with Node.js and is essential for managing JavaScript libraries and packages.
-
Linux:
Installation on Linux can be done in several ways, including using a package manager (likeaptfor Debian/Ubuntu oryum/dnffor Fedora/CentOS) or by compiling from source. Using a package manager is generally the easiest:-
Debian/Ubuntu:
curl -fsSL https://deb.nodesource.com/setup_lts.x | sudo -E bash -
sudo apt-get install -y nodejs
(Replace
setup_lts.xwith the specific LTS version if needed, e.g.,setup_18.x) -
Fedora/CentOS/RHEL:
bash

curl -fsSL https://rpm.nodesource.com/setup_lts.x | sudo bash -

sudo yum install -y nodejs

# or for newer versions of Fedora/CentOS/RHEL

sudo dnf install -y nodejs
-
npm: The JavaScript Package Manager
Crucially, installing Node.js also installs npm (Node Package Manager). npm is a vital tool that acts as a central repository for JavaScript libraries and packages. When you’re developing server-side JavaScript applications, you’ll use npm to:
- Install Dependencies: Download pre-written JavaScript modules (like Express for web frameworks, or various utility libraries) to use in your projects.
- Manage Projects: Keep track of which packages your project relies on and their versions.
- Publish Your Own Packages: Share your reusable code with the community.
The command npm install <package-name> is fundamental to any Node.js project.
3. Beyond Browsers and Servers: Other JavaScript Environments
The reach of JavaScript extends even further:
-
Mobile App Development: Frameworks like React Native allow you to build native mobile applications for iOS and Android using JavaScript. The “installation” here involves setting up the React Native development environment, which typically includes Node.js, npm, and platform-specific SDKs (like Xcode for iOS or Android Studio for Android). You don’t “install” JavaScript directly, but rather the tools and frameworks that utilize it.
-
Desktop Applications: Frameworks like Electron enable the creation of cross-platform desktop applications using web technologies (HTML, CSS, and JavaScript). Similar to React Native, the setup involves installing Node.js and then using npm to install Electron and other necessary dependencies.
-
Progressive Web Apps (PWAs): PWAs are web applications that offer an app-like experience, leveraging JavaScript to provide offline capabilities, push notifications, and more. These are built using web technologies and are delivered through the browser, so no specific “installation” of JavaScript is needed, beyond what your browser already handles.
The Practical “Installation” for Developers: Tools and Workflows
When we talk about “installing JavaScript” in a practical development context, we’re often referring to setting up a robust workflow that facilitates efficient coding, testing, and deployment.
Local Development Environment Setup
As mentioned earlier, for web development, this involves:
- Text Editor/IDE: Install a code editor that suits your preferences. Visual Studio Code is a popular and powerful free option.
- Browser Developer Tools: Master the use of your browser’s built-in developer console.
- Local Server (Optional but Recommended): For more complex web projects, you might use a local development server (often provided by frameworks or tools like
live-server) to automatically reload your page as you make changes, mimicking a live server environment.
Version Control and Package Management
For any serious project, especially those involving Node.js or front-end frameworks, two critical components are:
- Version Control (Git): While not directly related to “installing JavaScript,” Git is essential for tracking changes to your code, collaborating with others, and reverting to previous versions. You’ll install Git separately.
- Package Managers (npm, Yarn, pnpm): As discussed, npm is the default with Node.js. Yarn and pnpm are alternative package managers that offer different features and performance characteristics. Installing one of these allows you to manage your project’s dependencies efficiently.
Transpilers and Bundlers
Modern JavaScript development often involves using newer language features (ES6+) that might not be supported by all browsers. To address this, transpilers like Babel are used. Babel converts your modern JavaScript code into older, more widely compatible JavaScript.
Similarly, bundlers like Webpack, Rollup, or Parcel take your JavaScript files (and other assets like CSS and images), often split into many modules, and combine them into fewer, optimized files for better performance in the browser.
The “installation” for these tools involves using npm to install them as development dependencies for your project. For example, to install Babel:
npm install --save-dev @babel/core @babel/cli @babel/preset-env
This command installs Babel and its essential presets as development dependencies, meaning they are needed during the development and build process but not in the final production code.
Conclusion: It’s About the Environment, Not Just the Code
In essence, the question “how do you install JavaScript?” is less about a single software installation and more about understanding the runtime environment where your JavaScript code will live and execute.
- For web browsing: Your browser already handles it.
- For server-side development, desktop apps, or mobile apps: You’ll typically install a runtime environment like Node.js, along with its associated package manager, npm.
- For modern development workflows: You’ll also install tools like code editors, transpilers, and bundlers to enhance your productivity and code quality.
As you embark on your JavaScript journey, whether for personal Money-making ventures like freelance web development, to enhance your Brand‘s online presence, or simply to explore the vast Tech landscape, remember that mastering JavaScript involves understanding its ecosystem and the tools that bring it to life. The “installation” is just the first step in a rewarding process of building dynamic and interactive digital experiences.
aViewFromTheCave is a participant in the Amazon Services LLC Associates Program, an affiliate advertising program designed to provide a means for sites to earn advertising fees by advertising and linking to Amazon.com. Amazon, the Amazon logo, AmazonSupply, and the AmazonSupply logo are trademarks of Amazon.com, Inc. or its affiliates. As an Amazon Associate we earn affiliate commissions from qualifying purchases.