Random Access Memory (RAM) is often described as the “short-term memory” of your computer. It is the workspace where your processor keeps the data it needs to access quickly. When your system starts to feel sluggish, or when multitasking between demanding applications becomes a chore, a RAM upgrade is frequently the most cost-effective and impactful hardware improvement you can make. While opening up a computer case or a laptop chassis might seem daunting to the uninitiated, the process of installing RAM is remarkably straightforward.
In this comprehensive guide, we will explore the technical nuances of memory hardware, provide a step-by-step walkthrough for both desktop and laptop installations, and offer professional insights into optimizing your new hardware for peak performance.
1. Preparation and Technical Compatibility
Before you touch a single screwdriver, the most critical phase of a RAM upgrade is ensuring compatibility. Not all RAM is created equal, and forcing the wrong module into a slot can result in permanent hardware damage.
Identifying Your RAM Type and Speed
Modern computers typically use Double Data Rate (DDR) SDRAM. As of today, the market is primarily split between DDR4 and the newer, faster DDR5. These generations are physically and electrically incompatible; a DDR4 stick will not fit into a DDR5 slot because the “key” (the notch at the bottom of the module) is placed in a different position.
To determine what you need, check your motherboard manual or use a system profiling tool. Professionals often recommend tools like CPU-Z or the Crucial System Scanner. These utilities will tell you your current memory type, frequency (measured in MHz), and how many slots are currently occupied.
Understanding Capacity and Dual-Channel Configurations
When planning your upgrade, consider the “Dual-Channel” architecture found in most modern systems. This technology allows the memory controller to communicate with two RAM modules simultaneously, effectively doubling the data bandwidth. For peak performance, it is always better to install RAM in identical pairs (e.g., two 8GB sticks for 16GB total) rather than a single large module (one 16GB stick).
Furthermore, check your operating system limitations. While a 64-bit version of Windows 10 or 11 can handle up to 2TB of RAM, the physical motherboard usually has a limit, typically ranging from 32GB to 128GB for consumer-grade boards.
Safety First: Static Electricity and Grounding
Static electricity is the silent killer of computer components. A tiny discharge from your fingertip, which you might not even feel, can fry the delicate circuits on a RAM module. Before handling hardware, you should ground yourself by touching a metal part of your computer case while it is plugged in but turned off, or by wearing an anti-static wrist strap. Always handle RAM modules by their edges, avoiding the gold contact pins and the black chips on the sides.
2. Installing RAM in a Desktop PC
Installing RAM in a desktop is the gold standard for DIY tech upgrades. Because desktops offer more spatial freedom than laptops, the process is generally easier, though it requires a methodical approach.
Step 1: Accessing the Motherboard
Power down your computer completely and flip the switch on the back of the Power Supply Unit (PSU). Unplug the power cable to ensure no current is running through the board. Lay the tower on its side on a flat, non-carpeted surface. Remove the side panel—usually held in by two thumbscrews—to reveal the internal components.
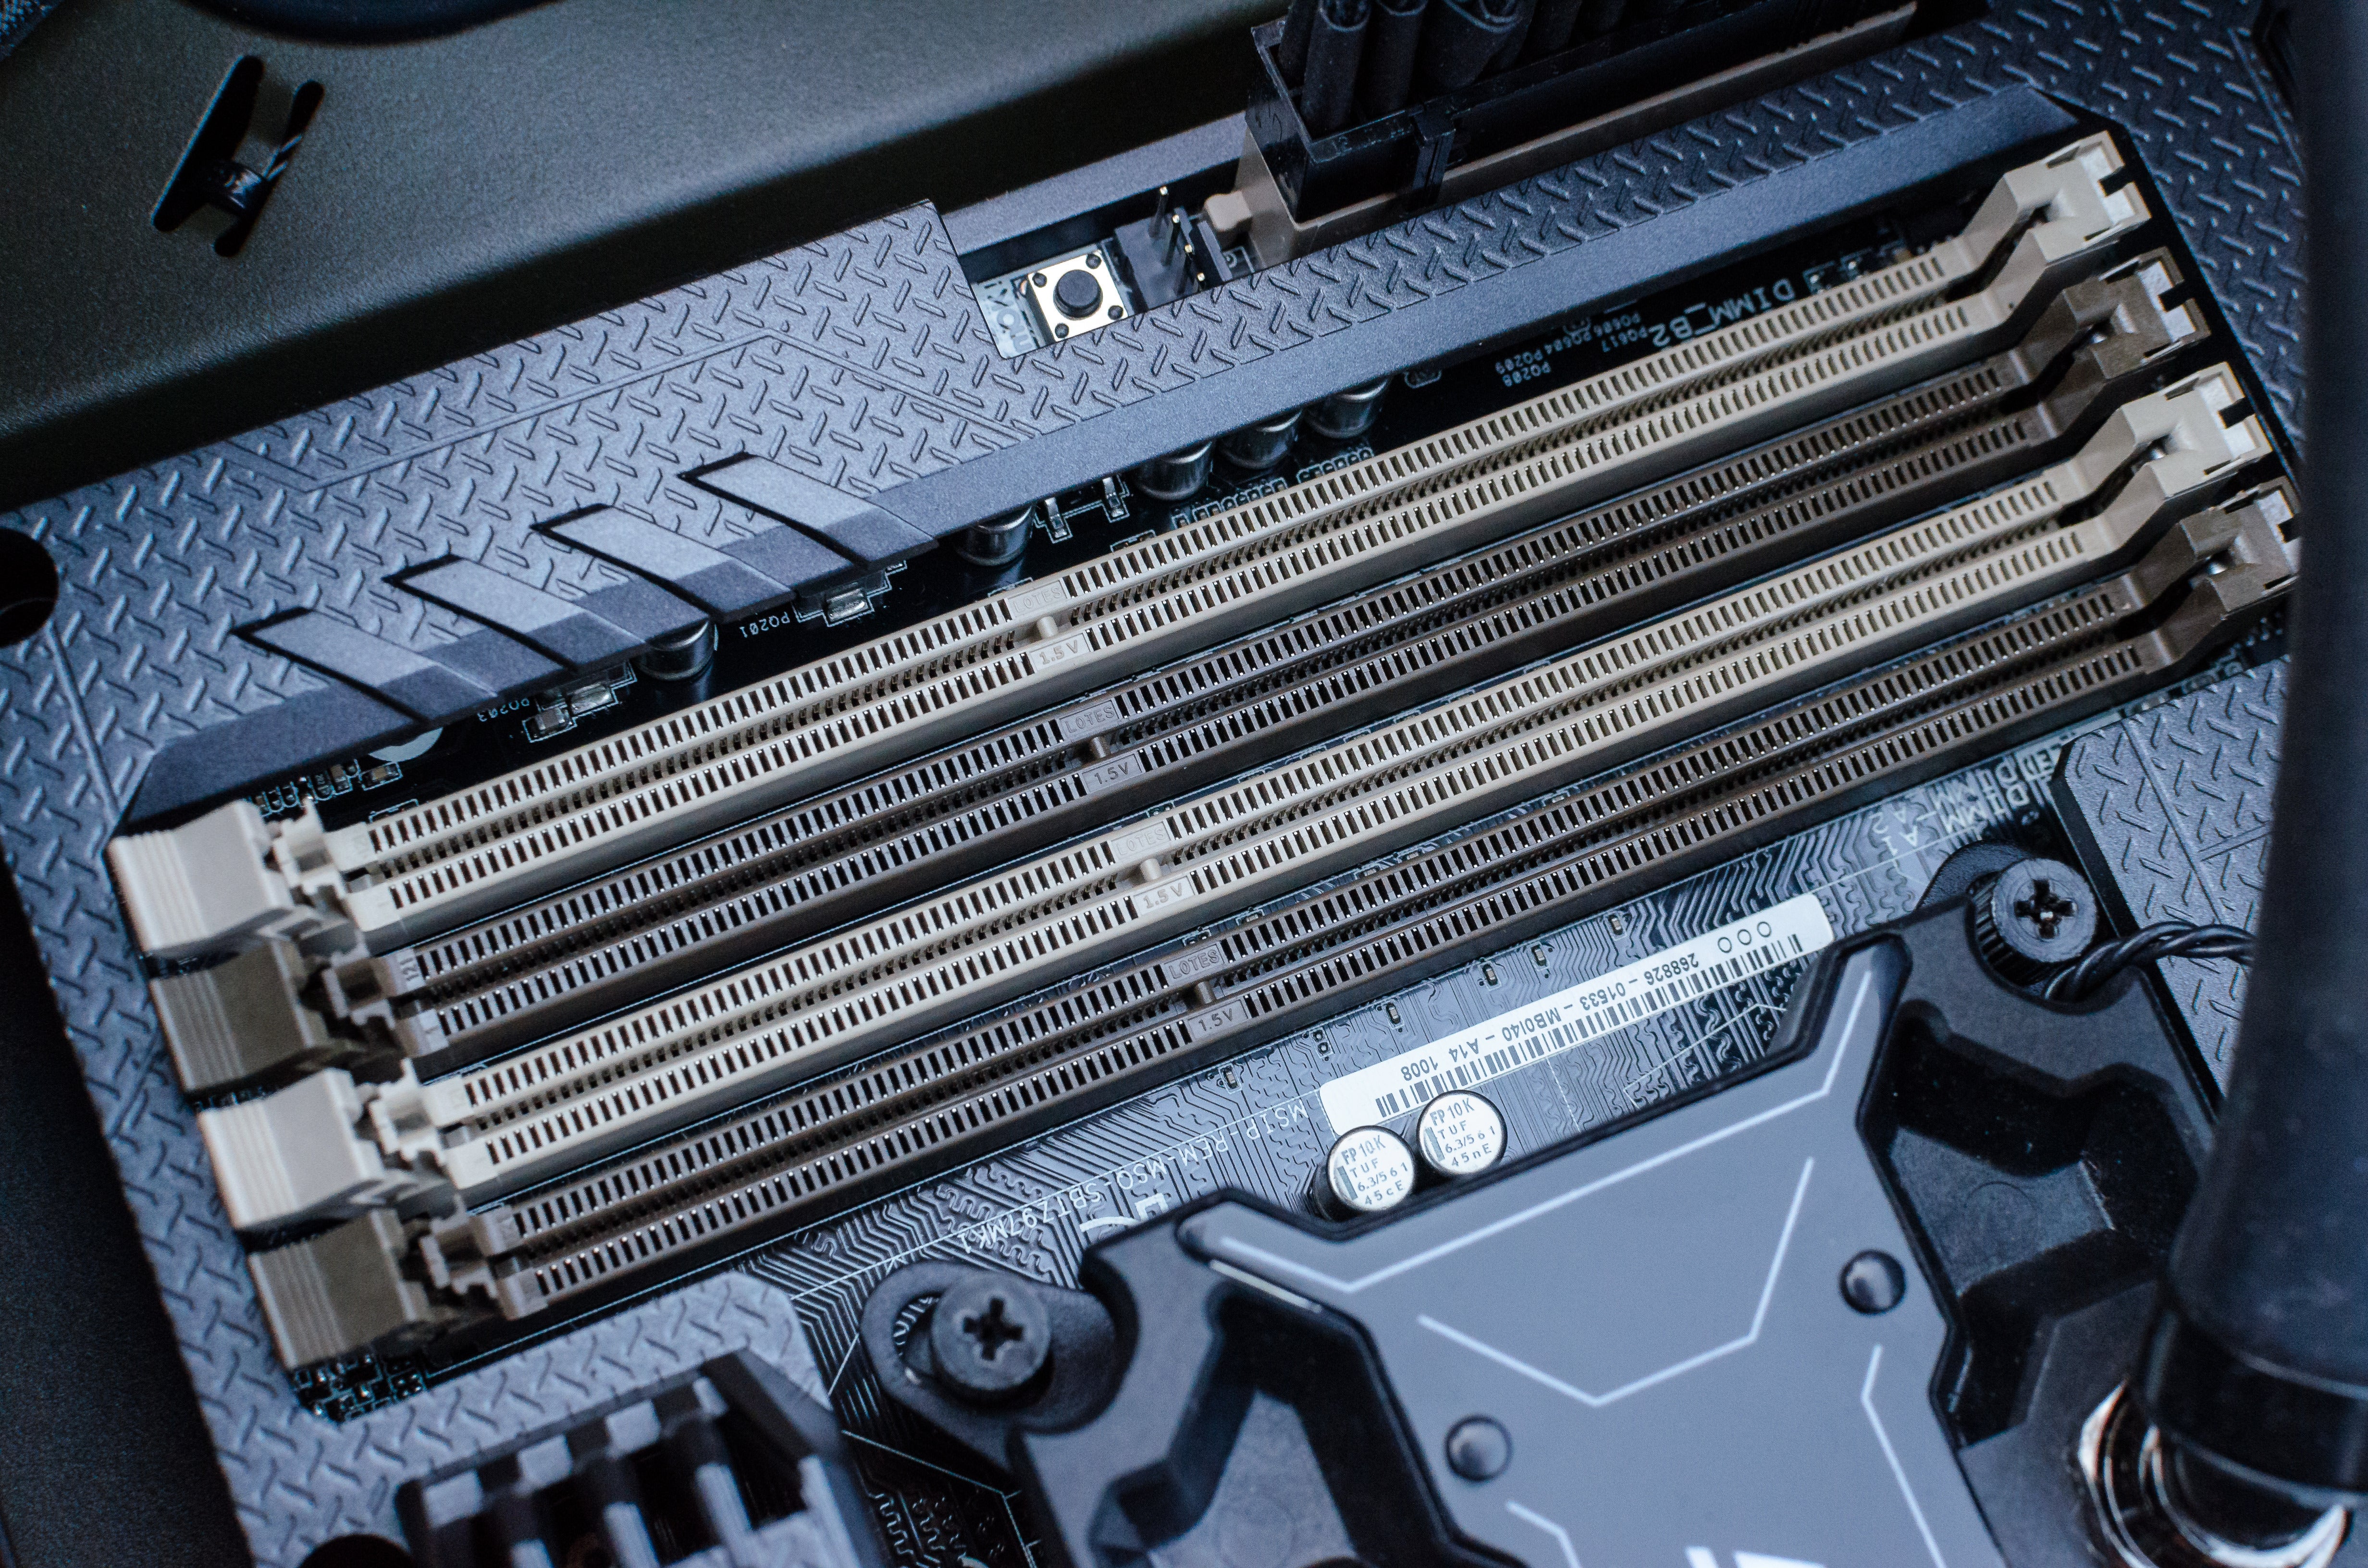
Step 2: Locating the DIMM Slots
Look for the CPU cooler (the large fan or heat sink near the top of the motherboard). Next to it, you will find two or four long vertical slots. These are the DIMM (Dual In-line Memory Module) slots. If you are replacing old RAM, you must first remove it. Press down on the small plastic tabs at either end of the slot. This will “eject” the module, allowing you to pull it straight out.
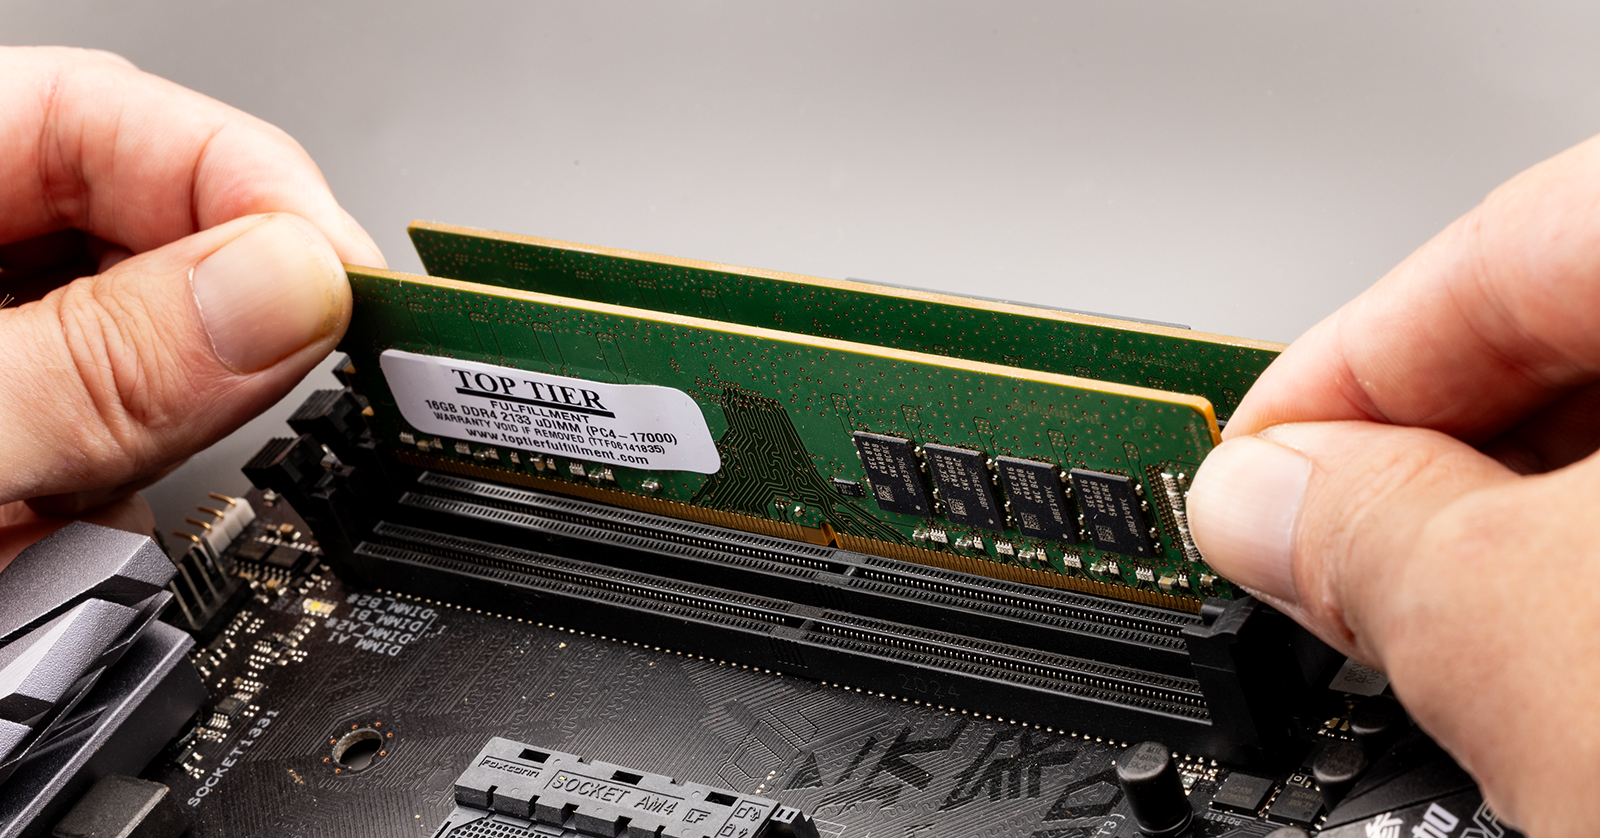
Step 3: Seating the New Modules
If your motherboard has four slots but you are only installing two sticks, consult your manual for the “optimal” slots. Usually, these are slots 2 and 4 (counting away from the CPU) to enable dual-channel mode.
Align the notch on the bottom of the RAM stick with the break in the slot. This ensures the RAM is facing the right direction. Place the module into the slot and apply firm, even pressure on both ends. You should hear a distinct “click” as the side tabs lock into place automatically. If the tabs don’t snap shut, the RAM isn’t fully seated; do not force it, but ensure the alignment is perfect before trying again.
3. Upgrading RAM in a Laptop or SFF Device
Laptops and Small Form Factor (SFF) PCs use a smaller version of RAM called SO-DIMM (Small Outline Dual In-line Memory Module). While the logic remains the same, the physical installation requires a different mechanical technique.
Navigating Laptop Constraints
Not all laptops are upgradeable. Many modern ultrabooks and MacBooks have RAM soldered directly onto the motherboard to save space. Before purchasing hardware, verify that your laptop has “accessible SO-DIMM slots.” If your laptop is upgradeable, you will likely need a small Phillips head screwdriver to remove the bottom casing of the device.
The Angled Insertion Technique
Unlike desktop RAM, which is pushed straight down, SO-DIMMs are inserted at an angle.
- Disconnect the Battery: Once the laptop is open, find the battery connector and gently unplug it from the motherboard. This prevents any accidental short circuits.
- Remove Old RAM: Locate the RAM modules, which are often covered by a plastic shroud or metal shield. Pull the two small metal clips on the sides of the module outward. The RAM will pop up at a 30-degree angle. Pull it out gently.
- Install the New Module: Slide the new SO-DIMM into the slot at that same 30-degree angle, ensuring the notch aligns with the slot key. Once it is firmly in the slot, press the top of the module down toward the motherboard until the side clips snap into place.
4. Post-Installation: Verification and Optimization
Once the hardware is physically installed, your job is only 90% done. The final steps involve ensuring the system recognizes the new memory and that it is running at its advertised speeds.
Verifying via BIOS/UEFI
Reassemble your case, plug in the power, and turn the computer on. Immediately tap the ‘Delete’ or ‘F2’ key (depending on your manufacturer) to enter the BIOS or UEFI settings. Look for “System Information” or “Memory Settings.” If the BIOS shows the correct amount of RAM (e.g., 16,384MB for 16GB), the physical installation was successful.
Enabling XMP/DOCP for Maximum Speed
Many users buy high-speed RAM (like 3600MHz or 6000MHz) but unknowingly run it at the “base” speed of 2133MHz or 4800MHz. To get the speed you paid for, you must enable a profile called XMP (Extreme Memory Profile) on Intel systems or DOCP/EXPO on AMD systems within the BIOS. This tells the motherboard to use the high-performance timings pre-programmed into the RAM chips.
Troubleshooting Common Issues
If your computer fails to boot (a “No POST” scenario) or emits a series of beeps after the upgrade, don’t panic. This is usually caused by one of two things:
- Improper Seating: Even if it looks right, the RAM might not be fully clicked in. Remove and re-seat the modules.
- Dirty Contacts: Use a bit of isopropyl alcohol on a lint-free cloth to wipe the gold contacts on the RAM, then try again.
- Incompatibility: If you are mixing different brands or speeds of RAM, the system might struggle to find a stable configuration. Always try to use identical sticks whenever possible.
5. The Technical Impact: Why RAM Matters
To truly appreciate your new installation, it helps to understand the technical “why” behind the upgrade. Increasing RAM doesn’t necessarily make your CPU faster, but it removes the bottlenecks that slow your CPU down.
Reducing Disk Paging
When you run out of physical RAM, your operating system uses a portion of your Hard Drive or SSD as “Virtual Memory” (known as a page file). Because even the fastest NVMe SSD is significantly slower than RAM, your system will stutter as it constantly moves data back and forth between the drive and the memory. By installing more RAM, you keep more data in the high-speed lane, resulting in a snappier user experience.
Impact on Integrated Graphics
If you are using a laptop or a desktop without a dedicated graphics card (using an Intel UHD or AMD Radeon iGPU), your system RAM is shared with your video processing. In these cases, upgrading your RAM capacity and speed provides a direct boost to gaming performance and video rendering, as the GPU has a larger, faster pool of “VRAM” to draw from.

Professional Conclusion
Installing RAM is the “gateway drug” to PC building and maintenance. It is a high-reward, low-risk procedure that can extend the life of an aging machine by several years. By following the steps of compatibility checking, safe physical installation, and BIOS optimization, you ensure that your technology works for you, rather than against you. Whether you are a creative professional handling 4K video or a power user with fifty browser tabs open, a proper RAM installation is the foundation of a high-performance digital environment.
aViewFromTheCave is a participant in the Amazon Services LLC Associates Program, an affiliate advertising program designed to provide a means for sites to earn advertising fees by advertising and linking to Amazon.com. Amazon, the Amazon logo, AmazonSupply, and the AmazonSupply logo are trademarks of Amazon.com, Inc. or its affiliates. As an Amazon Associate we earn affiliate commissions from qualifying purchases.