In today’s hyper-connected world, a SIM card is the gateway to mobile communication, granting you access to cellular networks for calls, texts, and data. Whether you’ve just purchased a new smartphone, are switching carriers, or are setting up a secondary device, knowing how to install a SIM card is a fundamental tech skill. This guide will walk you through the entire process, from identifying the right SIM card to safely inserting it and verifying its functionality. We’ll cover the different types of SIM cards, locate their trays, and address common troubleshooting steps, ensuring you’re back online in no time.

Understanding SIM Cards and Their Trays
Before we dive into the installation process, it’s crucial to understand what a SIM card is and how it interacts with your device. SIM stands for Subscriber Identity Module. It’s a small, removable chip that contains your unique subscriber information, allowing a mobile network to identify and authenticate you. This means it holds your phone number, your network subscription details, and even some contact information and text messages from older SIMs.
Over the years, SIM card technology has evolved to become smaller and more efficient, leading to different sizes:
SIM Card Sizes: A Quick Overview
- Standard SIM (Mini-SIM): This is the largest and oldest type of SIM card, measuring 25mm x 15mm. You’re unlikely to encounter this in modern smartphones, but it was common in older feature phones.
- Micro-SIM: A step down in size, measuring 15mm x 12mm. Many smartphones released in the early to mid-2010s used Micro-SIMs.
- Nano-SIM: This is the smallest and most prevalent SIM card size today, measuring just 12.3mm x 8.8mm. Virtually all modern smartphones and many tablets utilize Nano-SIMs.
- eSIM (Embedded SIM): This is a more recent innovation where the SIM functionality is built directly into the device’s hardware. Instead of a physical card, you activate your cellular plan digitally through your carrier’s app or by scanning a QR code. While not a physical installation, it’s important to be aware of this technology as it becomes increasingly common.
Why the different sizes? As mobile devices have become slimmer and more sophisticated, the need to maximize internal space has driven the miniaturization of components, including SIM cards. Manufacturers have also incorporated more features into smartphones, requiring smaller footprints for everything.
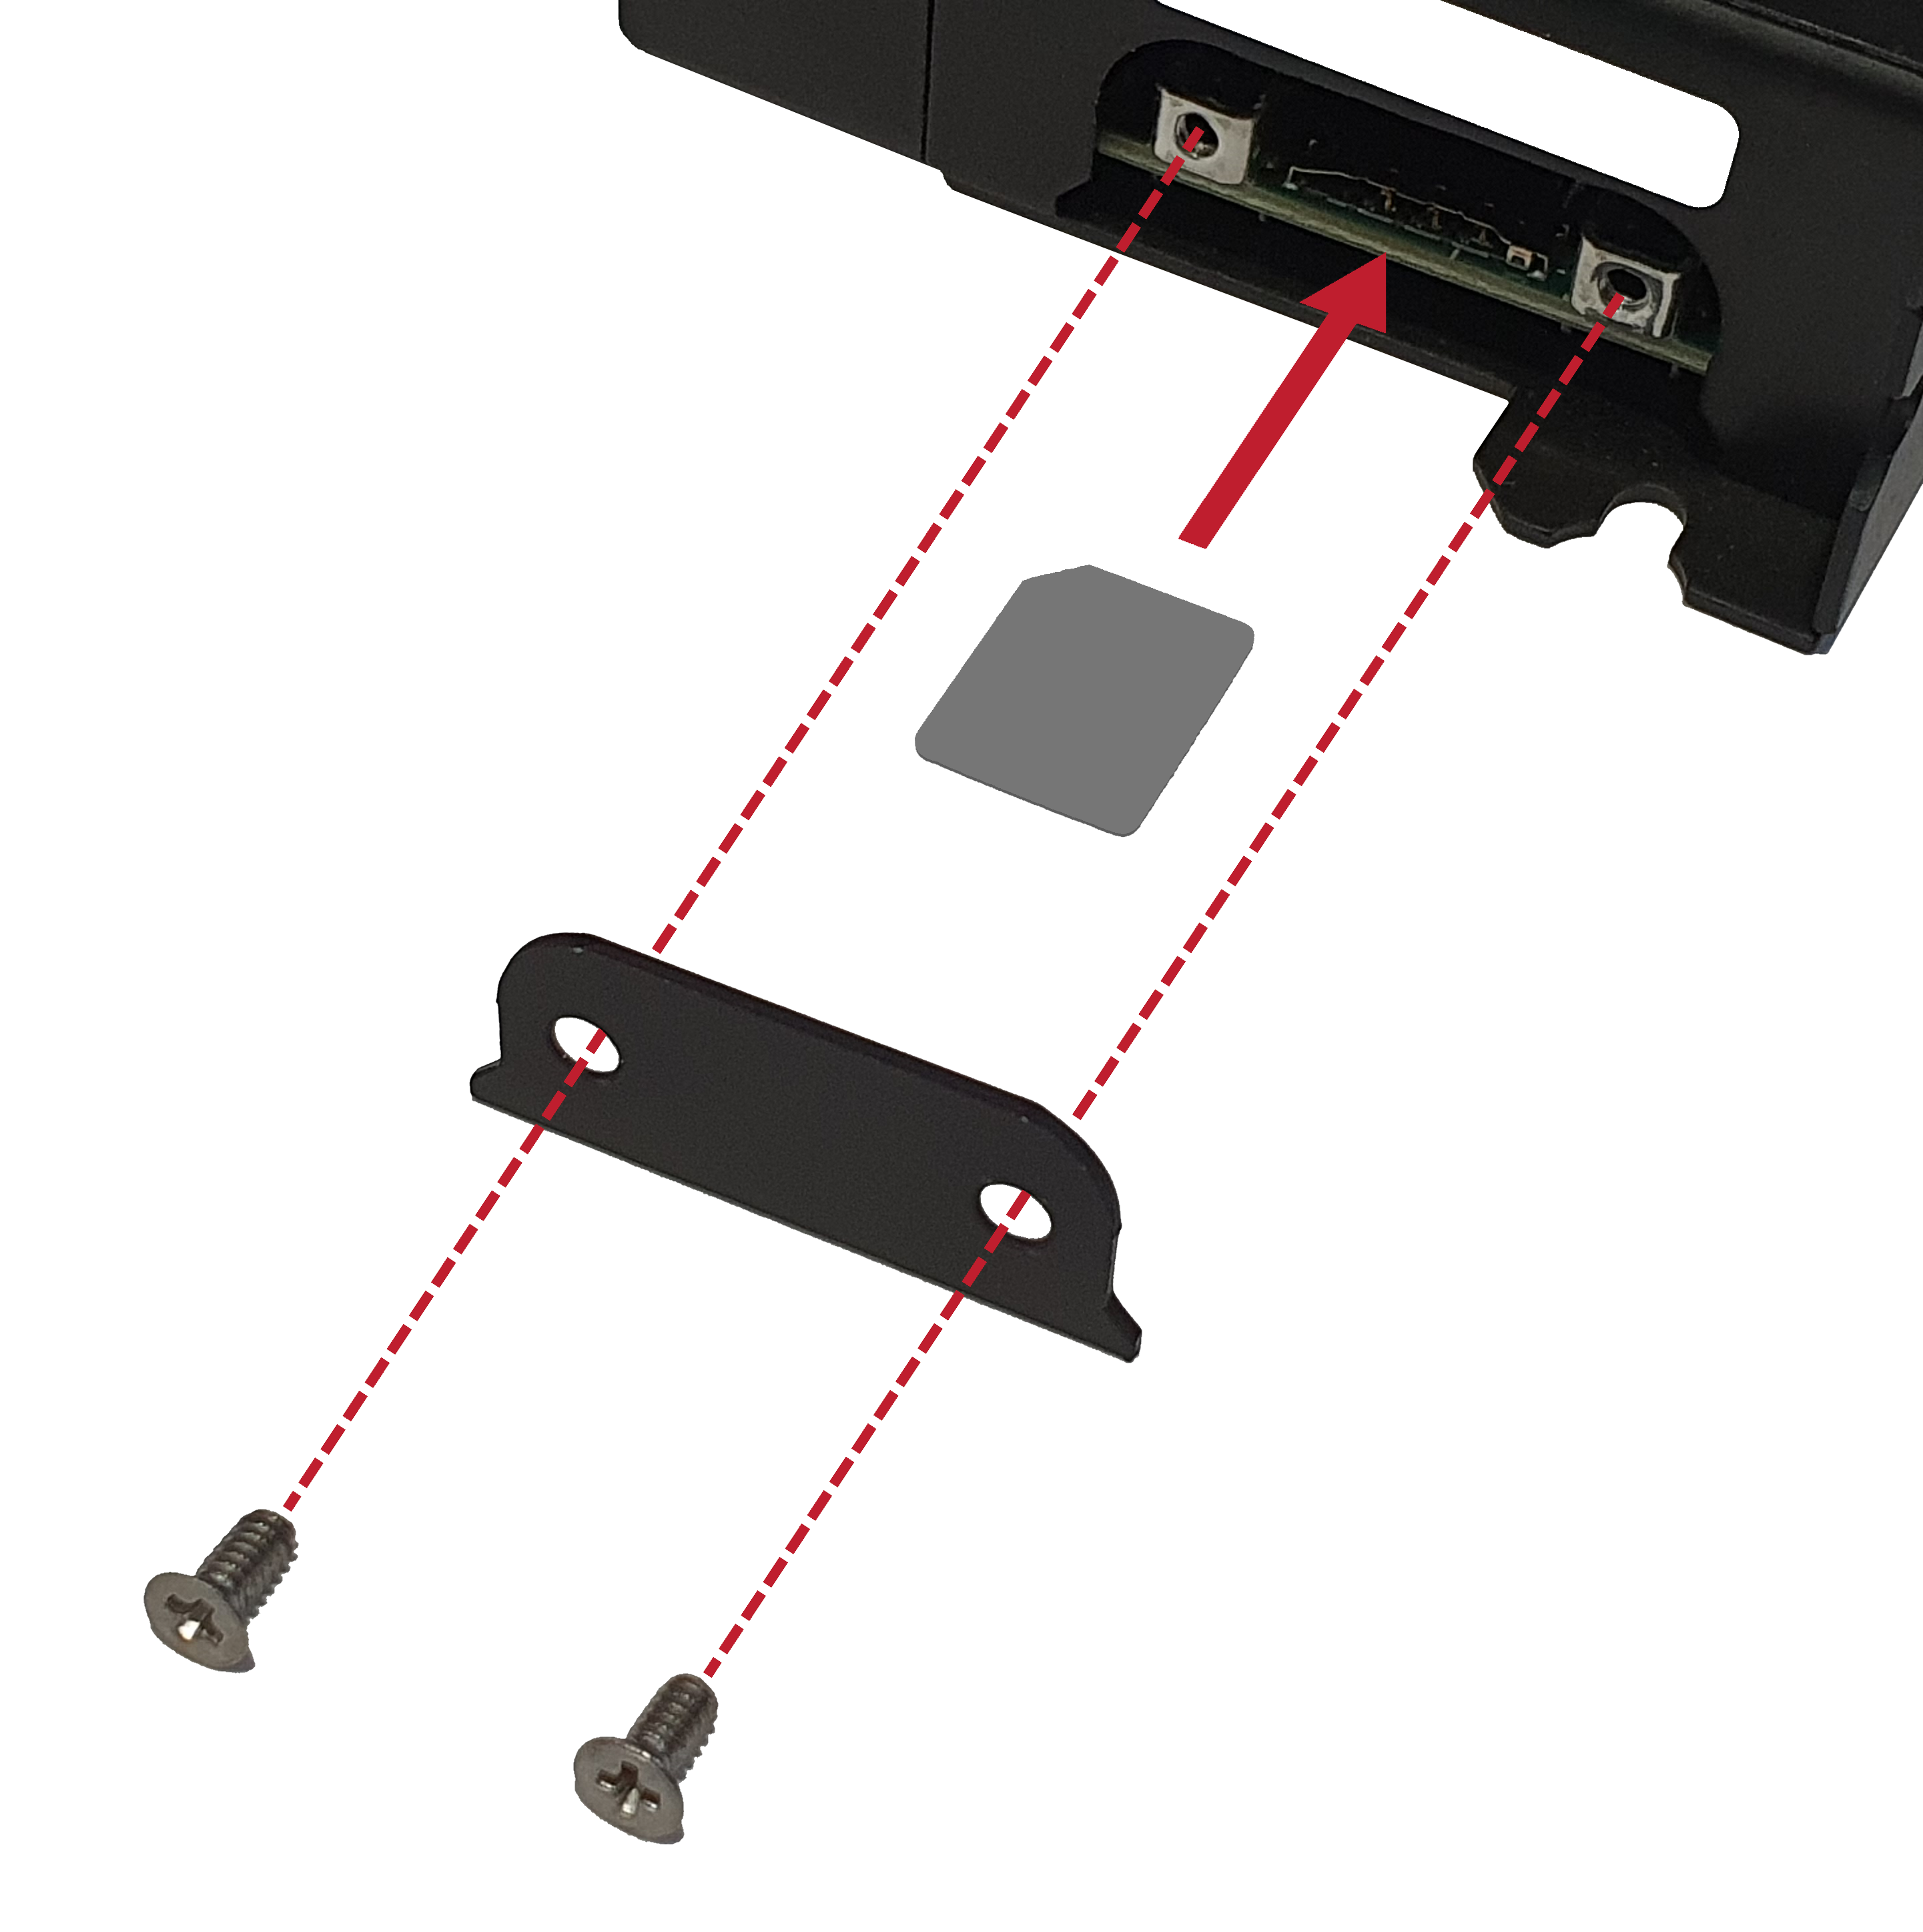
Locating Your Device’s SIM Card Tray
The location and design of the SIM card tray can vary significantly between different phone models and manufacturers. However, there are common placements to look for:
- Side of the Device: This is the most common location for SIM card trays. You’ll typically find a small, thin slot on the side of your smartphone. Sometimes, it might be on the top or bottom edge.
- Under the Battery (Older Devices): In older smartphones and feature phones, the SIM card tray (or slot) was often located beneath the removable back cover and battery. If your device has a removable battery, this is a possibility.
- In the Same Tray as the microSD Card: Many Android devices offer a hybrid SIM tray. This means you can either insert two Nano-SIM cards or one Nano-SIM card and one microSD card for expandable storage. You’ll need to check your device’s manual or the tray itself to see if it’s a dual-SIM slot or a hybrid slot.
Identifying the SIM Tray Slot: The SIM card tray is usually a small, rectangular indentation with a tiny pinhole next to it. This pinhole is where you’ll insert a SIM ejector tool or a straightened paperclip to release the tray.
The SIM Card Installation Process: Step-by-Step
Once you’ve identified your SIM card size and located the SIM card tray, you’re ready to proceed with the installation. This process is generally straightforward, but it’s essential to follow these steps carefully to avoid damaging your SIM card or your device.
Step 1: Gather Your Tools and Materials
Before you begin, ensure you have the following:
- Your SIM Card: Make sure it’s the correct size for your device. If you received a larger SIM card (e.g., a Micro-SIM) for a device that requires a Nano-SIM, you might need to carefully break it down to the Nano-SIM size using the provided plastic frame, or contact your carrier for a pre-cut Nano-SIM.
- SIM Ejector Tool: Most smartphones come with a small, metallic SIM ejector tool in the box.
- Alternative Tool (if needed): If you can’t find the SIM ejector tool, a straightened paperclip or a very thin sewing needle can also work. Be gentle and avoid pushing too hard.
- Your Device: The smartphone or tablet you intend to install the SIM card into.
Step 2: Eject the SIM Card Tray
- Locate the SIM tray slot: As described earlier, find the small pinhole on the side of your device.
- Insert the SIM ejector tool: Gently insert the tip of the SIM ejector tool (or your alternative tool) into the pinhole.
- Apply gentle pressure: Press straight down with moderate force. You should feel a slight click or resistance as the tray pops out.
- Pull out the tray: Once the tray has partially ejected, carefully pull it out the rest of the way. Be cautious not to yank it, as there might be a small ribbon cable connecting it to the device in some models.
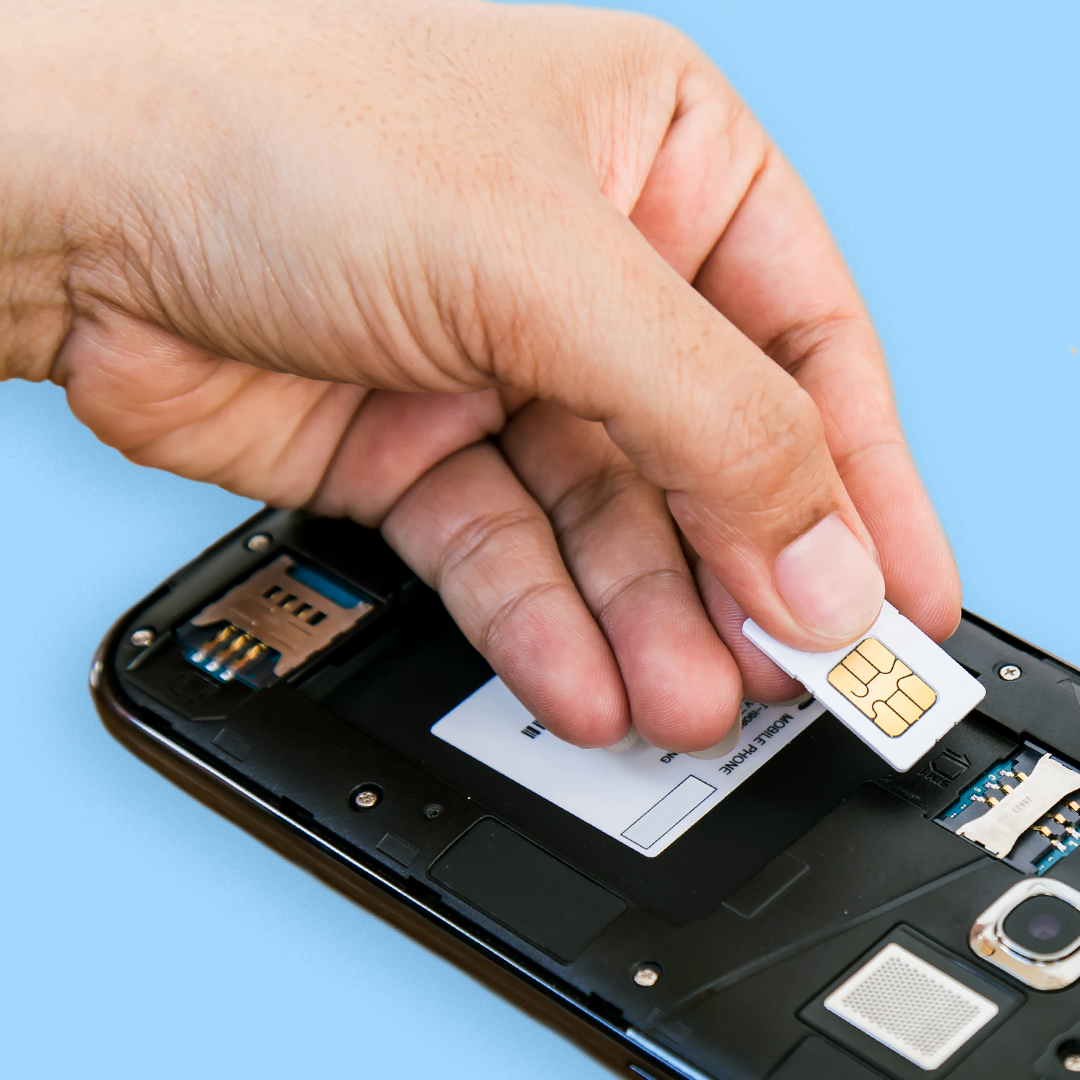
Step 3: Place the SIM Card Correctly
This is a critical step where incorrect placement can prevent your phone from recognizing the SIM.
- Examine the SIM card and tray:
- SIM Card: Notice the chamfered (cut-off) corner on the SIM card. This is a key indicator of its orientation.
- SIM Tray: The SIM tray usually has a molded shape that perfectly matches the SIM card. There will be an indentation that aligns with the cut-off corner of the SIM.
-
Align the SIM card: Place the SIM card into the designated slot on the tray, ensuring the chamfered corner of the SIM card aligns with the corresponding notch in the tray. The metal contacts on the SIM card should be facing downwards, towards the device.
-
For Hybrid Trays: If you have a hybrid tray, you’ll have multiple slots. Pay close attention to which slot is designated for the SIM card and which is for the microSD card. The SIM card slot will also have the correct shape for the Nano-SIM.
-
Secure the SIM: Ensure the SIM card sits flat and snug within the tray. It should not be loose or protrude.
Step 4: Reinsert the SIM Card Tray
- Align the tray: Carefully align the SIM card tray with the slot in your device. The tray is designed to go in only one way.
- Gently push the tray in: Slide the tray back into the device until it clicks into place and sits flush with the device’s edge. Do not force it. If it doesn’t slide in smoothly, recheck the SIM card’s placement and orientation in the tray.
Step 5: Power On Your Device and Verify
- Turn on your phone: Once the SIM card is securely in place, power on your smartphone or tablet.
- Check for signal: Your device should now attempt to connect to your cellular network. Look for the signal strength indicator (bars) in the status bar at the top of your screen.
- Test calls and texts: To confirm everything is working, try making a phone call to another number and sending a text message.
- Check Data Connectivity: Open a web browser or an app that requires internet access to ensure mobile data is working. You might see an indicator like “4G,” “LTE,” “5G,” or “3G” near your signal bars.
Troubleshooting Common SIM Card Issues
Even with a straightforward process, you might encounter a few snags. Here are some common issues and how to resolve them:
SIM Not Detected or “No SIM Card” Error
This is the most frequent problem.
- Re-seat the SIM card: The most common fix is to remove the SIM tray again, take out the SIM card, and reinsert it, ensuring it’s properly aligned with the chamfered corner and that the metal contacts are clean.
- Clean the SIM card and tray: Gently wipe the gold contacts on the SIM card with a soft, dry cloth. Also, ensure the SIM tray itself is free of dust or debris.
- Try the SIM in another phone: If possible, insert your SIM card into a different unlocked phone to see if it works there. If it does, the issue might be with your device. If it doesn’t, the SIM card itself might be damaged or deactivated, and you should contact your carrier.
- Try another SIM card in your phone: If you have access to another working SIM card, try inserting it into your device. If it works, then your original SIM card is likely the problem.
- Restart your device: A simple restart can often resolve temporary software glitches that might be preventing SIM detection.
- Check for Software Updates: Ensure your device’s operating system is up to date. Sometimes, a bug in older software versions can cause SIM recognition issues.
Poor Signal or Dropped Calls
If your SIM card is detected but you’re experiencing weak signals or dropped calls:
- Check your location: Signal strength varies greatly depending on your geographical location and building materials. Try moving to a different area or near a window.
- Network Congestion: During peak usage times, network congestion can lead to slower speeds and dropped calls.
- Carrier Issues: There might be temporary network outages or maintenance in your area. Check your carrier’s website or contact them.
- SIM Card Damage: A physically damaged SIM card might not make full contact, leading to poor signal.
Mobile Data Not Working
If you can make calls and send texts but mobile data isn’t functioning:
- Check Mobile Data Settings: Go to your device’s settings and ensure “Mobile Data” or “Cellular Data” is turned on.
- Access Point Name (APN) Settings: APN settings tell your phone how to connect to your carrier’s data network. These are usually configured automatically, but sometimes they need to be set manually. You can find the correct APN settings on your carrier’s website or by contacting their support.
- Data Limit or Roaming: Check if you’ve exceeded your data limit or if data roaming is enabled/disabled as per your plan.
If You Have an eSIM
If your device supports eSIM, the process is entirely digital:
- Contact your carrier: Inform them you want to activate an eSIM.
- Follow their instructions: This usually involves scanning a QR code provided by your carrier or downloading their app to complete the setup.
- Activate the eSIM: Your carrier will remotely provision your eSIM, and your device will connect to the cellular network.
Understanding how to install a SIM card is a fundamental skill that empowers you to manage your mobile connectivity effectively. By following these steps and knowing how to troubleshoot common issues, you can ensure your smartphone is always ready to connect you to the world.
aViewFromTheCave is a participant in the Amazon Services LLC Associates Program, an affiliate advertising program designed to provide a means for sites to earn advertising fees by advertising and linking to Amazon.com. Amazon, the Amazon logo, AmazonSupply, and the AmazonSupply logo are trademarks of Amazon.com, Inc. or its affiliates. As an Amazon Associate we earn affiliate commissions from qualifying purchases.