Navigating the world of personal computing can sometimes feel like learning a new language. For those who’ve recently switched to or are new to the Apple ecosystem, a fundamental question arises: “How do I install a program on a Mac?” This seemingly simple inquiry unlocks a gateway to a vast array of applications designed to enhance productivity, creativity, and entertainment. While the process is generally straightforward, understanding the different methods and potential nuances can save you time and prevent frustration. This comprehensive guide will walk you through the most common and effective ways to get the software you need onto your Mac.
Understanding the Mac Software Landscape: From App Store to Direct Downloads
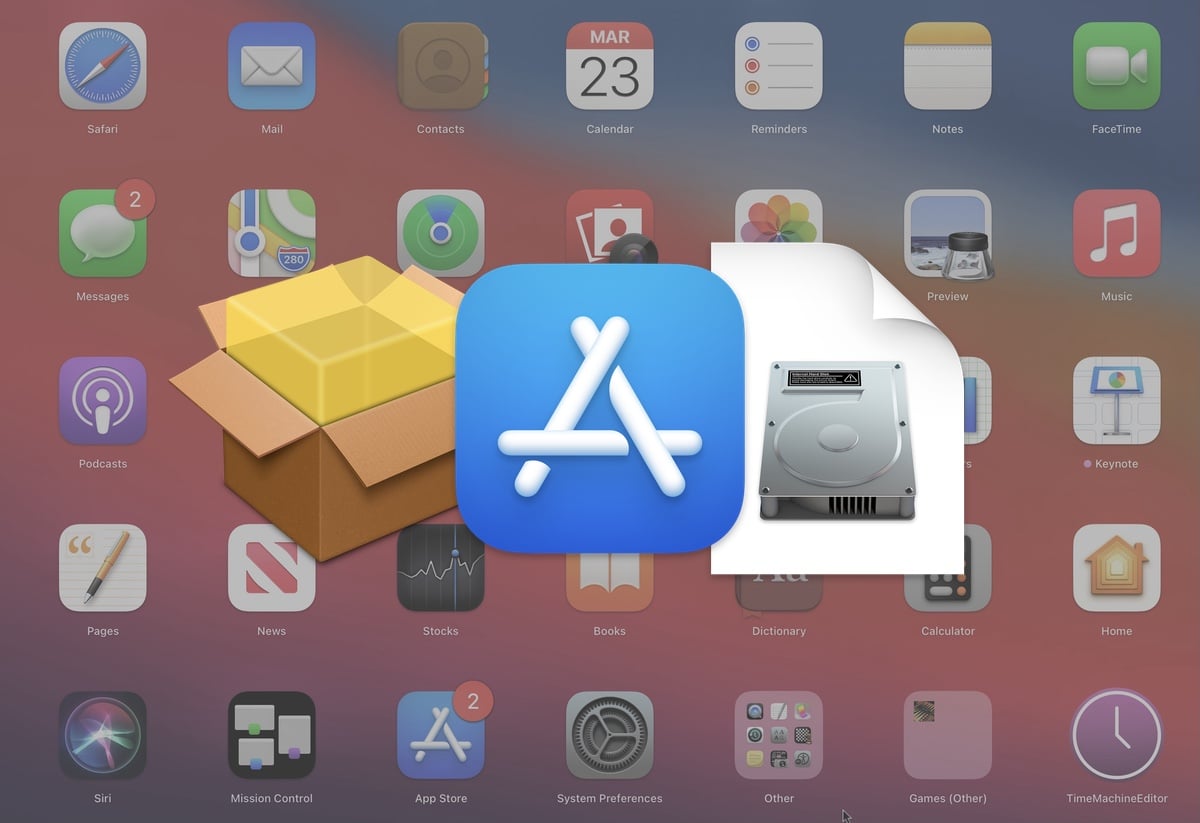
Before diving into the installation process itself, it’s helpful to understand the primary sources from which you’ll acquire Mac applications. The Mac App Store, similar to its iOS counterpart, is Apple’s curated digital storefront. It offers a safe and convenient way to discover, purchase, and install a wide range of software. Alternatively, many developers distribute their applications directly from their websites, often as downloadable disk image files (.dmg) or package installers (.pkg). Each method has its own advantages, and knowing when to use which can be crucial.
The Mac App Store: Your Digital Gateway to Verified Software
The Mac App Store is designed for ease of use and security. It’s the first place many Mac users will look for applications, and for good reason.
Discovering and Downloading Apps from the Mac App Store
To access the App Store, simply click on the App Store icon in your Dock or search for it using Spotlight (Command + Spacebar and type “App Store”). Once opened, you can browse categories, explore featured apps, or use the search bar to find specific software.
When you find an app you want, click on its icon to view its details, including screenshots, descriptions, user reviews, and pricing. If it’s a free app, you’ll see a “Get” button. Click this, and you may be prompted to enter your Apple ID password or use Touch ID to confirm the download. For paid apps, the “Get” button will display the price. Clicking it will initiate the purchase process, again requiring your Apple ID password or Touch ID.
Once the download is complete, the app will appear in your Applications folder and usually on your Launchpad. You can then launch it by clicking its icon. The beauty of the App Store is that updates are also managed through this platform, ensuring your software remains current and secure with minimal effort on your part.
Benefits of Using the Mac App Store
- Security: Apps are vetted by Apple, reducing the risk of malware.
- Convenience: Centralized location for downloads and updates.
- Simplicity: User-friendly interface for browsing and purchasing.
- Automatic Updates: Keeps your software up-to-date without manual intervention.
Downloading and Installing from Developer Websites: A World of Choice
While the App Store is fantastic for many applications, it doesn’t host every single piece of software available for macOS. Many developers, especially for more specialized or professional tools, distribute their applications directly from their websites. This often provides access to beta versions, specialized editions, or software not yet approved for the App Store.
The .dmg (Disk Image) Method: A Common Installation Package
The most prevalent method for installing applications downloaded from websites is using .dmg files. These are like virtual discs that you mount on your Mac.
- Download the .dmg file: Navigate to the developer’s website and download the .dmg file for the program you want.
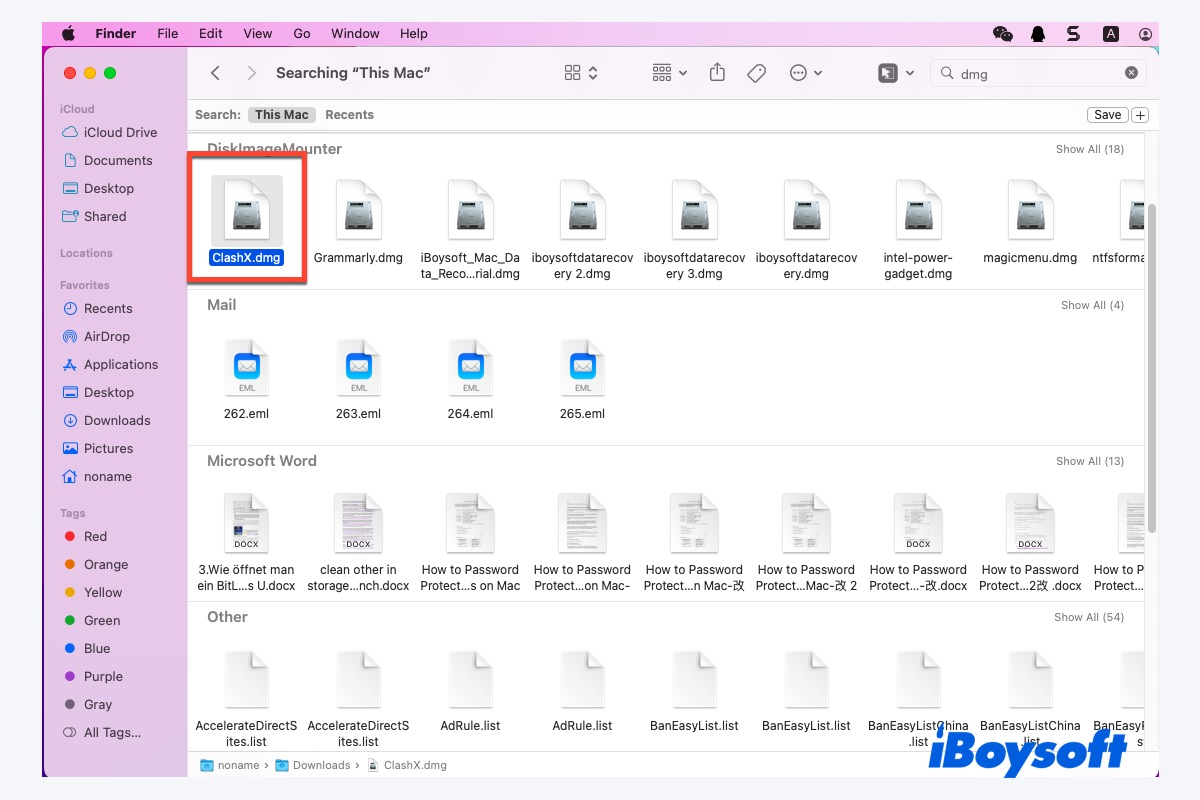
- Open the .dmg file: Locate the downloaded file (usually in your Downloads folder) and double-click it. This will mount the disk image, creating a virtual drive that appears on your Desktop and in the Finder sidebar.
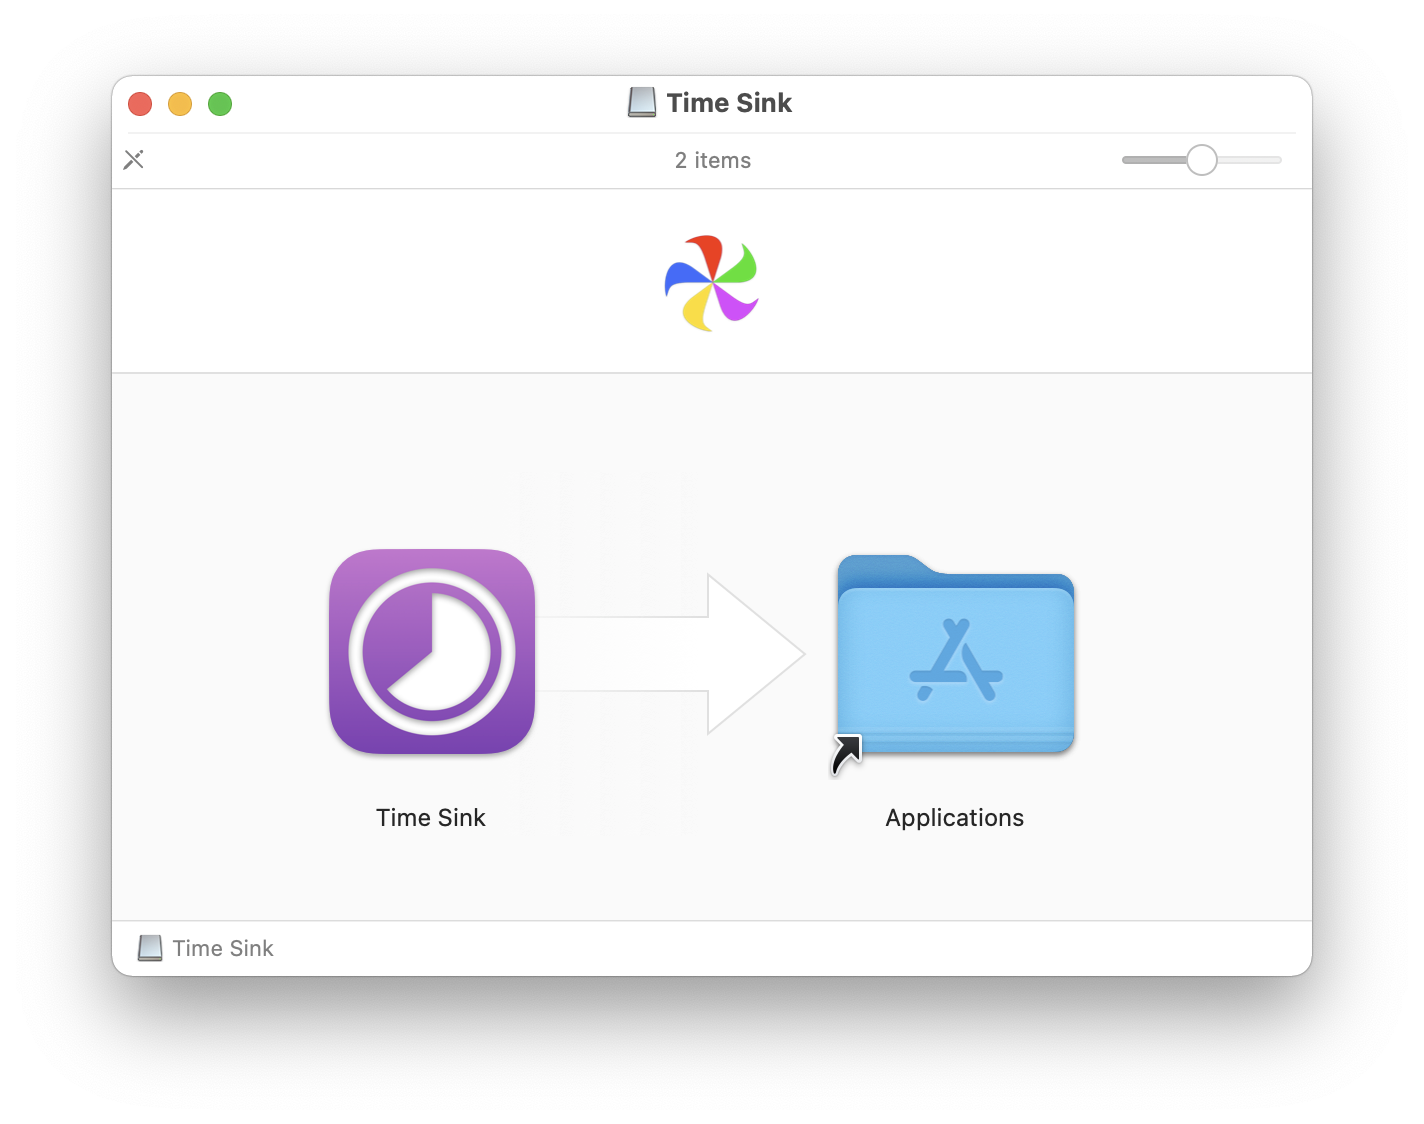
- Drag and Drop: The mounted disk image will typically contain the application icon and a shortcut to your Applications folder. To install the program, simply drag the application icon into the Applications folder icon.
- Eject the Disk Image: Once the copying is complete, you can eject the virtual drive by clicking the Eject symbol next to its name in the Finder sidebar or by dragging its icon from the Desktop to the Trash.
- Launch the Application: Your newly installed program will now be in your Applications folder, ready to be launched.
The .pkg (Package Installer) Method: Guided Installation Steps
Less common than .dmg files but still frequently used, .pkg files are standard installers that guide you through the installation process with a series of prompts.
- Download the .pkg file: Find and download the .pkg file from the developer’s website.
- Run the Installer: Double-click the .pkg file to launch the installer.
- Follow the On-Screen Prompts: The installer will guide you through several steps, which may include accepting license agreements, choosing an installation location, and entering your administrator password.
- Completion: Once the installation is finished, you can usually close the installer. The application will be placed in your Applications folder.
Security Considerations When Downloading from Websites
While downloading directly from developers offers more choice, it’s crucial to exercise caution:
- Trusted Sources: Only download software from reputable developer websites. If you’re unsure, search for reviews of the software or developer.
- Antivirus Software: Ensure you have reliable antivirus software installed and updated on your Mac.
- Gatekeeper: macOS has a built-in security feature called Gatekeeper, which helps protect you from malicious software. By default, it allows apps downloaded from the App Store and identified developers. If you attempt to open an app from an unidentified developer, you’ll receive a warning. You can choose to ignore this warning, but do so only if you are absolutely certain of the source’s trustworthiness. You can adjust Gatekeeper settings in System Settings > Privacy & Security, but it’s generally recommended to keep them at their default for maximum security.
Post-Installation Steps: Launching and Organizing Your New Software
Once you’ve successfully installed a program, the next steps involve launching it and ensuring it fits neatly into your workflow and system organization.
Launching Your Newly Installed Program
There are several convenient ways to launch an application on your Mac:
- Applications Folder: Open Finder, navigate to the Applications folder, and double-click the app’s icon.
- Launchpad: Click the Launchpad icon in your Dock. This displays all your installed applications in a grid similar to iOS. You can swipe between pages or use the search bar at the top.
- Spotlight Search: Press Command + Spacebar to open Spotlight. Type the name of the application, and press Enter when it appears in the search results.
- Dock: If you plan to use an application frequently, you can drag its icon from the Applications folder onto your Dock for quick access. Right-click (or Control-click) an app’s icon in the Dock and select “Options” > “Keep in Dock” to make it permanent.
Keeping Your Mac Organized: Managing Applications
As you install more programs, keeping your Mac organized becomes important for efficiency and maintaining a clean digital workspace.
- Applications Folder: This is the central hub for all your installed software. Regularly review its contents to uninstall applications you no longer use.
- Uninstalling Applications:
- App Store Apps: To uninstall an app downloaded from the App Store, open Launchpad, click and hold an app icon until they all start to jiggle, then click the ‘X’ that appears over the app you want to delete.
- Downloaded Apps (.dmg): For apps installed via .dmg files, the standard way to uninstall is to drag the application from your Applications folder to the Trash. Some applications may come with their own uninstaller. Check the developer’s website or the original download package for an uninstaller application.
- Third-Party Uninstallers: For more thorough uninstallation, especially for complex software that leaves behind preference files or other remnants, you can consider using third-party uninstaller tools. These apps scan your system for all related files and remove them completely.
- Creating Folders in Launchpad/Applications: To declutter your Launchpad or Applications folder, you can create folders. In Launchpad, drag one app icon onto another to create a folder. In the Applications folder, you can create a new folder (File > New Folder) and drag related applications into it.
Troubleshooting Common Installation Issues
Despite the straightforward nature of Mac installations, occasional hiccups can occur. Understanding common problems and their solutions can save you a significant amount of frustration.
“App Cannot Be Opened Because It Is from an Unidentified Developer”
This is a common security feature in macOS called Gatekeeper. As mentioned earlier, it blocks applications from sources other than the App Store or identified developers.
- Solution: If you trust the source, you can override this. Go to System Settings > Privacy & Security. Scroll down to the “Security” section. You should see a message indicating that the app was blocked, with an “Open Anyway” button. Click it, and then confirm your choice. The app will then open, and you’ll likely be asked if you want to allow apps from this developer in the future.
Installation Fails or Freezes Mid-Process
This can be caused by a variety of factors, from corrupted download files to insufficient disk space.
- Solutions:
- Redownload: The download file might be corrupted. Delete the file and download it again.
- Check Disk Space: Ensure you have enough free storage space on your Mac for the application and its associated files. You can check this by clicking the Apple menu > About This Mac > Storage.
- Restart Your Mac: A simple restart can often resolve temporary system glitches that might be hindering the installation.
- Close Other Applications: Some applications might consume system resources that are needed for the installation. Close any unnecessary programs.
- Check for System Updates: Ensure your macOS is up to date. Sometimes, compatibility issues can arise with older versions of the operating system.
Application Crashes or Doesn’t Launch After Installation
If an application installs without errors but then refuses to open or crashes immediately, it could be an issue with compatibility, corrupted installation files, or conflicts with other software.
- Solutions:
- Reinstall: Uninstall the application completely and then reinstall it.
- Check System Requirements: Ensure your Mac meets the minimum system requirements for the software.
- Check for Updates: See if the developer has released an update for the application that addresses known bugs.
- Contact Developer Support: If the issue persists, reach out to the software developer’s support team. They can often provide specific troubleshooting steps for their product.
By understanding these common installation methods and potential troubleshooting steps, you’ll be well-equipped to populate your Mac with the software you need, enhancing your productivity and enjoyment of the Apple ecosystem. The process is designed to be intuitive, and with a little guidance, you’ll be an expert in no time.
aViewFromTheCave is a participant in the Amazon Services LLC Associates Program, an affiliate advertising program designed to provide a means for sites to earn advertising fees by advertising and linking to Amazon.com. Amazon, the Amazon logo, AmazonSupply, and the AmazonSupply logo are trademarks of Amazon.com, Inc. or its affiliates. As an Amazon Associate we earn affiliate commissions from qualifying purchases.