Setting up a new Canon printer might seem like a daunting task, especially if you’re not particularly tech-savvy. However, with the right guidance, the process can be surprisingly straightforward. Whether you’ve just unboxed a brand-new model or are looking to reconnect an existing one, this comprehensive guide will walk you through every step, ensuring your Canon printer is up and running in no time. We’ll cover everything from initial unboxing and driver installation to troubleshooting common issues, all while keeping in mind the broader themes of technology, brand, and even the financial implications of efficient printing.

1. Unboxing and Initial Setup: The Foundation for Success
Before you even think about software, the physical setup of your Canon printer is crucial. This initial phase lays the groundwork for a smooth installation process. Rushing through these steps can lead to problems down the line, so it’s worth taking your time.
1.1. What’s in the Box?
The first thing you’ll encounter is the packaging. Canon printers typically come with the printer itself, a power cord, a setup ink cartridge (or multiple cartridges), a user manual, and sometimes a CD-ROM containing the necessary software. Always check the contents against the product listing to ensure nothing is missing. If anything is damaged or absent, contact the retailer or Canon support immediately.
1.2. Removing All Packing Materials
This is perhaps the most critical step in the physical setup. Printers are shipped with numerous protective elements to prevent damage during transit. These can include:
- Tape: Look for any visible tape holding doors, trays, or panels shut. Carefully peel these off.
- Protective Films: Many surfaces, including the control panel, scanner lid, and exterior plastic, will have thin, transparent plastic films. Gently lift an edge and peel them off.
- Internal Protective Materials: Open all accessible compartments, such as the scanner lid and ink cartridge access doors. You’ll likely find tape, foam inserts, or cardboard pieces securing moving parts. Carefully remove all of these. Pay special attention to the ink cartridge carriage area – this is a common place for overlooked packing material.
- Power Switch Location: Before plugging in the power, locate the printer’s power switch. It’s usually on the back or side of the device.
1.3. Connecting the Power and Turning On
Once you’re confident that all packing materials have been removed, connect the power cord to the printer and then to a wall outlet. Turn on the printer using the power switch you located earlier. The printer will likely go through an initialization process, which might involve some initial noises and movements. Do not interrupt this process.
1.4. Ink Cartridge Installation
This step is vital for printing. Consult your printer’s manual for the specific placement of ink cartridges for your model.
- Access the Cartridge Holder: Open the ink cartridge access door. The carriage that holds the cartridges will likely move to a central position, making it accessible.
- Unpack and Prepare Cartridges: Remove the new ink cartridges from their packaging. Be careful not to touch the ink nozzles or electrical contacts. Many cartridges have a protective tape or tab that needs to be removed before installation. Follow the instructions on the cartridge packaging for this.
- Insert Cartridges: Align the cartridge with its designated slot and push it gently until it clicks into place. Ensure it’s seated correctly.
- Close Doors and Cartridge Holder: Once all cartridges are installed, close the ink cartridge access door and any other compartments you opened. The printer may then perform a print head alignment or charging process. Again, allow this to complete without interruption.
2. Software Installation: Bringing Your Printer to Life
With the physical setup complete, it’s time to install the necessary software that allows your computer to communicate with the printer. This is where the “Tech” aspect of our website truly shines, as it involves understanding drivers and connection methods.
2.1. Locating the Drivers and Software
Canon offers several ways to obtain the software for your printer:
- Using the Included CD-ROM: If your printer came with a CD-ROM, insert it into your computer’s CD/DVD drive. The installation software should launch automatically. If it doesn’t, navigate to the CD-ROM drive in File Explorer (Windows) or Finder (macOS) and run the setup executable (usually named “Setup.exe” or similar).
- Downloading from the Canon Website: This is often the preferred method as it ensures you have the latest drivers and software, which can be crucial for compatibility and security.
- Visit the Canon Support Website: Go to your region’s official Canon support website.
- Search for Your Printer Model: Use the search bar to find your specific printer model. Enter the model number precisely (e.g., “Canon PIXMA TS3350,” “Canon imageCLASS MF237w”).
- Navigate to the Drivers & Downloads Section: Once you find your printer’s support page, look for a section labeled “Drivers & Downloads,” “Software & Drivers,” or similar.
- Select Your Operating System: Choose the correct operating system (Windows, macOS, Linux) and version from the dropdown menus.
- Download the Recommended Software Package: Canon often provides a “Full Driver & Software Package” or a “Recommended Software” bundle. Downloading this is usually the easiest option as it includes everything you need. Alternatively, you can download individual drivers and utilities if you prefer.
2.2. Connecting Your Printer to Your Computer
There are two primary ways to connect your Canon printer to your computer: USB and Wi-Fi. The method you choose will influence the installation steps.
2.2.1. USB Connection
A direct USB connection is simple and reliable.
- Follow the On-Screen Prompts: The installation wizard will typically instruct you when to connect the USB cable. Crucially, do not connect the USB cable until the software specifically tells you to. Connecting it too early can sometimes lead to the operating system trying to install generic drivers, which may not work optimally.
- Connect the Cable: Once prompted, plug the USB cable into the printer and your computer. Your computer should recognize the new hardware.
- Complete Installation: The software wizard will then detect the printer and complete the installation process.
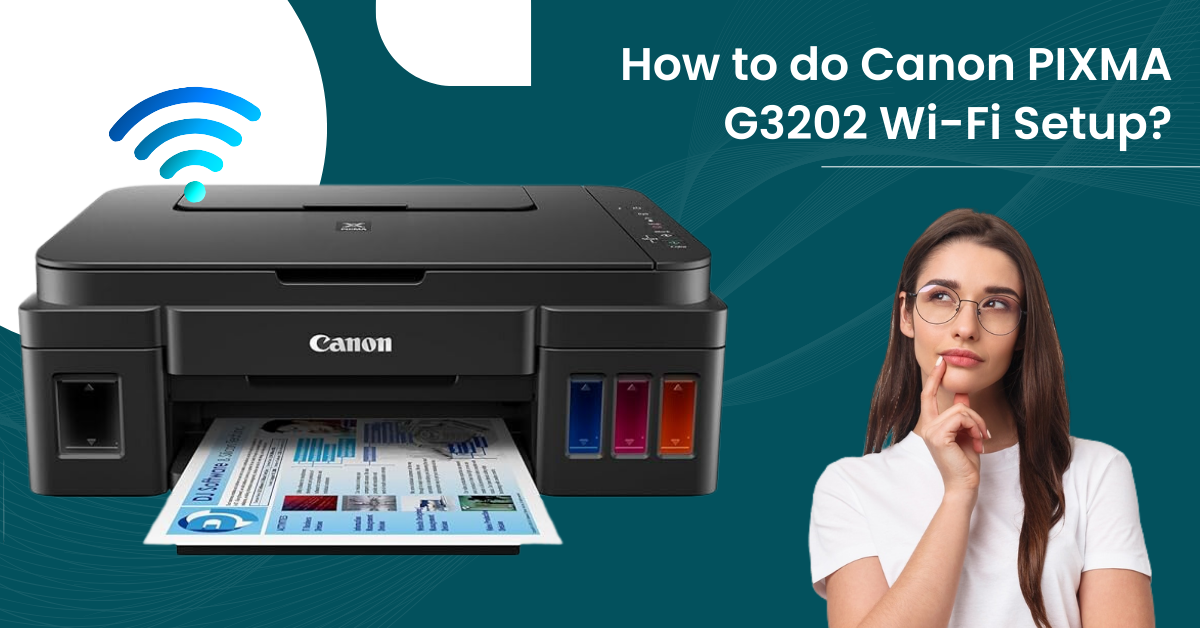
2.2.2. Wi-Fi Connection (Wireless Setup)
Connecting via Wi-Fi offers greater flexibility, allowing multiple devices to print without being physically tethered to the printer. This process can be slightly more involved but is well worth the effort.
- Using the Setup CD/Software: If you’re using the CD or downloaded software, the wizard will guide you through the Wi-Fi setup. It might involve temporarily connecting the printer via USB to transfer the Wi-Fi settings from your computer to the printer.
- Using the Printer’s Control Panel (WPS or Manual Setup): Many Canon printers offer direct Wi-Fi setup through their own display and buttons.
- WPS (Wi-Fi Protected Setup): If your router supports WPS, this is the easiest method. Navigate to the network settings on your printer’s control panel, select Wi-Fi setup, and then choose the WPS option. You’ll then need to press the WPS button on your router within a specified timeframe. The printer and router will then communicate and connect automatically.
- Manual Setup: If WPS is not an option, you’ll need to manually enter your Wi-Fi network name (SSID) and password directly on the printer’s control panel. This can be tedious on printers with small screens and buttons but is a reliable method. Consult your printer’s manual for the exact menu navigation.
- Printer Drivers and Software: Once the printer is connected to your Wi-Fi network, run the downloaded Canon software on your computer. The installer will detect the printer on the network and proceed with the installation.
2.3. Installing the Printer Driver
The printer driver is the essential software that translates commands from your computer into instructions that the printer can understand.
- Follow the Installer: The Canon setup wizard will typically install the driver automatically as part of the software package. Ensure you select the option to install the printer driver when prompted.
- Driver Updates: As mentioned, downloading the latest drivers from Canon’s website is a good practice. If you installed from a CD and are experiencing issues, try downloading and installing the latest drivers from the Canon support site.
2.4. Installing Additional Software and Utilities
Beyond the basic driver, Canon often includes helpful utilities:
- Canon IJ Scan Utility: For scanning documents and photos.
- My Image Garden: A creative software suite for organizing, editing, and printing photos.
- Quick Menu: A convenient way to launch Canon applications.
- Network Scanning Tools: For advanced network scanning features.
You’ll usually have the option to choose which of these extra applications to install during the setup process. Select the ones that best suit your needs.
3. Testing and Troubleshooting: Ensuring Everything Works
Once the software installation is complete, it’s time to test your printer and address any potential hiccups. This is where practical “Tech” skills come into play.
3.1. Printing a Test Page
The most basic test is printing a test page.
- From the Installer: The Canon installation wizard often offers to print a test page at the end of the process. This is highly recommended.
- From Printer Properties (Windows):
- Go to
Settings>Devices>Printers & scanners. - Click on your Canon printer.
- Click
Manage. - Click
Print a test page.
- Go to
- From Print Center (macOS):
- Go to
System Settings(orSystem Preferences) >Printers & Scanners. - Select your Canon printer.
- Click the
Print Test Pagebutton (or equivalent, depending on macOS version).
- Go to
If the test page prints successfully, congratulations! Your Canon printer is ready to go.
3.2. Common Installation Issues and Solutions
Even with careful steps, you might encounter problems. Here are some common ones:
- Printer Not Detected:
- Check Connections: Ensure all cables (USB, power) are securely plugged in.
- Restart Devices: Reboot both your computer and the printer.
- Firewall/Antivirus: Temporarily disable your firewall or antivirus software to see if it’s blocking the connection, then re-enable it.
- Wi-Fi Issues: Verify your printer is connected to the correct Wi-Fi network and that your computer is on the same network.
- Driver Installation Errors:
- Download Latest Drivers: Always try downloading the newest drivers from Canon’s official website.
- Uninstall and Reinstall: If an installation failed, completely uninstall the Canon software and drivers from your computer, then restart and try the installation again.
- Administrator Privileges: Ensure you are logged in as an administrator on your computer.
- Printer Not Printing:
- Check Ink Levels: Make sure ink cartridges are properly installed and have sufficient ink.
- Paper Jam: Check for any paper jams in the input or output trays.
- Print Queue: Open the print queue (
Printers & scanners>Manage>Open print queue) and cancel any pending print jobs. Then try printing again. - Default Printer: Ensure your Canon printer is set as the default printer on your system.
3.3. Maintaining Your Canon Printer: Longevity and Cost-Effectiveness
A well-maintained printer not only performs better but also saves you money in the long run, tying into our “Money” theme.
- Regular Cleaning: Keep the printer’s exterior clean. Periodically clean the scanner glass and rollers as per the manual’s instructions to prevent streaks and smudges on scans and copies.
- Ink Cartridge Management:
- Genuine Cartridges: While third-party cartridges can be cheaper, using genuine Canon ink cartridges often ensures better print quality and printer longevity. This is a balance between initial “Money” savings and long-term performance.
- Order Ink Appropriately: Don’t wait until the printer is completely out of ink to order replacements. Running a cartridge completely dry can sometimes damage the print head.
- Software Updates: Keep your printer drivers and software updated by periodically checking the Canon support website. These updates often include performance improvements and bug fixes.
Conclusion
Installing a Canon printer is a fundamental step towards leveraging its capabilities for your personal, academic, or professional needs. By following these detailed steps, from meticulous unboxing and physical setup to precise software installation and initial testing, you can confidently get your new Canon printer operational. Remember that technology is constantly evolving, and staying updated with driver software and understanding network connectivity are key to maximizing your printer’s performance and lifespan. Moreover, by managing your ink and maintenance effectively, you can ensure a cost-effective and efficient printing experience. Should you encounter any persistent issues, Canon’s comprehensive online support resources and customer service are invaluable assets to draw upon. Enjoy your newly installed Canon printer!
aViewFromTheCave is a participant in the Amazon Services LLC Associates Program, an affiliate advertising program designed to provide a means for sites to earn advertising fees by advertising and linking to Amazon.com. Amazon, the Amazon logo, AmazonSupply, and the AmazonSupply logo are trademarks of Amazon.com, Inc. or its affiliates. As an Amazon Associate we earn affiliate commissions from qualifying purchases.