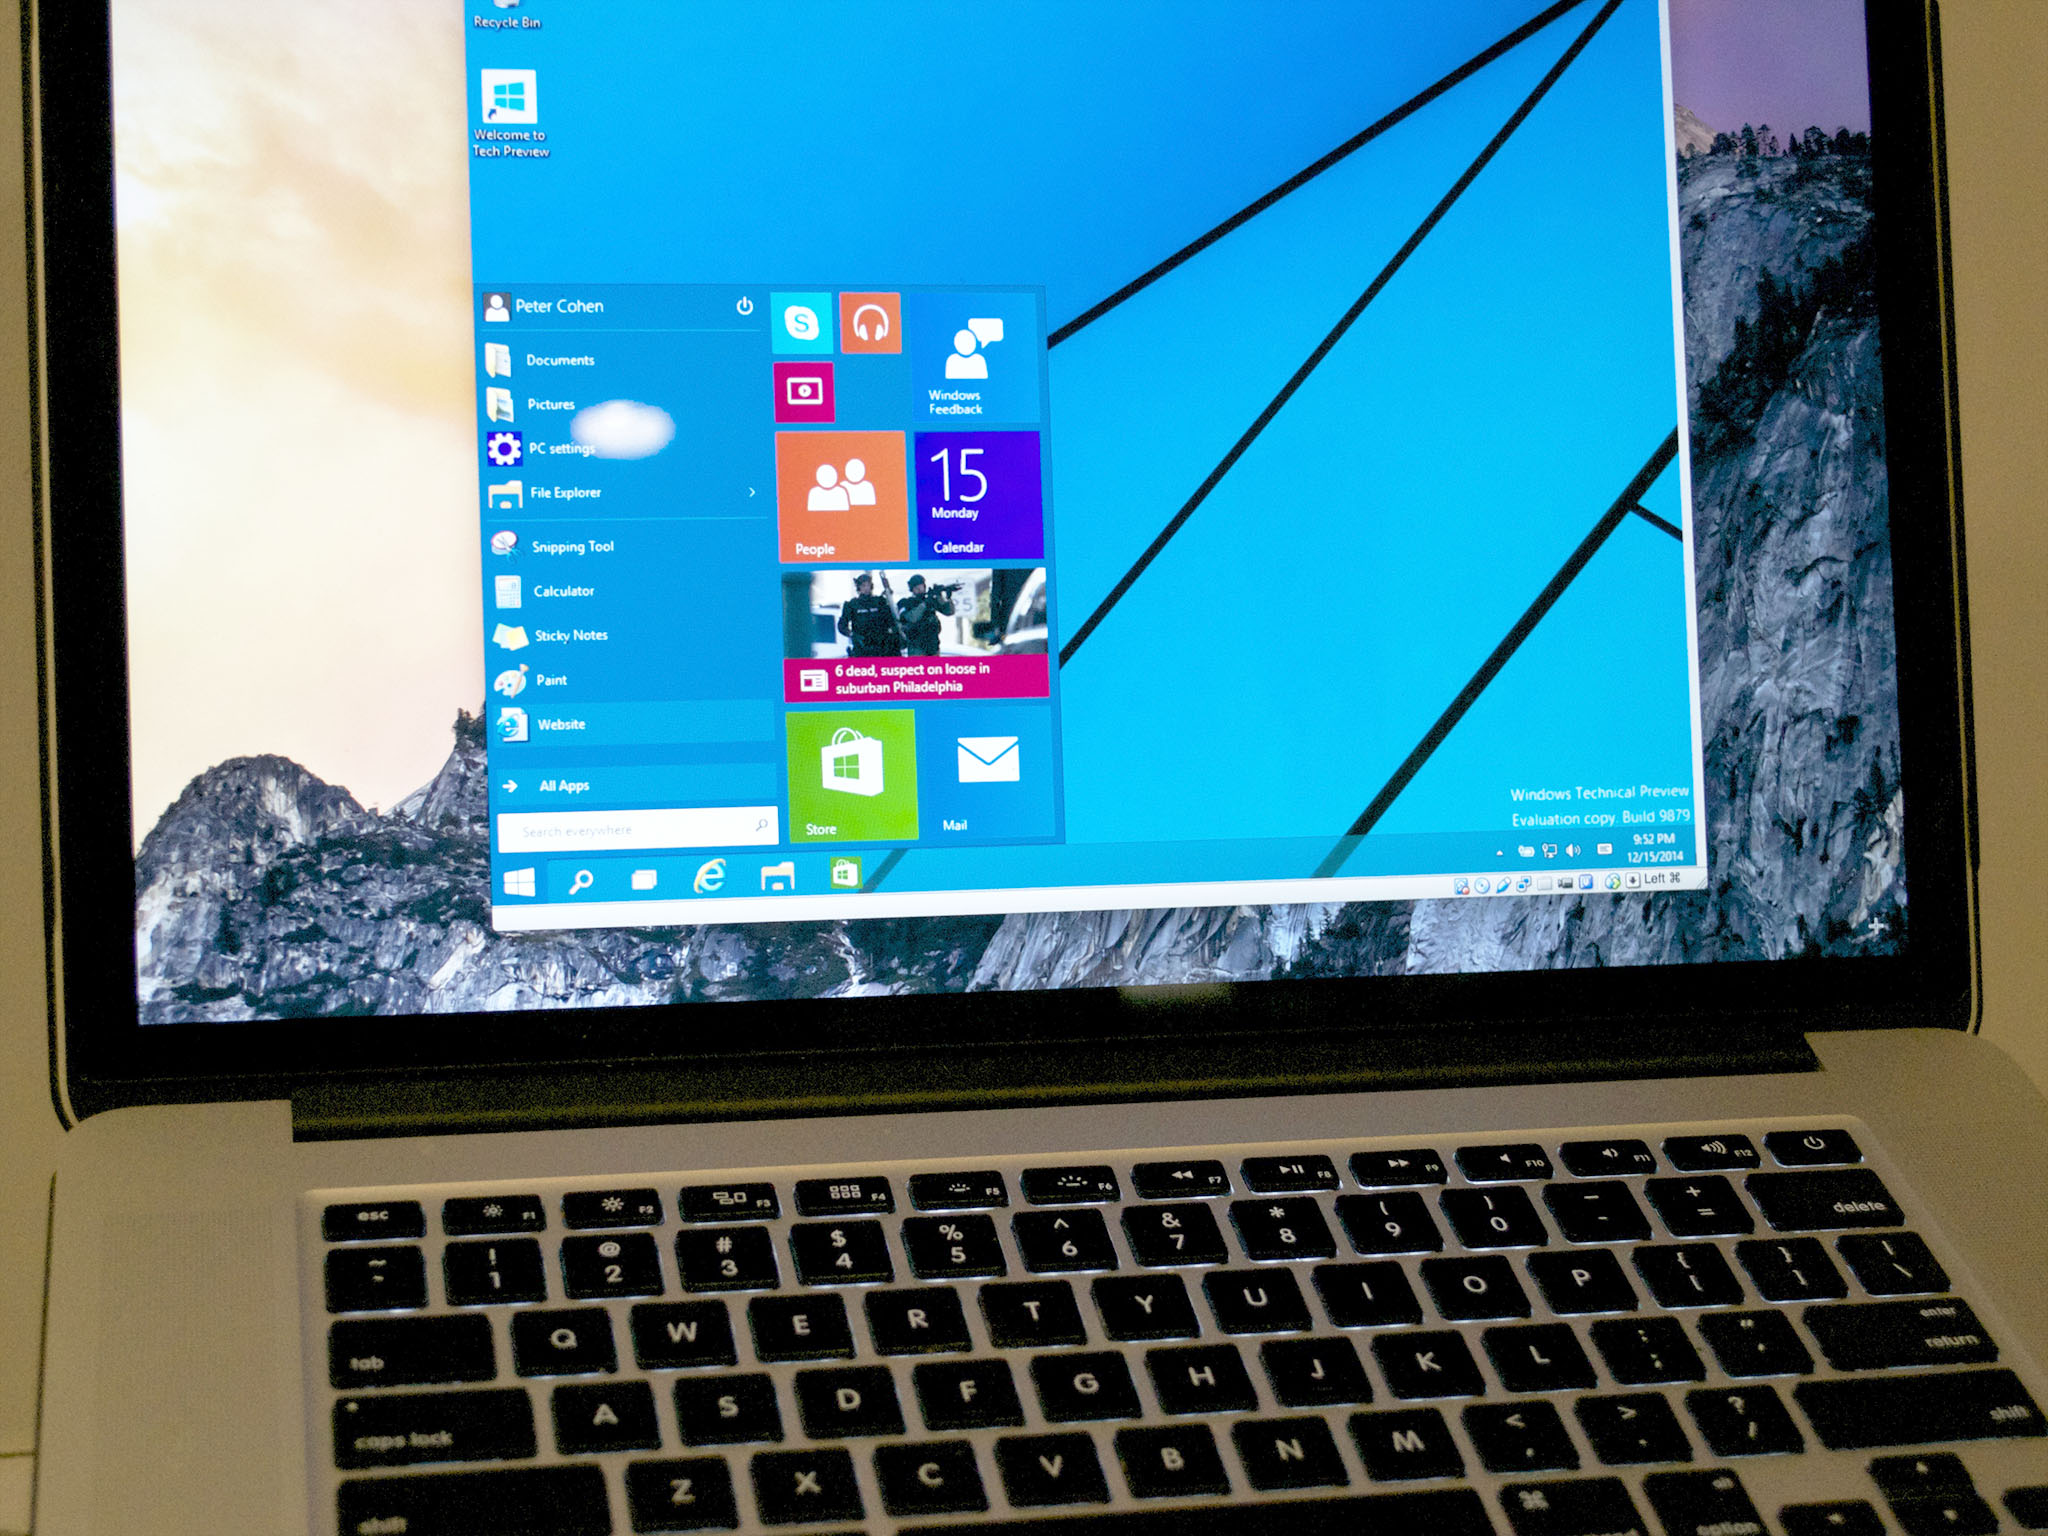
In an increasingly interconnected digital world, the lines between operating systems often blur, yet specific needs can still tie users to one platform over another. For Mac users, the allure of macOS – with its elegant design, robust security, and seamless ecosystem – is undeniable. However, there are compelling reasons why even the most dedicated Apple enthusiast might find themselves needing to run Windows. Whether it’s for a mission-critical business application, a favorite PC-exclusive game, specific development tools, or simply a legacy program that hasn’t made the jump to macOS, the demand to install Windows on a Mac is a persistent and common query. This guide aims to demystify the process, offering comprehensive insights into the primary methods, their pros and cons, and crucial considerations for both Intel-based and the newer Apple Silicon (M1/M2/M3) Macs.
The ability to bridge the gap between these two powerful operating systems offers unprecedented flexibility, expanding your Mac’s capabilities and ensuring you’re never held back by software compatibility. Let’s dive into how you can unlock this dual-OS potential, transforming your Mac into a versatile computing powerhouse that serves all your needs, regardless of the platform.
Why Run Windows on Mac? Unlocking Cross-Platform Potential
Before delving into the “how,” it’s worth exploring the “why.” Understanding the motivations behind installing Windows on a Mac illuminates the immense value this capability brings, aligning perfectly with themes of technology innovation, productivity enhancement, and smart financial management inherent to our website’s core topics.
Software Compatibility & Legacy Applications
The most common reason for wanting Windows on a Mac is straightforward: software compatibility. Despite macOS’s vast software ecosystem, certain applications remain Windows-exclusive. This is particularly true for:
- Industry-Specific Software: Many niche professional applications in fields like engineering, architecture, finance, or specialized medical software are often developed solely for Windows. Running Windows on your Mac allows professionals to use their preferred hardware without compromising on essential tools.
- Legacy Programs: Older, critical software that your organization relies on might not have macOS versions or be compatible with newer macOS updates. Virtualizing Windows can provide a stable environment for these legacy applications.
- Microsoft Office Power User Features: While Microsoft Office is available for Mac, some advanced features, macros, or specific add-ins in applications like Excel or Access are either exclusive to the Windows version or perform better there.
Gaming Experience
For many, gaming is a primary driver. While macOS has seen an increase in game titles, the vast majority of PC games are released for Windows first, often exclusively, and tend to run better on Windows due to DirectX optimization and broader hardware support. Installing Windows can transform your Mac into a capable gaming rig, allowing you to access a much larger library of titles, often with superior performance compared to attempting to run them through compatibility layers on macOS.
Development & Testing Environments
Developers frequently need to test their applications across multiple operating systems. Running a Windows environment on a Mac allows them to simulate different user environments, debug platform-specific issues, and ensure cross-platform compatibility without needing separate hardware. This is invaluable for quality assurance, web development, and software engineering teams.
Familiarity & Preference
Some users simply prefer the Windows interface or have workflow muscle memory tied to it. While they appreciate the hardware quality and design of a Mac, they might find certain tasks quicker or more intuitive in a Windows environment. Running both allows them to leverage the best of both worlds, switching between operating systems based on the task at hand.
Understanding Your Mac: Intel vs. Apple Silicon
The architecture of your Mac is the most critical factor in determining how you can install Windows. Apple’s transition from Intel processors to its proprietary Apple Silicon chips (M1, M2, M3, etc.) has significantly changed the landscape for running Windows.
Intel-Based Macs: The Classic Approach
If your Mac was purchased between roughly 2006 and 2020, it likely features an Intel processor. These Macs offer the most straightforward and officially supported method for running a full, native version of Windows through Apple’s Boot Camp utility. Boot Camp allows you to partition your hard drive and install Windows directly, giving you a choice of operating system at startup. This method provides excellent performance as Windows runs directly on the hardware without any virtualization overhead.
Apple Silicon Macs: A New Era
The introduction of Apple Silicon Macs, beginning in late 2020, marked a significant shift. These Macs utilize ARM-based architecture, which is fundamentally different from the x86 architecture of Intel processors. Consequently, Apple’s Boot Camp is not available for Apple Silicon Macs. Running Windows on these machines requires either a virtualized environment running a Windows for ARM version or specialized compatibility layers for individual applications. This distinction is crucial and will guide your choice of method.
Methods for Installing Windows on Mac
With the “why” and architectural considerations covered, let’s explore the practical methods for getting Windows up and running on your Mac.
Method 1: Boot Camp Assistant (Intel Macs Only)
Boot Camp Assistant is Apple’s native utility for installing Windows on Intel-based Macs. It creates a dual-boot setup, allowing you to switch between macOS and Windows at startup. This is the preferred method for Intel Mac users seeking maximum performance.
What is Boot Camp?
Boot Camp is not a virtualization tool; it’s a utility that helps you partition your Mac’s hard drive and install a full, native version of Windows. When you boot into Windows via Boot Camp, your Mac essentially becomes a Windows PC, using all its hardware resources directly.
Prerequisites for Boot Camp
Before you begin, ensure you have the following:
- Intel-based Mac: This is non-negotiable. Boot Camp is not compatible with Apple Silicon Macs.
- Windows ISO File: A full installation image (ISO) of Windows 10 or Windows 11 (64-bit version). You can download this directly from Microsoft’s website. You will also need a valid Windows license key.
- Sufficient Disk Space: At least 64GB of free storage space, though 128GB or more is recommended for optimal performance and future updates.
- External USB Drive (Optional but Recommended): For older Macs, Boot Camp might require a USB drive (at least 16GB) to create a bootable installer and store Windows support software. Newer Macs can often do this directly without a USB drive.
- Time and Patience: The installation process can take a few hours.
Step-by-Step Guide to Boot Camp Installation
- Backup Your Mac: Before making any significant changes to your disk, always back up your data using Time Machine or another preferred method.
- Download Windows ISO: Visit Microsoft’s official website and download the Windows 10 or 11 ISO file. Save it to your Mac’s Downloads folder.
- Launch Boot Camp Assistant: Open
Applications/Utilities/Boot Camp Assistant. - Partition Your Disk:
- Boot Camp Assistant will guide you through partitioning your hard drive. It will ask you to select the Windows ISO file.
- Drag the divider between the macOS and Windows partitions to allocate space for Windows. Remember the recommended minimums (64GB, preferably 128GB+).
- Click
Install. Boot Camp Assistant will prepare the disk, download necessary Windows support software (drivers for your Mac hardware), and, if needed, copy files to your USB drive.
- Install Windows: Your Mac will restart and boot into the Windows installer.
- Follow the on-screen prompts for language, region, and keyboard layout.
- When asked “Where do you want to install Windows?”, select the partition labeled “BOOTCAMP.” Be extremely careful not to select any other partition, as this could erase your macOS installation.
- Format the BOOTCAMP partition if prompted (usually not necessary if Boot Camp Assistant already did its job).
- Proceed with the Windows installation. Your Mac will restart several times during this process.
- Install Boot Camp Drivers: Once Windows is installed and you’ve completed the initial setup (user account, etc.), the Boot Camp installer (which automatically launches or can be found on the USB drive/desktop) will appear. This is critical for installing all the necessary drivers for your Mac’s hardware (Wi-Fi, trackpad, keyboard backlight, audio, etc.) to function correctly in Windows.
- Restart and Enjoy: After the drivers are installed, restart your Mac. To switch between macOS and Windows, hold down the
Optionkey immediately after restarting your Mac and select the desired operating system.
Pros and Cons of Boot Camp
Pros:
- Native Performance: Windows runs directly on the hardware, offering the best possible performance for demanding applications and games.
- Cost-Effective: Requires only a Windows license (though Parallels/VMware also require a Windows license, their software itself also has a cost).
- Full Hardware Access: All Mac hardware components are fully accessible to Windows.
Cons:
- Intel Macs Only: Not available for Apple Silicon Macs.
- Dual-Boot Only: You must restart your Mac to switch between macOS and Windows. You cannot run both simultaneously.
- Fixed Partition Size: The disk space allocated for Windows is fixed; changing it later is complex and risky.
- Requires Dedicated Space: Consumes significant hard drive space.
Method 2: Virtual Machines (Intel & Apple Silicon Macs)
Virtualization allows you to run Windows as a “guest” operating system within macOS, appearing as a window on your desktop. This method offers unparalleled flexibility, allowing you to use both operating systems concurrently.
How Virtual Machines Work
A virtual machine (VM) creates a virtualized hardware environment within your existing operating system (macOS). This virtual hardware (CPU, RAM, storage, network, etc.) then runs a “guest” operating system (Windows) as if it were a separate computer. The key advantage is that you can run Windows and macOS side-by-side without rebooting.
Popular Virtualization Software
Several excellent virtualization solutions are available, with varying features and compatibility.
- Parallels Desktop (Recommended for Apple Silicon):
- Description: Known for its ease of use, deep macOS integration, and excellent performance. It allows you to run Windows applications seamlessly from your Mac desktop.
- Compatibility: Supports Windows on both Intel and Apple Silicon Macs (running Windows for ARM). It’s generally considered the most polished solution for Apple Silicon.
- Cost: Paid software, often with an annual subscription.
- Features: Coherence mode (hides Windows desktop, showing only Windows apps), Shared Folders, Touch Bar integration, Travel Mode for battery saving.
-
VMware Fusion:
- Description: A robust and powerful virtualization solution, often favored by IT professionals and developers. It offers strong network customization and compatibility.
- Compatibility: Supports Windows on both Intel and Apple Silicon Macs (running Windows for ARM).
- Cost: Paid software, often with one-time purchase options.
- Features: Similar to Parallels but with a slightly different interface and feature set, good for running various OS versions.
-
VirtualBox (Free Option):
- Description: A free, open-source virtualization product from Oracle. It’s a great option for users on a budget or those needing basic virtualization.
- Compatibility: Supports Windows on Intel Macs. Support for Windows for ARM on Apple Silicon Macs is in development/experimental but not as polished as Parallels or VMware.
- Cost: Free.
- Features: Basic virtualization features, good for testing or less demanding tasks. Requires more manual setup than paid alternatives.
Prerequisites for Virtual Machines
- Windows ISO File: A full installation image of Windows 10 or Windows 11.
- Intel Mac: Use the standard x86/64-bit Windows ISO.
- Apple Silicon Mac: You must use the Windows for ARM Insider Preview ISO, available from Microsoft. A full retail version of Windows for ARM is not yet publicly available, though Parallels/VMware can often help with the download.
- Virtualization Software: Purchased and installed (Parallels, VMware Fusion) or downloaded (VirtualBox).
- Sufficient RAM: At least 8GB of RAM on your Mac, with 16GB or more highly recommended. VMs consume a portion of your Mac’s RAM and CPU.
- Sufficient Disk Space: At least 30-50GB for the Windows VM, depending on your intended use.
Step-by-Step Guide for VM Installation (General)
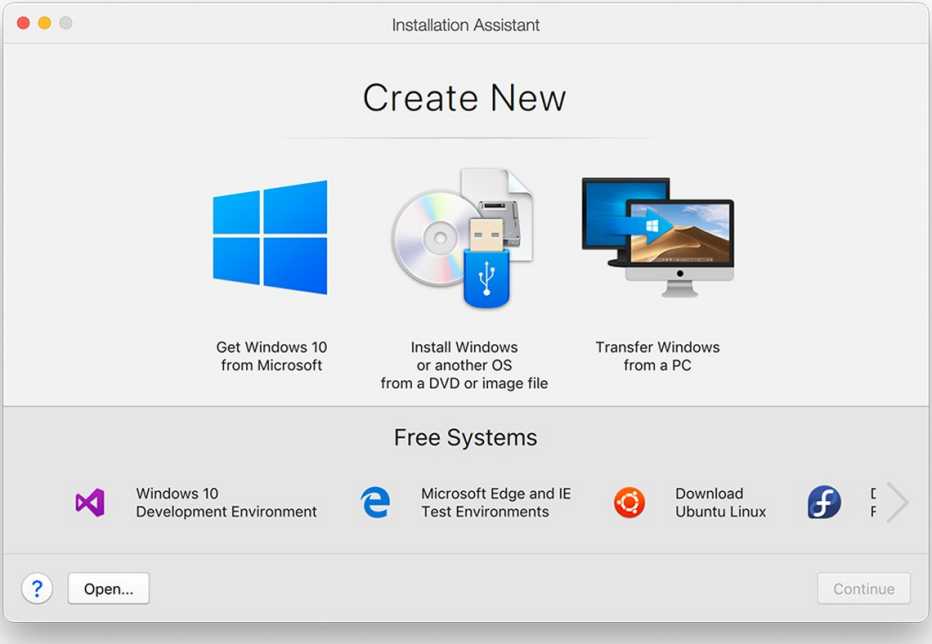
- Choose and Install Virtualization Software: Select your preferred software (Parallels, VMware, VirtualBox) and install it on your Mac.
- Create a New Virtual Machine:
- Open the virtualization software.
- Select the option to “Create New Virtual Machine” or “Add New VM.”
- The wizard will guide you through choosing the operating system (Windows) and specifying the path to your Windows ISO file.
- Configure VM Resources:
- Allocate RAM and CPU cores to your VM. Start with 4GB RAM and 2 CPU cores for a basic experience, increasing if needed.
- Specify the size of the virtual hard disk (e.g., 60GB). It’s usually a dynamically expanding disk, meaning it only takes up as much space as it uses, up to the maximum you set.
- Install Windows:
- Start the VM. It will boot from the Windows ISO, and you’ll proceed with the standard Windows installation process as if it were a physical machine.
- Provide your Windows license key when prompted.
- Install Guest Additions/Tools: After Windows is installed, the virtualization software will prompt you to install its “Guest Additions” (Parallels Tools, VMware Tools, VirtualBox Guest Additions). This is crucial for seamless integration, enabling shared folders, copy-paste between macOS and Windows, better graphics performance, and dynamic screen resolution.
- Enjoy: Once installed, you can launch your Windows VM anytime, running it in a window, full-screen, or even in “Coherence” mode (Parallels) where Windows apps appear on your Mac desktop.
Pros and Cons of Virtual Machines
Pros:
- Run Both OS Simultaneously: No need to reboot; switch between macOS and Windows instantly.
- Flexible Disk Space: Virtual disk files can often be expanded or optimized more easily than Boot Camp partitions.
- Snapshots: Ability to save the state of your VM and revert to it, great for testing and recovery.
- Works on Apple Silicon: The only viable option for a full Windows experience on M1/M2/M3 Macs (using Windows for ARM).
Cons:
- Performance Overhead: Windows runs on virtualized hardware, leading to slightly lower performance compared to native Boot Camp, especially for demanding tasks like gaming.
- Resource Intensive: Consumes your Mac’s RAM and CPU resources, potentially slowing down macOS if too many resources are allocated to the VM.
- Cost: Paid virtualization software (Parallels, VMware) adds to the cost beyond the Windows license. VirtualBox is free but less optimized.
- Limited Hardware Access: Direct hardware access might be restricted compared to Boot Camp (e.g., specific GPU features).
Method 3: CrossOver (Running Individual Windows Apps on Apple Silicon)
CrossOver, developed by CodeWeavers, offers an alternative approach for Apple Silicon Mac users who only need to run specific Windows applications rather than an entire Windows operating system.
How CrossOver Works
CrossOver is based on the open-source Wine project. It’s not a virtual machine and doesn’t install a full copy of Windows. Instead, it provides a compatibility layer that translates Windows API calls into macOS-compatible calls on the fly. This allows many Windows applications to run directly on macOS (including Apple Silicon) without the overhead of a full VM or a separate OS installation.
When to Choose CrossOver
- Apple Silicon Mac Users: If you have an M1/M2/M3 Mac and only need a handful of specific Windows applications.
- Minimal Resource Usage: If you want to avoid the RAM and disk space overhead of a full virtual machine.
- Specific App Needs: Ideal for productivity tools, older games, or utility software that runs well under Wine.
Pros and Cons of CrossOver
Pros:
- No Windows License Required: You only need CrossOver software, not a Windows OS license.
- Lightweight: Less resource-intensive than a full VM, as it doesn’t run an entire OS.
- Direct App Launch: Windows applications can be launched directly from the macOS Dock or Finder.
- Works on Apple Silicon: A good option for specific apps on M1/M2/M3 Macs.
Cons:
- Limited Compatibility: Not all Windows applications will work. Compatibility varies widely and needs to be checked (CrossOver maintains a compatibility database).
- Potential Performance Issues: Performance can be inconsistent; some applications may run slower or encounter bugs.
- No Full OS Environment: You cannot run the full Windows operating system or its services.
Choosing the Right Method for You
Selecting the best method hinges on your specific needs, your Mac’s hardware, and your budget.
Performance vs. Convenience
- Maximum Performance (Intel Mac): If you need the absolute best performance for gaming or demanding applications on an Intel Mac, Boot Camp is your go-to.
- Seamless Integration & Concurrent Use (Intel & Apple Silicon): If you value the ability to switch instantly between macOS and Windows without rebooting, virtual machines (Parallels, VMware Fusion) are ideal, especially for productivity and software development.
- Single App Execution (Apple Silicon): For just a few specific Windows applications on an Apple Silicon Mac, CrossOver offers a lightweight solution.
Cost Considerations
The financial implications often play a significant role in technology choices.
- Boot Camp: Requires only a Windows license (approx. $100-$200 USD).
- Virtual Machines: Incurs the cost of the virtualization software (Parallels/VMware Fusion, typically $80-$100+ annually or for a perpetual license) plus a Windows license. VirtualBox is free, making it the most budget-friendly VM option, but with potential trade-offs in performance and features.
- CrossOver: Requires a CrossOver license (approx. $40-$80 USD) but does not require a separate Windows OS license, potentially making it cheaper if it meets your specific application needs.
Consider the long-term investment. While a VM solution like Parallels has an upfront or annual cost, its convenience and flexibility can justify the expense for professional users or those who frequently switch between OSs. For basic needs or infrequent use, the free options (Boot Camp on Intel or VirtualBox) are more appealing.
Mac Hardware (Intel vs. Apple Silicon)
As reiterated, your Mac’s processor dictates your primary options:
- Intel Macs: Have the most flexibility, with Boot Camp offering native performance and VMs offering convenience.
- Apple Silicon Macs: Are limited to virtual machines running Windows for ARM or compatibility layers like CrossOver. Boot Camp is not an option.
Post-Installation Tips and Optimization
Once Windows is installed, a few steps can help optimize your experience.
Keeping Drivers Updated
Especially for Boot Camp installations, regularly check for updates to your Windows support software (drivers) using Apple Software Update within Windows. For VMs, ensure your virtualization software’s “Guest Additions” are always up-to-date to maintain optimal integration and performance.
Allocating Resources (for VMs)
If you’re using a virtual machine, monitor its performance. If Windows feels sluggish, consider increasing the allocated RAM or CPU cores (if your Mac has spare capacity). Conversely, if macOS feels slow, reduce the resources allocated to the VM. It’s a balance to find the sweet spot for your workflow.
Backing Up Your Data
Regular backups are paramount. For Boot Camp, back up your Windows partition as you would any other PC. For VMs, you can often back up the entire virtual machine file, providing a complete snapshot that can be restored if needed.
Conclusion
Installing Windows on a Mac transforms your device into an incredibly versatile machine, capable of handling almost any software requirement thrown its way. Whether you’re a professional needing specialized Windows-only tools, a gamer looking to expand your library, or a developer testing cross-platform applications, the methods outlined above provide robust solutions.
For Intel Mac users, Boot Camp offers the purest Windows experience with native performance, ideal for demanding tasks, though it requires a reboot. Virtual machines provide unparalleled convenience, allowing concurrent use of both operating systems. For Apple Silicon Mac users, virtualization software like Parallels Desktop or VMware Fusion (running Windows for ARM) is the primary pathway to a full Windows environment, while CrossOver offers a lightweight solution for individual Windows applications.
By understanding your Mac’s architecture, your specific needs, and the pros and cons of each method, you can confidently choose the best approach to unlock the full potential of your device. Your Mac isn’t just a macOS device; with the right setup, it’s a gateway to the entire world of computing, blending the elegance of Apple with the expansive compatibility of Windows.
aViewFromTheCave is a participant in the Amazon Services LLC Associates Program, an affiliate advertising program designed to provide a means for sites to earn advertising fees by advertising and linking to Amazon.com. Amazon, the Amazon logo, AmazonSupply, and the AmazonSupply logo are trademarks of Amazon.com, Inc. or its affiliates. As an Amazon Associate we earn affiliate commissions from qualifying purchases.