
In the dynamic world of computing, where software and hardware constantly evolve, maintaining your system’s components is paramount for optimal performance, stability, and security. Among the most critical components for anyone engaged in gaming, graphic design, video editing, or even just general multimedia consumption, is the graphics card. And just as vital as the card itself are its drivers—the specialized software that enables your operating system and applications to communicate effectively with this powerful hardware. An outdated graphics driver can be the unseen culprit behind stuttering frame rates, inexplicable crashes, graphical glitches, or even prevent new games and applications from running at all. Conversely, a timely update can unlock significant performance gains, introduce new features, enhance stability, and patch security vulnerabilities.

This comprehensive guide will demystify the process of updating your graphics card driver. We’ll delve into why these updates are so crucial, how to identify your current driver status, and provide a step-by-step walkthrough for performing updates safely and effectively, ensuring your system remains a well-oiled machine capable of handling the demands of modern digital life.
Understanding Graphics Card Drivers and Their Importance
Before diving into the “how-to,” it’s essential to grasp the fundamental role graphics card drivers play within your system. These aren’t just minor software patches; they are the bridge between your high-performance graphics processing unit (GPU) and the rest of your computer.
What is a Graphics Card Driver?
At its core, a graphics card driver is a piece of software that facilitates communication between your operating system (like Windows, macOS, or Linux) and your graphics hardware. Think of it as a translator. Your operating system issues commands, and the driver translates those commands into a language your graphics card can understand and execute. Without a driver, your graphics card is essentially a dormant piece of silicon, unable to render visuals, accelerate computations, or perform any of its intended functions. Each major graphics card manufacturer—NVIDIA, AMD, and Intel—develops and maintains its own set of proprietary drivers tailored to its specific hardware architecture.
Why Regular Updates Matter
The reasons to keep your graphics card drivers up-to-date are manifold and significant, impacting everything from raw performance to system security and feature access:
- Performance Enhancements: This is often the primary motivator for gamers and professionals. New driver versions frequently include optimizations that can significantly boost frame rates in popular games, reduce latency, and speed up rendering times in creative applications. Manufacturers constantly refine their drivers to extract more power from existing hardware, especially when new games or computationally intensive software are released.
- Bug Fixes and Stability Improvements: Software is never perfect, and graphics drivers are no exception. Updates often address critical bugs that could lead to crashes, freezes, graphical artifacts (like flickering textures or corrupted images), or compatibility issues with specific applications. A stable driver ensures a smoother, more reliable computing experience.
- Game and Application Compatibility: As new games and software titles are released, they often leverage the latest graphics technologies and APIs (Application Programming Interfaces) like DirectX and Vulkan. Updated drivers ensure your graphics card is fully compatible with these new titles, preventing launch failures or sub-optimal performance.
- New Features and Technologies: Driver updates aren’t just about fixing problems; they also introduce new capabilities. This could include support for new display technologies (e.g., adaptive sync like G-Sync or FreeSync), advanced rendering techniques (e.g., ray tracing optimizations), or even software features within the driver control panel itself (e.g., streaming overlays, performance monitoring tools).
- Security Patches: While less common than for operating systems, graphics drivers can occasionally contain security vulnerabilities. Manufacturers regularly release updates that patch these potential exploits, safeguarding your system from malicious attacks that could target your graphics hardware.
Risks of Outdated Drivers
Ignoring driver updates carries its own set of risks, which can degrade your overall computing experience and potentially impact system integrity:
- Subpar Performance: Your powerful graphics card might be performing far below its potential, leading to choppy frame rates in games or slow processing in design applications.
- System Instability: Frequent crashes, blue screens of death (BSODs), or application freezes can be direct consequences of outdated or corrupted drivers.
- Graphical Glitches: Visual anomalies like texture errors, rendering issues, or even complete failure to display graphics can stem from a driver that isn’t properly communicating with the hardware.
- Compatibility Issues: Newer software or games might refuse to launch, display error messages, or perform incorrectly if your driver lacks support for the required APIs or features.
- Missed Opportunities: You’ll be locked out of new features, performance optimizations, and potentially enhanced user experiences that more current drivers provide.
Identifying Your Graphics Card and Current Driver Version
Before you can update, you need to know what you’re updating. Identifying your graphics card model and its currently installed driver version is the crucial first step.
Using Device Manager (Windows)
The simplest and most universal method on Windows is through the Device Manager:
- Open Device Manager: Right-click the Start button (or press
Windows Key + X) and select “Device Manager” from the power user menu. - Locate Display Adapters: In the Device Manager window, expand the “Display adapters” section. You’ll see your graphics card(s) listed here (e.g., NVIDIA GeForce RTX 3080, AMD Radeon RX 6800, Intel UHD Graphics).
- Check Driver Details: Right-click on your graphics card and select “Properties.” Navigate to the “Driver” tab. Here you’ll find the “Driver Provider” (NVIDIA, AMD, Intel), “Driver Date,” and “Driver Version.” Note these down.
Utilizing Manufacturer Software
NVIDIA and AMD provide dedicated software suites that not only offer an easier way to update drivers but also provide detailed information about your graphics card and current driver:
- NVIDIA GeForce Experience: If you have an NVIDIA card, you likely have GeForce Experience installed. Open it, go to the “Drivers” tab, and it will show your current driver version and notify you if a new one is available.
- AMD Radeon Software: For AMD users, Radeon Software (formerly Radeon Settings) does the same. Open it, navigate to the “Home” or “System” tab, and you’ll find your driver version details.
- Intel Driver & Support Assistant: Intel offers a utility that scans your system for Intel drivers, including graphics, and recommends updates.
Knowing your specific graphics card model (e.g., “RTX 3080” or “RX 6800”) is critical when manually downloading drivers from manufacturer websites, as drivers are specific to GPU series and sometimes even individual models.
The Step-by-Step Guide to Updating Your Driver
With your graphics card identified, you’re ready to proceed with the update. There are several methods, each with its own advantages.
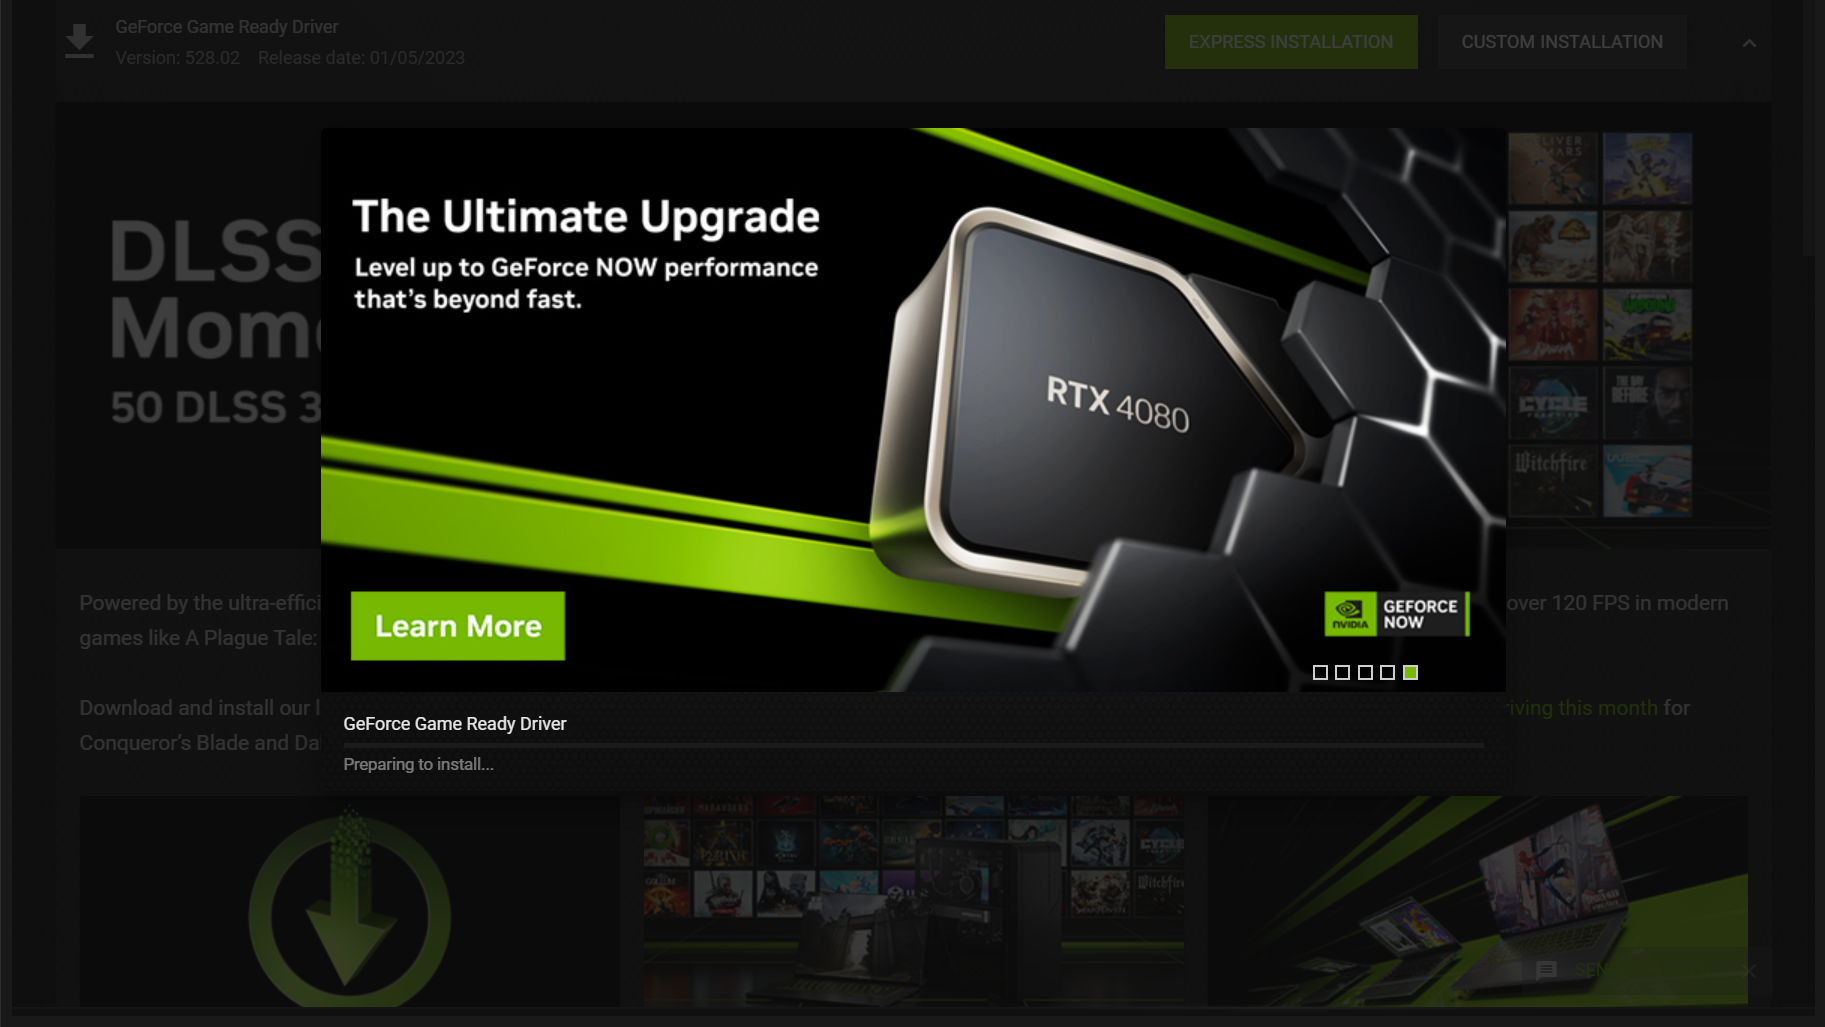
Option 1: Automatic Update via Manufacturer Software (Recommended for Ease)
This is generally the easiest and most convenient method for most users, as the software handles identification and download.
- NVIDIA GeForce Experience:
- Open GeForce Experience.
- Go to the “Drivers” tab.
- If a new driver is available, click “Download.”
- Once downloaded, choose between “Express Installation” (recommended for most users, installs over existing driver) or “Custom Installation” (allows you to select components and perform a clean install, detailed below).
- Follow the on-screen prompts. Your screen may flicker or temporarily go blank during installation. Restart your PC if prompted.
- AMD Radeon Software Adrenalin Edition:
- Open AMD Radeon Software.
- Click on the “Gear” icon (Settings) in the top right corner.
- Go to the “Software & Driver” tab.
- Click “Check for Updates.”
- If an update is found, click “Download” and then “Install.” You can usually choose between “Upgrade Install” or “Factory Reset” (which is AMD’s version of a clean install).
- Follow the prompts and restart if necessary.
- Intel Driver & Support Assistant:
- Download and install the Intel Driver & Support Assistant from the Intel website.
- Run the application. It will scan your system for Intel hardware.
- If new graphics drivers are available, follow the instructions to download and install them.
Option 2: Manual Update via Manufacturer Websites (For Clean Installs or Specific Versions)
This method is ideal if you prefer more control, need a specific driver version, or want to perform a clean installation without using the manufacturer’s software suite.
- Identify Your Exact Graphics Card: Reconfirm your GPU model using Device Manager or your manufacturer’s software.
- Visit the Official Manufacturer’s Driver Page:
- NVIDIA: Go to
www.nvidia.com/drivers - AMD: Go to
www.amd.com/en/support - Intel: Go to
www.intel.com/content/www/us/en/support/detect.html(or search for drivers manually)
- NVIDIA: Go to
- Select Your Graphics Card: Use the drop-down menus to select your product type, product series, and product model. Be precise.
- Select Your Operating System: Choose your Windows version (e.g., Windows 10 64-bit).
- Download the Driver: Download the latest recommended driver package.
- Run the Installer: Locate the downloaded
.exefile and run it. - Follow On-Screen Instructions: The installer will guide you. You’ll typically be given options for “Express” or “Custom.” For a standard update, Express is fine. For a cleaner install, choose “Custom” and look for an option to perform a “clean installation” (NVIDIA) or “Factory Reset” (AMD).
Option 3: Using Windows Update (Least Recommended for Dedicated GPUs)
While Windows Update can provide graphics drivers, especially for integrated Intel graphics or basic display functionality, it’s generally not the preferred method for dedicated NVIDIA or AMD GPUs. Windows Update drivers are often older versions and may lack the performance optimizations and features found in drivers released directly by the GPU manufacturers.
- Open Windows Settings: Press
Windows Key + I. - Go to “Update & Security” (Windows 10) or “Windows Update” (Windows 11).
- Click “Check for Updates.” If a graphics driver update is available, it will be listed under “Optional updates” or automatically downloaded.
- Install the Update: Follow the prompts.
The Clean Installation Process (Using DDU – Display Driver Uninstaller)
A “clean installation” removes all traces of previous graphics drivers before installing the new one. This is highly recommended when upgrading to a new graphics card, experiencing persistent driver-related issues, or performing a major driver version jump, as it prevents conflicts and ensures maximum stability.
- Download Display Driver Uninstaller (DDU): Get DDU from a reputable source like Guru3D (
www.guru3d.com/files-details/display-driver-uninstaller-download.html). - Download Your New Driver: Obtain the latest driver package for your graphics card from the manufacturer’s website (as per Option 2) but do not install it yet.
- Disconnect from the Internet: This prevents Windows from automatically installing generic drivers.
- Boot into Safe Mode:
- Press
Windows Key + R, typemsconfig, and press Enter. - Go to the “Boot” tab.
- Check “Safe boot” and select “Minimal.” Click “Apply” and “OK.”
- Restart your computer.
- Press
- Run DDU: In Safe Mode, extract and run DDU.
- Select “GPU” from the drop-down menu and choose your GPU manufacturer (NVIDIA, AMD, Intel).
- Click “Clean and restart (Highly recommended).” DDU will remove all driver traces and reboot your PC into normal mode.
- Install the New Driver: Once your PC restarts (still disconnected from the internet), run the driver installer you downloaded in step 2. Choose “Custom Installation” if available, and ensure the “Perform a clean installation” (NVIDIA) or “Factory Reset” (AMD) option is selected within the installer itself if you didn’t use DDU. If you used DDU, you can generally proceed with an “Express” install as the old drivers are already gone.
- Reconnect to the Internet: After the installation is complete and your PC has restarted (if required), reconnect to the internet.
Post-Update Verification and Troubleshooting
Once the update is complete, it’s wise to verify everything is working as expected and know how to address common issues.
Verifying the Installation
- Check Device Manager: Go back to Device Manager (
Windows Key + X-> “Device Manager”), expand “Display adapters,” right-click your GPU, and go to “Properties” -> “Driver” tab. Confirm that the “Driver Version” and “Driver Date” reflect the newly installed driver. - Check Manufacturer Software: Open NVIDIA GeForce Experience or AMD Radeon Software. These applications typically display the currently installed driver version prominently.
- Test Applications: Launch a demanding game or a graphics-intensive application to ensure it runs smoothly and without errors.
Common Issues and Solutions
- Black Screen/No Display: If your screen goes black and doesn’t recover after a driver update, reboot your PC. If it persists, boot into Safe Mode (see DDU steps) and try rolling back the driver or performing a clean install using DDU.
- Performance Problems/Crashes After Update: A new driver might sometimes introduce unforeseen issues.
- Roll Back the Driver: Go to Device Manager, right-click your GPU, “Properties,” “Driver” tab, and click “Roll Back Driver.”
- Perform a Clean Installation: If rolling back isn’t an option or doesn’t fix it, try a clean installation using DDU (as described above).
- Installation Failure:
- Disable Antivirus Temporarily: Sometimes security software can interfere.
- Run as Administrator: Right-click the installer and select “Run as administrator.”
- Download Again: The downloaded file might be corrupted.
- Screen Flickering/Artifacts: This often indicates an unstable driver or conflict. Try rolling back or a clean install.
When to Roll Back a Driver
Rolling back a driver means reverting to the previously installed version. This is your go-to solution if a new driver update causes:
- System instability (crashes, freezes).
- Significant performance degradation.
- New graphical glitches or artifacts.
- Compatibility issues with essential software or games that were previously working.
To roll back, navigate to Device Manager, find your graphics card under “Display adapters,” right-click, select “Properties,” go to the “Driver” tab, and click “Roll Back Driver.” If the option is greyed out, Windows hasn’t kept a previous driver version, and you’ll need to manually download and install an older, stable version from your manufacturer’s website.

Conclusion
Keeping your graphics card driver updated is not merely a technical chore; it’s a fundamental aspect of system maintenance that directly impacts your computing experience. From unlocking peak gaming performance and ensuring smooth operation of creative applications to enhancing system stability and patching crucial security flaws, the benefits of regular driver updates are undeniable.
By understanding the role of drivers, correctly identifying your hardware, and following the outlined steps for both automatic and manual updates (including the critical clean installation process), you empower yourself to proactively maintain your system. While occasional troubleshooting may be necessary, the rewards of a well-maintained graphics driver—a faster, more stable, and feature-rich visual experience—far outweigh the minimal effort involved. Make driver updates a routine part of your digital hygiene, and enjoy the full potential of your graphics hardware for years to come.
aViewFromTheCave is a participant in the Amazon Services LLC Associates Program, an affiliate advertising program designed to provide a means for sites to earn advertising fees by advertising and linking to Amazon.com. Amazon, the Amazon logo, AmazonSupply, and the AmazonSupply logo are trademarks of Amazon.com, Inc. or its affiliates. As an Amazon Associate we earn affiliate commissions from qualifying purchases.