NumPy, short for Numerical Python, is the foundational package for scientific computing in Python. It provides a powerful N-dimensional array object, sophisticated broadcasting functions, tools for integrating C/C++ and Fortran code, and linear algebra, Fourier transform, and random number capabilities. For anyone venturing into data science, machine learning, scientific research, or complex data manipulation with Python, installing and understanding NumPy is an essential first step. This guide will walk you through the process, from the most common installation methods to troubleshooting potential issues, ensuring you can quickly leverage its immense power.
Given the broad scope of your website – encompassing Tech, Brand, and Money – this article will focus primarily on the “Tech” aspect, specifically the practical implementation of a crucial software library. However, it’s worth noting how essential libraries like NumPy underpin technological advancements that can, in turn, impact financial markets and personal wealth creation through data-driven insights.
The Cornerstone of Python’s Scientific Ecosystem
Before diving into the installation, it’s crucial to understand why NumPy is so important. Python, by itself, is a versatile language, but for performance-intensive numerical operations, it needs a specialized tool. NumPy fills this gap by offering:
- The
ndarrayObject: This is the heart of NumPy. It’s a multidimensional array that is significantly faster and more memory-efficient than standard Python lists for numerical operations. These arrays are homogeneous, meaning all elements must be of the same data type, which allows for optimized C-level operations. - Vectorization: NumPy allows you to perform operations on entire arrays without explicit loops. This “vectorization” is a core concept that dramatically speeds up computations. Instead of writing a
forloop to add two lists element by element, you can simply add two NumPy arrays directly. - Broadcasting: A powerful mechanism that allows NumPy to work with arrays of different shapes when performing arithmetic operations. This saves you from having to manually reshape arrays in many common scenarios.
- Mathematical Functions: NumPy includes a vast library of mathematical functions that operate efficiently on arrays, from basic arithmetic to advanced linear algebra and Fourier transforms.
The impact of NumPy extends far beyond individual developers. It’s the bedrock upon which many other vital Python libraries are built, including SciPy, Pandas, Scikit-learn, TensorFlow, and PyTorch. Without NumPy, the vibrant ecosystem of data science and machine learning in Python simply wouldn’t exist in its current form.
Getting NumPy: Installation Methods
Installing NumPy is generally straightforward, thanks to Python’s robust package management system. The most common and recommended way to install packages is by using pip, the standard package installer for Python.
Using pip: The Standard and Recommended Approach
pip is your go-to tool for installing Python packages from the Python Package Index (PyPI). If you have Python installed, you likely already have pip.
1. Basic Installation
Open your terminal or command prompt and execute the following command:
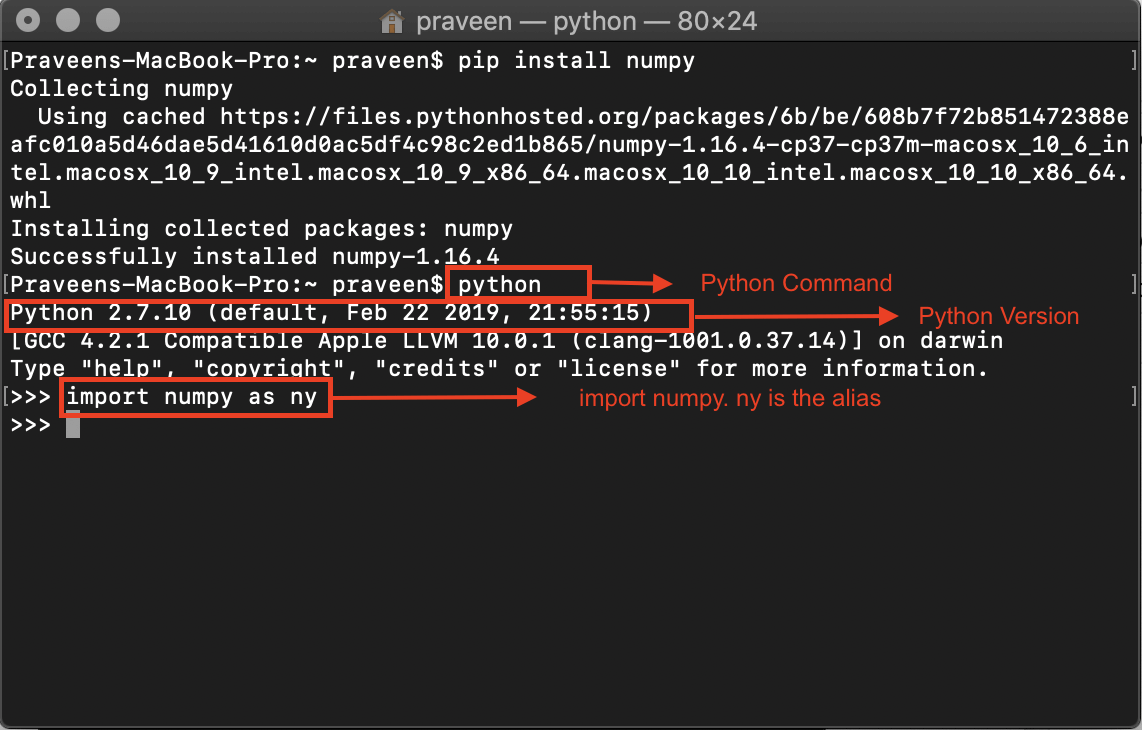
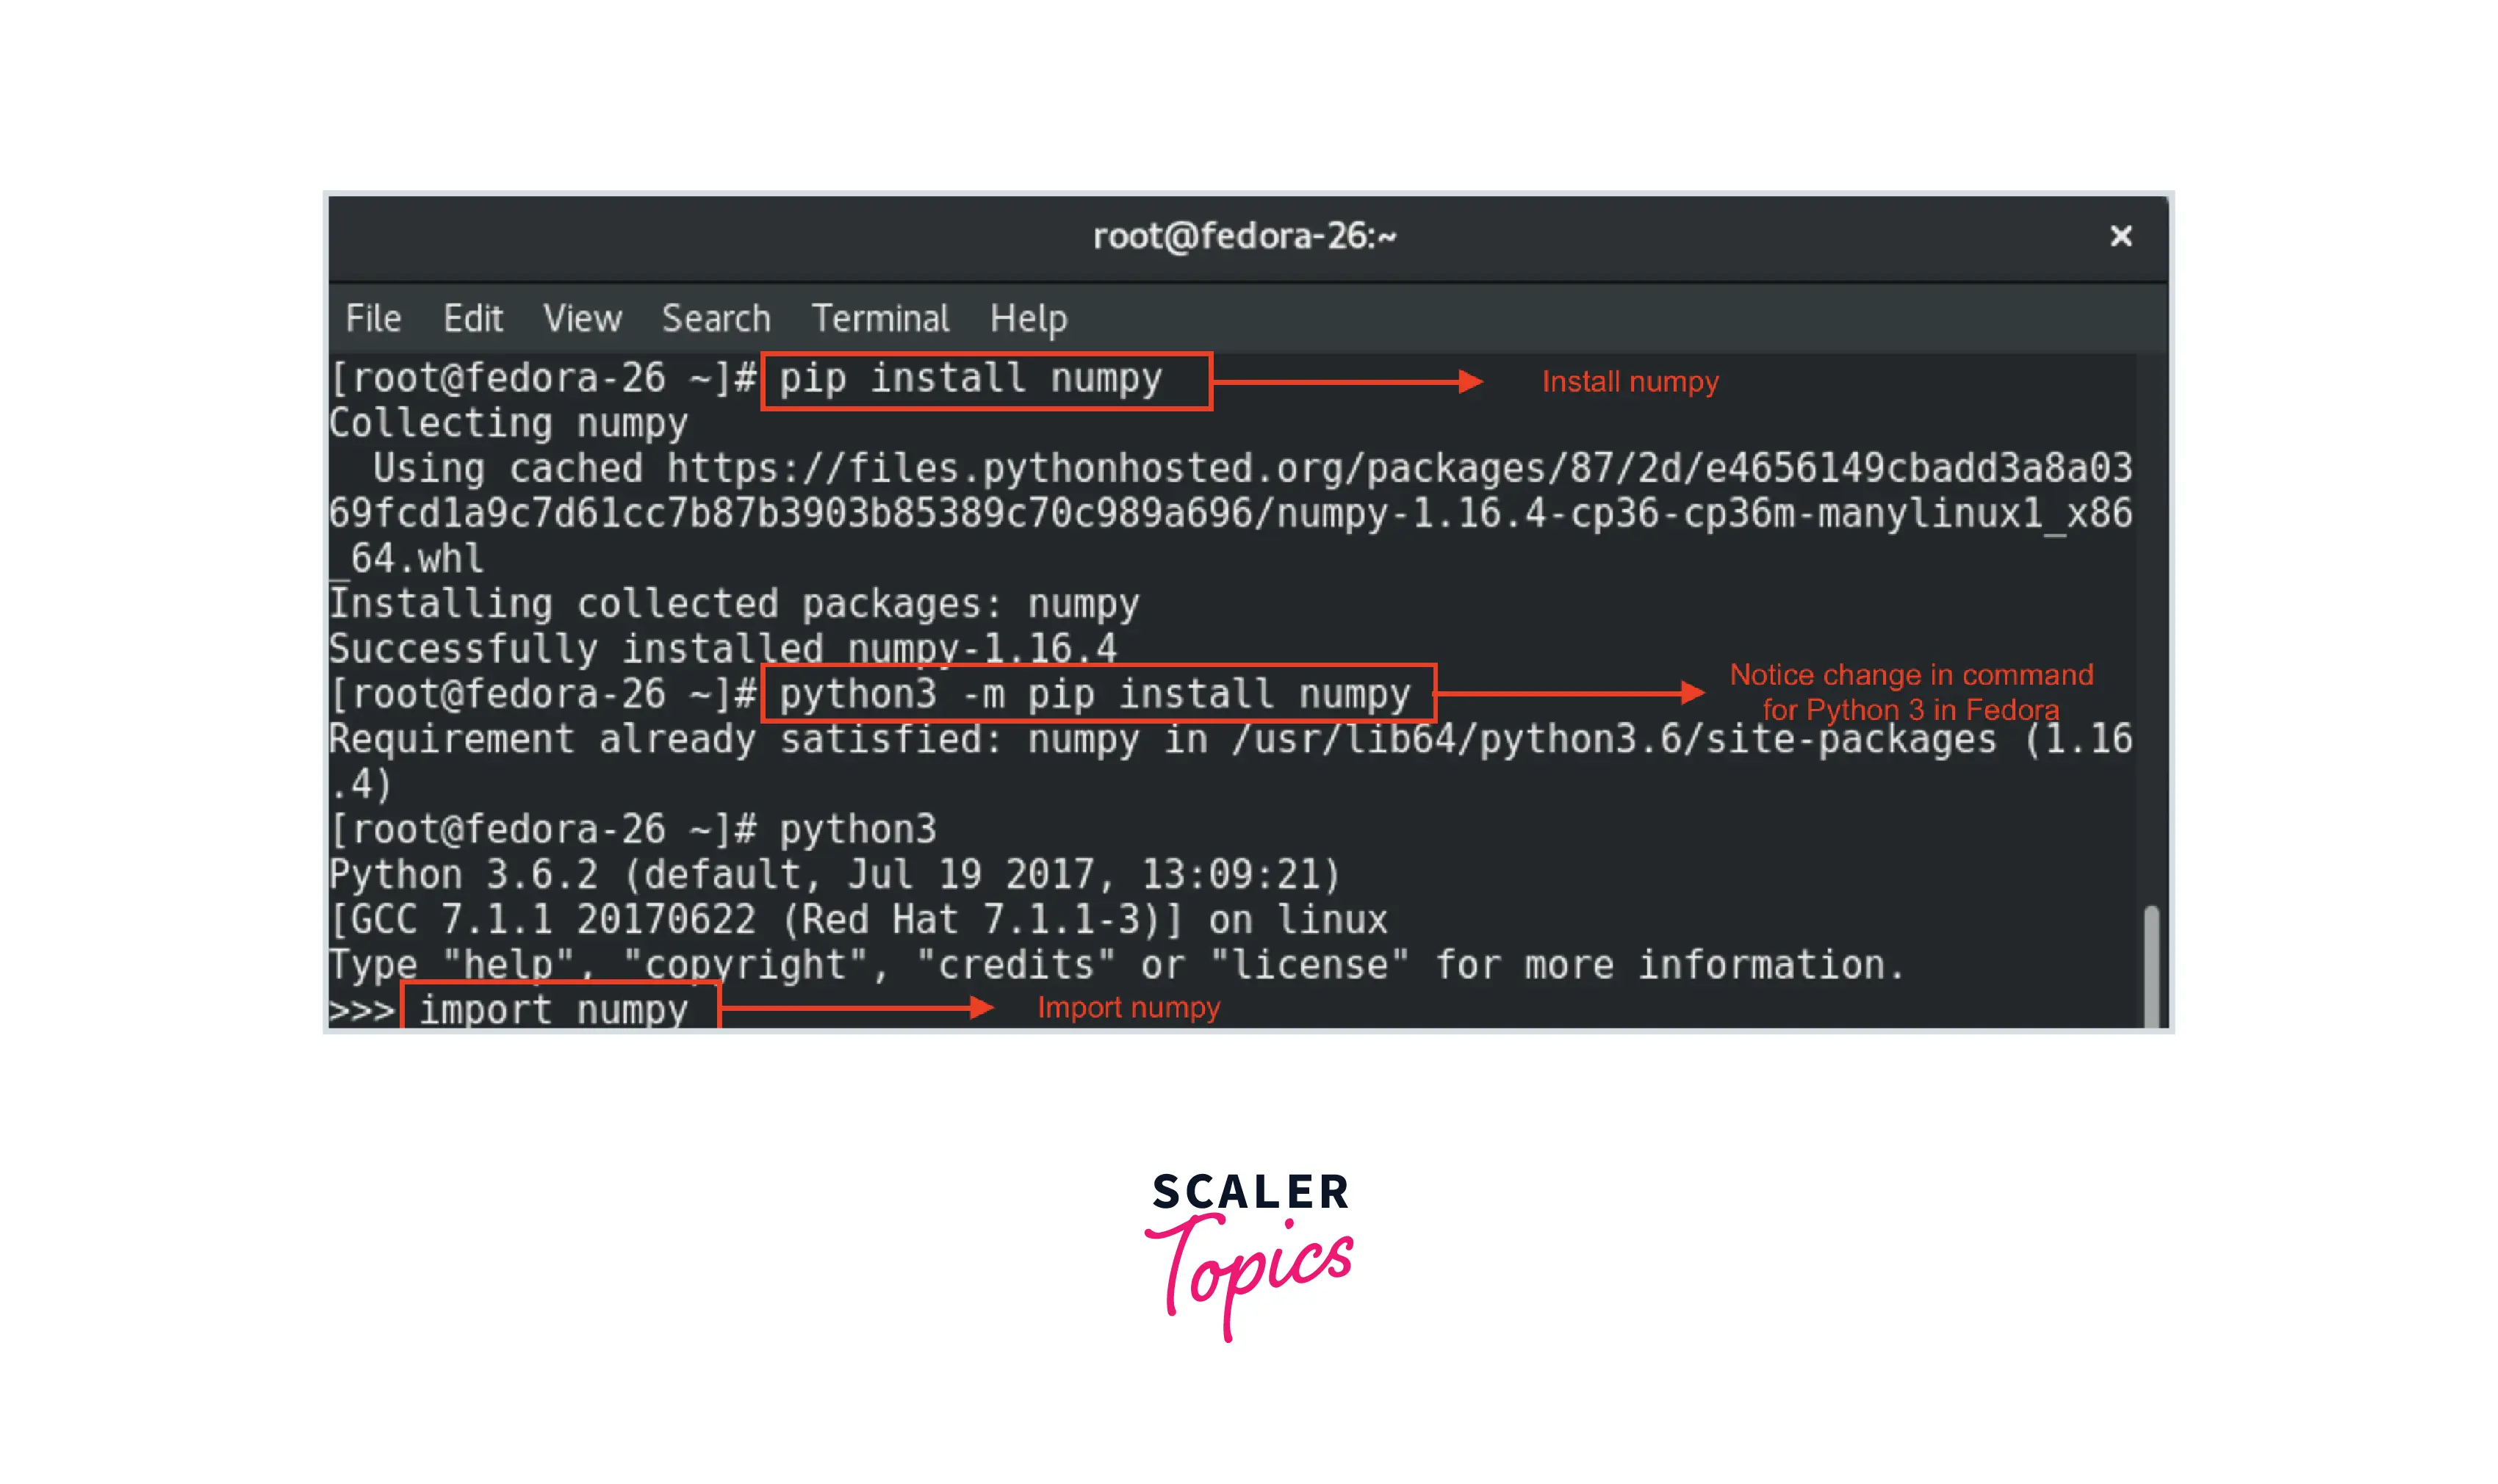
pip install numpy
This command tells pip to download the latest stable version of NumPy from PyPI and install it into your current Python environment.
2. Verifying the Installation
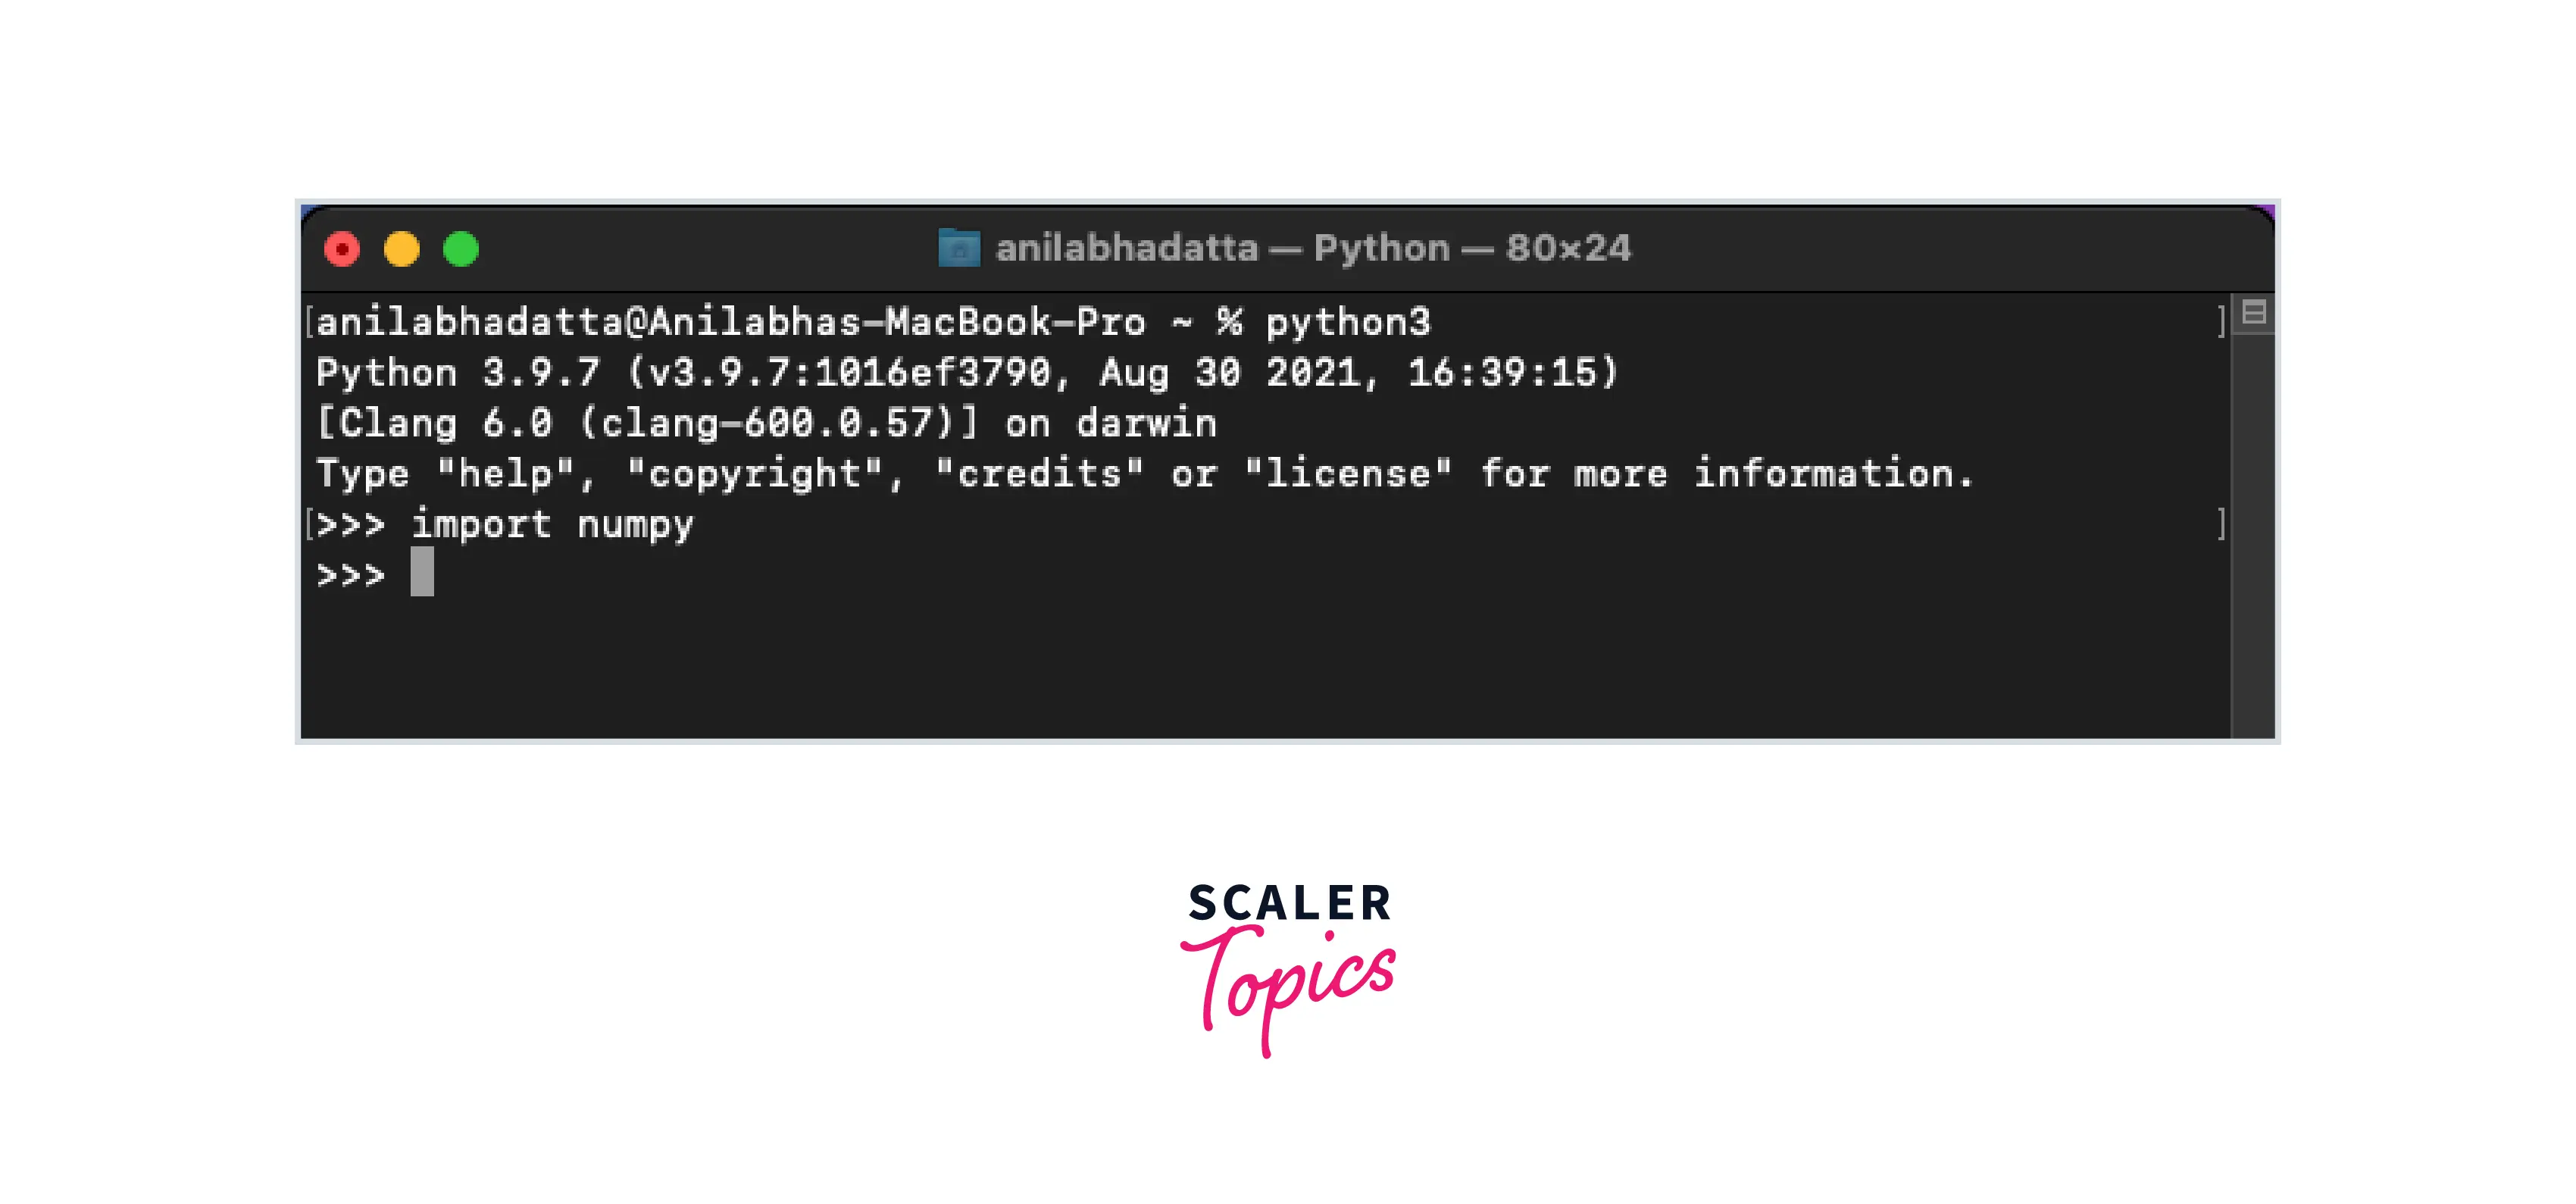
After the installation completes, you can verify that NumPy has been installed successfully by opening a Python interpreter (type python or python3 in your terminal) and trying to import it:
import numpy as np
print(np.__version__)
If you see the NumPy version number printed without any errors, your installation is successful. The np alias is a convention widely used in the NumPy community.
3. Installing a Specific Version
In some cases, you might need to install a specific version of NumPy, perhaps for compatibility reasons with an older project or to test a new feature. You can specify the version like this:
pip install numpy==1.23.5 # Replace with your desired version number
4. Upgrading NumPy
To upgrade NumPy to the latest version, you can use the --upgrade flag:
pip install --upgrade numpy
Using Conda: For Scientific and Data Science Environments
If you’re using the Anaconda or Miniconda distribution, you’ll likely use conda as your package manager. Conda is particularly popular in the data science community because it can manage packages and their dependencies, including non-Python libraries, across different environments.
1. Basic Conda Installation
Open your Anaconda Prompt or terminal with Conda activated and run:
conda install numpy
Conda will resolve dependencies and install NumPy along with any necessary components.
2. Installing in a Specific Conda Environment
It’s best practice to use virtual environments to manage your Python projects. If you’re using Conda environments, ensure you have activated the desired environment before installing NumPy:
conda activate your_environment_name
conda install numpy
3. Verifying with Conda
Similar to pip, you can verify the installation within a Python interpreter after activating your Conda environment:
import numpy as np
print(np.__version__)
Working with Virtual Environments: Best Practices
For any serious development, especially when dealing with multiple projects, using virtual environments is paramount. This practice ensures that each project has its own isolated set of dependencies, preventing conflicts between different package versions.
Why Use Virtual Environments?
- Dependency Management: Project A might require NumPy version 1.20, while Project B needs version 1.23. Virtual environments allow you to install each version in its respective environment without interfering with the other.
- Clean Project Setup: It keeps your global Python installation clean and avoids clutter.
- Reproducibility: You can easily share your project’s dependencies (e.g., by generating a
requirements.txtfile) allowing others to recreate your exact environment.
Creating and Activating Virtual Environments
Using venv (Built-in to Python 3.3+)
-
Create an environment:
python -m venv my_project_env(Replace
my_project_envwith your desired environment name.) -
Activate the environment:
- On Windows:
bash

my_project_envScriptsactivate
- On macOS and Linux:
bash

source my_project_env/bin/activate
- On Windows:
Once activated, your terminal prompt will usually change to indicate the active environment (e.g., (my_project_env)). You can then use pip install numpy within this activated environment.
Using Conda
-
Create an environment:
conda create --name my_conda_env python=3.9 # Specify Python version if needed -
Activate the environment:
bash

conda activate my_conda_env
After activation, you can install NumPy using conda install numpy or pip install numpy.
Troubleshooting Common Installation Issues
While NumPy installation is usually smooth, you might encounter a few common problems.
1. pip or conda Not Found
- Problem: You type
piporcondain your terminal, and it says the command is not recognized. - Solution:
- Check Python Installation: Ensure Python is installed correctly and that its
Scriptsdirectory (forpip) orbindirectory (forconda) is added to your system’s PATH environment variable. - Reinstall Python: If unsure, consider reinstalling Python and making sure to check the “Add Python to PATH” option during installation.
- Conda Specific: If using Anaconda, ensure you’ve opened the “Anaconda Prompt” or “Anaconda PowerShell Prompt” which has Conda activated by default.
- Check Python Installation: Ensure Python is installed correctly and that its
2. Permissions Errors
- Problem: You receive a “Permission denied” error during installation.
- Solution:
- User Installation: Try installing NumPy only for your user account:
bash

pip install --user numpy
- Administrator Privileges (Use with Caution): On some systems, you might need administrator privileges.
- Windows: Open your Command Prompt or PowerShell as an administrator.
- macOS/Linux: Use
sudo(e.g.,sudo pip install numpy). Be cautious withsudo pipas it can sometimes lead to system-wide package conflicts if not managed properly. It’s generally better to use virtual environments.
- User Installation: Try installing NumPy only for your user account:
3. Build Errors (Especially on Older Systems or Specific Architectures)
- Problem: The installation fails with compilation errors, often mentioning missing C/C++ compilers or development headers. This is less common with modern
pipversions that often download pre-compiled “wheels,” but can still occur. - Solution:
- Install Build Tools:
- Windows: Install Microsoft Visual C++ Build Tools. You can often find them as part of Visual Studio Community Edition.
- macOS: Install Xcode Command Line Tools by running
xcode-select --installin the terminal. - Linux (Debian/Ubuntu): Install the
build-essentialpackage:sudo apt-get update && sudo apt-get install build-essential python3-dev. - Linux (Fedora/CentOS): Install
gcc,g++, andpython3-devel:sudo yum groupinstall "Development Tools" && sudo yum install python3-devel.
- Use Wheels: Ensure you’re using a recent version of
pipandsetuptools, as they are better at finding and using pre-compiled wheels, which avoid the need for local compilation.pip install --upgrade pip setuptools. - Conda as an Alternative: If you consistently face build issues with
pip, installing viacondais often a more robust solution as Conda packages are pre-compiled and tested for various platforms.
- Install Build Tools:
4. Importing NumPy Fails After Installation
- Problem: You installed NumPy, but when you try to
import numpy, you get anImportErrororModuleNotFoundError. - Solution:
- Correct Python Environment: This is the most frequent cause. Ensure you are running your Python script or interpreter within the same environment where you installed NumPy.
- If you installed with
pip, check if you’re in a virtual environment (venvorconda) that was activated. - If you installed with
conda, ensure you’ve activated the correct Conda environment.
- If you installed with
- Multiple Python Installations: You might have multiple Python versions installed. Verify which Python executable your system is using when you run your script. You can check this with
which python(macOS/Linux) orwhere python(Windows) in your terminal. - IDE Configuration: If you’re using an Integrated Development Environment (IDE) like VS Code, PyCharm, or Spyder, make sure the IDE is configured to use the correct Python interpreter associated with your virtual environment.
- Correct Python Environment: This is the most frequent cause. Ensure you are running your Python script or interpreter within the same environment where you installed NumPy.
By following these installation and troubleshooting steps, you should be well-equipped to get NumPy up and running. This foundational step opens the door to a vast universe of data analysis, machine learning, and scientific exploration in Python. As you delve deeper, remember that mastering NumPy is key to unlocking the full potential of Python’s powerful computational capabilities, which in turn can drive innovation and inform critical business and financial decisions.
aViewFromTheCave is a participant in the Amazon Services LLC Associates Program, an affiliate advertising program designed to provide a means for sites to earn advertising fees by advertising and linking to Amazon.com. Amazon, the Amazon logo, AmazonSupply, and the AmazonSupply logo are trademarks of Amazon.com, Inc. or its affiliates. As an Amazon Associate we earn affiliate commissions from qualifying purchases.