In today’s interconnected world, a reliable internet connection is no longer a luxury but a fundamental necessity. Whether you’re a professional relying on seamless video conferencing, a student tackling online coursework, a gamer immersing yourself in virtual worlds, or simply someone who enjoys browsing, streaming, and staying connected, a functional network adapter is the gateway to it all. But what exactly is a network adapter, and what do you do when yours isn’t working, or you need to install a new one? This comprehensive guide will walk you through the process of installing a network adapter, covering everything from understanding its purpose to troubleshooting common issues.
Understanding Your Network Adapter: The Gateway to Connectivity
Before we delve into the installation process, it’s crucial to understand what a network adapter is and why it’s so important.
What is a Network Adapter?
A network adapter, also known as a network interface card (NIC) or network interface controller, is a piece of hardware that allows your computer or device to connect to a network. This network could be your home Wi-Fi, a wired Ethernet connection, or even a cellular network. Essentially, it’s the translator that enables your device to communicate with other devices on the network and, ultimately, with the internet.
Network adapters come in various forms:
- Internal Adapters: Most modern computers have integrated network adapters built directly onto the motherboard. These are typically for Ethernet (wired connections) and Wi-Fi (wireless connections).
- External Adapters: These are separate devices that connect to your computer via a USB port. They are incredibly useful for older computers that lack built-in Wi-Fi or Ethernet, or for situations where you need to upgrade or replace an existing adapter. External adapters can be either wired (USB to Ethernet) or wireless (USB Wi-Fi dongles).
- Expansion Cards: In desktop computers, you might encounter PCI or PCIe expansion cards that can be installed into slots on the motherboard to add or upgrade network capabilities.
Why Might You Need to Install a Network Adapter?
There are several common scenarios that would necessitate installing a new network adapter:
- Replacement of a Faulty Adapter: If your current network adapter has stopped working or is exhibiting intermittent issues, replacing it is often the most straightforward solution.
- Upgrading to Faster Speeds: Newer network adapters often support faster Wi-Fi standards (like Wi-Fi 6 or 6E) or Gigabit Ethernet, which can significantly improve your internet speeds and overall online experience.
- Adding Wireless Capability to a Wired-Only Device: If you have a desktop computer with only an Ethernet port but want to connect to your Wi-Fi network, a USB Wi-Fi adapter is the perfect solution.
- Improving Signal Strength or Range: Older or less powerful Wi-Fi adapters might struggle to get a stable connection in certain areas of your home. A new adapter with better antennas or support for newer Wi-Fi standards can help extend your network’s reach.
- Setting up a New Computer: While most new computers come with network adapters, you might be building a custom PC or using a barebones system that requires you to install your own.
The Installation Process: From Unboxing to Connectivity
Installing a network adapter can range from a simple plug-and-play operation to a process requiring a bit more technical know-how. We’ll break it down into logical steps.
Heading 2: Preparing for Installation
Before you physically install the adapter, some preparatory steps will ensure a smooth process.
Heading 3: Identifying Your Adapter and System Requirements
The first and most crucial step is to understand the type of network adapter you have and ensure it’s compatible with your computer.
- Adapter Type: Is it a USB Wi-Fi adapter, a USB Ethernet adapter, or an internal expansion card? This will dictate how it connects to your computer.
- Operating System Compatibility: Most modern adapters are designed to work with Windows, macOS, and Linux. However, it’s always a good idea to check the packaging or the manufacturer’s website to confirm compatibility with your specific operating system version (e.g., Windows 10, Windows 11, macOS Ventura).
- Port Availability: For USB adapters, ensure you have a free USB port on your computer. For internal cards, check if your motherboard has the correct expansion slot (PCI or PCIe).
Heading 3: Gathering Necessary Tools and Software

In most cases, you won’t need many specialized tools.
- For USB Adapters: Usually, no tools are required. It’s a simple matter of plugging it in.
- For Internal Expansion Cards: You might need a Phillips head screwdriver to open your computer case and secure the card.
- Drivers: This is arguably the most important piece of software. Drivers are essential instructions that tell your operating system how to communicate with the new hardware.
- Included CD/DVD: Some older adapters might come with a driver disc.
- Manufacturer’s Website: The most reliable way to get the latest drivers is to visit the manufacturer’s official website, search for your specific adapter model, and download the drivers for your operating system. This is highly recommended as it ensures you have the most up-to-date and stable software.
- Windows Update: In many cases, Windows can automatically detect and install basic drivers for common network adapters through Windows Update. However, it’s often best to install the manufacturer’s drivers for full functionality and optimal performance.
Heading 2: Installing the Network Adapter
The physical installation will vary slightly depending on the type of adapter.
Heading 3: Installing a USB Network Adapter (Wi-Fi or Ethernet)
This is the most common and user-friendly method for most users.
- Locate a Free USB Port: Find an available USB port on your computer. It’s generally recommended to use ports directly on the computer’s motherboard (often on the back of a desktop) rather than USB hubs, as they can sometimes provide a more stable connection.
- Connect the Adapter: Gently plug the USB network adapter into the selected port. You should feel a slight resistance as it seats properly.
- Wait for Detection: Your operating system will usually detect that new hardware has been connected. You might see a notification indicating that the system is trying to set up a new device.
- Driver Installation (if prompted):
- Automatic Installation: If your operating system has built-in drivers or can find suitable ones through Windows Update, it might proceed to install them automatically. You might see a progress bar or a notification that the device is ready to use.
- Manual Installation (using manufacturer drivers): If the automatic installation doesn’t complete, or if you’ve downloaded the drivers beforehand, you’ll need to manually run the installer. Navigate to the folder where you saved the downloaded drivers and double-click the executable file (usually a
.exefile on Windows). Follow the on-screen prompts. You might be asked to restart your computer after the installation is complete.
- Verify Installation: Once the drivers are installed, check your network settings to confirm that the new adapter is recognized and active.
Heading 3: Installing an Internal Network Adapter (PCI/PCIe Card)
This process is more involved and is typically performed on desktop computers.
- Safety First: Power Down and Unplug: Before opening your computer case, ensure the computer is completely shut down and unplugged from the power outlet. It’s also a good practice to discharge any static electricity by touching a grounded metal object (like the metal part of your computer case before it’s fully opened) before handling internal components.
- Open the Computer Case: Locate the screws that hold the side panel of your computer case in place. Remove these screws and carefully slide or lift off the side panel to access the internal components.
- Locate an Available Expansion Slot: Identify an appropriate expansion slot on your motherboard. This will typically be a PCIe slot (usually the longest ones) or a PCI slot, depending on the type of adapter card you have. Ensure the slot is not obstructed by other components.
- Remove Slot Cover: On the back of your computer case, there will be metal covers corresponding to the expansion slots. Remove the cover that aligns with the slot you intend to use. You might need to unscrew it or pop it out.
- Insert the Network Card: Carefully align the network card with the chosen expansion slot and gently but firmly press it down until it is fully seated. You should feel it click into place.
- Secure the Card: Use the screw that came with your computer case or the adapter to secure the network card to the case, preventing it from moving.
- Close the Computer Case: Reattach the side panel of your computer case and secure it with the screws.
- Reconnect and Power On: Plug your computer back into the power outlet and turn it on.
- Driver Installation:
- Automatic Detection: Your operating system should detect the new hardware.
- Manual Driver Installation: As with USB adapters, you will likely need to install drivers. Follow the same steps as outlined in the USB adapter section, using the drivers provided by the manufacturer. A restart will almost certainly be required after installing drivers for internal cards.
- Verify Installation: Check your network settings to ensure the new adapter is recognized and functional.
Heading 2: Post-Installation and Troubleshooting
Once your network adapter is installed, it’s time to confirm it’s working and address any potential issues.
Heading 3: Connecting to Your Network
After the drivers are successfully installed, you should be able to connect to your network.
- For Wi-Fi Adapters:
- Look for the network icon in your system tray (usually in the bottom right corner of your screen on Windows, or the top right on macOS).
- Click on the icon to see a list of available Wi-Fi networks.
- Select your home Wi-Fi network (SSID).
- Enter your Wi-Fi password when prompted.
- Click “Connect.”
- For Ethernet Adapters:
- Ensure an Ethernet cable is securely plugged into both your computer’s network adapter and your router or modem.
- Your computer should automatically establish a wired connection. You might see a wired network icon in your system tray.
Heading 3: Common Troubleshooting Steps
Even with a straightforward installation, you might encounter problems. Here are some common issues and how to resolve them:
- Network Adapter Not Detected:
- Check Physical Connection: Ensure the USB adapter is firmly plugged in, or the internal card is seated correctly in its slot.
- Try a Different Port/Slot: Sometimes, a specific port or slot might be faulty.
- Reinstall Drivers: Uninstall the current drivers and try reinstalling them from the manufacturer’s website.
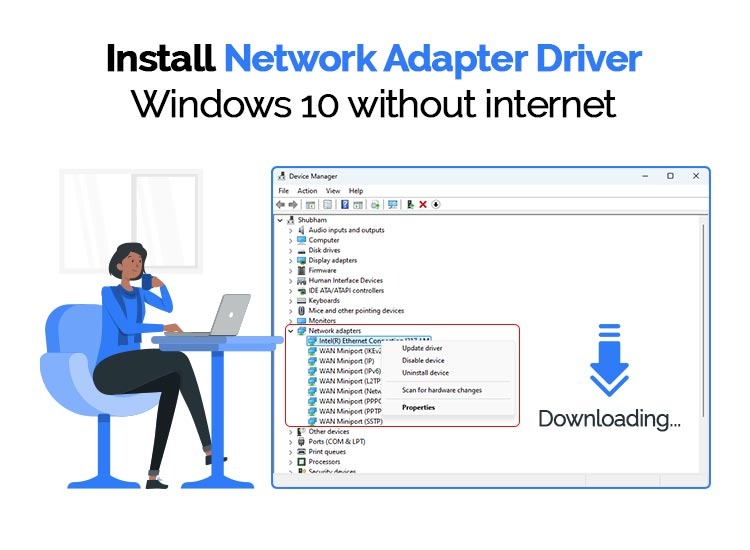
- Check Device Manager (Windows): Press
Windows Key + Xand select “Device Manager.” Look for your network adapter. If it has a yellow exclamation mark, there’s a driver issue. Right-click and select “Update driver” or “Uninstall device” (then restart and try to reinstall).
- No Internet Connection:
- Verify Network Connection: Make sure you are connected to the correct Wi-Fi network or that the Ethernet cable is properly plugged in.
- Restart Your Router/Modem: A simple power cycle of your network equipment can often resolve connectivity issues. Unplug them for about 30 seconds, then plug them back in.
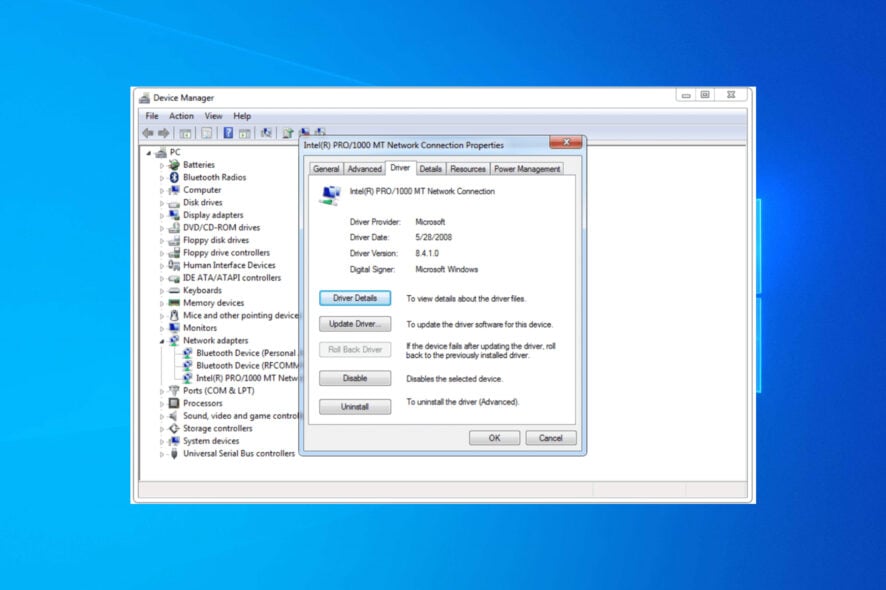
- Check IP Address Settings: In most cases, your adapter should obtain an IP address automatically via DHCP from your router. You can check this in your network adapter properties.
- Ping Test: Open Command Prompt (Windows) or Terminal (macOS/Linux) and type
ping google.comto see if you can reach external servers.
- Slow Internet Speeds:
- Check Wi-Fi Signal Strength: If using Wi-Fi, ensure you have a strong signal. Consider moving closer to your router or using a Wi-Fi extender.
- Update Drivers: Outdated drivers can impact performance.
- Check Other Devices: If other devices on your network are also experiencing slow speeds, the issue might be with your internet service provider (ISP) or your router.
- Consider a Newer Adapter: If your adapter is old, it might not support the latest Wi-Fi or Ethernet standards, limiting your speeds.
By following these steps, you should be well-equipped to install a new network adapter and get back to enjoying a stable and reliable internet connection. Remember, when in doubt, always refer to the manufacturer’s documentation for your specific network adapter and consult their support resources.
aViewFromTheCave is a participant in the Amazon Services LLC Associates Program, an affiliate advertising program designed to provide a means for sites to earn advertising fees by advertising and linking to Amazon.com. Amazon, the Amazon logo, AmazonSupply, and the AmazonSupply logo are trademarks of Amazon.com, Inc. or its affiliates. As an Amazon Associate we earn affiliate commissions from qualifying purchases.