Kodi, once known as XBMC (Xbox Media Center), has evolved into a powerhouse of a media player. It’s a free and open-source cross-platform application that allows users to play almost all kinds of media files from local storage and network storage. Whether you want to organize your movie collection, stream your favorite TV shows, listen to music, or even play games, Kodi can be your all-in-one solution. But the question on many minds is, “How can I install Kodi?” This guide aims to demystify the installation process across various devices, catering to the tech-savvy individual who appreciates the flexibility and customization Kodi offers.
The beauty of Kodi lies in its adaptability. It’s not just about installing the base application; it’s about setting up a personalized media hub. This often involves understanding where to get the official software, how to navigate different operating systems, and eventually, how to tailor your Kodi experience with add-ons. For those interested in the “Tech” aspect of our website, Kodi is a prime example of sophisticated software that enhances digital entertainment. For users exploring “Money,” while Kodi itself is free, optimizing your streaming setup and exploring its functionalities can indirectly impact your entertainment budget. And for those focusing on “Brand,” understanding how to effectively use and promote a powerful, open-source tool like Kodi can be a valuable asset in showcasing technical expertise or building a personal brand as a tech reviewer or enthusiast.
Let’s dive into the practicalities of getting Kodi up and running on your preferred device.
Getting Started: Understanding the Kodi Ecosystem
Before we get to the installation itself, it’s crucial to understand what Kodi is and why you might want it. Kodi is fundamentally a media center application. It acts as a unified interface for all your digital media. Unlike proprietary streaming services that dictate what you can watch and when, Kodi puts you in control. You can point it to your local hard drives, network-attached storage (NAS) devices, or even remote servers, and Kodi will index and organize your content beautifully.
The Power of Open Source
Kodi’s open-source nature is a significant advantage. This means its source code is freely available, allowing developers worldwide to contribute to its improvement, fix bugs, and develop new features. This collaborative environment leads to a constantly evolving and robust application. It also means that you, as a user, can potentially delve deeper into its workings if you have the technical inclination. This aligns perfectly with the “Tech” pillar, as it showcases the power of community-driven software development.
What Can Kodi Do?
The capabilities of Kodi extend far beyond simple media playback:
- Vast Media Support: Plays virtually any video, audio, and picture format.
- Library Management: Organizes your media with rich metadata, posters, and fan art.
- Live TV and DVR: With the right hardware and add-ons, you can watch and record live TV.
- Streaming from the Internet: Access content from various online sources through add-ons.
- Customization: Themes, skins, and extensive settings allow for deep personalization.
- Add-on Ecosystem: A vast repository of official and third-party add-ons extends its functionality.
Understanding these capabilities sets the stage for why the installation process is worth the effort. It’s an investment in a powerful, flexible, and cost-effective entertainment solution.
Installing Kodi on Different Platforms
Kodi is designed to be versatile, and its installation process varies slightly depending on the device you’re using. We’ll cover the most common platforms.
Installing Kodi on Computers (Windows, macOS, Linux)
For computer users, installing Kodi is typically straightforward and involves downloading the installer from the official Kodi website. This is the most recommended method to ensure you get the latest, stable version and avoid any malware that might be bundled with unofficial downloads.
Step-by-Step Installation for Desktops:
- Visit the Official Kodi Website: Navigate to kodi.tv/download. This is your primary source for safe and legitimate Kodi software.
- Select Your Operating System: You’ll see icons for Windows, macOS, and Linux. Click on the one corresponding to your system.
- Download the Installer:
- Windows: Click the “Installer” link. A
.exefile will download. - macOS: Click the “Installer” link. A
.dmgfile will download. - Linux: Kodi is often available through your distribution’s package manager (e.g.,
aptfor Debian/Ubuntu,dnffor Fedora). However, for the latest stable release, you might find.debpackages or instructions for compiling from source on the Kodi wiki.
- Windows: Click the “Installer” link. A
- Run the Installer:
- Windows: Double-click the downloaded
.exefile and follow the on-screen prompts. It’s a standard Windows installation process. Accept the license agreement, choose an installation location (the default is usually fine), and click “Install.” - macOS: Double-click the downloaded
.dmgfile. A window will appear with the Kodi icon and your Applications folder. Drag the Kodi icon into the Applications folder. - Linux: If you downloaded a
.debfile, you can usually double-click it to open it in your software installer, or use the terminal withsudo dpkg -i <filename>.debfollowed bysudo apt --fix-broken installif there are dependency issues. If using a package manager, search for “kodi” and install it using the appropriate command (e.g.,sudo apt install kodiorsudo dnf install kodi).
- Windows: Double-click the downloaded
- Launch Kodi: Once the installation is complete, you can find Kodi in your Applications folder (macOS), Start Menu (Windows), or application launcher (Linux). The first launch might take a moment as Kodi sets up its initial configuration.
This method ensures you have a clean, stable installation of Kodi, ready to be customized. For those who are particular about their digital tools, using official sources is a fundamental aspect of digital security and responsible tech usage.
Installing Kodi on Media Streaming Devices (Android TV, Amazon Fire TV, etc.)
Many users prefer to install Kodi on dedicated media streaming devices for a more streamlined living room experience. Android-based devices, like Android TV boxes and Amazon Fire TV sticks, are particularly popular for Kodi installations.
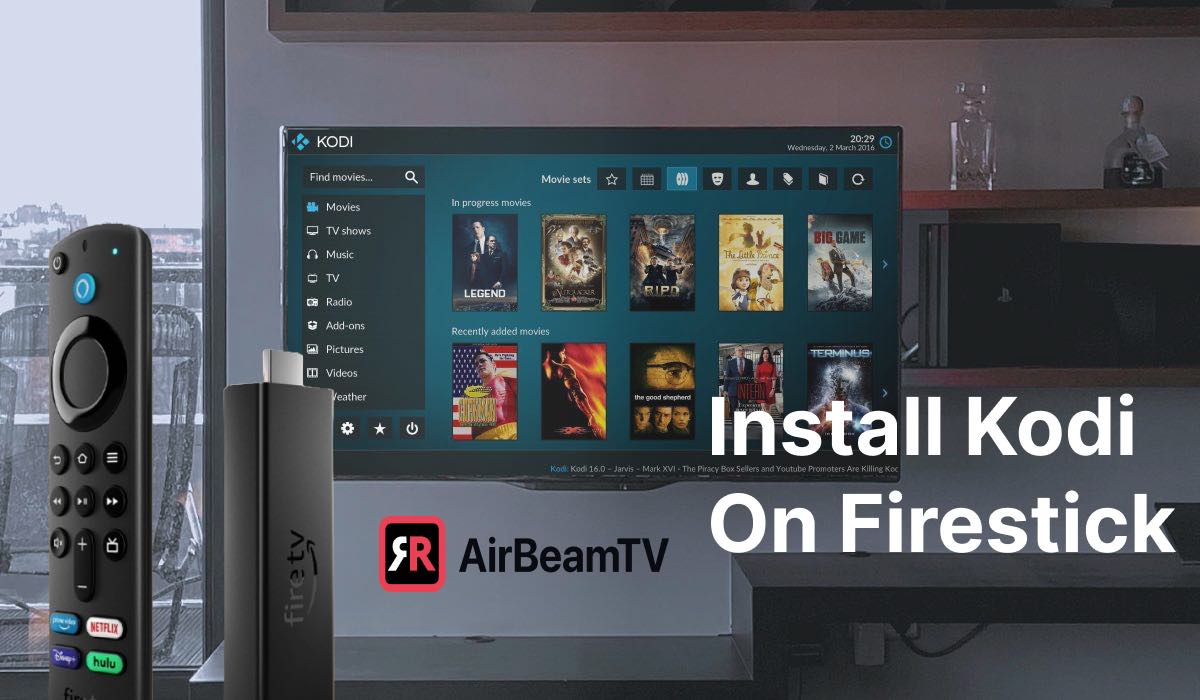
Installing Kodi on Amazon Fire TV Devices:
Amazon Fire TV devices run on a modified version of Android, which makes installing Kodi possible, although it’s not directly available in the Amazon Appstore. This requires a process called “sideloading.”
- Enable Developer Options and App Installation:
- Go to your Fire TV’s Settings > My Fire TV (or Device & Software).
- Select Developer Options.
- Turn ON ADB Debugging.
- Turn ON Apps from Unknown Sources. You’ll get a warning; confirm it.
- Install a Downloader App: The “Downloader” app is available in the Amazon Appstore and is essential for sideloading. Search for “Downloader” and install it.
- Get the Kodi APK:
- Open the Downloader app.
- In the URL field, enter the direct download link for the latest stable Kodi APK. You can find this by searching online for “Kodi APK download” and looking for the official Kodi repository or a reputable APK mirror. A common URL format might be something like
http://mirrors.kodi.tv/releases/android/kodi-x.x.x-armeabi-v7a.apk(replacex.x.xwith the version number). - Click “Go.”
- Install Kodi: The APK file will download. Once it’s done, the installation screen will pop up. Select “Install.”
- Launch Kodi: After installation, you can find Kodi in your Apps & Channels list. You might need to long-press the Home button and select “Apps” to see it.

Installing Kodi on Android TV Boxes/Sticks:
The process is very similar to Fire TV devices, as they also run Android.
- Enable Installation from Unknown Sources:
- Go to Settings > Device Preferences > Security & Restrictions (or similar path depending on your Android TV version).
- Enable Unknown Sources.
- Install a File Manager with Network Capabilities: You can use the Google Play Store to install apps like “Solid Explorer” or “File Commander.” Alternatively, if your Android TV has a web browser, you can use it to download the Kodi APK directly.
- Download the Kodi APK:
- Using your file manager or web browser, navigate to the official Kodi download page (kodi.tv/download) and select the Android version. Download the APK.
- Install Kodi: Locate the downloaded APK file using your file manager and tap on it to install.
- Launch Kodi: Find Kodi in your app drawer.
For users on these platforms, this installation method opens up a world of customized media playback without being tied to specific app store restrictions, a significant advantage for tech-savvy individuals.
Installing Kodi on Raspberry Pi (Kodi as a Dedicated OS)
The Raspberry Pi is a fantastic, low-cost computer that can be transformed into a dedicated media center. Installing Kodi on a Raspberry Pi usually involves flashing a specialized operating system onto an SD card. The most popular choice is LibreELEC, a minimalist OS designed purely to run Kodi.
Installing LibreELEC on Raspberry Pi:
- Download Raspberry Pi Imager: Visit the official Raspberry Pi website (raspberrypi.com/software/) and download the Raspberry Pi Imager for your operating system (Windows, macOS, Ubuntu).
- Install Raspberry Pi Imager: Install the downloaded software.
- Prepare the SD Card: Insert your microSD card into your computer.
- Launch Raspberry Pi Imager:
- Click “Choose OS.”
- Select “Media player OS.”
- Choose “LibreELEC.”
- Select the correct version for your Raspberry Pi model (e.g., Raspberry Pi 4/400, Raspberry Pi 2/3).
- Choose Storage: Click “Choose Storage” and select your microSD card. Be absolutely sure you select the correct drive, as all data on it will be erased.
- Write the Image: Click “Write.” The imager will download LibreELEC and write it to your SD card. This process can take some time.
- Boot Your Raspberry Pi: Once the writing is complete, eject the SD card from your computer and insert it into your Raspberry Pi. Connect your Raspberry Pi to your TV via HDMI and power it on. LibreELEC will boot up, perform an initial setup, and then launch Kodi.
This method effectively turns your Raspberry Pi into a dedicated Kodi box, offering a stable and efficient media playback experience. It’s a project that appeals to tinkerers and those who appreciate the power of single-board computers for specific tasks, a core interest for many in the “Tech” community.
Post-Installation: Setting Up Your Kodi Experience
Once Kodi is installed, the real fun begins. You’ll want to configure it to access your media and enhance its functionality.
Adding Your Media Sources
This is the core of making Kodi useful. You need to tell Kodi where your movies, TV shows, music, and pictures are stored.
- Navigate to the Media Section: In Kodi’s main menu, go to Videos, Music, or Pictures.
- Add Source: Select “Files” and then “Add Videos…” (or the equivalent for music/pictures).
- Browse for Media Location: Click “Browse.” You’ll see options to add network locations (SMB/NFS shares, UPnP), local drives, or specific folders.
- Select Your Media Folder: Navigate to the folder containing your media files (e.g., a folder named “Movies” on your hard drive or NAS).
- Set Content Type: After selecting the folder, Kodi will ask you to “Set Content.” Choose the type of media in that folder (Movies, TV Shows, Music Videos, etc.). This is crucial for Kodi to correctly scan and retrieve metadata.
- Choose a Scraper: Kodi uses “scrapers” to download information like plot summaries, cast details, posters, and fan art. For movies, “The Movie Database (TMDB)” is a popular choice. For TV shows, “The TVDB” is common. Select your preferred scraper.
- Scan for Media: Confirm your settings. Kodi will then begin scanning the selected folder and adding your media to its library. This can take time depending on the size of your library and the speed of your network.
Exploring Add-ons for Extended Functionality
Kodi’s true power is unlocked through its add-on system. Add-ons can stream content from various services, add new skins, provide information, and much more.
Official vs. Third-Party Add-ons:
- Official Add-ons: These are available directly through Kodi’s built-in repository. They are generally safe and well-supported. Examples include add-ons for YouTube, Vimeo, and various news services.
- Third-Party Add-ons: These are developed by independent creators and are not officially endorsed by the Kodi team. While some are excellent and legal, others can be used for accessing pirated content, which we strongly advise against. Stick to legal and reputable add-ons to avoid legal issues and malware.
Installing Official Add-ons:
- Navigate to Add-ons: From the main menu, go to Add-ons.
- Install from Repository: Select “Install from repository.”
- Choose Repository: Select the “Kodi Add-on repository.”
- Browse Categories: Browse through categories like “Video add-ons,” “Music add-ons,” etc.
- Install: Select an add-on and click “Install.”
The Importance of Legal Streaming
When discussing add-ons, it’s essential to touch upon the legal and ethical implications. While Kodi is a legal and versatile application, the use of certain add-ons can lead to copyright infringement. Always ensure that any content you access through Kodi add-ons is done legally and with proper rights. For those interested in “Money” and “Brand,” maintaining a reputation for ethical and legal practices is paramount. Using Kodi responsibly contributes to a positive brand image and avoids potential financial or legal repercussions.
Conclusion
Installing Kodi is the first step towards building your ultimate media hub. Whether you’re a seasoned tech enthusiast looking to customize every aspect of your digital life or a newcomer seeking a more organized and flexible way to enjoy your media, Kodi offers a powerful and accessible solution. By following these steps and understanding the different installation methods for your chosen platform, you’ll be well on your way to enjoying a personalized media experience. Remember to always download from official sources and use add-ons responsibly to ensure a safe, legal, and enjoyable journey with Kodi.
aViewFromTheCave is a participant in the Amazon Services LLC Associates Program, an affiliate advertising program designed to provide a means for sites to earn advertising fees by advertising and linking to Amazon.com. Amazon, the Amazon logo, AmazonSupply, and the AmazonSupply logo are trademarks of Amazon.com, Inc. or its affiliates. As an Amazon Associate we earn affiliate commissions from qualifying purchases.