The idea of installing Windows from within Linux might sound counterintuitive to some. After all, aren’t they opposing operating systems, each vying for dominance on our computer hardware? For a long time, the common wisdom was that if you wanted to install Windows, you needed a Windows installation media and a BIOS/UEFI that could boot from it. However, in today’s interconnected and increasingly flexible technological landscape, this is no longer the strict reality. Whether you’re a Linux user looking to dual-boot Windows for specific software, testing purposes, or a complete system migration, or perhaps a developer needing to understand cross-platform compatibility, installing Windows from a Linux environment is not only achievable but can often be a streamlined process. This guide will walk you through the most common and effective methods for achieving this, leveraging the power and versatility of Linux to prepare and execute a Windows installation.
This process hinges on creating bootable Windows installation media on a USB drive, a task that Linux is well-equipped to handle. While Windows itself offers tools for this, using Linux provides greater control and a wider array of reliable software options. We’ll delve into the prerequisites, the different software solutions available on Linux, and the actual steps involved in making your USB drive bootable. Understanding these elements will empower you to confidently embark on your Windows installation journey from your familiar Linux desktop.
Preparing Your Windows Installation Media
Before you can install Windows from your Linux system, you need to create bootable installation media. This typically involves obtaining a Windows ISO image and then using a utility on your Linux machine to write that image to a USB flash drive in a way that the target computer’s BIOS or UEFI can recognize and boot from. The choice of utility and the method of image creation are crucial for a successful installation.
Acquiring the Windows ISO Image
The first and most critical step is to obtain a legitimate Windows ISO image. This is a disk image file containing the entire contents of a Windows installation DVD or USB.
- Legitimate Sources: The most straightforward and recommended method is to download the ISO directly from Microsoft’s official website. Microsoft provides Media Creation Tools for Windows 10 and Windows 11 that allow users to download the latest ISOs for their desired versions. While these tools are primarily designed for Windows, you can often access direct ISO download links by visiting the Microsoft download page using a non-Windows operating system (like Linux) or by modifying your browser’s user agent to mimic a non-Windows device.
- Product Key: Remember that while you can download and install Windows, you will need a valid product key to activate it and use it legally beyond the trial period. Ensure you have a legitimate product key for the version of Windows you intend to install.
- Version Selection: Be mindful of the Windows version you download (e.g., Windows 10 Home, Windows 11 Pro). Ensure it aligns with your needs and the license you possess.
Choosing the Right USB Drive
The USB drive you use is also an important factor.
- Capacity: Most modern Windows installations (especially Windows 10 and 11) require a USB drive with at least 8GB of storage. It’s always advisable to use a drive with slightly more capacity, like 16GB or 32GB, to ensure compatibility and avoid potential issues.
- Speed: While not strictly mandatory, using a faster USB 3.0 or 3.1 drive will significantly speed up both the creation of the bootable media and the subsequent Windows installation process.
- Data Loss: Crucially, all data on the USB drive will be erased during the creation of the bootable media. Make sure to back up any important files from the USB drive before proceeding.
Methods for Creating a Bootable Windows USB on Linux
Linux offers a variety of powerful and user-friendly tools to create bootable USB drives. The best method often depends on your comfort level with the command line and your preferred graphical interface. We will explore two of the most popular and reliable approaches: using a graphical tool and employing command-line utilities.
Method 1: Using a Graphical Tool (Ventoy)
Ventoy is a highly recommended open-source tool that has revolutionized the way bootable USB drives are created. Its primary advantage is its “no-reformatting” approach. Once Ventoy is installed on a USB drive, you can simply copy multiple ISO files (Windows, Linux, utility discs, etc.) onto the drive, and Ventoy will present you with a boot menu to choose which one to boot from. This makes it incredibly versatile for users who frequently work with different operating systems or installation media.
Installing and Using Ventoy
- Download Ventoy: Visit the official Ventoy website (https://www.ventoy.net/) and download the latest Linux release (usually a
.tar.gzfile). - Extract Ventoy: Open your terminal, navigate to the download directory, and extract the archive:
bash

tar -xf ventoy-x.x.xx-linux.tar.gz

cd ventoy-x.x.xx
(Replacex.x.xxwith the actual version number.) - Run the Ventoy Script: Inside the extracted directory, you’ll find a script to run Ventoy. You can launch it via the terminal:
bash

sudo ./Ventoy2Disk.sh -i /dev/sdX
Important: Replace/dev/sdXwith the correct device identifier for your USB drive. You can find this by runninglsblkin the terminal and identifying your USB drive based on its size. Double-check this to avoid formatting the wrong drive! - Installation Confirmation: The script will prompt you to confirm that you want to install Ventoy onto the specified disk. Type
yand press Enter to proceed. Ventoy will format the drive and install its bootloader. - Copy the Windows ISO: Once Ventoy is installed, your USB drive will be accessible as a regular storage device. Simply copy your downloaded Windows ISO file directly onto the Ventoy partition of the USB drive.
- Booting: When you boot your computer from this USB drive, Ventoy will present you with a menu listing all the ISO files you’ve copied. Select your Windows ISO to begin the installation.
Ventoy’s ease of use and multi-ISO capability make it an excellent choice for this task, especially for those who might want to create bootable drives for multiple operating systems.
Method 2: Using Command-Line Tools (dd command)
For users who are comfortable with the command line, the dd command is a powerful and direct way to write an ISO image to a USB drive. This method essentially performs a raw, sector-by-sector copy of the ISO to the USB device, making it bootable.
Steps using dd
- Identify Your USB Drive: As with Ventoy, the first step is to identify your USB drive’s device name. Open a terminal and run:
bash

lsblk
Look for your USB drive based on its size and any existing partitions. It will likely be something like/dev/sdcor/dev/sdb. Be absolutely certain you have the correct device name, asddis a powerful tool that can overwrite any drive if misused. - Unmount the USB Drive: Before using
dd, ensure that all partitions on the USB drive are unmounted. If your USB drive is/dev/sdXand has partitions like/dev/sdX1,/dev/sdX2, you would unmount them like this:
bash

sudo umount /dev/sdX*
(The*will unmount all partitions on that device.) - Write the ISO Image: Now, use the
ddcommand to write the ISO to the USB drive.
bash

sudo dd if=/path/to/your/windows.iso of=/dev/sdX bs=4M status=progress conv=fsync
if=/path/to/your/windows.iso: Replace/path/to/your/windows.isowith the actual path to your downloaded Windows ISO file.of=/dev/sdX: Replace/dev/sdXwith the device name of your USB drive. Again, extreme caution is advised here.bs=4M: This sets the block size to 4 megabytes, which often speeds up the transfer process.status=progress: This option shows the progress of the operation, so you know it’s working.conv=fsync: This ensures that all data is physically written to the drive before the command finishes.
- Wait for Completion: The
ddcommand can take a while to complete, depending on the size of the ISO and the speed of your USB drive. Do not interrupt the process. - Safely Eject: Once the command finishes (you’ll see the terminal prompt return), you can safely remove the USB drive.
While dd is efficient, it lacks the user-friendliness and safety checks of tools like Ventoy. However, it’s a fundamental Linux utility that every power user should be familiar with.
Other Tools to Consider
- WoeUSB: This is a dedicated tool for creating Windows bootable USB drives from Linux. It supports both UEFI and BIOS boot modes and can handle large ISOs. It’s often available as a package in various Linux distributions or can be installed from source.
- GNOME Disks: If you are using the GNOME desktop environment, the built-in “Disks” utility can also be used to restore disk images. While not its primary function for bootable OS installation, you can select the ISO file and choose to “Restore Disk Image” to your USB drive.
Booting from the USB and Initiating Windows Installation
Once your bootable Windows USB drive is ready, the next step is to configure your computer to boot from it and then proceed with the standard Windows installation process.
Accessing the Boot Menu or BIOS/UEFI Settings
To boot from the USB drive, you’ll need to tell your computer’s firmware (BIOS or UEFI) to prioritize the USB drive over your internal hard drive.
- Restart Your Computer: Insert the bootable Windows USB drive into your computer and restart it.
- Enter Boot Menu or BIOS/UEFI: As your computer starts to boot up, you’ll usually see a message on the screen indicating which key to press to enter the “Boot Menu” or “Setup” (which accesses BIOS/UEFI settings). Common keys include
F2,F10,F12,Del, orEsc. You may need to press it repeatedly as soon as the computer powers on. - Select the USB Drive:
- Boot Menu: If you access the Boot Menu, you’ll see a list of bootable devices. Use your arrow keys to select your USB drive (it might be listed by its brand name or as a generic “USB HDD” or “UEFI USB Device”) and press Enter.
- BIOS/UEFI Settings: If you enter the BIOS/UEFI settings, navigate to the “Boot” or “Boot Order” section. Here, you’ll need to change the boot priority to place your USB drive at the top of the list. Save your changes (usually by pressing
F10) and exit the BIOS/UEFI.
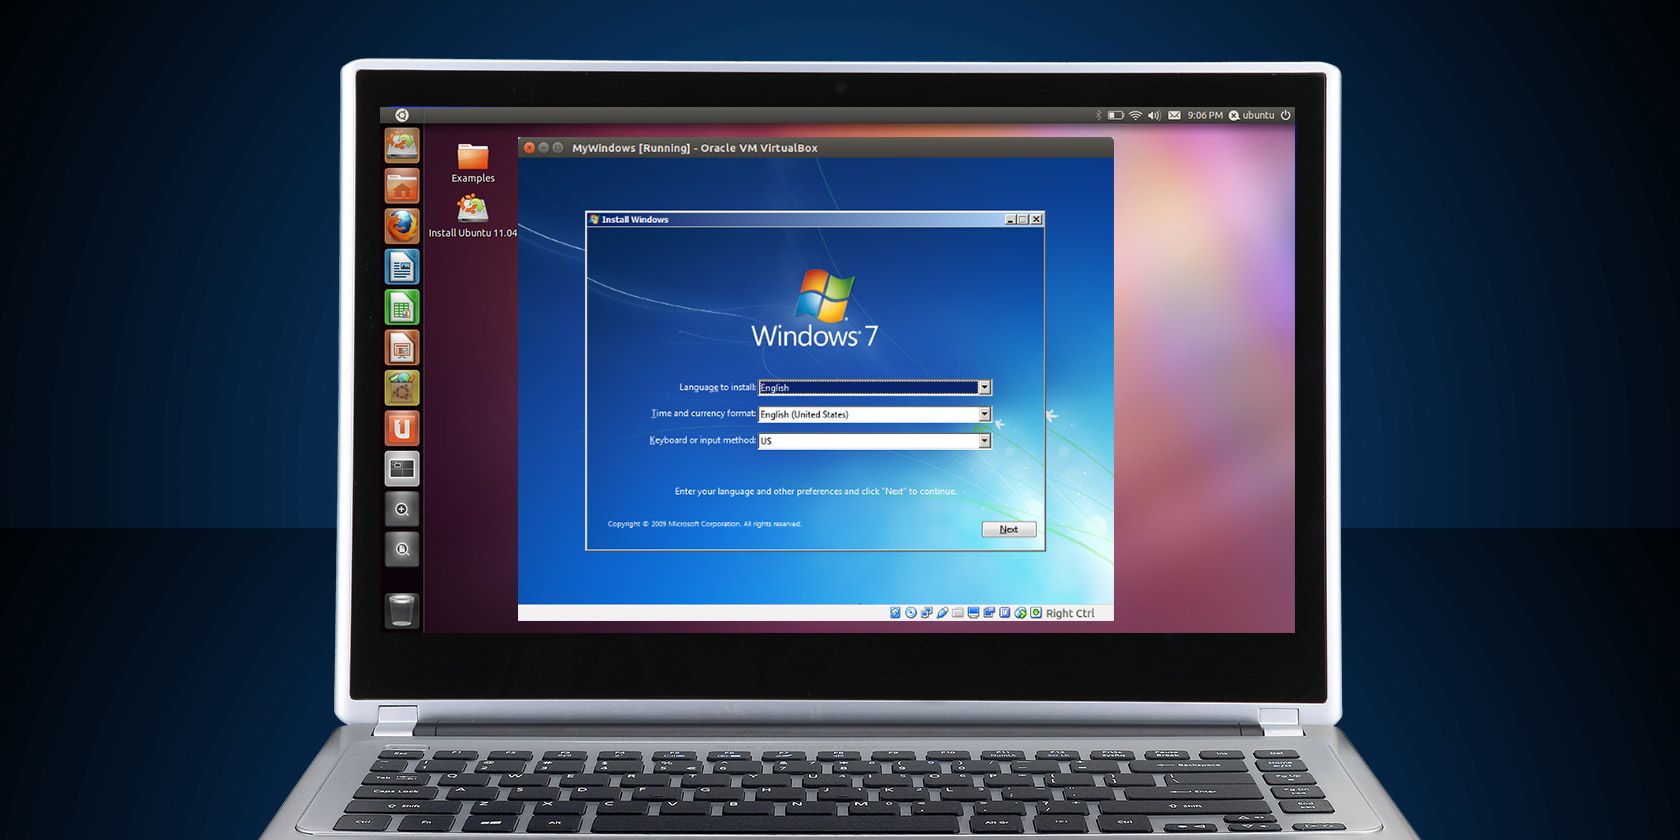
Your computer should now boot from the USB drive, and you will be greeted by the Windows installer.
The Windows Installation Process
The actual installation of Windows from this point onwards is standard and identical to installing Windows from a DVD or a USB created on Windows.
- Language and Keyboard Layout: The first screen will ask you to select your language, time and currency format, and keyboard layout.
- Install Now: Click “Install now.”
- Product Key: You will be prompted to enter your Windows product key. If you don’t have one handy or want to install it for later activation, you can usually click “I don’t have a product key” to proceed.
- Choose Installation Type: You’ll be given two options:
- Upgrade: This option attempts to upgrade an existing Windows installation. It’s generally not recommended when installing from scratch or after wiping your drive.
- Custom (Install Windows only): This is the option you’ll want to choose for a clean installation.
- Disk Partitioning: This is a critical step. You will see a list of drives and partitions on your computer.
- For a clean install: You can delete existing partitions to create unallocated space, or select an existing partition to format. Be extremely careful here, as deleting the wrong partition will result in data loss. If you are installing Windows alongside Linux (dual-boot), you will need to carefully manage your partitions, ensuring you don’t delete your Linux partitions unless intended.
- Selecting space for Windows: Choose the unallocated space or a formatted partition where you want to install Windows. The Windows installer will automatically create the necessary system partitions.
- Installation Progress: Windows will now copy files, install features, and install updates. Your computer will restart several times during this process. Ensure that your computer continues to boot from the USB drive until Windows prompts you to remove it, or until you reach the “Out-of-Box Experience” (OOBE) setup. If it boots back into the USB installer, simply remove the USB drive after the first restart once Windows setup begins.
- Out-of-Box Experience (OOBE): After the main installation completes, you will go through the OOBE, where you’ll set up your region, keyboard, account (Microsoft or local), privacy settings, and other preferences.
Post-Installation Considerations
- Drivers: After Windows is installed, you may need to install drivers for your hardware (graphics card, network adapter, sound card, etc.). Windows Update usually finds many of these automatically, but you might need to download specific drivers from your hardware manufacturer’s website.
- Dual-Booting: If you performed a dual-boot installation, your system will now likely show a boot manager (like GRUB, which is usually installed by Linux) that allows you to choose between booting into Linux or Windows. If Windows overwrites your GRUB, you might need to reinstall GRUB from a Linux live USB.
By following these steps, you can successfully install Windows on your computer, leveraging the flexibility and power of your Linux environment to prepare the necessary bootable media. This demonstrates that the lines between operating systems are becoming increasingly blurred, offering users more choices and greater control over their computing experience.
aViewFromTheCave is a participant in the Amazon Services LLC Associates Program, an affiliate advertising program designed to provide a means for sites to earn advertising fees by advertising and linking to Amazon.com. Amazon, the Amazon logo, AmazonSupply, and the AmazonSupply logo are trademarks of Amazon.com, Inc. or its affiliates. As an Amazon Associate we earn affiliate commissions from qualifying purchases.