
The world of PC gaming is vast and ever-evolving, with dedicated communities constantly pushing the boundaries of what’s possible within their favorite titles. For fans of the notoriously challenging and atmospheric STALKER series, a particular modpack has risen to prominence, offering an experience that redefines survival horror and emergent gameplay. This modpack, known as STALKER GAMMA, is not a standalone game, but rather a meticulously crafted collection of over 150 mods that overhauls the original STALKER Anomaly, transforming it into a brutal, unforgiving, and incredibly rewarding post-apocalyptic sandbox.
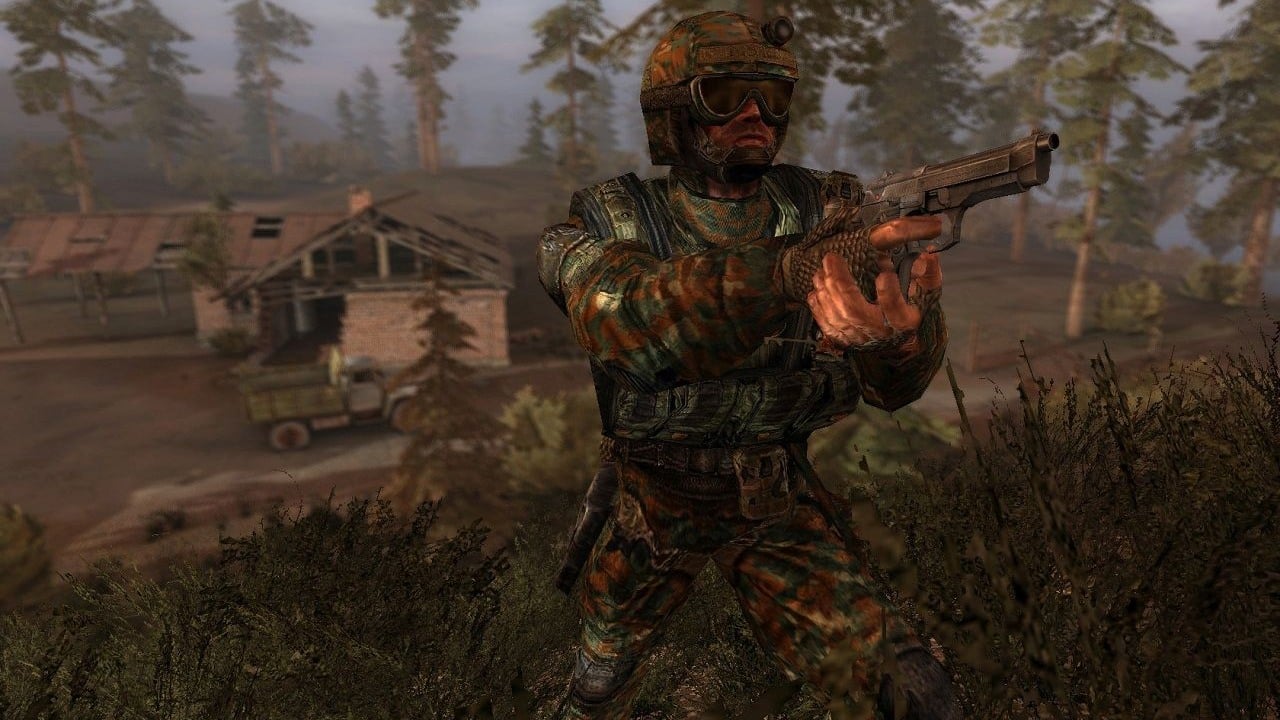
While the prospect of diving into such a deeply modified experience is exciting, the installation process for STALKER GAMMA can seem daunting, particularly for those less familiar with modding. This comprehensive guide aims to demystify the installation, ensuring you can embark on your journey through the Zone with confidence. We’ll break down the requirements, the step-by-step process, and offer crucial tips to ensure a smooth and successful setup, aligning with our focus on providing practical, in-depth technological tutorials.
Prerequisites: Gearing Up for Your Zone Expedition
Before you even think about downloading GAMMA, it’s essential to ensure your system is ready and you have the foundational elements in place. STALKER GAMMA builds upon STALKER Anomaly, which itself is a massive, free, standalone mod for the original STALKER games. Therefore, the first and most critical prerequisite is to have STALKER Anomaly installed and running correctly.
1. Installing STALKER Anomaly: The Foundation of GAMMA
STALKER Anomaly is the bedrock upon which GAMMA is built. It’s a free, standalone modification that doesn’t require you to own the original STALKER games, although having them installed can sometimes be beneficial for certain older assets.
- Download STALKER Anomaly: The official and safest place to get STALKER Anomaly is from its dedicated ModDB page. Search for “STALKER Anomaly” on ModDB and locate the latest stable release. You’ll typically find a download link for a compressed archive (often a .zip or .7z file).
- Extract Anomaly: Once downloaded, extract the contents of the Anomaly archive to a directory of your choice. Crucially, do not install it in your Program Files folder or any other system-protected directory, as this can lead to permission issues and errors. A good practice is to create a dedicated folder for your Anomaly installation, for example,
D:GamesSTALKER_Anomaly. - Run the Anomaly Launcher: Navigate to the extracted Anomaly folder and find the
AnomalyLauncher.exefile. Run this executable. It will guide you through a brief setup process where you can configure your graphics settings, sound, and other basic options. It’s highly recommended to run the launcher at least once to ensure Anomaly is installed correctly and your initial settings are applied.
2. Essential Software and System Requirements
Beyond the game itself, a few other pieces of software are indispensable for the GAMMA installation, and ensuring your hardware meets the demands is paramount for a playable experience.
- 7-Zip or WinRAR: These are essential archiving tools. GAMMA’s files, and sometimes Anomaly itself, come in compressed formats. While Windows has built-in zip support, specialized tools like 7-Zip (which is free and highly recommended) or WinRAR are more robust and handle various archive types, including .7z files which are common.
- Mod Organizer 2 (MO2): This is the most critical piece of software for installing STALKER GAMMA. MO2 is a sophisticated mod manager that allows for a virtualized mod installation. This means it doesn’t directly modify your game’s installation files but rather intercepts game calls and presents mods to the game in a specific order. This makes installing, uninstalling, and troubleshooting mods infinitely easier. You can download MO2 from its official GitHub page.
- Sufficient Disk Space: GAMMA, with its extensive texture packs, sound overhauls, and gameplay modifications, is a significant undertaking. Ensure you have at least 50-70 GB of free space on your drive for the Anomaly installation, the GAMMA mods, and any future additions or save files. Installing on an SSD is highly recommended for faster loading times.
- Stable Internet Connection: You’ll be downloading several large files, so a reliable internet connection is a must.
Installing STALKER GAMMA: A Step-by-Step Walkthrough
With all the prerequisites in place, you’re ready to begin the actual installation of STALKER GAMMA. This process involves downloading the GAMMA modpack and then configuring it within Mod Organizer 2.
1. Downloading the STALKER GAMMA Modpack
The GAMMA modpack is typically distributed as a series of files that need to be downloaded and organized. The primary source for GAMMA is usually a Discord server or a dedicated modding platform.
- Locate the Official GAMMA Download: The most reliable way to get the GAMMA files is through the official STALKER GAMMA Discord server. Join the server and navigate to the designated download channels. Here, you’ll find links to download the GAMMA installer and potentially other essential components. Be wary of unofficial sources, as they might host outdated or corrupted versions.
- Download the GAMMA Installer: The GAMMA installer is a crucial executable file. Download this file and place it in a convenient, easily accessible location, but NOT within your Anomaly installation folder.
- Download Supporting Files (If Any): Depending on the current version of GAMMA, you might also need to download additional files, such as specific texture packs or audio files. Follow the instructions provided on the Discord server to download these and place them in the same directory as the GAMMA installer.
2. Setting Up Mod Organizer 2 for GAMMA
Mod Organizer 2 is the key to a successful GAMMA installation. Properly configuring it is essential.
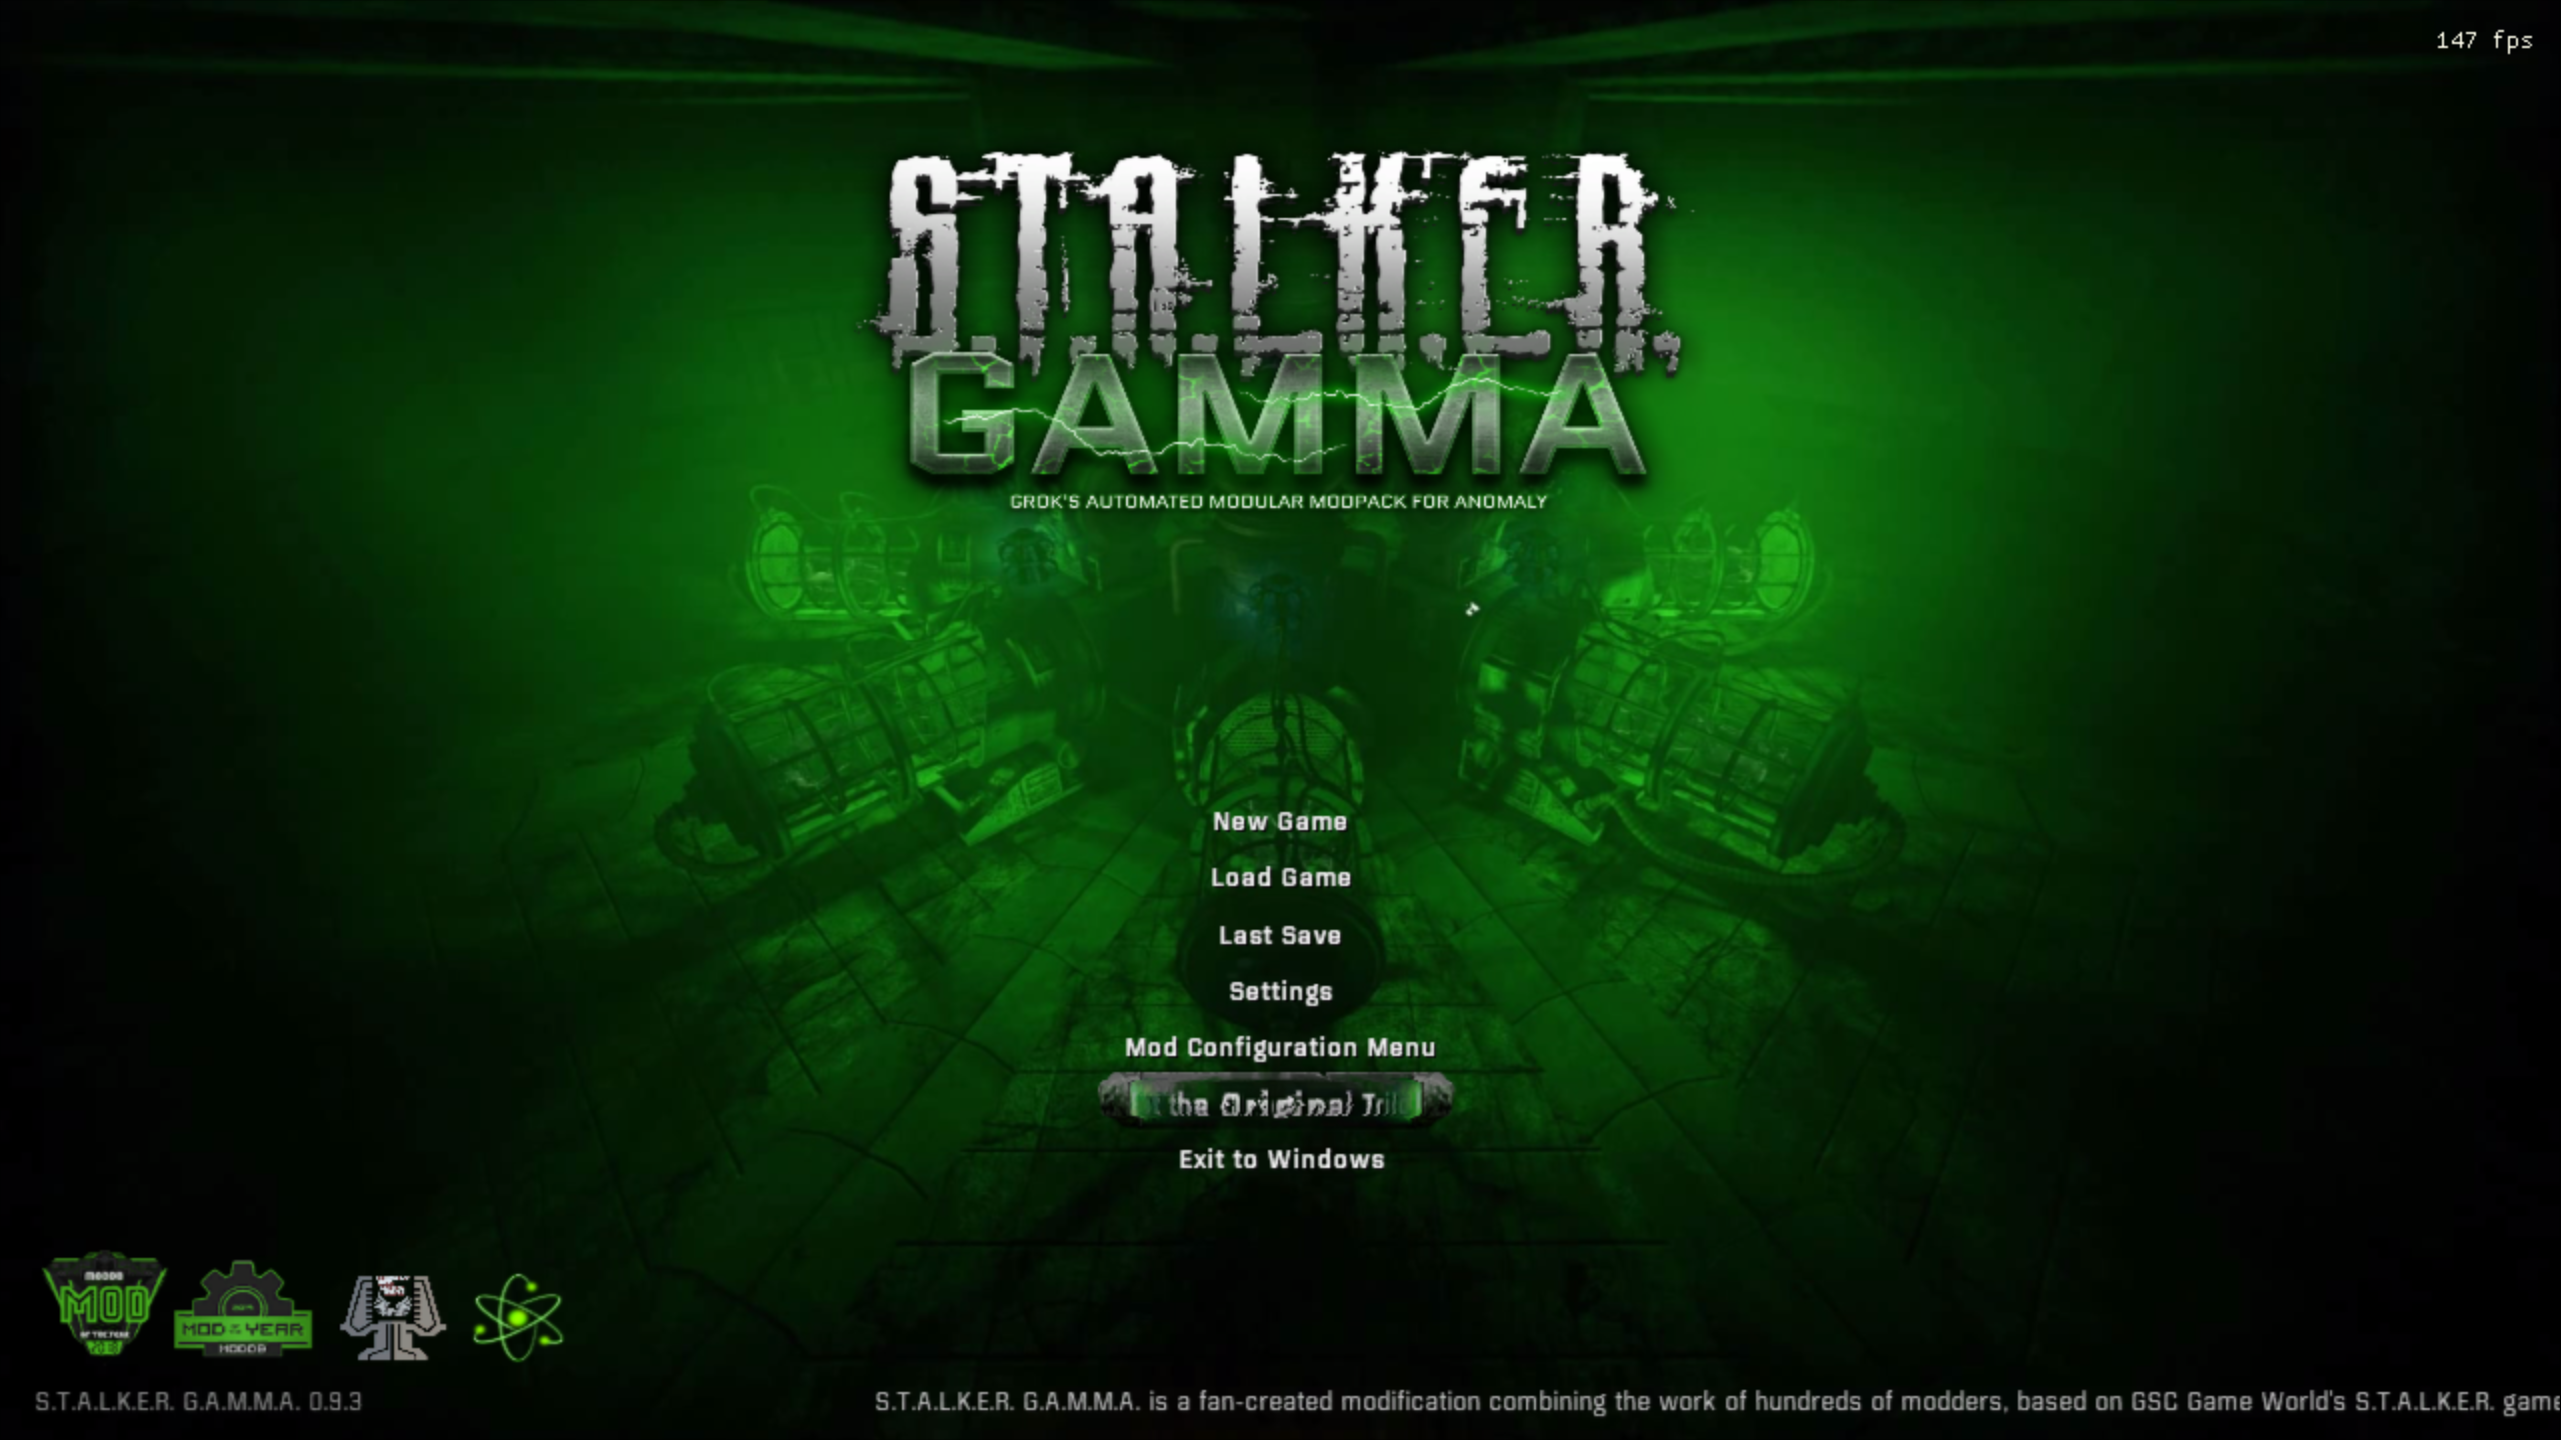
- Install Mod Organizer 2: Download MO2 from its official GitHub page and install it. Again, avoid installing it within your Anomaly directory. A good practice is to install it alongside your Anomaly folder, for example,
D:GamesModOrganizer2. - Configure MO2 for Anomaly:
- Launch Mod Organizer 2.
- Go to
Tools->Create new instance. - Select “Portable mode” (this keeps MO2’s settings within its own folder).
- Click “Next”.
- Browse to your STALKER Anomaly installation folder (e.g.,
D:GamesSTALKER_Anomaly) and select it. - Click “Next”.
- Ensure the “Install StarGame.exe for modding” option is checked.
- Click “Next” and then “Finish”.
- Once the instance is created, MO2 will prompt you to select the Anomaly executable. Navigate to your Anomaly installation folder and select
AnomalyLauncher.exe. - Close the “All games” window.
3. Running the GAMMA Installer and Integrating with MO2
This is where the GAMMA installer takes center stage, and MO2 helps integrate its complex mod structure.
- Run the GAMMA Installer: Navigate to where you downloaded the GAMMA installer (e.g.,
D:GAMMA_InstallerGAMMA_Installer.exe) and run it. - Follow Installer Prompts: The GAMMA installer is designed to be user-friendly. It will likely ask you to:
- Select your Anomaly Directory: Point it to your root STALKER Anomaly installation folder (e.g.,
D:GamesSTALKER_Anomaly). - Select your Mod Organizer 2 Instance: Point it to the folder where you installed Mod Organizer 2 (e.g.,
D:GamesModOrganizer2). MO2 usually creates a specific instance folder for each game; you’ll want to select that one. - Choose Installation Options: GAMMA often presents choices for visual enhancements, difficulty, and other gameplay tweaks. Read these options carefully and select them according to your preferences.
- Begin Installation: The installer will then proceed to copy and configure all the necessary mod files, installing them virtually through Mod Organizer 2. This can take a considerable amount of time.
- Select your Anomaly Directory: Point it to your root STALKER Anomaly installation folder (e.g.,
4. Finalizing the GAMMA Setup within MO2
After the GAMMA installer has finished, you need to ensure everything is correctly set up within Mod Organizer 2.
- Refresh MO2’s Plugin List: Once the GAMMA installer is done, open Mod Organizer 2. You should see a long list of new mods appear in the left-hand pane. If not, right-click in the left-hand pane and select “Refresh”.
- Check the Load Order: GAMMA comes with a pre-defined load order, which is crucial for preventing conflicts and ensuring mods work as intended. The GAMMA installer usually handles this automatically. However, it’s good practice to:
- Go to
Tools->LOOT(or ensure LOOT is integrated into MO2). - Run LOOT. While LOOT is primarily for Bethesda games, it can sometimes help identify basic conflicts or suggest minor adjustments. However, for GAMMA, the installer’s load order is paramount. Do not make significant changes based solely on LOOT’s suggestions without consulting GAMMA’s documentation.
- The GAMMA Discord server will have specific instructions on any manual load order adjustments that might be necessary.
- Go to
- Configure GAMMA Settings: GAMMA introduces its own set of configuration files and tools. You’ll usually find these within the Anomaly game folder, often in a
GAMMAsubfolder, or they might be accessible through the Anomaly launcher once launched via MO2. These settings allow you to fine-tune aspects like AI behavior, economy, and graphics. - Run GAMMA through MO2: To launch STALKER GAMMA, you must always start Mod Organizer 2 and then launch the Anomaly executable (
AnomalyLauncher.exeorxrengine.exe) from within MO2. This ensures that all the virtualized mods are loaded correctly by the game.
Troubleshooting Common Installation Issues
Even with the best guides, modding can sometimes throw curveballs. Here are some common issues and how to address them.
1. “Missing DLL” or “Executable Not Found” Errors
- Cause: This often stems from incorrect paths set in Mod Organizer 2 or a corrupted Anomaly installation.
- Solution:
- Double-check that your Anomaly installation path and MO2 instance path are correctly set within MO2.
- Verify that
AnomalyLauncher.exe(or the relevant executable) is present in your Anomaly root directory. - If using a fresh Anomaly install, try re-downloading and re-extracting Anomaly.
- Ensure you are launching Anomaly through Mod Organizer 2.
2. Crashes on Startup or During Gameplay
- Cause: This is the most common issue and can be due to mod conflicts, incorrect load order, or missing dependencies.
- Solution:
- Consult GAMMA Documentation: The STALKER GAMMA Discord server is your best resource. Read the FAQs and installation guides meticulously. There might be specific patch requirements or known issues.
- Check Load Order: While GAMMA’s installer usually handles this, a conflict might still arise. Compare your load order in MO2 to known working load orders shared by the community.
- Disable Mods Systematically: If you suspect a specific mod is causing issues, you can try disabling mods in groups within MO2 to isolate the culprit.
- Verify System Requirements: Ensure your PC meets the recommended specifications for GAMMA, as it’s a demanding modpack.
- Fresh Install: In severe cases, a complete uninstall of Anomaly and GAMMA, followed by a fresh installation, might be necessary.
3. Performance Issues and Low FPS
- Cause: GAMMA is visually intensive. High-resolution textures, complex lighting, and numerous AI entities can strain your system.
- Solution:
- Adjust Graphics Settings: Within the GAMMA configuration tools or Anomaly’s in-game options, lower settings like draw distance, texture quality, shadow detail, and volumetric effects.
- Use Performance-Oriented Mods: GAMMA often has optional downloads for performance-optimized textures or shaders. Check the official download sources for these.
- Overclocking (with caution): If you’re comfortable, consider mild CPU or GPU overclocking.
- Close Background Applications: Ensure no unnecessary programs are running while you play.
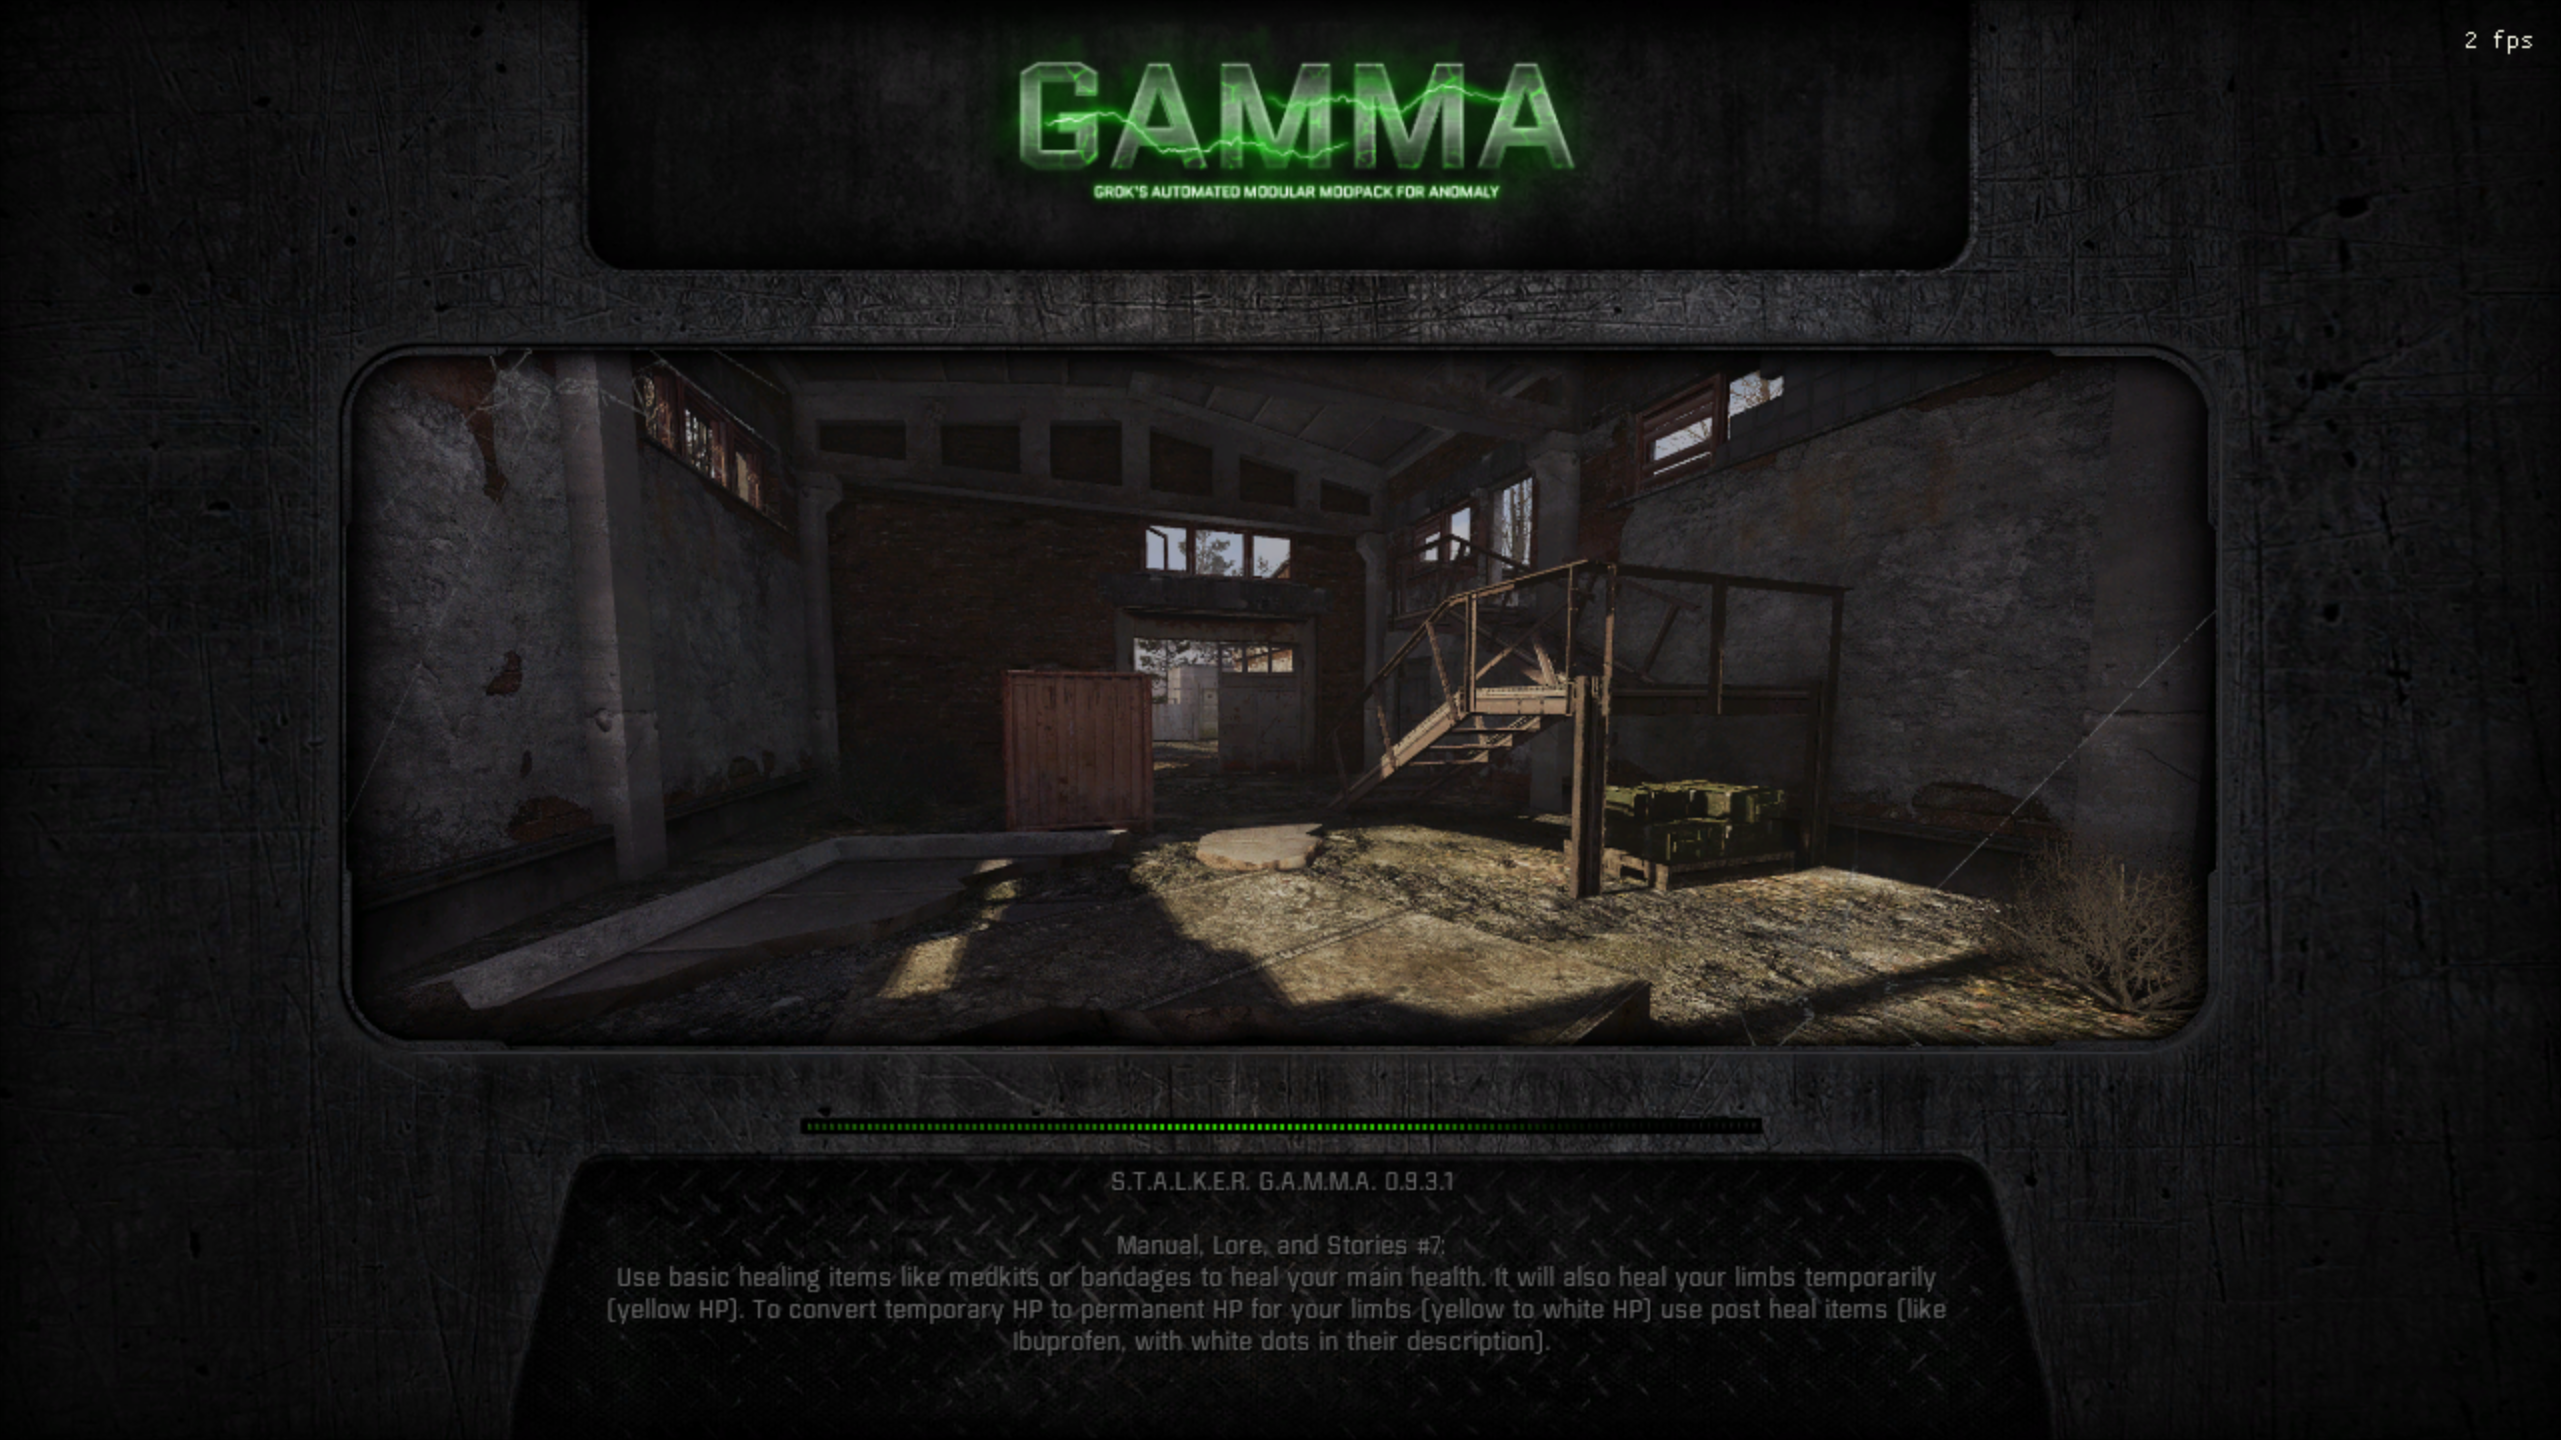
Beyond Installation: Maintaining Your GAMMA Experience
Successfully installing STALKER GAMMA is only the first step. To ensure a long and enjoyable experience, consider these ongoing practices:
- Regularly Check for Updates: The GAMMA modpack is a living project, with developers and the community constantly working on improvements, bug fixes, and new content. Join the Discord server and keep an eye out for update announcements. Applying updates correctly through Mod Organizer 2 is crucial.
- Backup Your Saves: STALKER GAMMA is known for its brutal difficulty, and game-breaking bugs can sometimes occur. Regularly back up your save files. These are typically located within your Anomaly installation folder or a dedicated user profile folder.
- Engage with the Community: The STALKER GAMMA community is incredibly active and helpful. If you encounter problems or have questions, don’t hesitate to ask on their Discord server. You’ll often find solutions to issues you might not even be aware of yet.
Installing STALKER GAMMA is a rewarding endeavor that unlocks one of the deepest and most challenging survival experiences available on PC. By following this guide meticulously, prioritizing the use of Mod Organizer 2, and leaning on the resources of the dedicated GAMMA community, you’ll be well-equipped to survive the harsh realities of the Zone. Embrace the challenge, manage your resources wisely, and forge your path through the irradiated wasteland. Good luck, Stalker.
aViewFromTheCave is a participant in the Amazon Services LLC Associates Program, an affiliate advertising program designed to provide a means for sites to earn advertising fees by advertising and linking to Amazon.com. Amazon, the Amazon logo, AmazonSupply, and the AmazonSupply logo are trademarks of Amazon.com, Inc. or its affiliates. As an Amazon Associate we earn affiliate commissions from qualifying purchases.