In the dynamic world of technology, software development is a collaborative and iterative process. At its heart lies the concept of managing project dependencies – the external libraries and packages your code relies on to function correctly. For Python projects, the requirements.txt file serves as the cornerstone for this dependency management. It’s a simple, yet incredibly powerful, tool that ensures reproducibility and simplifies the onboarding process for new developers.
This article will delve deep into the world of requirements.txt, exploring what it is, why it’s crucial, and most importantly, how to effectively install and manage the dependencies it lists. Whether you’re a budding programmer embarking on your first Python project or an experienced developer seeking to streamline your workflow, understanding requirements.txt is a fundamental skill that will boost your productivity and enhance your collaborative efforts.

The Power of requirements.txt: Defining Your Project’s DNA
Before we dive into the practicalities of installation, it’s essential to grasp the significance of requirements.txt. Imagine building a complex structure without a detailed blueprint. You might have all the individual bricks and materials, but without a plan, assembling it correctly becomes a monumental, if not impossible, task. requirements.txt acts as that blueprint for your Python project.
What Exactly is a requirements.txt File?
At its core, requirements.txt is a plain text file that lists all the Python packages (also known as libraries or modules) that your project needs to run. Each line in the file typically specifies a package name, and often, a specific version number.
For instance, a simple requirements.txt file might look like this:
numpy==1.23.0
pandas>=1.4.0,<2.0.0
requests~=2.28.1
flask
Let’s break down the version specifiers:
==(Exactly):numpy==1.23.0means your project requires precisely version 1.23.0 of the NumPy library. This offers the highest level of reproducibility.>=and<(Range):pandas>=1.4.0,<2.0.0indicates that any version of Pandas from 1.4.0 up to, but not including, 2.0.0 is acceptable. This provides some flexibility while still maintaining a degree of control.~=(Compatible Release):requests~=2.28.1is a shorthand for compatible releases. It generally means that the version should be at least 2.28.1 but less than 3.0.0. It’s designed to allow for bug fixes within the minor version without breaking compatibility.- No version specified:
flaskimplies that any version of the Flask library will suffice. While this is the simplest approach, it can lead to potential compatibility issues if newer versions introduce breaking changes.
Why is requirements.txt Indispensable?
The importance of requirements.txt cannot be overstated, particularly within the tech community and for anyone involved in software development:
- Reproducibility: This is perhaps the most critical benefit. When you share your project with others, or when you need to deploy it on a different server,
requirements.txtensures that everyone is using the exact same set of libraries and versions. This eliminates the dreaded “it works on my machine” problem. - Collaboration: In team environments,
requirements.txtmakes onboarding new developers seamless. They can clone the repository, install the dependencies with a single command, and immediately start working without the tedious process of manually identifying and installing each required package. - Version Control: By including version numbers, you can track changes to your project’s dependencies over time. This is invaluable for debugging and for understanding how updates to libraries might have affected your project’s behavior.
- Deployment: Cloud platforms and deployment tools heavily rely on
requirements.txtto set up the correct environment for your application. It’s a standard that simplifies the deployment pipeline. - Dependency Auditing and Security: Understanding your project’s dependencies is crucial for security.
requirements.txtprovides a clear list of what you’re using, allowing you to audit for vulnerabilities or outdated packages.
Installing requirements.txt: The Practical Steps
Now that we understand why requirements.txt is so important, let’s get to the practical part: how to install the dependencies it lists. This process is primarily handled by pip, the de facto package installer for Python.
Prerequisites: Ensuring Python and Pip are Ready
Before you can install anything, you need to make sure you have Python and pip installed on your system.
-
Check for Python: Open your terminal or command prompt and type:
python --version
# or
python3 --version
If you see a version number (e.g., Python 3.9.7), you have Python installed. If not, you’ll need to download and install it from the official Python website (python.org).
-
Check for Pip:
pipis usually bundled with modern Python installations. Check for its presence by typing:
bash

pip --version

# or

pip3 --version
Ifpipisn’t found, you might need to install it separately, or ensure your Python installation included it. You can often install or upgradepipusing the following commands (run these with administrator privileges if necessary):
bash

python -m ensurepip --upgrade

# or

python3 -m ensurepip --upgrade
Creating and Using Virtual Environments: The Golden Rule
While you can install packages globally, it’s highly recommended and considered best practice to use virtual environments. A virtual environment creates an isolated Python installation for your project, meaning that packages installed within it won’t interfere with other projects or your system’s global Python installation. This is crucial for avoiding dependency conflicts.
Creating a Virtual Environment
Python 3.3 and later come with the venv module built-in. Here’s how to use it:
-
Navigate to your project directory: Open your terminal and use the
cdcommand to go to your project’s root folder.cd /path/to/your/project -
Create the virtual environment:
bash

python -m venv venv

# or

python3 -m venv venv
This command creates a directory namedvenv(you can choose a different name if you prefer) within your project folder. This directory will contain a copy of the Python interpreter and a place to install project-specific packages.
Activating the Virtual Environment
Once created, you need to activate the virtual environment to use it. The activation command differs slightly depending on your operating system:
- On Windows (Command Prompt):
bash

venvScriptsactivate.bat
- On Windows (PowerShell):
powershell

venvScriptsActivate.ps1
(You might need to adjust your execution policy in PowerShell for this to work:Set-ExecutionPolicy RemoteSigned -Scope CurrentUser) - On macOS and Linux (Bash/Zsh):
bash

source venv/bin/activate
After activation, you’ll notice that your terminal prompt changes to indicate that the virtual environment is active, usually by prepending (venv) to the prompt.
Installing Dependencies from requirements.txt
With your virtual environment activated, you’re ready to install your project’s dependencies.
-
Locate your
requirements.txtfile: Ensure that therequirements.txtfile is in your current directory (or specify its path). -
Run the
pip installcommand:pip install -r requirements.txtpip install: This is the command to install packages.-r(or--requirement): This flag tellspipto install packages from a specified requirements file.requirements.txt: This is the name of the file containing the list of packages to install.
pip will now read the requirements.txt file, download each specified package (and any of their dependencies) from the Python Package Index (PyPI), and install them into your active virtual environment. You’ll see output in your terminal indicating the progress of the installation.
Troubleshooting Common Installation Issues
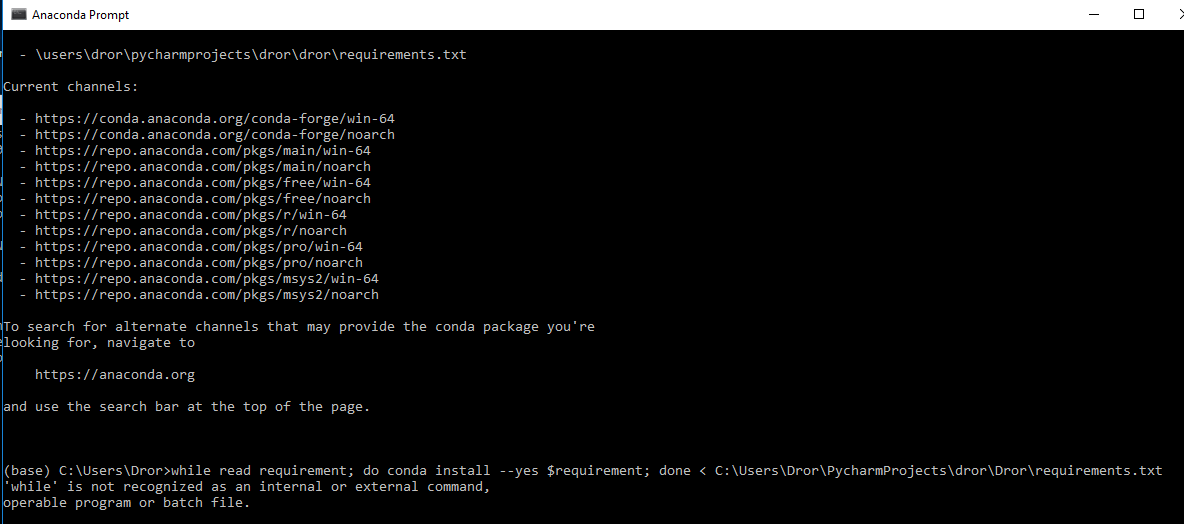
pipnot found: As mentioned earlier, ensure Python andpipare installed and accessible in your PATH. If using a virtual environment, make sure it’s activated.- “Could not find a version that satisfies the requirement…”: This usually means that the specified version of the package is no longer available, or there’s a typo in the package name or version number. Check the package’s documentation on PyPI.
- Permission errors: If you encounter permission errors, especially when not using a virtual environment, it might be because you’re trying to install packages into a system-wide Python installation without sufficient privileges. Using virtual environments significantly reduces the likelihood of this.
- Build errors (especially for packages with C extensions): Some packages require compilation during installation. This can fail if you’re missing development headers or tools. The error messages usually provide clues about what’s missing (e.g., “Microsoft Visual C++ 14.0 or greater is required” on Windows, or specific development libraries on Linux). You might need to install development tools or libraries specific to your operating system.
Generating and Managing Your requirements.txt File
Creating and maintaining an accurate requirements.txt file is as important as installing from it.
Generating requirements.txt from Your Current Environment
If you’ve been developing your project and installing packages directly, you can generate a requirements.txt file to capture the current state of your environment.
- Activate your virtual environment.
- Run the following command:
bash

pip freeze > requirements.txt
pip freeze: This command outputs a list of all installed packages in the current environment, formatted in a way thatpip install -rcan understand.>: This is a shell redirection operator that sends the output of the command to a file.requirements.txt: The name of the file to which the output will be written.
This command will create or overwrite your requirements.txt file with all the packages and their exact versions currently installed in your active virtual environment.
Best Practices for requirements.txt Management
- Keep it updated: Whenever you add, remove, or update a package in your project, remember to regenerate your
requirements.txtfile usingpip freeze > requirements.txt. - Use version pinning: While sometimes it’s acceptable to have a broader range (e.g.,
pandas>=1.4.0,<2.0.0), for critical projects and for ensuring maximum reproducibility, pin your versions to exact numbers (e.g.,pandas==1.4.4). This prevents unexpected breaks due to future library updates. - Be specific with ranges: If you need flexibility, use compatible release specifiers (
~=) or clear ranges (>=,<). Avoid specifying no version unless absolutely necessary. - Consider tools like
pip-tools: For more advanced dependency management, consider tools likepip-tools. It allows you to separate development dependencies from production dependencies and offers more sophisticated ways to manage and compile your requirements. - Regularly audit your dependencies: Periodically review your
requirements.txtfile. Are all these packages still necessary? Are there any security vulnerabilities associated with the versions you’re using?
Beyond requirements.txt: Expanding Your Dependency Management Toolkit
While requirements.txt is the standard for Python projects, the tech landscape is always evolving, and there are other tools and approaches that can complement or even replace it depending on your project’s complexity and needs.
Poetry and Pipenv: Modern Alternatives
For larger or more complex projects, tools like Poetry and Pipenv offer more integrated solutions for dependency management and packaging.
- Poetry: Uses a
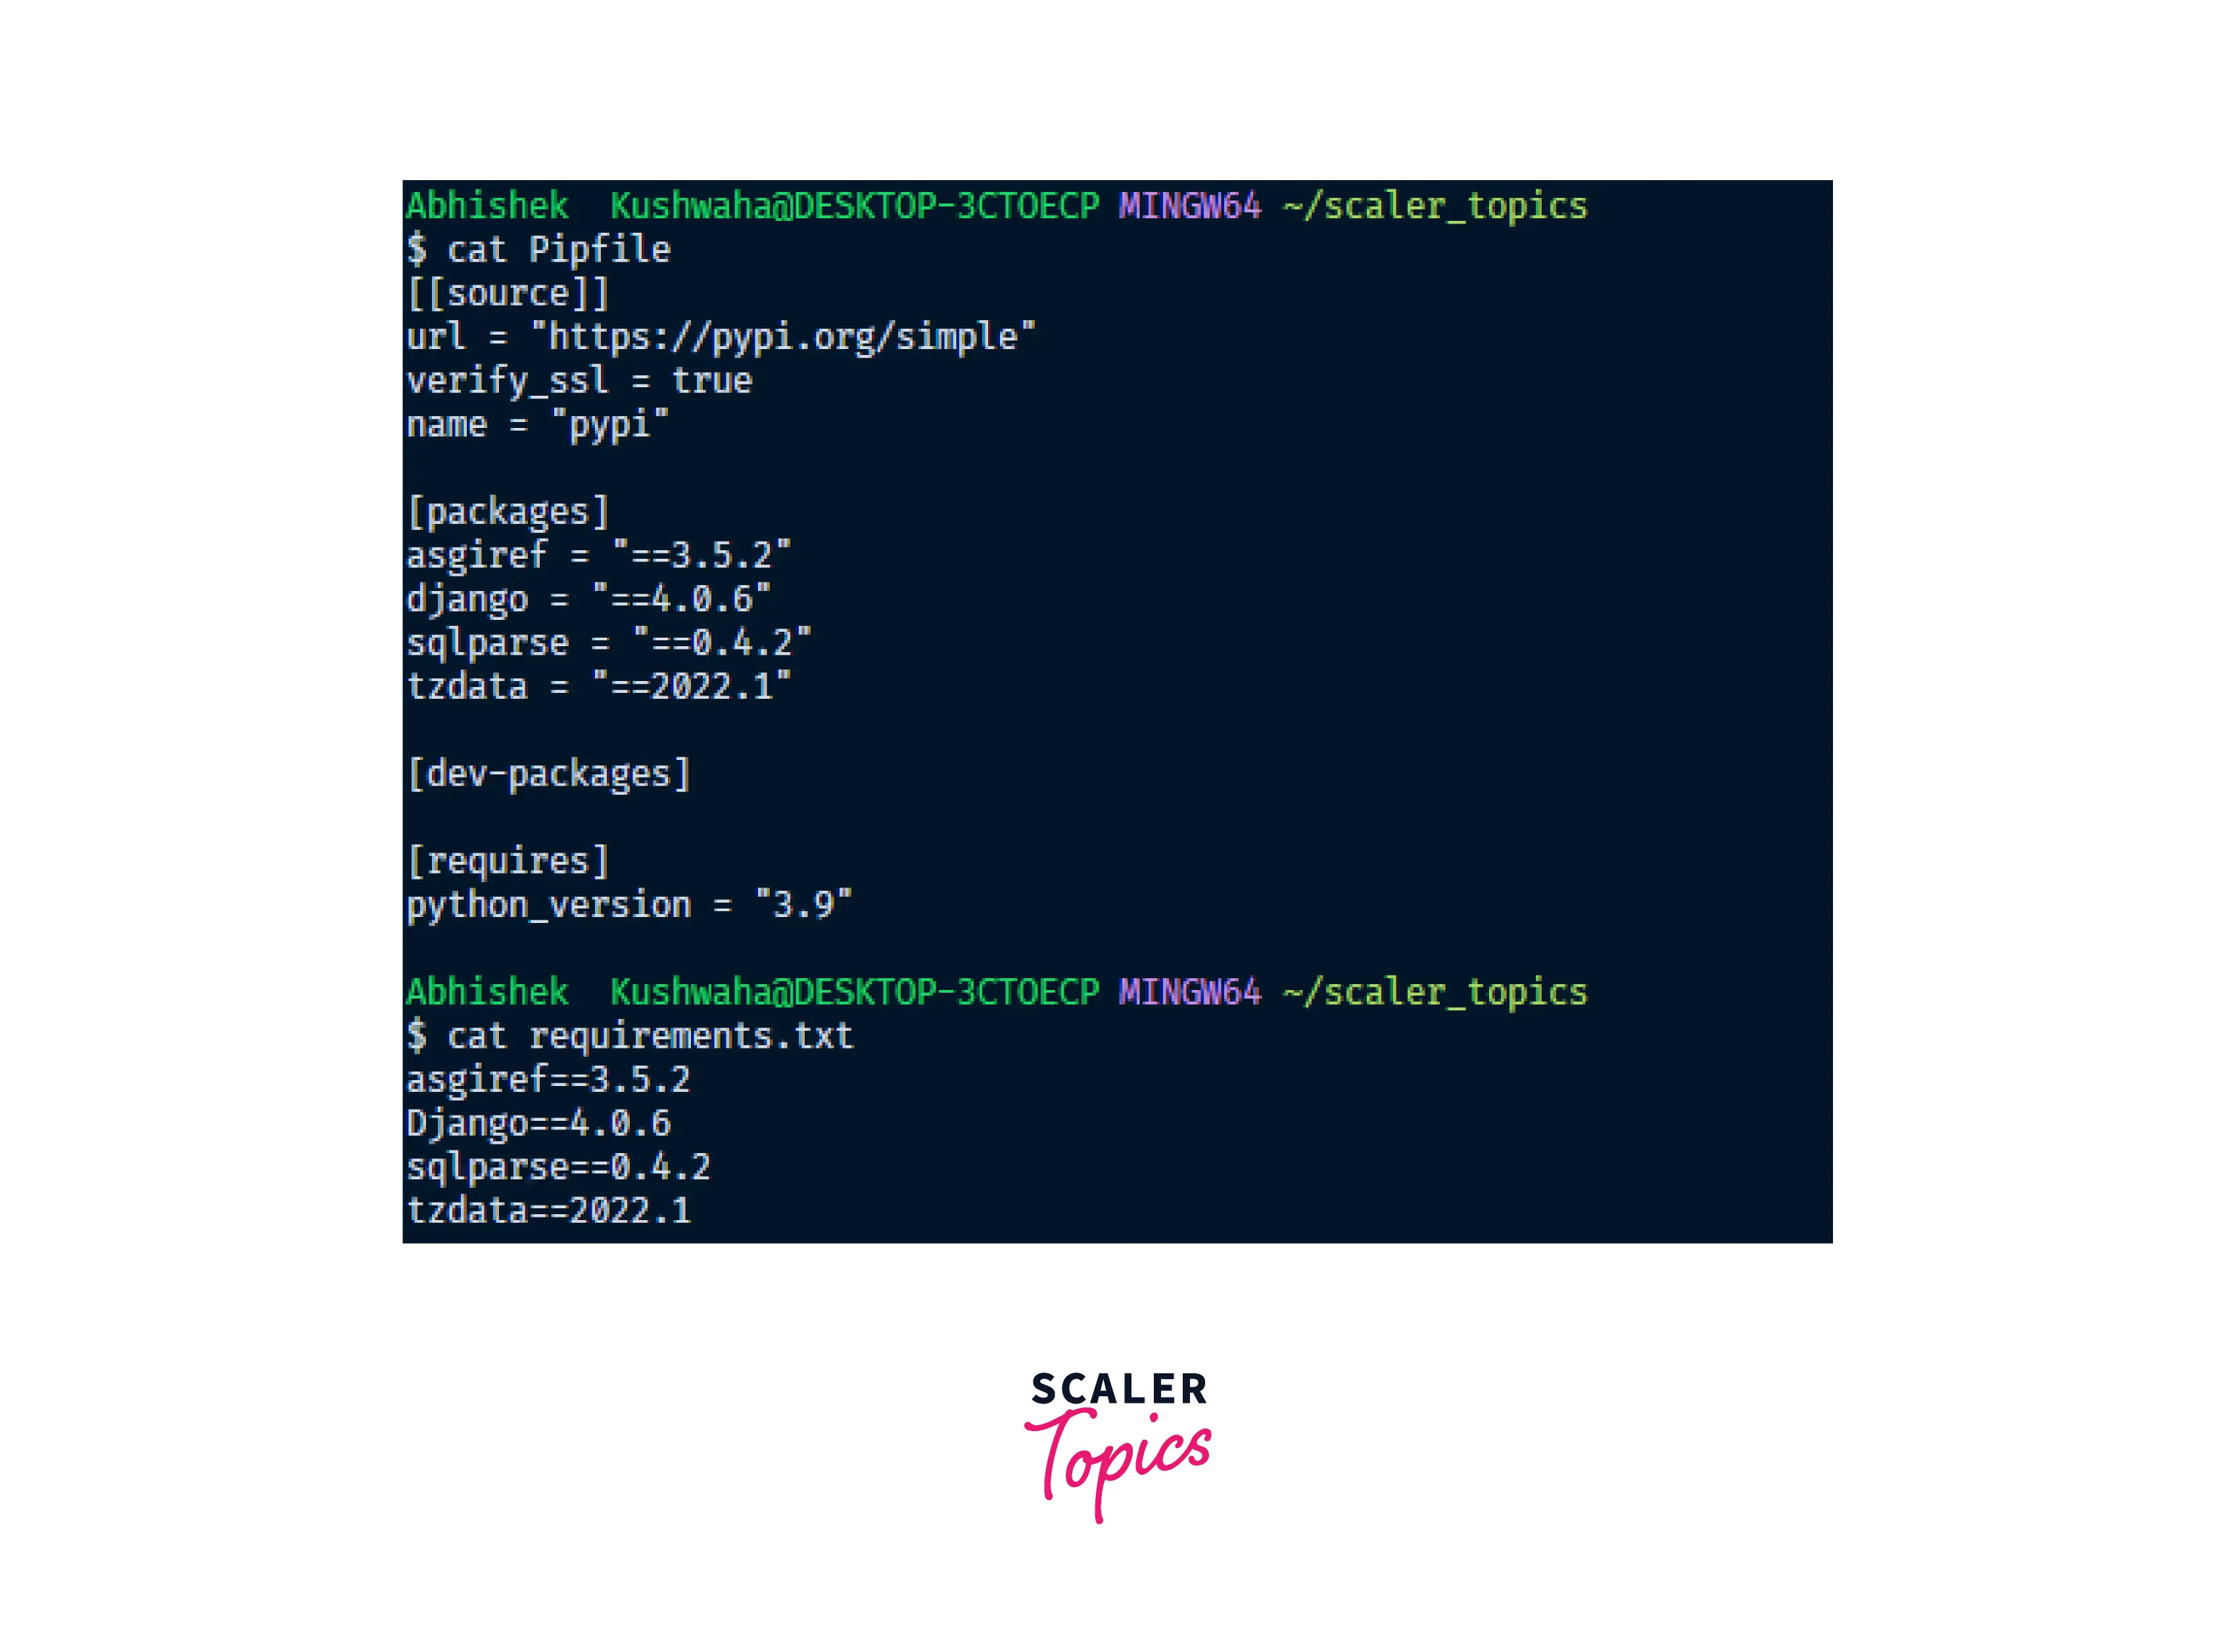
pyproject.tomlfile to manage dependencies, package metadata, and build configurations. It has a robust dependency resolver and aims to simplify the entire workflow from dependency management to building and publishing packages. - Pipenv: Aims to bring the best of all packaging worlds (bundling Pipfile, Pipfile.lock, virtualenv management, etc.) into one tool. It uses
PipfileandPipfile.lockto manage dependencies.
These tools often handle virtual environment creation and activation automatically, providing a more streamlined experience. However, requirements.txt remains incredibly prevalent due to its simplicity and widespread adoption.
Integrating with CI/CD and Deployment Pipelines
Understanding how to install requirements.txt is also vital for Continuous Integration and Continuous Deployment (CI/CD) pipelines. Tools like Jenkins, GitHub Actions, GitLab CI, and CircleCI all have mechanisms to automatically install dependencies from requirements.txt as part of your build or deployment process. This ensures that your application is always built and deployed with the correct environment.
For example, a GitHub Actions workflow might include a step like:
- name: Set up Python
  uses: actions/setup-python@v2
  with:
    python-version: '3.x' # specify your Python version

- name: Install dependencies
  run: |
    python -m pip install --upgrade pip
    pip install -r requirements.txt
This automates the crucial step of setting up the correct dependencies for your application in a CI/CD environment.
Conclusion: Mastering Dependency Management for Robust Software
The humble requirements.txt file is a foundational element for any Python developer. By understanding its purpose, learning how to install dependencies from it, and adopting best practices for its management, you unlock a world of reproducible, collaborative, and robust software development.
Whether you’re building a small script, a web application, or contributing to a large open-source project, mastering requirements.txt is an investment that will pay dividends in efficiency, reliability, and a smoother development experience. Embrace this essential tool, and you’ll be well on your way to building better software, faster.