
In the rapidly evolving world of personal computing, the performance of a laptop often determines the ceiling of a user’s productivity. Whether you are a creative professional rendering high-resolution video, a developer running multiple virtual machines, or a power user with dozens of browser tabs open, the fluidity of your system depends heavily on Random Access Memory (RAM). Unlike the processor or the graphics card, which are often soldered and non-upgradeable in modern laptops, RAM remains one of the few components that users can frequently upgrade to breathe new life into an aging machine.

Learning how to install RAM in a laptop is a fundamental skill for any tech enthusiast. It not only saves the cost of purchasing a new device but also provides a deeper understanding of the hardware that powers our digital lives. This guide provides a comprehensive, professional walkthrough of the process, from technical compatibility checks to the physical installation and post-upgrade optimization.
1. Pre-Installation: Compatibility and Technical Specifications
Before touching a screwdriver, the most critical step is ensuring you have the correct hardware. Installing incompatible RAM can lead to system instability or, in some cases, a failure to boot. Memory technology has moved through several generations, and laptops are specific about what they can support.
Understanding DDR Generations and Form Factors
Laptops almost exclusively use SODIMM (Small Outline Dual In-Line Memory Module) sticks, which are significantly smaller than the DIMM sticks found in desktop towers. Within this form factor, you must identify the correct DDR (Double Data Rate) generation. Most modern laptops use DDR4 or the newer, faster DDR5. These generations are not cross-compatible; a DDR5 slot has a different pin configuration and notch placement than a DDR4 slot.
Determining Maximum Capacity and Speed
Every motherboard has a ceiling for the maximum amount of RAM it can address. For instance, an entry-level laptop might be capped at 16GB, while a workstation might support up to 64GB or even 128GB. You should consult your manufacturer’s manual or use digital tools like the Crucial System Scanner or CPU-Z to identify:
- The number of available slots: Some laptops have two slots, while others have one soldered stick and one open slot.
- Frequency (MHz): While you can often install faster RAM than your system supports (it will simply down-clock), it is most efficient to match the speed of the existing module or the maximum supported speed of the processor.
- Voltage: Low-voltage RAM (denoted as DDR3L, for example) is common in older ultrabooks. Ensuring the voltage matches is vital for system stability.
The Benefit of Dual-Channel Architecture
When planning your upgrade, consider the benefits of “Dual-Channel” memory. If your laptop has two slots, installing two identical sticks (e.g., two 8GB sticks instead of one 16GB stick) allows the memory controller to communicate with both modules simultaneously. This effectively doubles the data transfer bandwidth, providing a noticeable performance uplift in integrated graphics tasks and heavy multitasking.
2. Preparing Your Workspace and Ensuring Safety
Hardware upgrades require a clean, controlled environment. Static electricity is the silent killer of sensitive electronic components, and taking the proper precautions is non-negotiable.
Creating an Anti-Static Environment
Electrostatic Discharge (ESD) can fry a memory chip without you even feeling a spark. To minimize risk:
- Work on a hard, flat surface rather than a carpeted floor.
- Use an anti-static wrist strap connected to a grounded metal object.
- If a strap is unavailable, frequently touch a grounded metal surface to discharge any built-up static from your body.
- Handle the RAM modules only by their edges, avoiding the gold contact pins and the black memory chips on the board.
Necessary Tools and Equipment
Fortunately, laptop upgrades require minimal tooling. You will generally need:
- A Phillips #0 or #00 screwdriver: Most laptop chassis screws are small and easily stripped if the wrong bit is used.
- A plastic prying tool (spudger): To safely separate the bottom casing without scratching the finish or breaking plastic clips.
- A small container: To hold the screws, which are often of varying lengths and must return to their original holes.
3. The Physical Installation Process
Once you have the correct RAM and a safe workspace, you can proceed to the physical installation. This process requires patience and a gentle touch.
Accessing the Motherboard
Begin by completely shutting down the laptop—do not simply put it into “Sleep” or “Hibernate” mode. Unplug the power adapter and any peripherals. Flip the laptop over and remove the screws securing the bottom panel.
Pro Tip: Some laptops have a dedicated “service hatch” for RAM and storage, making access much easier. If your laptop is a “unibody” design, you will likely need to remove the entire bottom plate. Once the screws are out, use the plastic spudger to gently pop the clips around the perimeter of the casing.
Disconnecting the Battery
This is the most overlooked yet vital step. Even when powered off, a motherboard often carries a small residual current. Locating the battery connector and gently unplugging it ensures that there is no risk of a short circuit if a screw or tool falls onto the board during the RAM installation.
Inserting the New RAM Module
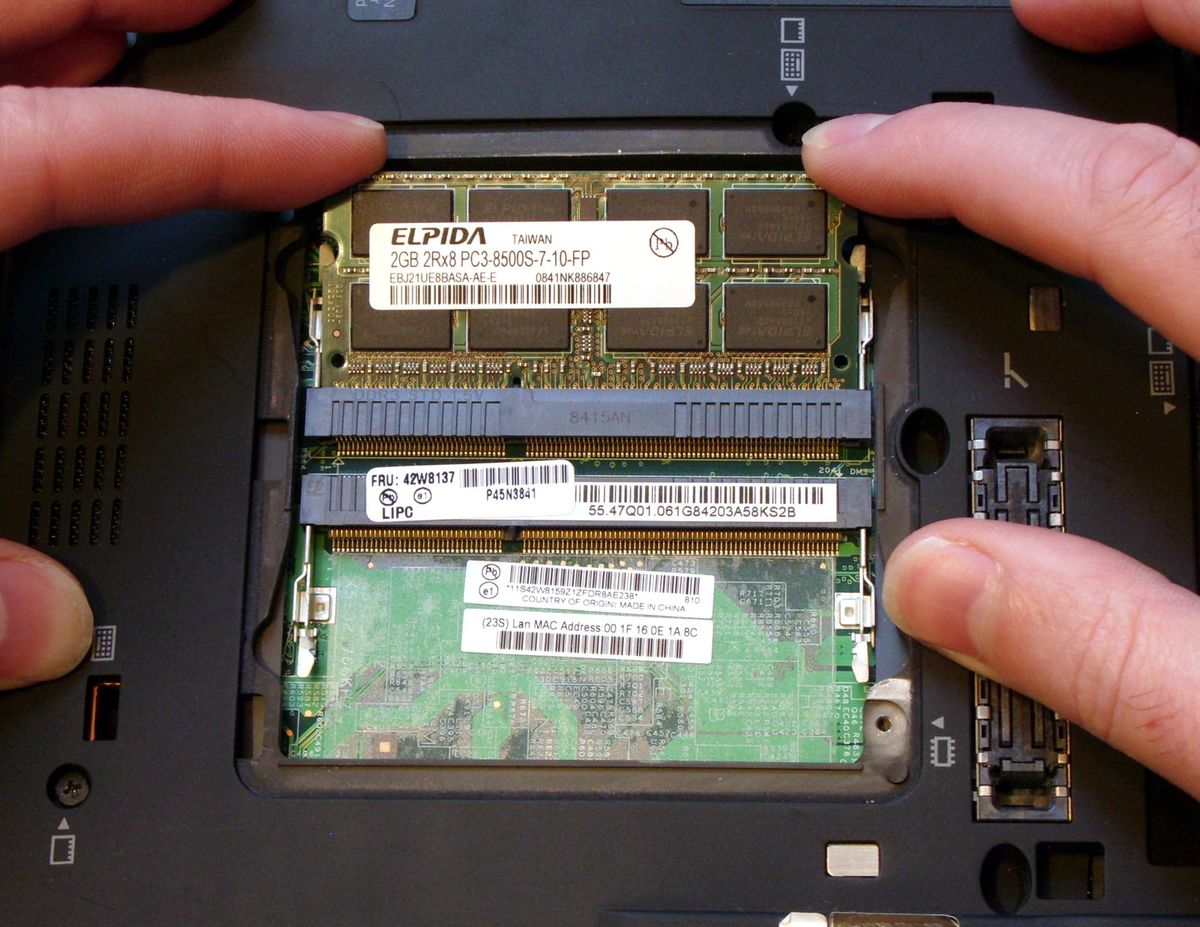
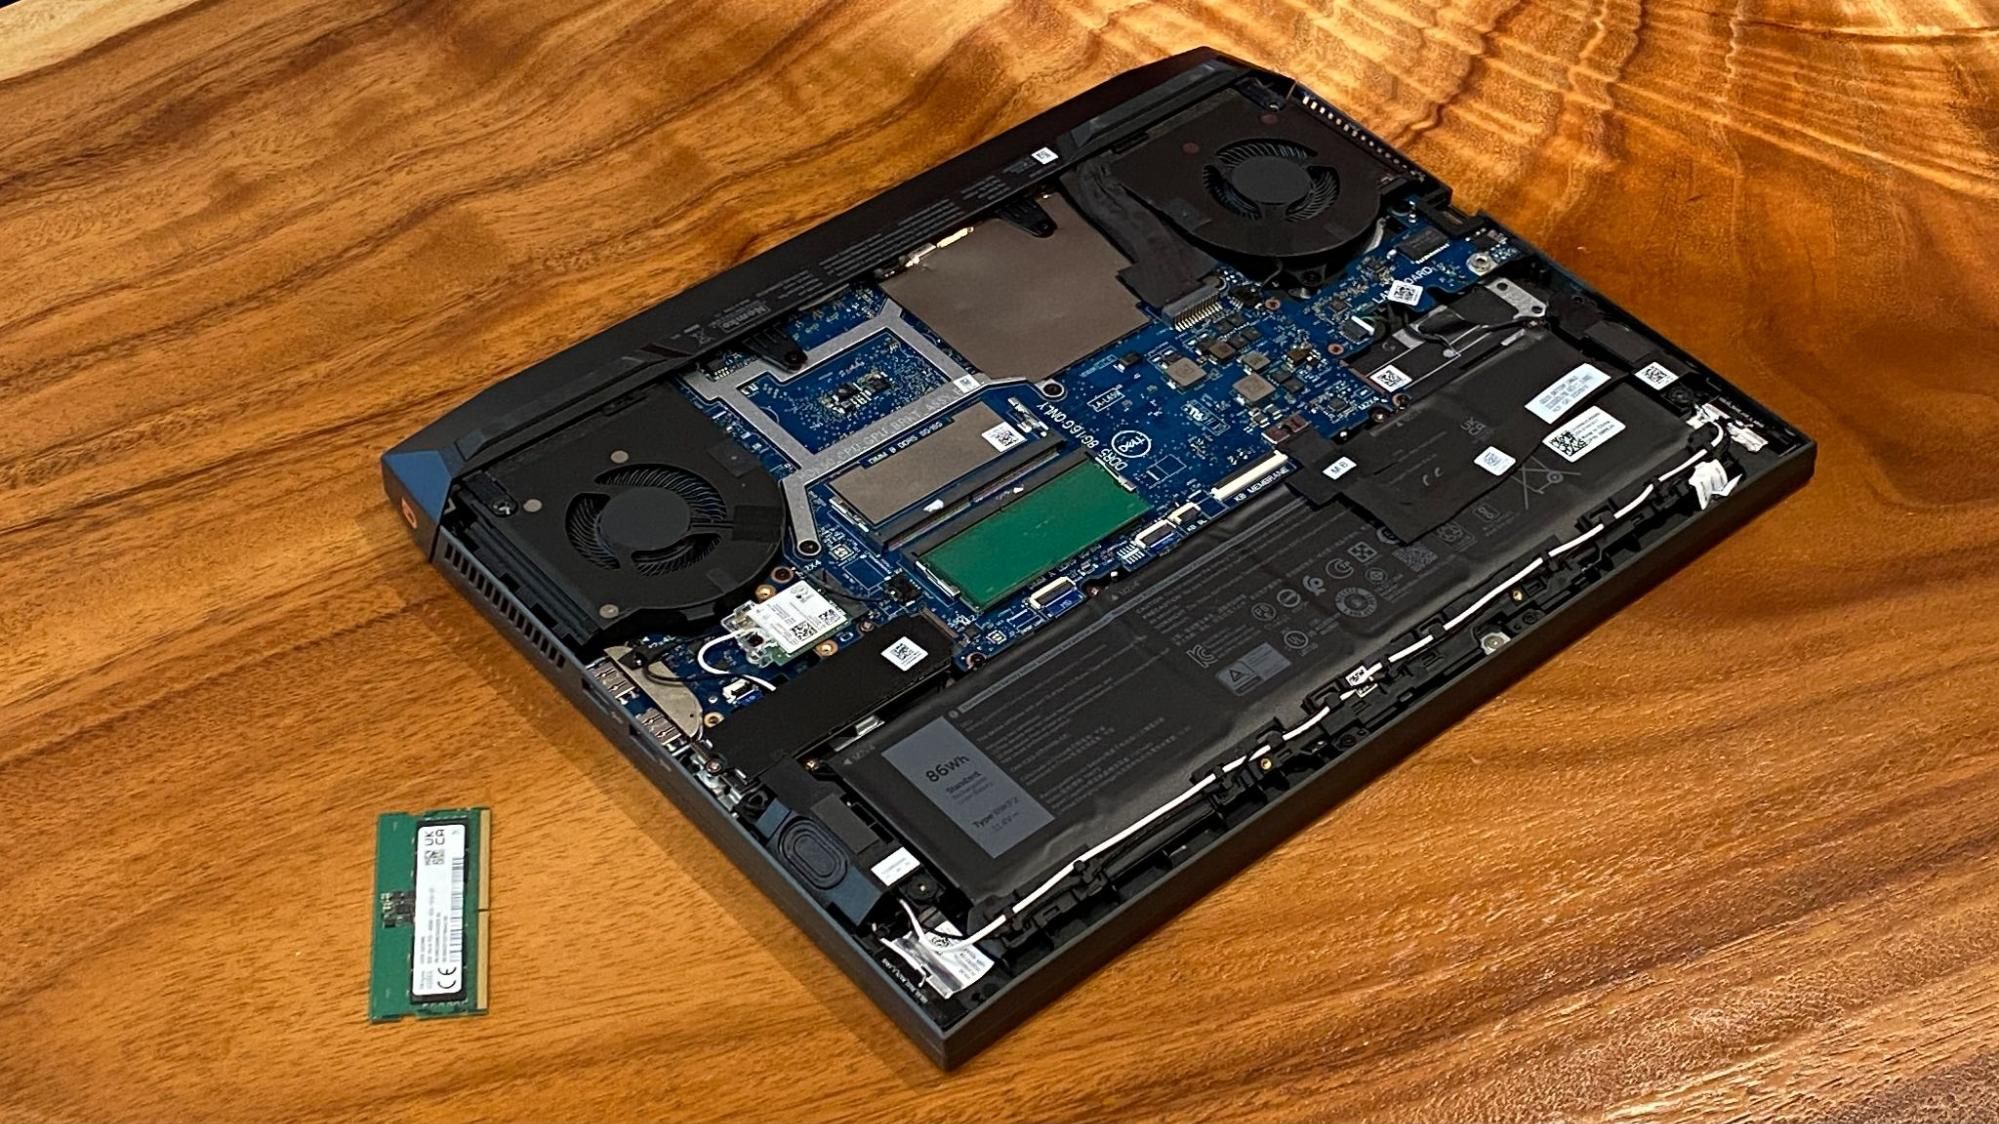
If you are replacing an old module, press the two small metal clips on either side of the RAM slot outward. The RAM stick will pop up at a 30-degree to 45-degree angle. Gently pull it out.
To install the new RAM:
- Align the Notch: Look at the gap in the gold contacts of the RAM stick and align it with the ridge in the laptop’s memory slot. It only fits one way.
- Insert at an Angle: Slide the RAM into the slot at a 45-degree angle until the gold pins are almost entirely hidden.
- Press Down: Once seated, gently press the top edge of the RAM stick down toward the motherboard until the side clips click into place. You should not have to force it; if it doesn’t click easily, re-check the alignment.
4. Verification and Software Optimization
After the hardware is physically installed, the job is not yet complete. You must verify that the system recognizes the new hardware and that it is functioning at its intended speeds.
The First Boot
Reconnect the battery and loosely replace the bottom cover (you may want to wait to tighten all screws until you confirm the boot). When you press the power button, the first boot might take slightly longer than usual. This is known as “memory training,” where the BIOS/UEFI detects and configures the new hardware parameters.
Checking the BIOS/UEFI
If the laptop fails to boot or gives a series of beeps, the RAM may not be seated correctly. If it does boot, you can enter the BIOS (usually by tapping F2, F10, or Del during startup) to see the total memory reported by the motherboard. Ensure the capacity reflects your upgrade.
Verification in Windows or macOS
Once you are back on the desktop, use the following steps to confirm the upgrade:
- Windows: Right-click the Taskbar and select “Task Manager.” Navigate to the “Performance” tab and click “Memory.” Here, you will see the total RAM, the speed (MHz), and how many slots are being used.
- macOS (for older, upgradeable MacBooks): Click the Apple menu, select “About This Mac,” and click the “Memory” tab.
Stress Testing for Stability
To ensure the new RAM isn’t faulty, it is wise to run a stress test. Tools like MemTest86 allow you to run an exhaustive series of tests on your memory modules. If the test passes without errors, your system is stable. For a quicker check, the built-in “Windows Memory Diagnostic” tool is a reliable alternative.
5. Troubleshooting Common Issues
Despite following all steps, you may encounter hurdles. Tech troubleshooting is a process of elimination.
Laptop Fails to Power On
If the screen remains black and the fans spin at maximum speed, the RAM is likely not fully seated. Open the laptop again, remove the RAM, and re-insert it firmly. Ensure the clips have clicked into the side notches of the module.
System Reports “Hardware Reserved” Memory
If you installed 16GB but Windows says only 8GB is usable, you may be running a 32-bit operating system, which is capped at 4GB. However, in most modern 64-bit systems, this usually indicates that one of the sticks is not being fully recognized by the BIOS, or the sticks are mismatched in a way the motherboard cannot reconcile.
Blue Screen of Death (BSOD)
Frequent crashes after a RAM upgrade usually point to a timing mismatch or a defective module. If this happens, try using only the new stick by itself to see if the crashes persist. If they do, the RAM may be “Dead on Arrival” (DOA) and should be exchanged under warranty.
Conclusion: The Impact of a Successful Upgrade
Installing RAM is one of the most cost-effective ways to extend the life of a laptop. By moving from 8GB to 16GB or 32GB, you eliminate the “bottleneck” that occurs when your computer is forced to use the much slower SSD or Hard Drive as “Virtual Memory.”
In the modern tech landscape, where software demands grow every year, a RAM upgrade is more than just a tutorial—it is an act of digital sustainability. It allows users to maintain high-performance standards without contributing to electronic waste. With the right tools, a bit of patience, and the technical knowledge outlined above, anyone can transform their laptop into a more capable, efficient machine.
aViewFromTheCave is a participant in the Amazon Services LLC Associates Program, an affiliate advertising program designed to provide a means for sites to earn advertising fees by advertising and linking to Amazon.com. Amazon, the Amazon logo, AmazonSupply, and the AmazonSupply logo are trademarks of Amazon.com, Inc. or its affiliates. As an Amazon Associate we earn affiliate commissions from qualifying purchases.