
In the rapidly evolving landscape of digital entertainment, streaming services have largely supplanted traditional cable television, offering unparalleled flexibility and a wealth of content. Among these, YouTube TV has emerged as a formidable contender, combining the familiarity of live TV channels with the convenience and innovation of modern streaming. A cornerstone feature that bridges the gap between old and new is its robust Cloud DVR (Digital Video Recorder) functionality. For many users, the ability to record their favorite shows, movies, and live events is not just a luxury, but a fundamental expectation, ensuring they never miss a moment, regardless of their schedule.
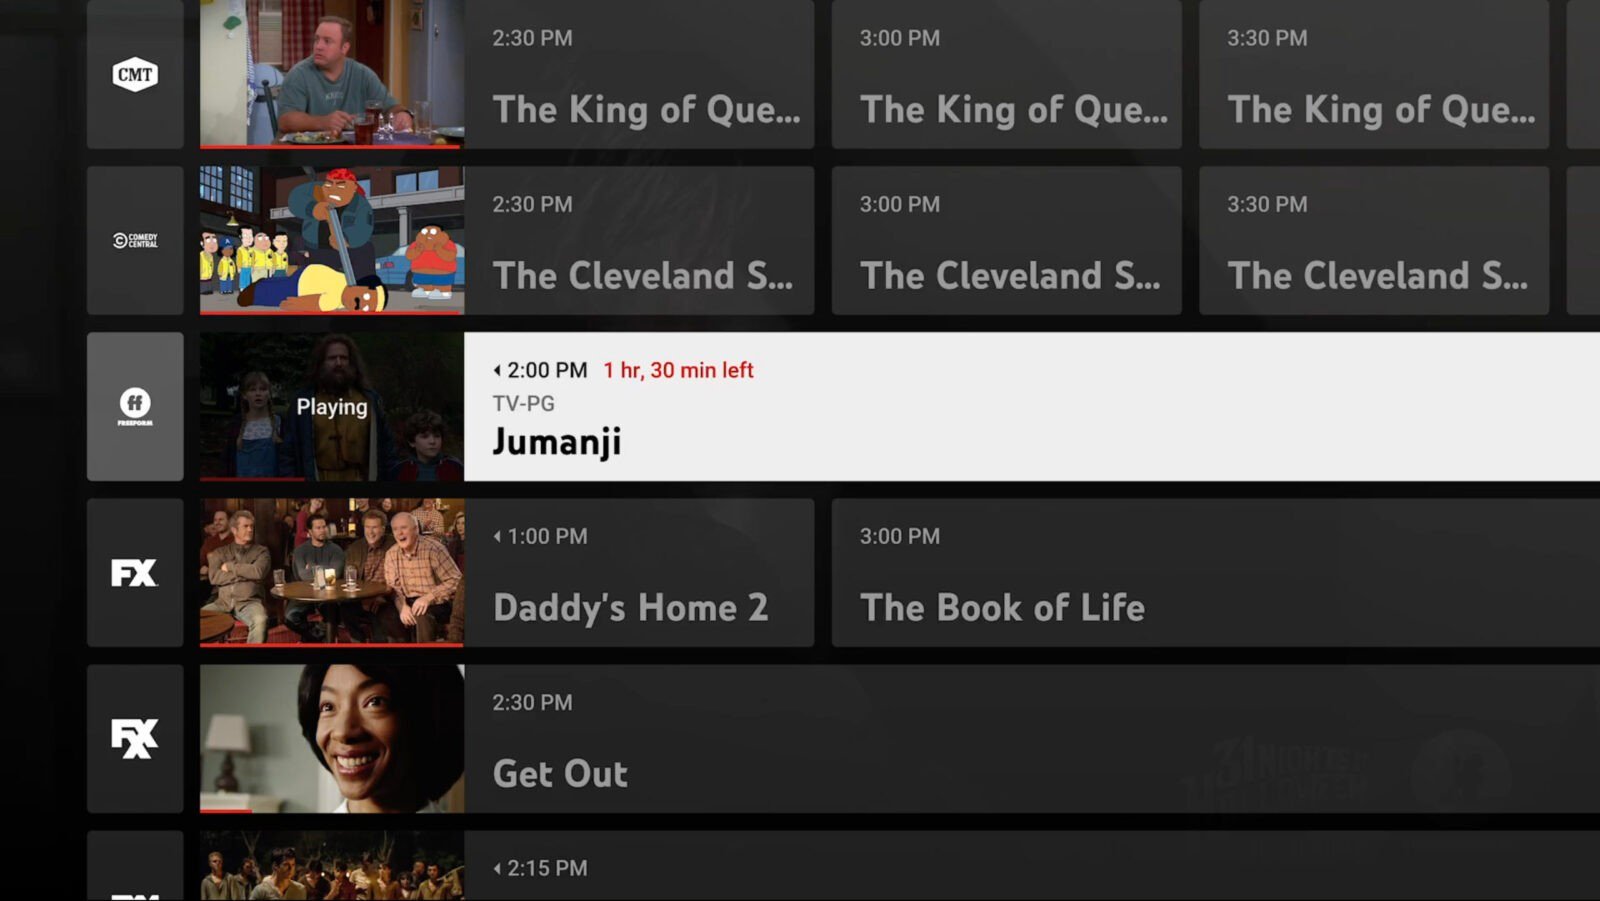
This comprehensive guide will delve deep into the mechanics of YouTube TV’s recording capabilities, offering a step-by-step walkthrough for users of all technical proficiencies. We’ll explore how to harness this powerful feature to its fullest, manage your burgeoning library, and optimize your viewing experience, all while appreciating the technological advancements that make such seamless content management possible. Whether you’re a long-time subscriber or new to the platform, understanding how to effectively record programs on YouTube TV is key to unlocking its full potential and transforming your entertainment consumption.
Understanding YouTube TV’s DVR Capabilities
At the heart of YouTube TV’s appeal for many lies its sophisticated Cloud DVR system. Unlike traditional DVRs that rely on physical storage devices within your home, a Cloud DVR stores your recordings on remote servers, accessible from any compatible device with an internet connection. This fundamental difference brings a host of advantages that align perfectly with the modern, mobile lifestyle.
The Cloud DVR Advantage
The transition from physical DVRs to cloud-based solutions represents a significant leap forward in media technology. The most immediate benefit is the elimination of storage limitations. Traditional DVRs are constrained by hard drive space; once it’s full, you have to delete existing recordings to make room for new ones. YouTube TV’s Cloud DVR, by contrast, offers unlimited storage space. This means you can record as many shows, movies, and sporting events as you wish without ever worrying about running out of room. This is particularly beneficial for avid viewers or households with diverse entertainment tastes, where multiple programs might be recording simultaneously or a vast library of favorites is accumulated over time.
Beyond infinite space, the cloud nature also ensures accessibility. Your recordings aren’t tied to a single device in your living room. You can start watching a recorded basketball game on your smart TV, pause it, and pick up exactly where you left off on your tablet during your commute, or on your phone while traveling. This multi-device access fosters a truly ubiquitous entertainment experience, making content available wherever and whenever you are. Furthermore, with a Cloud DVR, you don’t have to worry about hardware failures, system updates, or power outages affecting your stored content, as all maintenance and redundancy are handled by Google’s robust infrastructure.
Unlimited Storage with a Nuance: Expiration and Ad Skipping
While YouTube TV proudly advertises unlimited DVR storage, it’s important to understand a key detail: recordings are typically kept for a period of nine months. After this duration, they automatically expire and are removed from your library. This policy strikes a balance between offering vast storage and managing server resources, ensuring that your library remains current and relevant. For most users, nine months is more than sufficient to catch up on even the most extensive series or event coverage. This timeframe still allows for extensive binge-watching long after a season has concluded, making it highly flexible.
Another highly valued feature of YouTube TV’s DVR is its integrated ad-skipping capability. For the vast majority of recorded programs, YouTube TV allows you to fast-forward through commercials, significantly enhancing the viewing experience by streamlining content delivery. This feature, which is often a premium add-on or absent entirely on other platforms, is a standard benefit for YouTube TV DVR users, putting control firmly back in the hands of the viewer and respecting their time. It transforms the often-frustrating ad breaks into a simple, quick button press, allowing for uninterrupted storytelling.
Device Compatibility for Recording and Playback
The power of YouTube TV’s Cloud DVR is amplified by its broad device compatibility. To record a program, you simply need to access the YouTube TV interface, which is available on a wide array of platforms. This includes web browsers on computers, the YouTube TV app on smartphones and tablets (iOS and Android), smart TVs (Samsung, LG, Vizio, etc.), streaming media players (Roku, Apple TV, Amazon Fire TV, Chromecast with Google TV), and game consoles (Xbox).
Once a program is recorded, it enters your cloud library and becomes instantly accessible for playback on any of these same compatible devices. The experience is seamlessly consistent across platforms, with playback controls, progress tracking, and library management functions behaving identically. This cross-device functionality is a testament to the robust underlying technology, providing a truly unified user experience that is central to modern streaming expectations.
Step-by-Step Guide to Recording Content
The process of recording programs on YouTube TV is remarkably intuitive, designed with user-friendliness in mind. Whether you’re looking to capture a live broadcast, schedule an upcoming series, or simply save an individual episode, YouTube TV simplifies content acquisition into a few clicks or taps.
Recording Live TV
If you’re watching a show live and decide mid-program that you want to save it, YouTube TV makes it incredibly easy.
- While watching live: Simply navigate to the bottom of the screen to reveal the playback controls.
- Locate the “Add to Library” icon: This icon typically looks like a plus sign (+) or a bookmark symbol.
- Click/Tap to add: Once you select this, YouTube TV will begin recording the program from that point forward. If the program is part of a series, it will also typically schedule all future airings of that series to be recorded, ensuring you don’t miss any subsequent episodes.
It’s important to note that adding a program to your library while it’s live will generally only record from the moment you click the button. To capture the entire program, it’s often better to add it to your library before it starts, or if you’ve tuned in late, YouTube TV’s “restart” feature (if available for that channel/program) might allow you to watch from the beginning while it’s still live. However, for a full recording, planning ahead is always best.
Recording Upcoming Programs
The most common way to leverage the DVR is by scheduling recordings for programs that haven’t aired yet or are part of a recurring series.
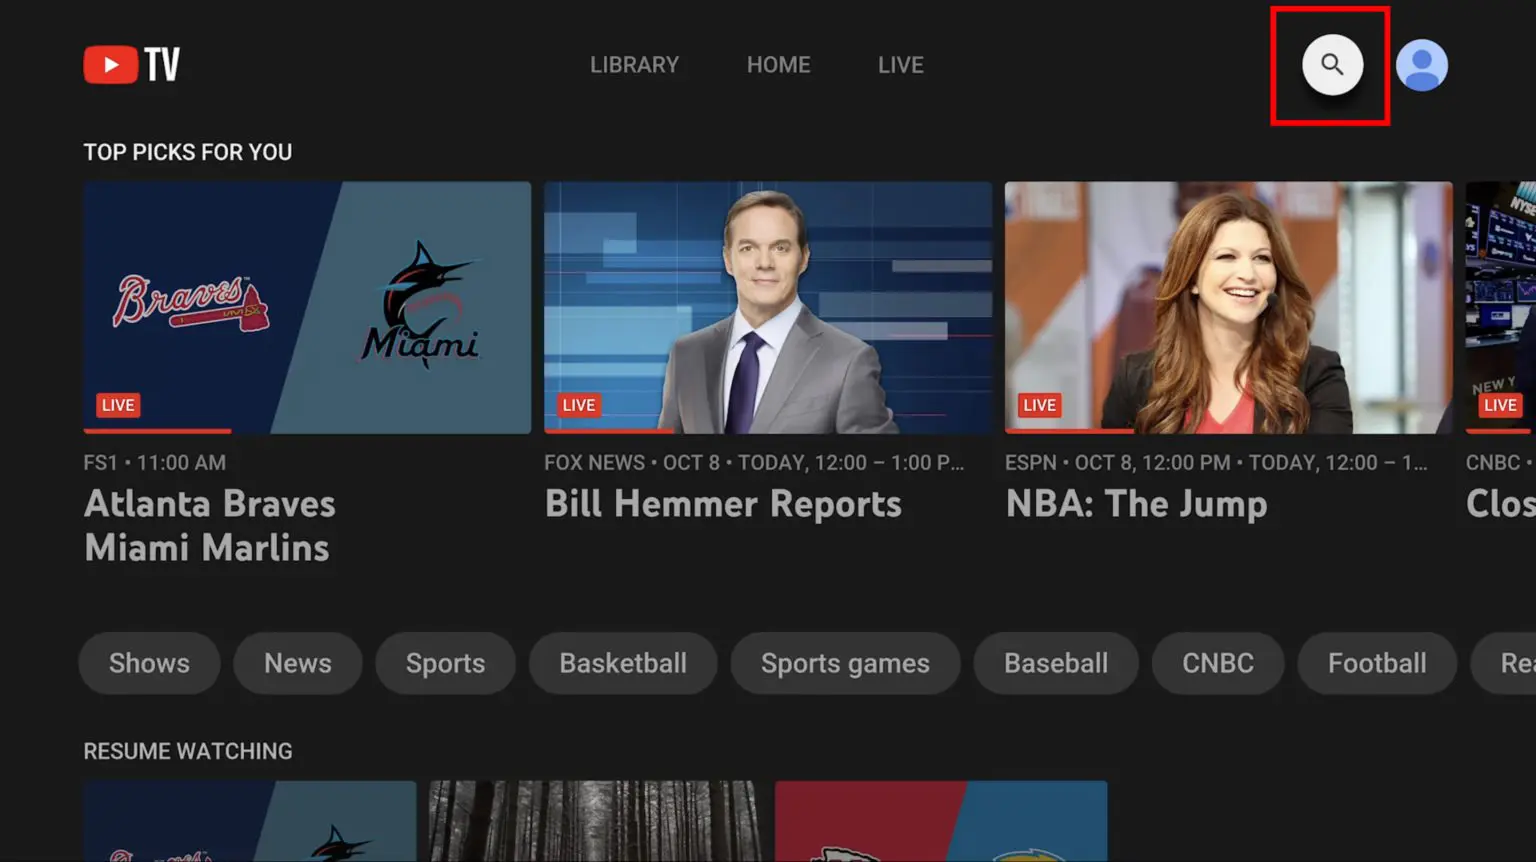
- Browse the Guide or Search: Use the “Live” guide to browse channels and see what’s coming up, or use the search function (magnifying glass icon) to find specific shows, movies, or sports teams.
- Select the Program: Click or tap on the program you wish to record. This will bring up its details page.
- Add to Library: On the program’s detail page, you will see the “Add to Library” button (again, often a plus sign or bookmark icon). Click or tap it.
- Confirmation and Series Recording: For series, YouTube TV will usually ask if you want to record “New episodes only” or “All episodes (including reruns).” Make your selection. Once added, a checkmark or similar indicator will appear, confirming that the program (and potentially its future airings) has been scheduled for recording.
All subsequent airings of that show on any channel available through YouTube TV will automatically be recorded, giving you maximum flexibility and ensuring comprehensive coverage.
Managing Your Library: Series vs. Individual Episodes
When you add a program to your library, YouTube TV intelligently categorizes it. For most television series, it will create a dedicated entry in your library and group all recorded episodes under that title. This streamlined organization means you don’t have to sift through individual episode titles; you simply select the series, and all available recordings, whether live DVR or on-demand versions, will be presented chronologically.
For individual movies, specials, or one-off events, they will appear as single entries. YouTube TV’s sophisticated algorithms also often provide “video on demand” (VOD) versions of shows alongside your DVR recordings. These VOD versions are provided by the network and may have unskippable ads. YouTube TV prioritizes your DVR recordings where ad-skipping is possible, typically presenting them first. This intelligent content management ensures you always have the best possible viewing experience readily available.
Accessing and Managing Your Recorded Library
Once your programs are recorded, finding and managing them is just as straightforward as scheduling them. YouTube TV centralizes all your saved content in a dedicated section, making it effortless to revisit your favorite shows and movies.
Navigating the Library Tab
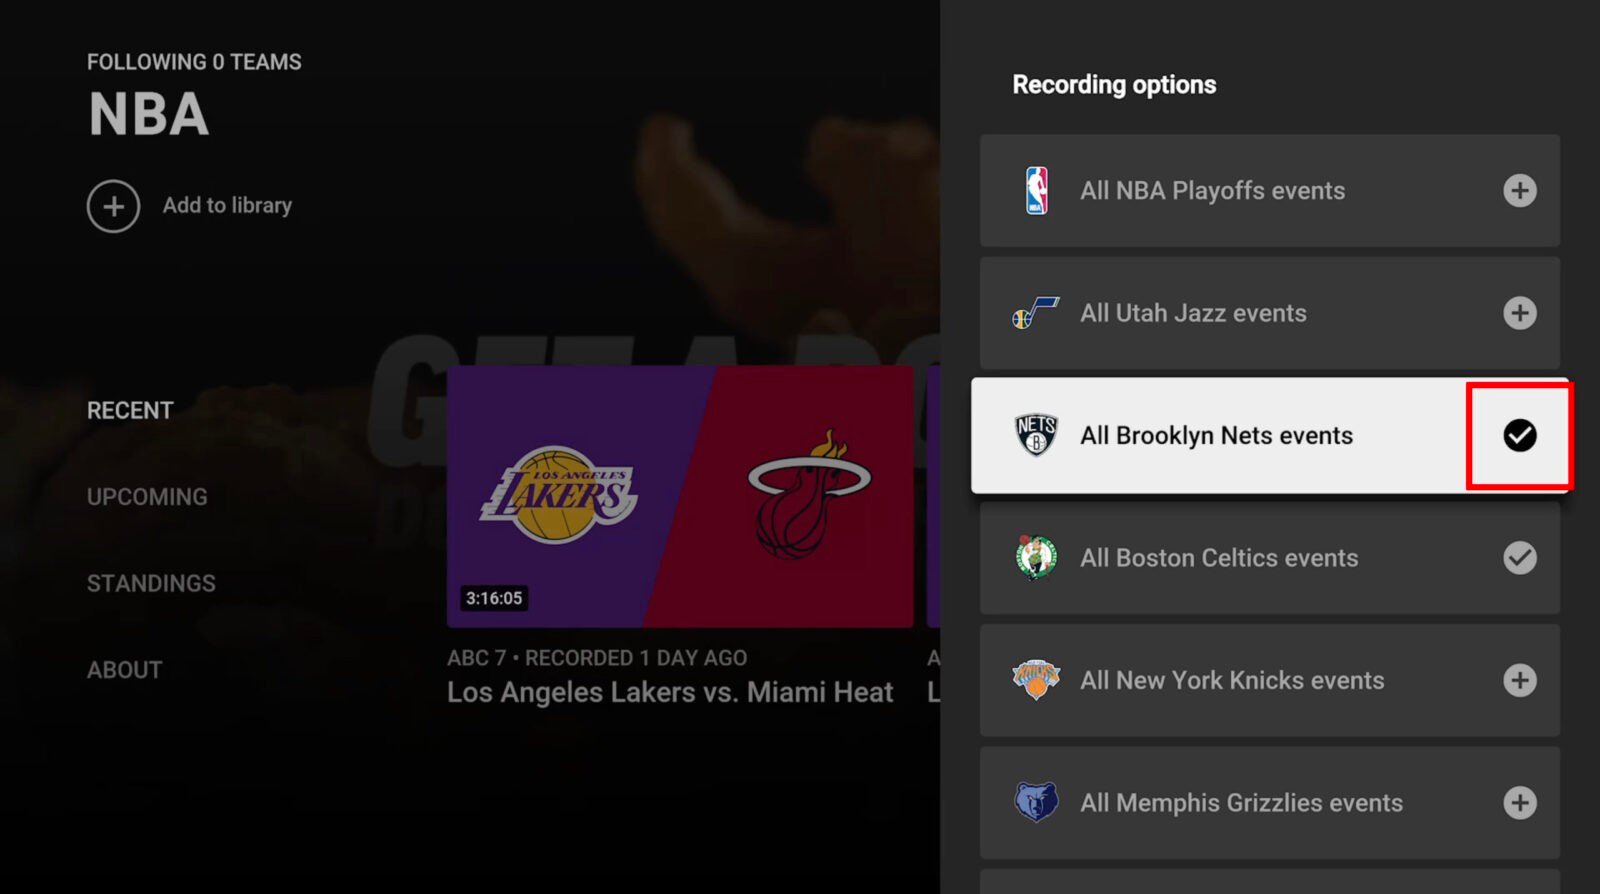
Your entire collection of recorded programs, along with any content you’ve saved from YouTube (if your accounts are linked), resides within the “Library” tab. This is usually one of the main navigation options at the top or side of the YouTube TV interface, depending on your device.
Upon entering the Library, you’ll typically find categories such as:
- New in your Library: Highlights recently added or aired episodes.
- Most Watched: Shows you frequently revisit.
- Scheduled: A list of upcoming recordings.
- Shows, Movies, Sports, Events: Categorized sections for easier browsing, making it simple to filter by content type.
- Purchases (if any): If you’ve bought movies or shows through Google Play or YouTube, they might also appear here.
This organized structure ensures that despite unlimited storage, your library remains tidy and easily navigable, allowing you to quickly locate exactly what you’re looking for.
Watching Your Recordings
To watch a recorded program:
- Go to the Library tab: Select it from the main navigation.
- Find your program: Browse through the categories or use the search bar within the library.
- Select the program: Click on the series or movie title. For series, you’ll typically be presented with a list of available episodes.
- Start Watching: Select the specific episode you want to watch. YouTube TV will often present the “Resume” option if you’ve started watching an episode before, or “Play from beginning.”
During playback, you’ll have access to standard controls: pause, play, rewind, fast-forward, and volume. As mentioned earlier, for DVR recordings, you can generally fast-forward through commercials, giving you full control over your viewing pace and experience. The intuitive interface ensures that starting, stopping, and navigating through content is seamless, mirroring the ease of use found across the entire YouTube ecosystem.
Deleting or Modifying Recordings
While YouTube TV’s unlimited storage means you generally don’t need to delete recordings, you might want to remove a series from your library if you’ve finished watching it or are no longer interested in it.
- Navigate to the program in your Library: Find the series or movie you wish to remove.
- Select the program’s detail page: Click on the title.
- Locate the “Remove from Library” option: This is usually represented by a checked bookmark or a similar icon, often accompanied by text. Clicking it will remove the program from your library.
- Confirm removal (if prompted): For series, you might be asked to confirm if you want to stop recording all future episodes and remove all existing recordings.
Removing a program from your library stops all future recordings of that show and deletes any existing recorded episodes. This is useful for decluttering your library or if your interests change. Given the nine-month retention policy, recordings will eventually expire on their own, but manual removal offers immediate control.
Optimizing Your Recording Experience
Beyond the basic mechanics, there are several ways to fine-tune your YouTube TV recording experience, ensuring it perfectly aligns with your viewing habits and preferences. Leveraging these optimizations can significantly enhance your overall satisfaction with the service.
Setting Recording Preferences
YouTube TV offers a degree of control over how your recordings are handled, particularly for series. When you add a series to your library, you often have the option to specify whether you want to record “All episodes” or “New episodes only.” This choice is crucial:
- All episodes: Ideal for starting a series from the beginning, catching up on old favorites, or ensuring you don’t miss any specials or reruns. This will record every airing YouTube TV detects for that series.
- New episodes only: Perfect for staying current with ongoing shows without cluttering your library with reruns you’ve already seen.
You can revisit these preferences at any time by going to the series’ detail page in your library and adjusting the recording settings. This level of granular control ensures your library only contains the content you truly want, preventing unnecessary clutter.
Troubleshooting Common Recording Issues
While YouTube TV’s Cloud DVR is highly reliable, occasional issues can arise. Here are a few common scenarios and their solutions:
- “Why didn’t my show record?”
- Check your Library: First, ensure you actually added the show to your library. Sometimes a click doesn’t register or you might have forgotten.
- Check the schedule: Verify the show’s air date and time. Channel schedules can sometimes change unexpectedly.
- Network availability: Ensure the channel was available and part of your YouTube TV package at the time of recording.
- Program blackouts: For live sports, regional blackouts might prevent recording or live viewing if you’re outside the allowed broadcast area.
- Temporary glitches: Occasionally, rare server-side issues can occur. If it’s a persistent problem, contacting YouTube TV support is advisable.
- “I can’t skip ads on this recording.”
- This usually means you’re watching an on-demand (VOD) version of the program provided by the network, not your DVR recording. YouTube TV often includes VOD alongside DVR. Look for “DVR” or “Recorded” labels on the episode, or check if an alternative version is available.
- Some specific programs or networks may have agreements that restrict ad skipping even on DVR content, though this is less common.
A simple restart of the YouTube TV app or your streaming device can often resolve minor playback or display issues. For more persistent problems, checking YouTube TV’s official help forums or contacting their support team is recommended.
Beyond Basic Recording: Other YouTube TV Features
Recording is just one facet of YouTube TV’s rich feature set. To truly maximize your subscription, explore these additional functionalities:
- Live Rewind/Fast Forward: Many live programs allow you to rewind up to the beginning of the broadcast (or for a certain period) even if you tune in late, effectively giving you a mini-DVR experience for live content.
- Start Over: For select programs, you can choose to “start over” from the beginning even if it’s currently airing live, similar to catching the start of a DVR’d show.
- Key Plays: For sports, YouTube TV often identifies “key plays,” allowing you to jump directly to highlights during or after a game, a powerful feature for sports enthusiasts who might not have time for an entire replay.
- Customizable Guide: Personalize your live TV guide to show your favorite channels first, making navigation quicker and more efficient.
These features, alongside the robust Cloud DVR, collectively elevate YouTube TV beyond a simple channel provider to a comprehensive, interactive, and highly personalized entertainment hub.
Maximizing Your YouTube TV Subscription
YouTube TV’s integration of a powerful Cloud DVR is more than just a convenience; it’s a strategic technological offering that addresses the core needs of contemporary viewers. In a world saturated with content, the ability to curate and control one’s viewing schedule is paramount.
Why DVR is Essential for Cord-Cutters
For those who have “cut the cord” from traditional cable or satellite, the Cloud DVR is often a non-negotiable feature. It replicates one of the most beloved aspects of legacy TV (recording favorite shows) while significantly improving upon it with cloud storage, multi-device access, and often superior ad-skipping capabilities. Without DVR, cord-cutters would be forced to conform to live broadcast schedules, undermining the very flexibility that streaming services promise. YouTube TV’s DVR ensures that users can enjoy the best of both worlds: live broadcast events and the freedom to watch content on their own terms. It’s a critical component that eases the transition and solidifies the value proposition of streaming live TV.
Comparing YouTube TV’s DVR to Competitors
When evaluating streaming services that offer live TV, the DVR feature is often a significant differentiator. YouTube TV’s offering stands out due to its unlimited storage, a feature not universally matched by competitors. Many rival services offer tiered DVR options, where basic storage is limited (e.g., 20-50 hours), and unlimited storage comes at an extra monthly cost. The nine-month retention period is also competitive, striking a good balance compared to services with shorter or longer windows. The seamless ad-skipping, largely standard for DVR recordings, further solidifies its position as a top-tier Cloud DVR solution in the competitive streaming market. This strong DVR capability is a key reason why many choose YouTube TV over other services like Hulu + Live TV, Sling TV, or FuboTV, as it offers a superior blend of convenience and capacity.
Future of Cloud DVR and Streaming Services
The evolution of Cloud DVR technology is far from over. As internet speeds increase and cloud infrastructure becomes even more sophisticated, we can anticipate further enhancements. Features like more intelligent content organization, AI-driven recommendations based on your recorded library, and even more dynamic ways to interact with recorded content (e.g., scene selection, deeper sports analytics integration) are likely on the horizon. The convergence of live TV, on-demand content, and personal DVR libraries into a single, seamless experience represents the future of entertainment. YouTube TV, with its strong technological foundation and commitment to user-centric features, is well-positioned to continue leading innovation in this space, constantly refining how we record, access, and enjoy our favorite programs.
In conclusion, YouTube TV’s Cloud DVR is a powerful, user-friendly, and essential tool for any subscriber looking to maximize their streaming experience. By understanding its capabilities, mastering the recording process, and optimizing its features, you can ensure that you never miss a moment of the content you love, all within the flexible and accessible framework of modern digital technology.
aViewFromTheCave is a participant in the Amazon Services LLC Associates Program, an affiliate advertising program designed to provide a means for sites to earn advertising fees by advertising and linking to Amazon.com. Amazon, the Amazon logo, AmazonSupply, and the AmazonSupply logo are trademarks of Amazon.com, Inc. or its affiliates. As an Amazon Associate we earn affiliate commissions from qualifying purchases.