
A clean installation of Windows 10 is akin to hitting the reset button on your operating system. It’s a process that removes all existing data, applications, and settings, and then installs a fresh, pristine copy of Windows. While it sounds drastic, and it is, a clean install can be a powerful solution for a multitude of computer woes. This comprehensive guide will walk you through the entire process, from understanding why you might need a clean install to the step-by-step execution, ensuring you can revitalize your PC and enjoy a smoother, more efficient computing experience.

Why Opt for a Clean Install? The Benefits of a Fresh Start
The allure of a clean install lies in its ability to resolve issues that can plague a Windows system over time. Think of your computer like a well-used toolbox; over months and years, it accumulates dust, discarded tools, and items that no longer serve a purpose. A clean install is essentially emptying that toolbox, cleaning it thoroughly, and then carefully reintroducing only the essential tools.
One of the most common reasons for a clean install is performance degradation. As you install and uninstall programs, download files, and surf the web, Windows accumulates temporary files, registry entries, and other remnants that can slow down your system. Over time, these accumulate, leading to longer boot times, sluggish application performance, and general unresponsiveness. A clean install wipes the slate clean, removing all this digital clutter and allowing Windows to run on a foundation free from years of accumulated baggage.
Another significant benefit is resolving stubborn software conflicts and errors. Sometimes, applications can interfere with each other, or a faulty update can cause widespread instability. If you’re experiencing persistent blue screens of death (BSODs), application crashes, or other baffling errors that troubleshooting hasn’t fixed, a clean install can often be the most effective solution. It eliminates any corrupted system files or problematic software configurations that might be the root cause.
Furthermore, a clean install is an excellent way to prepare your PC for sale or donation. Before parting with your computer, it’s crucial to ensure that all your personal data is irretrievably removed. A clean install overwrites the previous installation, making it significantly harder for subsequent owners to recover your sensitive information.
Finally, it can be beneficial when upgrading hardware. While Windows 10 is generally good at adapting to new hardware, a clean install can sometimes ensure optimal driver compatibility and prevent potential conflicts with older software or settings.
Preparing for the Digital Reset: What You Need Before You Begin
Before embarking on a clean install, meticulous preparation is paramount. This isn’t a process to rush into. Skipping crucial steps can lead to data loss or an incomplete installation.
1. Back Up Your Essential Data
This is, without a shadow of a doubt, the most critical step. A clean install will erase everything on your primary drive (typically your C: drive). Therefore, you must back up all your important files. This includes:
- Personal Documents: Photos, videos, music, documents, spreadsheets, presentations, and any other files you’ve created or saved.
- Application Data: This can be more complex. Some applications store their settings and data in specific folders. While a clean install won’t preserve installed programs, you might want to back up the data associated with them if possible. For example, browser bookmarks, game save files, or specific project files.
- Important System Settings: While a clean install will reset system settings, you might want to note down specific configurations you’ve made that you’ll want to reapply later.
Where to Back Up:
- External Hard Drive or USB Flash Drive: This is the most common and reliable method. Ensure the drive has enough storage space for all your data.
- Cloud Storage Services: Services like OneDrive, Google Drive, Dropbox, or iCloud can be excellent for backing up smaller, frequently accessed files. However, for a full system backup, an external drive is usually more practical.
- Network Attached Storage (NAS): If you have a home network, a NAS device offers a centralized storage solution.
How to Back Up:
- Manual Copying: Navigate to your user folders (Documents, Pictures, Videos, Desktop) and copy them to your backup destination.
- Backup Software: Windows has built-in backup tools (though they can be a bit basic). Third-party backup software often offers more features, such as scheduled backups and disk imaging.
2. Gather Your Software Installers and Product Keys
Since a clean install removes all applications, you’ll need to reinstall them afterward. Having the installation media (downloaded installers) and any relevant product keys or license information readily available will save you considerable time and frustration.
- Operating System: You’ll need a Windows 10 installation media. This can be created using the Media Creation Tool from Microsoft’s website.
- Productivity Software: Microsoft Office, Adobe Creative Suite, etc.
- Antivirus and Security Software: Have your preferred security solution ready for reinstallation.
- Web Browsers: Chrome, Firefox, Edge, etc.
- Other Essential Applications: Any programs you use daily for work, hobbies, or entertainment.
Tip: Keep a digital or physical list of your product keys and license information. Many software providers offer ways to retrieve lost keys, but it’s always best to have them on hand.
3. Understand Your Windows 10 Edition and License
A clean install requires you to select the edition of Windows 10 you want to install (Home, Pro, etc.). Ensure you know which edition you currently have and that you have a valid license for it. During the installation process, you’ll be prompted to enter a product key. If your Windows 10 was pre-installed on your computer, the license is often tied to your hardware (digital license), and Windows should activate automatically after installation if you’re connected to the internet.
The Step-by-Step Process: Executing Your Clean Install
Now that you’re prepared, it’s time to perform the clean install. This involves creating bootable media, booting from it, and following the on-screen prompts.
1. Create Windows 10 Installation Media
Microsoft provides a free tool called the Media Creation Tool which is the easiest way to get the latest version of Windows 10.

- Download the Media Creation Tool: Go to the official Microsoft website and search for “Download Windows 10”. Download the tool.
- Run the Tool: Accept the license terms.
- Choose “Create installation media (USB flash drive, DVD, or ISO file) for another PC”.
- Select Language, Edition, and Architecture: Typically, you’ll want to use the recommended options for your PC, or select the language and edition you prefer. Ensure the architecture (32-bit or 64-bit) matches your hardware.
- Choose Media Type:
- USB flash drive: This is the most common and recommended method. You’ll need a USB drive with at least 8GB of storage. All data on the USB drive will be erased.
- ISO file: If you prefer to create a DVD later or mount the ISO on a virtual machine.
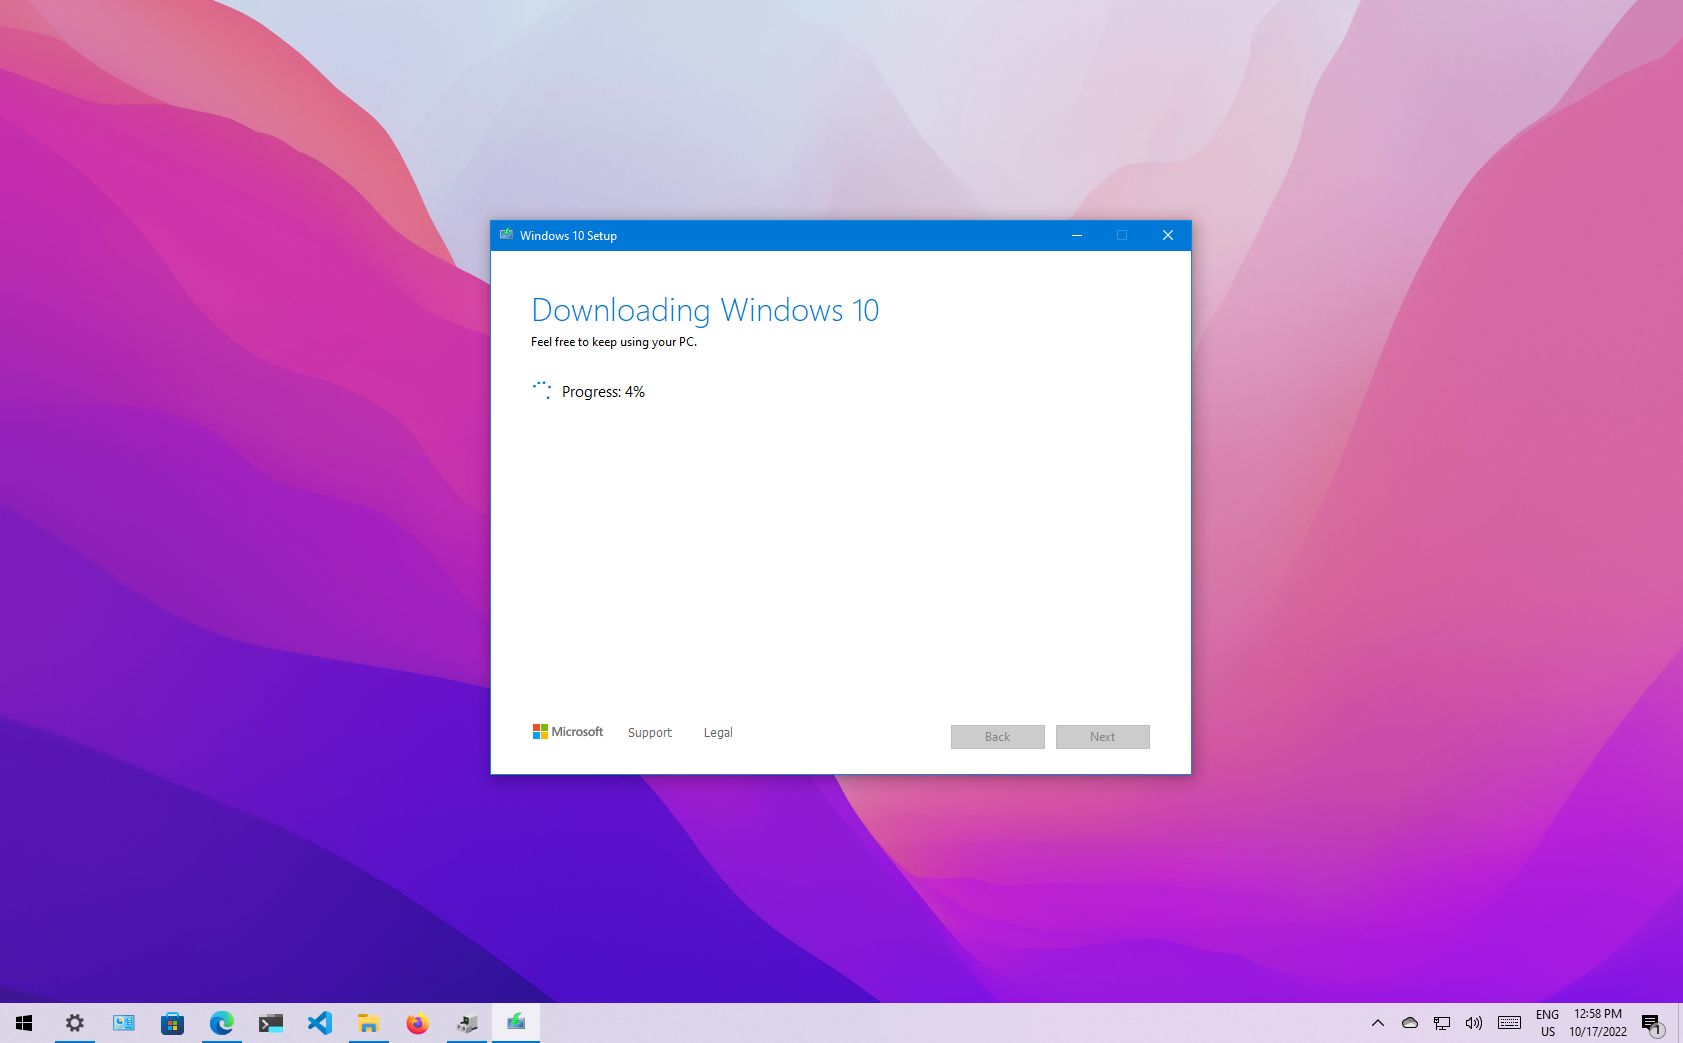
- Follow the Prompts: The tool will download the necessary files and create your bootable media. This process can take some time depending on your internet speed.
2. Booting from Your Installation Media
Once your USB drive is ready, you need to configure your computer to boot from it instead of its internal hard drive.
- Insert the USB Drive: Plug your bootable Windows 10 USB drive into your computer.
- Restart Your PC: Reboot your computer.
- Enter BIOS/UEFI Settings: As your computer starts up, you’ll need to press a specific key to enter the BIOS or UEFI settings. Common keys include
F2,F10,F12,DEL, orESC. The key is usually displayed briefly on the screen during the boot process. - Change Boot Order: Navigate to the “Boot” or “Boot Order” section within your BIOS/UEFI settings. Move your USB drive (it might be listed by its brand name or as “USB HDD”) to the top of the boot priority list.
- Save and Exit: Save your changes and exit the BIOS/UEFI. Your computer will restart again.
This time, if done correctly, your computer will boot from the USB drive, and you’ll see the Windows 10 setup screen.
3. Installing Windows 10: The Core Process
With your PC booting from the installation media, the actual installation begins.
- Windows Setup Screen: The first screen will ask you to select your language, time and currency format, and keyboard layout. Click “Next”.
- “Install now”: Click this button to start the installation.
- Product Key Entry: You’ll be prompted to enter your product key. If you have a digital license, you can click “I don’t have a product key” and Windows will activate automatically later if it recognizes your hardware.
- Select Your Windows 10 Edition: Choose the edition of Windows 10 that matches your license (Home, Pro, etc.).
- Accept License Terms: Read and accept the Microsoft license terms.
- Choose Installation Type: This is a crucial step for a clean install. Select “Custom: Install Windows only (advanced)”.
- Drive Selection and Formatting:
- You will see a list of all drives and partitions on your computer.
- Identify your primary Windows drive: This is usually labeled as “Drive 0” and is the largest partition, often the “Primary” one where your current Windows is installed.
- Delete Existing Partitions: For a truly clean install, you need to delete the partitions that make up your current Windows installation. Select each partition that constitutes your old Windows installation (usually the C: drive and any associated system or recovery partitions) and click “Delete”. Be absolutely sure you are deleting the correct partitions, as this is irreversible and will erase all data on them.
- Create New Partition (Optional but Recommended): After deleting, you’ll have “Unallocated Space”. You can select this space and click “New” to create a new partition for Windows. Windows will automatically create necessary smaller partitions for system files.
- Select Partition and Install: Select the newly created primary partition (or the unallocated space if you skipped creating a new partition) and click “Next”.
Windows will now begin copying files, installing features, and installing updates. Your computer will restart multiple times during this process. Do NOT remove the USB drive until prompted to do so, or until you’ve gone through the initial setup and are on the desktop.
4. Initial Setup and Configuration
Once the core installation is complete, Windows 10 will guide you through its initial setup process.
- Region and Keyboard Layout: Confirm your region and keyboard layout.
- Account Setup:
- Microsoft Account: You can sign in with your existing Microsoft account or create a new one. This links your settings and files across devices and grants access to services like OneDrive and the Microsoft Store.
- Local Account: If you prefer not to use a Microsoft account, you can select “Offline account” or “Limited experience” (depending on the Windows version and prompt) to create a local user account.
- Cortana Setup: You’ll be asked if you want to use Cortana, your personal assistant.
- Privacy Settings: Review and adjust your privacy settings for features like location, diagnostics, and advertising.
- Welcome to Windows: After completing these steps, you’ll be greeted by the Windows 10 desktop.
Post-Installation Tasks: Bringing Your System Back to Life
Your clean install is complete, but the journey isn’t over yet. A few crucial steps will ensure your PC is fully functional and secure.
1. Install Drivers
While Windows 10 automatically installs many generic drivers, it’s essential to install the specific drivers for your hardware components to ensure optimal performance and functionality.
- Identify Missing Drivers: Go to
Device Manager(search for it in the Start menu). Look for any devices with a yellow exclamation mark, indicating a driver issue. - Manufacturer Websites: Visit the support section of your motherboard manufacturer’s website, graphics card manufacturer’s website (NVIDIA, AMD, Intel), and any other hardware manufacturers (sound card, network adapter, etc.). Download the latest drivers for Windows 10.
- Install Drivers: Run the downloaded installer files for each driver. It’s often recommended to install drivers in a specific order, starting with chipset drivers, then graphics, audio, network, and so on.
- Restart: After installing drivers, restart your computer.
2. Update Windows
Now that you have a fresh installation, it’s vital to bring it up to date with the latest security patches and feature updates.
- Windows Update: Go to
Settings>Update & Security>Windows Update. - Check for Updates: Click “Check for updates” and allow Windows to download and install all available updates. This may require multiple restarts.
3. Reinstall Your Applications
With drivers and Windows updated, it’s time to reinstall your essential software.
- Use Your Installers: Use the installation media (USB drives, downloaded files) and product keys you gathered earlier.
- Microsoft Store: For some applications, you can simply go to the Microsoft Store and download them directly.
4. Restore Your Data
Finally, restore your backed-up personal files from your external drive or cloud storage back to their appropriate locations on your computer.
- Organize: Take the time to organize your files as you restore them. This is a good opportunity to declutter and ensure a tidy digital environment.
A clean install of Windows 10 is a powerful tool for maintaining a healthy and efficient computer. By carefully following these steps, you can effectively reset your system, resolve underlying issues, and enjoy a rejuvenated computing experience. Remember, patience and meticulous preparation are your greatest allies in this digital transformation.
aViewFromTheCave is a participant in the Amazon Services LLC Associates Program, an affiliate advertising program designed to provide a means for sites to earn advertising fees by advertising and linking to Amazon.com. Amazon, the Amazon logo, AmazonSupply, and the AmazonSupply logo are trademarks of Amazon.com, Inc. or its affiliates. As an Amazon Associate we earn affiliate commissions from qualifying purchases.