
The question of “how long does it take to install Windows” is one that frequently pops up for both seasoned tech enthusiasts and everyday users alike. Whether you’re setting up a brand-new PC, performing a crucial upgrade, or troubleshooting a problematic system, understanding the installation timeline is essential for efficient planning and realistic expectations. This isn’t a one-size-fits-all answer; the duration can fluctuate significantly based on a variety of factors. From the specific version of Windows you’re installing to the hardware it’s running on, and even the method of installation, each element plays a role in determining the final time commitment.
In this comprehensive guide, we’ll delve into the intricacies of Windows installation times, breaking down the contributing factors and offering insights to help you streamline the process. We’ll explore the nuances of different installation methods, the impact of hardware specifications, and the post-installation tasks that can add to the overall experience. By the end, you’ll have a clear understanding of what to expect and how to optimize your Windows installation for speed and efficiency.
Understanding the Core Installation Process
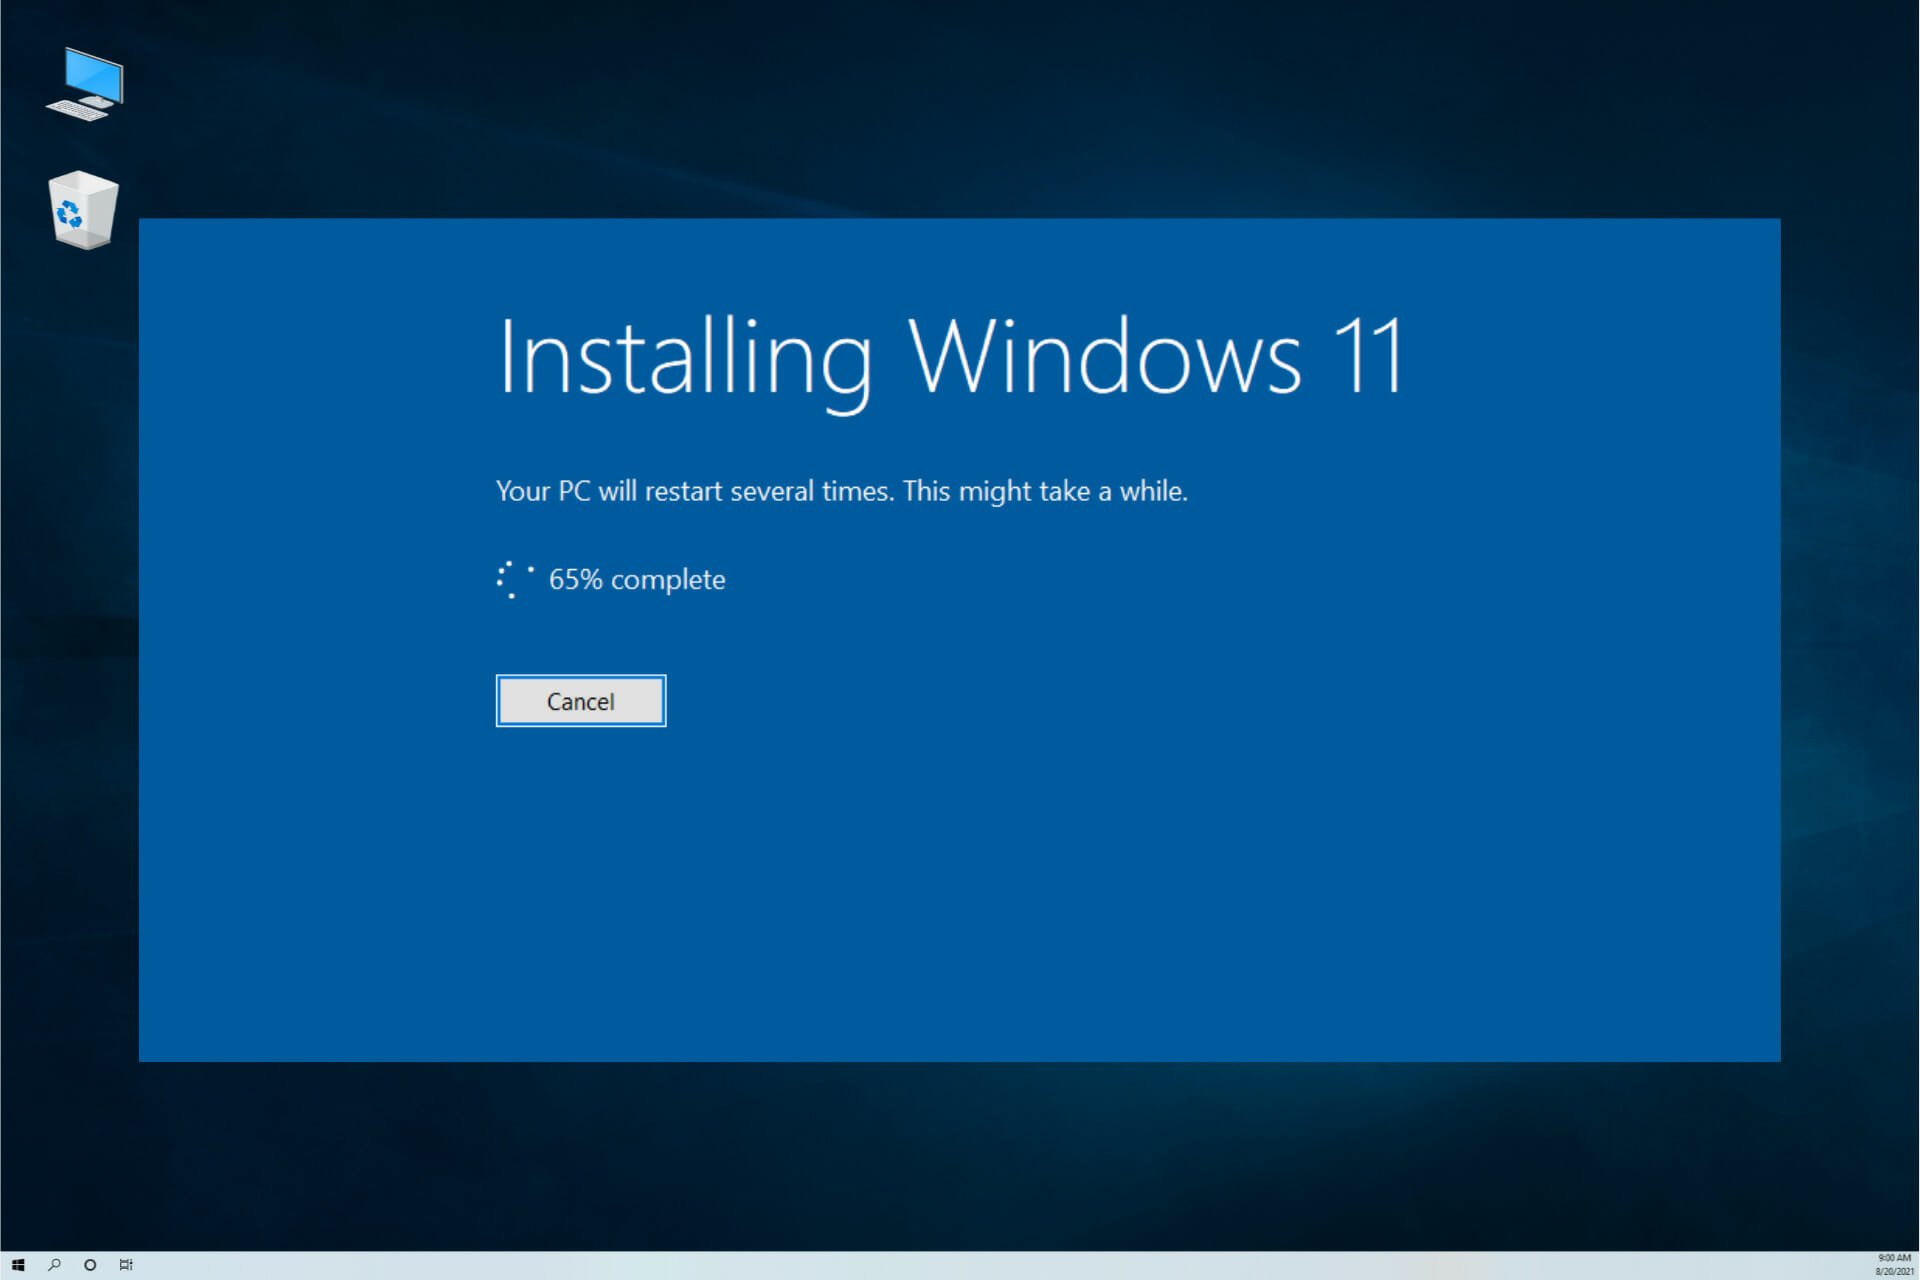
At its heart, installing Windows involves several distinct phases, each contributing to the overall time it takes. The most fundamental aspect is the copying of files. This is where the core operating system files are transferred from your installation media (USB drive, DVD, or network) to your computer’s storage device. The speed of this process is heavily influenced by the read/write speeds of both your installation media and your target hard drive or SSD. A modern Solid State Drive (SSD) will dramatically outperform a traditional Hard Disk Drive (HDD) in this regard, shaving off significant minutes.
Following the file copy, the system then enters the configuration phase. This involves setting up essential drivers, configuring system settings, and preparing the operating system for its first boot. This stage often includes tasks like initializing the registry, setting up user accounts, and preparing the file system.
The initial boot-up and setup wizard mark the next significant milestone. Once the core files are in place and configured, Windows will attempt its first successful boot into the user interface. Here, you’ll typically be guided through a setup wizard to select your region, keyboard layout, connect to a network, and create or sign in with your Microsoft account. This interactive part can also add to the overall time, especially if you’re experiencing network issues or deciding on various privacy settings.
Finally, the driver and update installation phase is crucial for a fully functional system. While the core OS might be installed, it’s unlikely to have all the necessary drivers for your specific hardware. This includes graphics card drivers, network adapters, audio devices, and more. Windows Update then kicks in to download and install the latest security patches and feature updates, which are vital for performance, stability, and security. This can be a time-consuming process, often requiring multiple reboots.
Factors Influencing Installation Duration
The duration of a Windows installation is far from uniform. Several critical factors contribute to the variability, and understanding them can help you set accurate expectations and even take steps to expedite the process.
Hardware Specifications: The Unsung Hero
Your computer’s hardware is arguably the most significant determinant of installation speed. At the forefront is your storage device. As mentioned, an SSD is a game-changer. While installing Windows on an HDD might take anywhere from 30 minutes to over an hour, an SSD can often complete the entire process in as little as 15-20 minutes. This is because SSDs have significantly faster read and write speeds, allowing them to transfer files and access data much more rapidly.
The processor (CPU) also plays a role. A faster CPU can handle the computational tasks involved in file extraction, configuration, and initial setup more quickly. While the difference might not be as dramatic as with storage, a modern multi-core processor will undoubtedly contribute to a smoother and faster installation experience compared to an older, less powerful chip.
RAM (Random Access Memory) is another important consideration. While not directly involved in file transfer, sufficient RAM ensures that the operating system and installation process can run smoothly without excessive reliance on slower virtual memory (paging file) on your storage drive. Having at least 8GB of RAM is recommended for a modern Windows installation.
The speed of your installation media itself is also a factor. A USB 3.0 or 3.1 drive, when used with a compatible USB port, will transfer data much faster than an older USB 2.0 drive or a DVD. The quality and speed of the USB drive or DVD reader on your computer also come into play.
The Windows Version and Installation Method
The version of Windows you are installing can also influence the timeline. Newer versions of Windows, like Windows 11, are generally optimized for modern hardware and may have slightly different installation processes compared to older versions like Windows 10 or Windows 7. While the core steps remain similar, underlying optimizations can affect the overall speed.
The method of installation is another key differentiator.
Clean Installation vs. Upgrade
A clean installation involves wiping your existing drive (or a new drive) and installing Windows from scratch. This is often the preferred method for ensuring a fresh start and optimal performance, as it eliminates any potential conflicts or bloatware from previous installations. While it requires backing up your data and reinstalling all your applications, the installation process itself can be faster and result in a more stable system in the long run.
An upgrade installation, on the other hand, attempts to install the new version of Windows over your existing one, preserving your files, settings, and applications. This is convenient for users who want to migrate to a new version without the hassle of a complete setup. However, upgrades can sometimes be more prone to issues if there are compatibility problems with existing software or drivers. The upgrade process might also take longer as it needs to integrate with your existing system.
Installation Media: USB, DVD, or Network
The type of installation media you use also impacts the speed.
- USB Drive: This is the most common and generally the fastest method today. Using a high-speed USB 3.0 or 3.1 drive with a quick-formatting process can significantly reduce the file copying and installation time.
- DVD: While still a viable option, DVD installations are considerably slower due to the read speeds of optical drives. If you have a large number of files to copy, a DVD can significantly extend the installation duration.
- Network Installation (PXE Boot): For enterprise environments or advanced users, installing Windows over a network using technologies like PXE (Preboot Execution Environment) can be very efficient, especially when deploying to multiple machines simultaneously. However, this requires a robust network infrastructure and specialized configuration.
Post-Installation Tasks: The Overtime
It’s crucial to understand that the “installation time” doesn’t always end when the setup wizard finishes and you see the Windows desktop for the first time. Several essential post-installation tasks need to be completed to ensure your system is fully functional and secure.
Driver Installation and Updates
As alluded to earlier, installing the correct drivers for all your hardware components is paramount. While Windows often attempts to install generic drivers, these may not offer optimal performance or all the features of your hardware. Manually downloading and installing the latest drivers from the manufacturer’s website (e.g., graphics card, motherboard chipset, audio, network) is highly recommended. This process can involve downloading large driver packages and may require multiple reboots, adding considerable time to the overall setup.
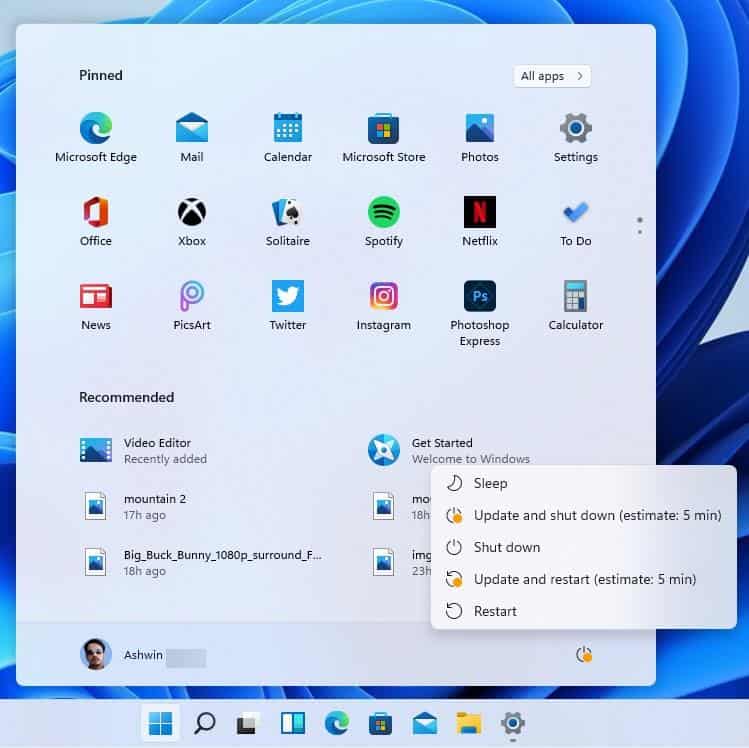
Furthermore, Windows Update will likely have a significant number of updates to download and install. These can range from critical security patches to feature updates and performance enhancements. Depending on your internet connection speed and the number of available updates, this can easily take anywhere from 30 minutes to several hours, often requiring several restarts.
Application Installation and Configuration
Once the operating system is stable and updated, you’ll need to reinstall all your essential applications. This includes web browsers, office suites, media players, productivity tools, and any specialized software you use. The time taken for this depends on the number of applications you need and the size of their installers. Downloading and installing these can also consume a considerable amount of time, especially if you have a large software library.
Finally, personalizing your settings and configuring your preferences will also add to the overall time spent. This might involve setting up your desktop background, arranging icons, configuring network settings, and customizing various system options to your liking.
Optimizing Your Windows Installation for Speed
While you can’t always change your hardware, there are several strategies you can employ to significantly speed up the Windows installation process and minimize the time spent on post-installation tasks.
Preparation is Key: The Pre-Installation Checklist
Before you even begin the installation, thorough preparation can save you a lot of time and frustration.
- Back up Your Data: This is non-negotiable. Ensure all your important documents, photos, and personal files are backed up to an external drive or cloud storage. This allows you to proceed with confidence, knowing your data is safe.
- Gather Your Drivers: If you’re performing a clean install, it’s a good idea to download the latest drivers for your essential hardware components (especially network and graphics drivers) beforehand and save them to a separate USB drive. This ensures you can get online immediately after the OS installation to download further updates.
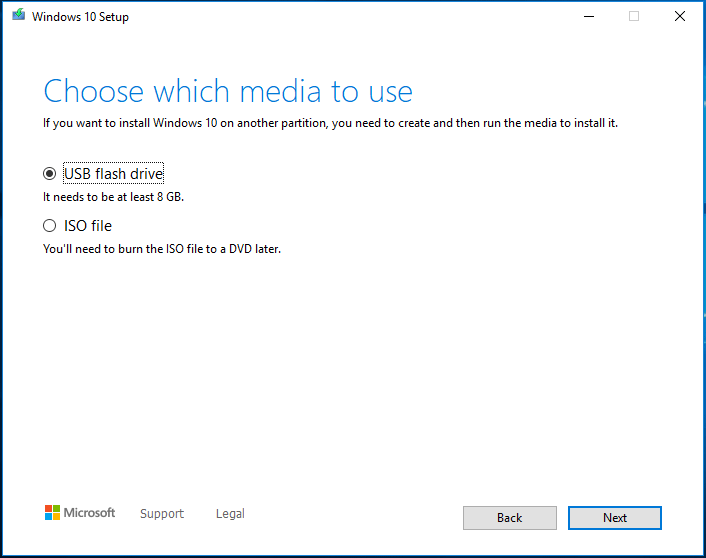
- Download the Latest Windows ISO: Use the Media Creation Tool from Microsoft to download the latest version of Windows. This ensures you’re starting with the most up-to-date installation files, potentially reducing the number of initial updates required.
- Create a Bootable USB Drive: A USB 3.0 or 3.1 drive is ideal. This will be significantly faster than using a DVD.
- Defragment Your Existing Drive (if upgrading): If you’re performing an upgrade, defragmenting your current hard drive can help optimize file access and potentially speed up the upgrade process.
During the Installation: Smart Choices
While the installation is running, there are a few smart choices to make.
- Use an SSD: If you have the option, always install Windows on an SSD. The speed difference is immense.
- Disconnect Unnecessary Peripherals: During the installation, disconnecting any non-essential peripherals (like external hard drives, printers, etc.) can sometimes prevent potential driver conflicts or interruptions.
- Choose “Express” Settings (with caution): During the initial setup wizard, you might be presented with “Express” settings. While these can save time, be aware of the privacy implications. It’s often best to review and customize these settings for better control.
- Skip Microsoft Account Login (initially): For a clean install, you can opt to create a local account first and then link your Microsoft account later. This can sometimes bypass certain online checks and speed up the initial boot.
Post-Installation Efficiency: The Final Push
Once Windows is installed, focus on these steps for efficiency.
- Run Windows Update Iteratively: After the initial installation, run Windows Update and install all available updates. Restart your computer as prompted. Repeat this process until no more updates are found. This ensures you have the latest patches.
- Install Critical Drivers First: Prioritize installing the drivers for your network adapter, graphics card, and chipset. Once your network is functional, you can rely on Windows Update for other driver installations.
- Use an SSD for Applications: Install your most frequently used applications on your SSD for faster loading times.
- Automate Where Possible: For installing numerous applications, consider using package managers or scripting tools (for advanced users) to automate the process.
Conclusion: A Variable but Manageable Timeline
In conclusion, the question of “how long does it take to install Windows” doesn’t have a single, definitive answer. The typical installation time for Windows 10 or Windows 11 on a modern system with an SSD can range from 20 minutes to an hour for the core operating system installation itself. However, when you factor in driver installations, Windows Updates, and the reinstallation of your favorite applications, the entire process from start to desktop to a fully functional and updated system can easily extend to several hours, or even half a day, especially on older hardware or with slower internet connections.
By understanding the contributing factors – your hardware, the Windows version, the installation method, and the crucial post-installation tasks – you can approach the process with realistic expectations. More importantly, by implementing the preparation and optimization strategies outlined in this guide, you can significantly reduce the time and effort required, ensuring a smooth and efficient transition to a refreshed Windows environment. Whether you’re a tech professional or a home user, a well-planned and executed Windows installation is the foundation for a stable, secure, and productive computing experience.
aViewFromTheCave is a participant in the Amazon Services LLC Associates Program, an affiliate advertising program designed to provide a means for sites to earn advertising fees by advertising and linking to Amazon.com. Amazon, the Amazon logo, AmazonSupply, and the AmazonSupply logo are trademarks of Amazon.com, Inc. or its affiliates. As an Amazon Associate we earn affiliate commissions from qualifying purchases.