
In the rapidly evolving world of personal computing, the graphics processing unit (GPU) stands as a cornerstone of performance, particularly for gaming, professional content creation, and even general system responsiveness. Often overlooked but critically important is the software that powers these GPUs: the drivers. Keeping your GPU drivers updated is not merely a recommendation; it’s a fundamental practice for ensuring optimal performance, stability, and access to the latest features your hardware has to offer. This comprehensive guide will walk you through the essential steps and considerations for updating your GPU drivers on a PC, demystifying a process that, while sometimes daunting, is crucial for any discerning PC user.

Why Keeping Your GPU Drivers Updated Matters
Understanding the “why” behind driver updates is the first step toward appreciating their significance. GPU drivers are the intricate bridges between your operating system, software applications, and your graphics hardware. They translate commands and data, allowing your GPU to render images, process visuals, and accelerate various computations efficiently. Outdated drivers can lead to a host of problems, from performance bottlenecks to system instability, while current drivers unlock the full potential of your graphics card.
Enhanced Performance and Stability
One of the most immediate and tangible benefits of updating your GPU drivers is the potential for improved performance. Graphics card manufacturers – primarily NVIDIA, AMD, and Intel – continuously optimize their drivers to squeeze more frames per second (FPS) out of games, accelerate rendering times in applications like Adobe Premiere Pro or Blender, and generally enhance the responsiveness of the graphical interface. These optimizations often involve fine-tuning how the GPU interacts with specific games or software, addressing inefficiencies, and rectifying bugs that could lead to crashes, freezes, or visual artifacts. A stable system is a productive system, and up-to-date drivers are a key component of that stability.
Access to New Features and Technologies
Graphics technology evolves at an incredible pace, with new features and standards emerging frequently. Modern GPUs support advanced rendering techniques like Ray Tracing, DLSS (Deep Learning Super Sampling), FSR (FidelityFX Super Resolution), and Variable Rate Shading. However, these features are often inaccessible or poorly implemented without the corresponding driver support. New driver releases frequently introduce support for these cutting-edge technologies, enabling your GPU to leverage them effectively and deliver a more immersive or efficient experience. Without updates, you might be missing out on significant graphical advancements that your hardware is inherently capable of.
Critical Bug Fixes and Security Patches
Like any complex software, GPU drivers are susceptible to bugs. These can range from minor graphical glitches to severe system crashes (often manifesting as a Blue Screen of Death, or BSOD). Manufacturers actively monitor bug reports and release driver updates that include crucial fixes to address these issues. Beyond functionality, driver vulnerabilities can sometimes be exploited by malicious actors, posing a security risk to your system. Regular updates ensure you have the latest patches that protect against potential exploits, safeguarding your data and maintaining the integrity of your PC.
Optimizing for New Game Releases and Software
Game developers and software engineers work closely with GPU manufacturers to ensure their products run optimally on various hardware configurations. When a major new game or a significant software update is released, it often coincides with a new driver release specifically optimized for it. These “Game Ready” or “Studio” drivers are tailored to provide the best possible experience, minimizing performance hitches, and ensuring compatibility. For enthusiasts and professionals alike, keeping pace with these releases is essential to fully enjoy new titles or efficiently utilize demanding applications without performance compromises.
Before You Begin: Essential Preparations
Before diving into the driver update process, a few preparatory steps can save you time and headaches. These actions help ensure a smooth transition and provide a safety net in case something goes awry.
Identify Your GPU
Knowing precisely which graphics card is installed in your system is paramount. Incorrectly identifying your GPU can lead to downloading the wrong driver, which might fail to install or even cause system instability. There are several ways to identify your GPU:
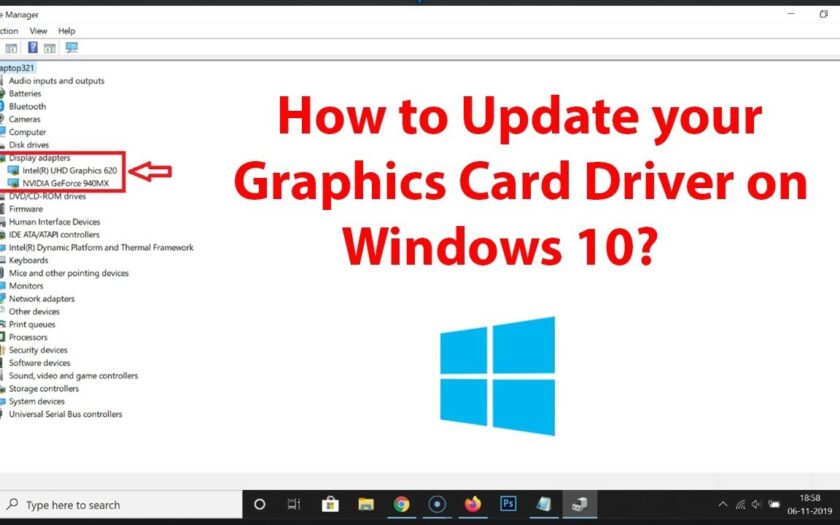
- Windows Device Manager: Press
Win + Xand select “Device Manager.” Expand “Display adapters” to see your GPU model. - DirectX Diagnostic Tool: Press
Win + R, typedxdiag, and press Enter. Navigate to the “Display” tab to find detailed information. - Third-Party Tools: Utilities like GPU-Z provide comprehensive information about your graphics card.
- Physical Inspection: If you built your PC or can easily access its internals, the GPU model is usually printed on the card itself.
Once identified, make a note of the manufacturer (NVIDIA, AMD, or Intel) and the specific model number (e.g., NVIDIA GeForce RTX 3080, AMD Radeon RX 6700 XT).
Backup Your System (Optional but Recommended)
While driver updates are generally safe, unforeseen issues can sometimes occur, leading to system instability or even the inability to boot properly. Creating a system restore point or a full system image backup before a major driver update is a wise precaution. This allows you to revert your PC to its previous working state if the new drivers cause problems. Windows provides built-in tools for creating restore points, and third-party backup solutions offer more robust options.
Consider a Clean Installation
A “clean installation” removes all previous driver files and settings before installing the new ones. This is often recommended to prevent conflicts that can arise from leftover files from older or different driver versions. Both NVIDIA and AMD’s driver installers typically offer a “Custom” or “Advanced” option that includes a checkbox for “Perform a clean installation.” Utilizing this feature is a best practice, especially if you’re experiencing issues or upgrading from a significantly older driver version.
Step-by-Step Guide to Updating GPU Drivers
There are several methods to update your GPU drivers, ranging from automated software to manual downloads. We will focus on the most reliable and recommended approaches for the major GPU manufacturers.
Method 1: Using Official Manufacturer Software
The most straightforward and recommended way to update drivers for NVIDIA and AMD GPUs is through their respective official software suites. These applications not only manage drivers but also offer various optimization tools, game settings, and recording features.
For NVIDIA GPUs (GeForce Experience)
- Download and Install GeForce Experience: If you don’t already have it, download NVIDIA GeForce Experience from the official NVIDIA website. Install it following the on-screen prompts.
- Launch GeForce Experience: Open the application. You might need to log in with an NVIDIA account (or create one).
- Navigate to the Drivers Tab: In the GeForce Experience interface, click on the “Drivers” tab at the top.
- Check for Updates: The application will automatically check for available driver updates. If a new driver is found, it will display information about it (version number, release date, key features).
- Download and Install: Click the “Download” button. Once downloaded, you’ll typically be presented with two installation options:
- Express Installation: This is the default and installs the driver with standard settings.
- Custom Installation: This allows you to choose which components to install (e.g., PhysX, GeForce Experience itself) and often includes an option to “Perform a clean installation.” For best results, especially if you haven’t done a clean install in a while, choose Custom and tick the clean installation box.
- Follow On-Screen Prompts: The installer will guide you through the rest of the process. Your screen may flicker or go black momentarily during installation. A system reboot is often required to finalize the update.
For AMD GPUs (Adrenalin Software)
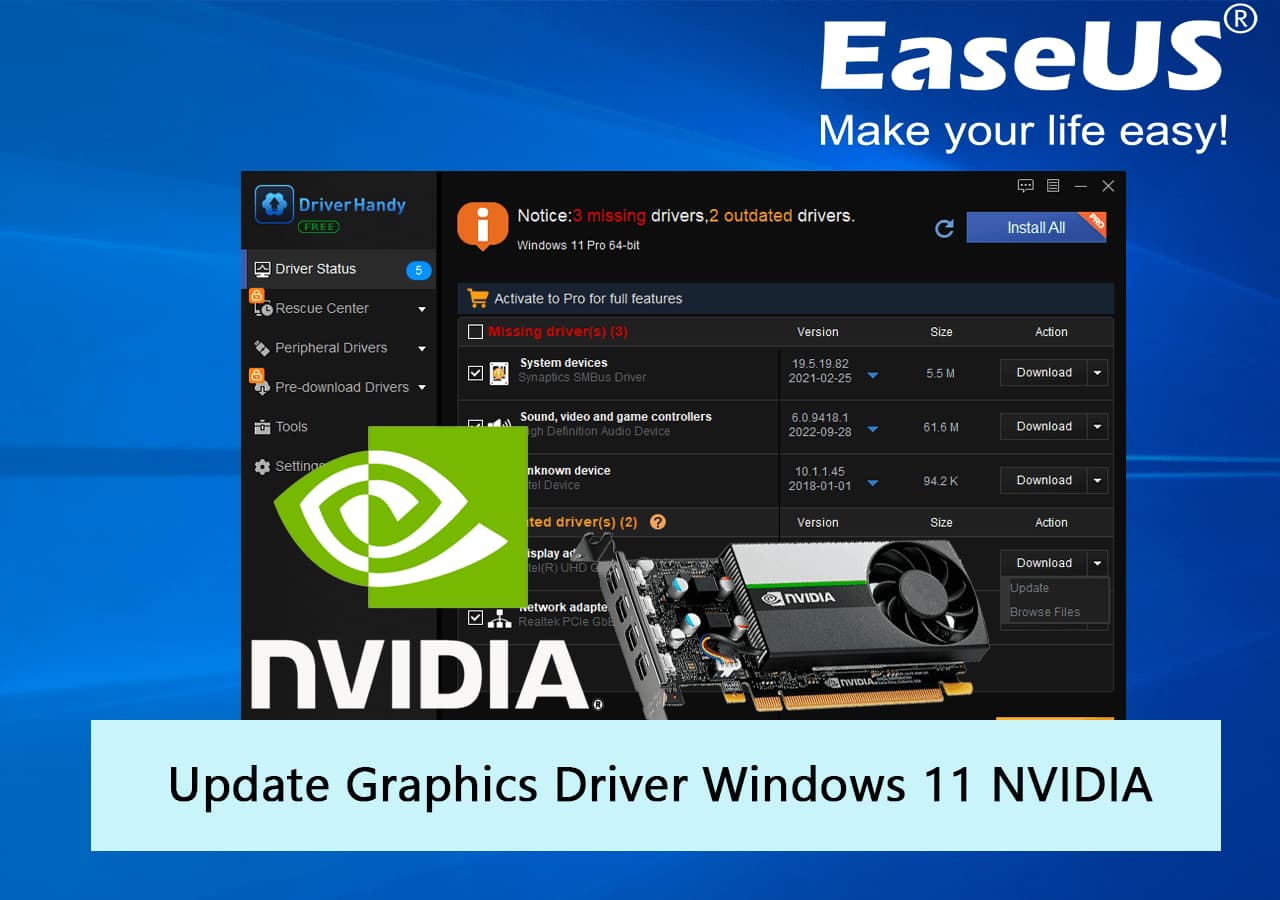
- Download and Install AMD Adrenalin Software: If you don’t have it, download the AMD Radeon Software Adrenalin Edition from the official AMD website. Ensure you select the correct driver for your specific GPU and operating system. Install it.
- Launch AMD Radeon Software: Open the application.
- Navigate to the Home or Gear Icon: You can often find update options on the “Home” screen or by clicking the “Gear” (Settings) icon in the top right corner.
- Check for Updates: Look for a “Check for Updates” button or a section indicating current and available driver versions. AMD software typically has a prominent notification when a new driver is available.
- Download and Install: Click to download the new driver. Once downloaded, you’ll be prompted to install. AMD’s installer also offers options like:
- Express Install: Standard installation.
- Custom Install: Allows more control, including the crucial “Factory Reset” option, which performs a clean installation by removing all previous AMD driver components and settings. This is highly recommended.
- Follow On-Screen Prompts: The installation will proceed, with potential screen flickers. A restart is usually necessary after completion.
For Intel Integrated GPUs
Intel also provides a utility called the “Intel Driver & Support Assistant.” Download and run this tool, and it will automatically scan your system for available updates for Intel graphics, chipsets, and other components.
Method 2: Manual Download and Installation
This method involves directly downloading the driver package from the manufacturer’s website and running the installer. It’s particularly useful if the automated software isn’t working, you need a specific older driver version, or if you prefer a more hands-on approach.
- Visit the Official Manufacturer Website:
- NVIDIA:
nvidia.com/drivers - AMD:
amd.com/en/support - Intel:
intel.com/content/www/us/en/support/detect.html
- NVIDIA:
- Enter Your GPU Information: Use the identification details you gathered earlier (manufacturer, series, model, operating system). The websites have dropdown menus or search functions to help you pinpoint the correct driver.
- Download the Latest Driver: Select the latest stable driver version. Avoid beta drivers unless you’re an advanced user looking to test new features and are prepared for potential instability.
- Run the Installer: Locate the downloaded
.exefile and double-click it to start the installation. - Choose Installation Type: Similar to the manufacturer software, the manual installer will typically offer “Express” or “Custom” options. Again, a custom installation with a clean install option is often preferred.
- Complete the Installation: Follow the on-screen instructions, allowing the installer to complete its process, and reboot your PC if prompted.
Method 3: Through Windows Device Manager (Least Recommended for Gaming GPUs)
While technically possible, updating GPU drivers via Windows Device Manager is generally not the best approach for dedicated gaming or professional graphics cards, as it often installs older, generic drivers rather than the latest optimized versions. It’s more suitable for basic troubleshooting or updating integrated graphics on older systems.
- Open Device Manager: Press
Win + Xand select “Device Manager.” - Expand Display Adapters: Right-click on your GPU (e.g., NVIDIA GeForce RTX 3080).
- Select “Update Driver”: Choose “Search automatically for updated driver software.” Windows will attempt to find a driver online or on your system.
- Alternatively, “Browse my computer for driver software”: If you have already downloaded a driver package (but haven’t run its installer), you can point Windows to the folder containing the extracted driver files.
This method rarely installs the full, feature-rich driver suite that the manufacturer’s dedicated installers provide.
Troubleshooting Common Issues After an Update
Even with the best preparation, driver updates can sometimes introduce unforeseen issues. Knowing how to diagnose and rectify common problems is crucial.
Driver Installation Failures
If the driver fails to install, try the following:
- Restart your PC: A simple reboot can sometimes resolve temporary glitches preventing installation.
- Temporarily Disable Antivirus: Security software can sometimes interfere with driver installations. Remember to re-enable it afterward.
- Run as Administrator: Right-click the installer and choose “Run as administrator.”
- Download Again: The downloaded file might be corrupted. Re-download it.
- Use DDU (Display Driver Uninstaller): For persistent issues, a third-party tool called Display Driver Uninstaller (DDU) can thoroughly remove all remnants of previous drivers in Safe Mode, allowing for a truly clean installation. This is a powerful tool and should be used with caution, following its instructions precisely.
Performance Degradation or Instability
Occasionally, a new driver might introduce performance issues or system instability.
- Check Release Notes: Review the driver release notes for known issues or specific settings that might need adjustment.
- Roll Back Driver: If the new driver is causing problems, you can revert to a previous version. In Device Manager, right-click your GPU, go to “Properties,” then the “Driver” tab, and click “Roll Back Driver.” This option is only available if a previous driver version is stored.
- Reinstall an Older Stable Driver: If rolling back isn’t an option, manually download and clean-install a known stable driver version from the manufacturer’s archives.
Screen Flickering or Black Screens
These issues often point to driver conflicts or resolution problems.
- Enter Safe Mode: If your screen is unusable, boot into Windows Safe Mode (search online for instructions for your Windows version) to troubleshoot or roll back the driver.
- Check Cable Connections: Ensure your monitor cables are securely connected.
- Verify Resolution/Refresh Rate: After an update, display settings might reset. Check your display resolution and refresh rate in Windows Display Settings.
Rolling Back to a Previous Driver Version
If a new driver causes more problems than it solves, rolling back is a viable solution.
- Device Manager: Open Device Manager (
Win + X> “Device Manager”). - Locate GPU: Expand “Display adapters” and double-click your GPU.
- Driver Tab: Go to the “Driver” tab.
- Roll Back Driver: If the option is available, click “Roll Back Driver” and follow the prompts.
- Manual Reinstallation: If “Roll Back Driver” is greyed out, you’ll need to manually download and perform a clean installation of a previously stable driver version from your GPU manufacturer’s website.
Best Practices for GPU Driver Management
Maintaining a healthy GPU driver environment goes beyond just knowing how to update; it involves establishing smart habits.
Regular Checks and Timely Updates
Aim to check for new drivers at least once a month, or whenever a major new game or software update is released. While it’s tempting to immediately install every new driver, sometimes waiting a few days after a release can be beneficial, allowing others to encounter and report any critical bugs that might have slipped through testing. However, don’t let your drivers become severely outdated.
Monitoring Release Notes
Always take a moment to read the release notes accompanying a new driver. These notes detail performance improvements, bug fixes, new feature support, and any known issues. This information can help you decide if an update is critical for your use case or if it might introduce a compatibility problem with your specific setup.
Clean Installation vs. Express Installation
While “Express Installation” is convenient, prioritize “Custom” or “Advanced” installation options that allow for a “clean installation” (NVIDIA) or “Factory Reset” (AMD) whenever possible. This preventative measure helps avoid driver conflicts and ensures your system benefits from the update without inheriting issues from previous installations.
Keeping your GPU drivers updated is an ongoing process, but one that pays dividends in performance, stability, and access to the latest graphical technologies. By understanding the importance, preparing adequately, and following these step-by-step instructions, you can ensure your PC’s graphics performance remains at its peak, providing you with a smoother, more reliable, and more visually stunning computing experience.
aViewFromTheCave is a participant in the Amazon Services LLC Associates Program, an affiliate advertising program designed to provide a means for sites to earn advertising fees by advertising and linking to Amazon.com. Amazon, the Amazon logo, AmazonSupply, and the AmazonSupply logo are trademarks of Amazon.com, Inc. or its affiliates. As an Amazon Associate we earn affiliate commissions from qualifying purchases.