Minecraft, the sandbox game that has captivated millions, offers boundless creativity and adventure. Whether you’re embarking on your first digital build or seeking to expand your existing world, the journey begins with a successful installation. This guide will walk you through the process of installing Minecraft, covering the essential steps and considerations for various platforms, all within the broader context of technology and digital access.
The process of installing software like Minecraft is a fundamental aspect of our increasingly digital lives. It involves understanding digital storefronts, managing account credentials, and navigating operating system interfaces. For those interested in the tech landscape, understanding software installation is a gateway to exploring new applications, optimizing digital workflows, and even dabbling in the world of digital security. Furthermore, a smooth installation is the first step towards experiencing the entertainment and creative potential that games like Minecraft offer, contributing to our leisure time and potentially even sparking an interest in digital creation and problem-solving.
Understanding Minecraft and Its Editions
Before diving into the installation process, it’s crucial to understand the different versions of Minecraft available, as this will dictate the installation method. Mojang Studios, the developer behind Minecraft, offers several editions tailored to different platforms and playstyles.
The Core Minecraft Experience: Java Edition vs. Bedrock Edition
The most significant distinction lies between the Minecraft: Java Edition and Minecraft: Bedrock Edition.
-
Minecraft: Java Edition: This is the original version of Minecraft, renowned for its extensive modding community, customizability, and cross-platform play with other Java Edition players (primarily on Windows, macOS, and Linux). It’s often the preferred choice for players who enjoy deep customization and have access to powerful PC hardware. The installation for Java Edition is generally more straightforward, involving downloading an installer directly from the official Minecraft website.
-
Minecraft: Bedrock Edition: This edition is designed for broader accessibility and cross-platform play across a wider range of devices, including Windows 10/11, Xbox, PlayStation, Nintendo Switch, iOS, and Android. If you want to play with friends on different consoles or mobile devices, Bedrock Edition is the way to go. The installation process for Bedrock Edition typically involves downloading it from the respective platform’s digital storefront (e.g., Microsoft Store, PlayStation Store, Nintendo eShop).
It’s important to note that these two editions are not cross-compatible, meaning a Java Edition player cannot join a Bedrock Edition server, and vice versa. Choosing the right edition based on your intended playmates and device is the first strategic decision you’ll make.
Choosing Your Platform: PC, Console, or Mobile
The platform you intend to play Minecraft on will heavily influence the installation method.
-
PC (Windows, macOS, Linux): Both Java Edition and Bedrock Edition are available for PC. Java Edition is typically downloaded from the official Minecraft website, while Bedrock Edition can be acquired through the Microsoft Store on Windows. Linux users primarily interact with the Java Edition.
-
Consoles (Xbox, PlayStation, Nintendo Switch): Minecraft: Bedrock Edition is the primary version available on these consoles. Installation involves purchasing and downloading the game from the console’s respective digital marketplace.
-
Mobile Devices (iOS, Android): Minecraft: Bedrock Edition is available for download on the Apple App Store and Google Play Store. The installation process mirrors that of other mobile applications.
Installing Minecraft: Step-by-Step Guides by Platform
Now that you’ve understood the different editions and platforms, let’s delve into the practical steps for installing Minecraft on each.
Installing Minecraft: Java Edition on PC
For PC users who prefer the flexibility and modding capabilities of the Java Edition, the installation process is as follows:
-
Visit the Official Minecraft Website: Open your web browser and navigate to the official Minecraft website: minecraft.net.
-
Purchase or Log In: If you don’t already own Minecraft: Java Edition, you’ll need to purchase it. Click on “Get Minecraft” and follow the prompts to create a Mojang account (which is now integrated with Microsoft accounts) and complete the purchase. If you already own it, log in to your account.
-
Download the Minecraft Launcher: After purchasing or logging in, you’ll find an option to download the Minecraft Launcher. Click on the appropriate download link for your operating system (Windows or macOS).
-
Run the Installer: Locate the downloaded installer file (e.g.,
MinecraftInstaller.msifor Windows,Minecraft.dmgfor macOS) and run it.-
Windows: Follow the on-screen instructions. You’ll typically need to agree to the license terms, choose an installation location (the default is usually fine), and click “Install.”
-
macOS: Drag the Minecraft application icon to your Applications folder.
-
-
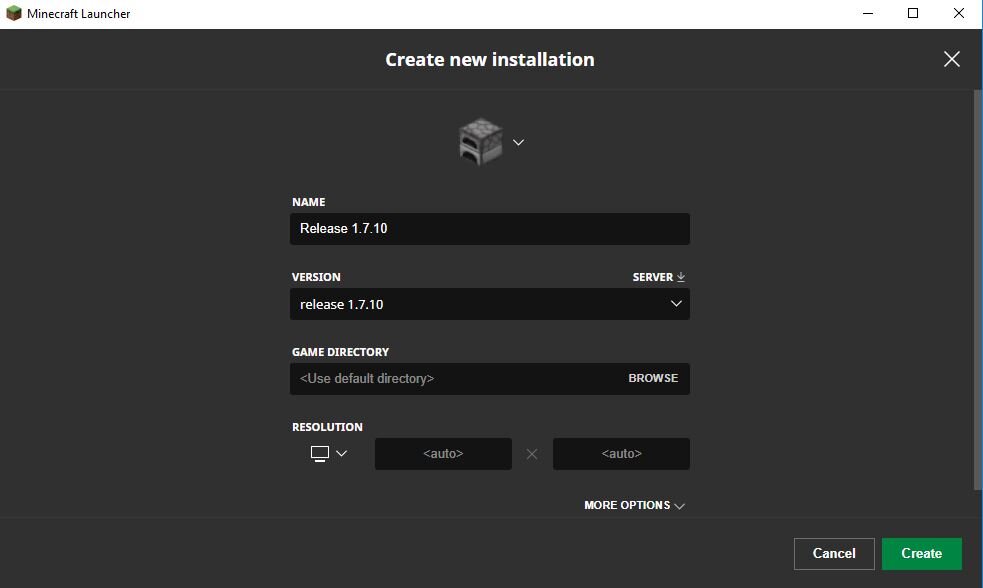
Launch the Minecraft Launcher: Once the installation is complete, launch the Minecraft Launcher from your desktop shortcut or Applications folder.
-
Log In to Your Account: Within the launcher, you’ll be prompted to log in using the credentials of the Mojang/Microsoft account you used to purchase the game.
-
Select Your Profile and Play: After logging in, you can select the desired Minecraft version (e.g., the latest release) and click the “Play” button. The launcher will download the necessary game files, and Minecraft will launch.
This process highlights the ease with which software can be deployed on personal computers, a cornerstone of modern technology. For many, the ability to download and install software directly empowers them to customize their digital environment and access a vast array of tools and entertainment.
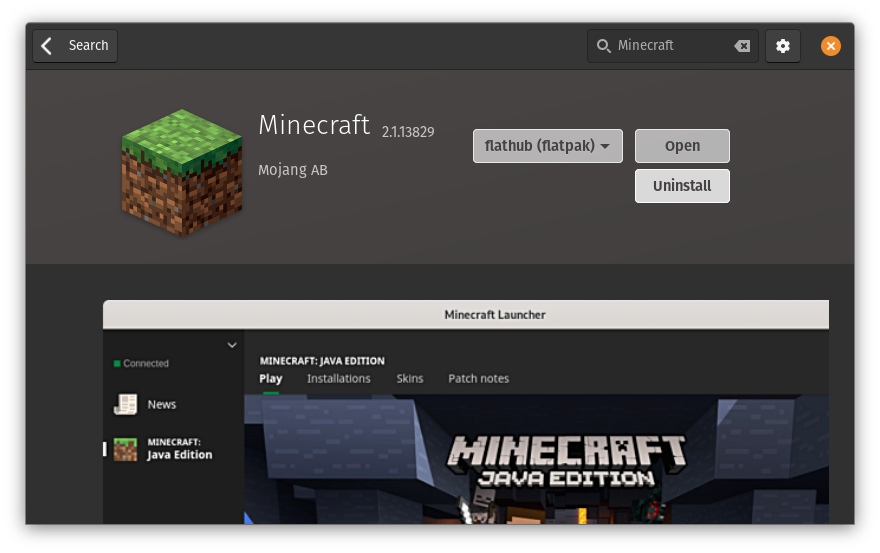
Installing Minecraft: Bedrock Edition on PC (Microsoft Store)
For Windows 10 and 11 users who opt for the Bedrock Edition, installation is handled through the Microsoft Store, offering a familiar and integrated experience.
-
Open the Microsoft Store: Launch the Microsoft Store app on your Windows PC. You can find it by searching for “Microsoft Store” in the Windows search bar.
-
Search for Minecraft: In the Microsoft Store’s search bar, type “Minecraft” and press Enter.
-
Select the Correct Edition: You will likely see multiple Minecraft titles. Ensure you select “Minecraft for Windows” (which is the Bedrock Edition). If you own it on another platform and want to access it on PC, you might be able to claim it without a repurchase if your account is linked correctly.
-
Purchase or Install: If you haven’t purchased Minecraft: Bedrock Edition for your Microsoft account, click “Buy” and follow the on-screen instructions to complete the transaction. If you already own it, click “Install.”
-
Download and Installation: The Microsoft Store will automatically download and install the game. You can monitor the progress in the “Downloads and updates” section of the store.
-
Launch Minecraft: Once installed, you can launch Minecraft from your Start Menu or by clicking the “Play” button in the Microsoft Store. You will be prompted to log in with your Microsoft account.
This method showcases how digital storefronts streamline software acquisition and installation, making it akin to purchasing and downloading any other application. It also touches upon the concept of digital ownership and account management, crucial aspects of our online presence.
Installing Minecraft on Consoles (Xbox, PlayStation, Nintendo Switch)
Installing Minecraft: Bedrock Edition on gaming consoles is a straightforward process, leveraging the platform’s dedicated digital marketplaces.
-
Access the Console’s Digital Store:
- Xbox: Navigate to the “Microsoft Store” on your Xbox dashboard.
- PlayStation: Open the “PlayStation Store” on your PS4 or PS5.
- Nintendo Switch: Launch the “Nintendo eShop.”
-
Search for Minecraft: Use the store’s search function to find “Minecraft.”
-
Purchase and Download: Select the Minecraft title. If you don’t own it, purchase it using your console’s payment method. Once purchased, select “Download” or “Install.”
-
Installation: The console will automatically download and install the game. You can typically check the download progress in your console’s notification or download management area.
-
Launch Minecraft: After installation, the Minecraft icon will appear in your console’s game library or on the main dashboard. Select it to launch the game. You will be prompted to log in with your Microsoft account to enable cross-platform play and access other online features.
The console installation process underscores the centralized nature of digital content distribution on these platforms. It’s designed for ease of use, allowing gamers to quickly jump into their favorite titles with minimal technical intervention.
Installing Minecraft on Mobile Devices (iOS and Android)
For those who prefer gaming on the go, installing Minecraft: Bedrock Edition on iOS and Android devices is as simple as downloading any other app.
-
Open Your Device’s App Store:
- iOS: Open the “App Store.”
- Android: Open the “Google Play Store.”
-
Search for Minecraft: Use the search bar to type “Minecraft.”
-
Purchase and Install: Locate the official Minecraft app. If you haven’t purchased it, tap “Buy” or the price button and complete the transaction. If you’ve previously purchased it on your account, tap “Install” or the cloud download icon.
-
Download and Installation: The app will download and install automatically.
-
Launch Minecraft: Once installed, the Minecraft icon will appear on your home screen or app drawer. Tap it to open the game. You may be prompted to log in with your Microsoft account for features like cross-platform play and Realms.
This mobile installation mirrors the ubiquitously simple process of acquiring any application on a smartphone or tablet, a testament to the user-friendly design of modern mobile operating systems.
Post-Installation: Getting Started and Troubleshooting
Once Minecraft is successfully installed, your adventure is just beginning. Here are some tips to get you started and common issues you might encounter.
Your First Steps into the World of Minecraft
After launching the game, you’ll typically be greeted by the main menu.
-
Singleplayer: Select “Singleplayer” to create a new world or load an existing one. You can customize world generation settings, choose your game mode (Survival, Creative, Adventure, Spectator), and set the difficulty.
-
Multiplayer: If you wish to play with others, select “Multiplayer.” You can join servers (by entering their IP address), play with friends on a local network, or connect to Minecraft Realms (Mojang’s official server hosting service).
-
Settings: Don’t forget to explore the “Options” or “Settings” menu to adjust graphics, controls, audio, and other preferences to your liking. This is where you can truly personalize your gaming experience.
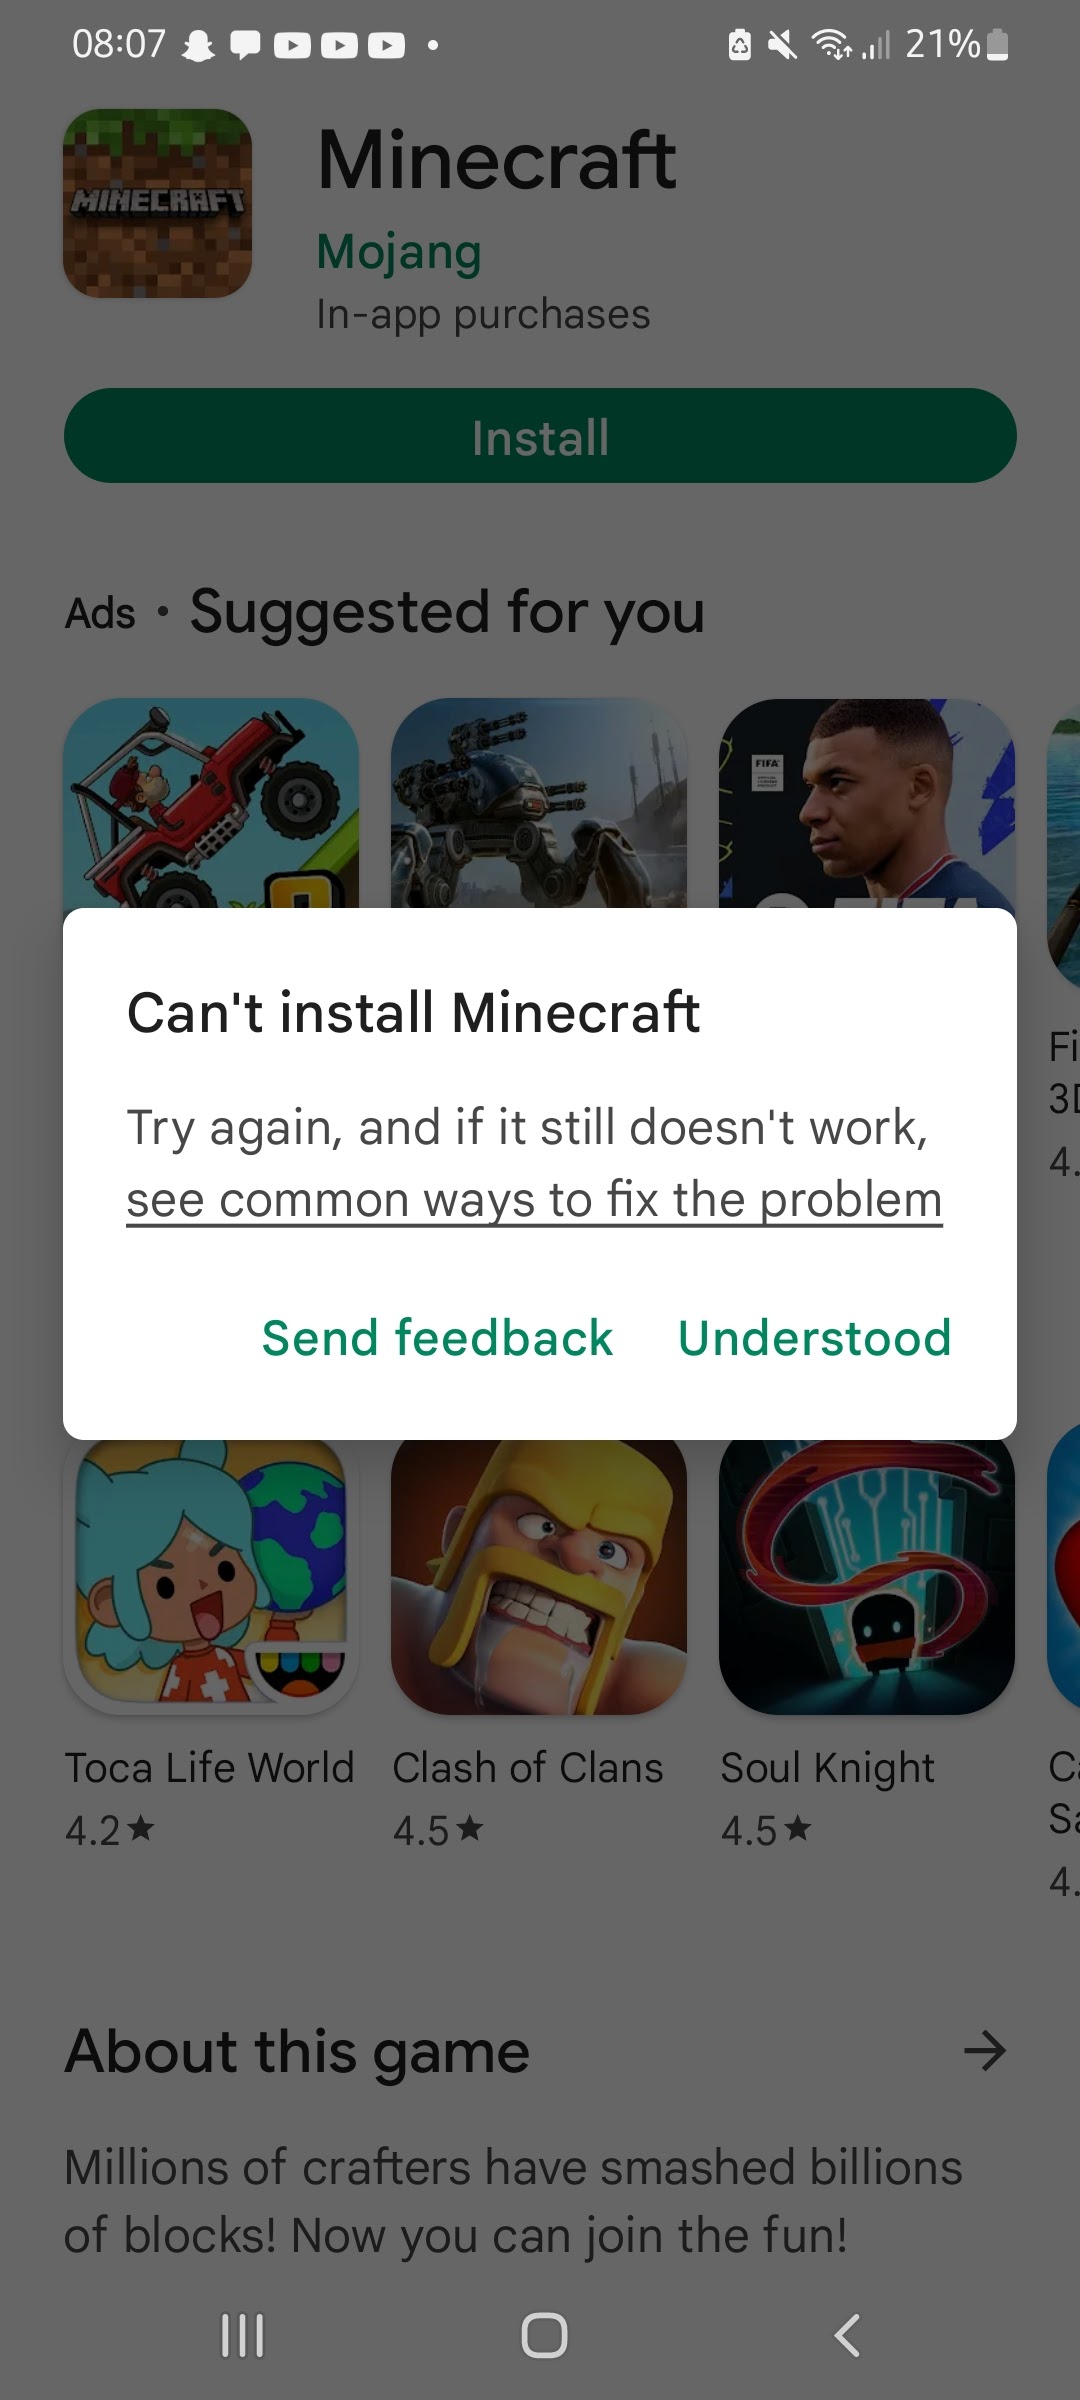
Common Installation Issues and Solutions
While the installation process is generally smooth, occasional hiccups can occur.
-
Download Errors: If you encounter download errors, check your internet connection. A stable connection is vital for downloading large game files. Sometimes, restarting your device or router can resolve temporary network issues.
-
Installation Failures: If an installation fails to complete, ensure you have sufficient disk space on your device. For PC installations, try running the installer as an administrator. On consoles, a corrupted download might require deleting the partially installed game and re-downloading it.
-
Account Login Problems: Double-check your username and password for your Mojang/Microsoft account. If you’ve forgotten your password, use the “Forgot Password” option on the login screen or the official Microsoft account recovery page.
-
Game Crashes: If Minecraft crashes after installation, ensure your device’s operating system and graphics drivers are up to date. For Java Edition, mods can sometimes cause instability; try running the game without any installed mods to see if the issue persists.
Troubleshooting is an integral part of the tech experience. Being able to diagnose and resolve common software issues empowers users to maintain their digital environments and continue enjoying their chosen applications without prolonged interruption.
In conclusion, installing Minecraft, regardless of your chosen platform, is a relatively straightforward process. By understanding the different editions and following the platform-specific guides, you can quickly get into the game and begin your creative journey. The ease of access to such a rich and engaging experience is a testament to the advancements in digital distribution and user-friendly software design, making Minecraft accessible to a global audience and fostering a vibrant community of builders, explorers, and adventurers.
aViewFromTheCave is a participant in the Amazon Services LLC Associates Program, an affiliate advertising program designed to provide a means for sites to earn advertising fees by advertising and linking to Amazon.com. Amazon, the Amazon logo, AmazonSupply, and the AmazonSupply logo are trademarks of Amazon.com, Inc. or its affiliates. As an Amazon Associate we earn affiliate commissions from qualifying purchases.