Minecraft has evolved from a simple sandbox project into one of the most significant pieces of software in the history of interactive media. For the end-user, the process of getting the game up and running—while streamlined over the years—remains a multi-faceted procedure depending on the hardware and operating system in use. Whether you are deploying the game on a high-end workstation or a mobile device, understanding the technical nuances of the installation process ensures a stable and optimized gaming experience.
This guide provides a professional, step-by-step walkthrough on how to install Minecraft across various digital ecosystems, covering system requirements, account management, and platform-specific configurations.
Understanding Minecraft Editions: Java vs. Bedrock
Before beginning the installation, it is critical to distinguish between the two primary technical architectures of the game. Choosing the wrong version can lead to compatibility issues with friends or hardware.
Minecraft: Java Edition (The PC Classic)
The Java Edition is the original version of the game, developed primarily for Windows, macOS, and Linux. Built on the Java programming language, this version is highly flexible and favored by the technical community for its extensive modding capabilities. If your goal is to utilize third-party shaders, complex software modifications, or join specific legacy servers, the Java Edition is the standard. It requires a Java Runtime Environment (JRE), though modern installers often bundle a standalone version to simplify the process.
Minecraft: Bedrock Edition (The Cross-Platform Standard)
The Bedrock Edition, often simply referred to as “Minecraft,” is written in C++. It is designed for cross-platform play across Windows (10 and 11), Xbox, PlayStation, Nintendo Switch, iOS, and Android. From a technical standpoint, the Bedrock Edition is often better optimized for lower-end hardware and provides a more unified multiplayer experience. On PC, this version is distributed through the Microsoft Store, whereas the Java Edition has traditionally been distributed via the standalone Minecraft Launcher.
Pre-Installation Requirements: Preparing Your Hardware and Software
A successful software deployment begins with ensuring the host environment meets the necessary specifications. Minecraft, while visually stylized, can be resource-intensive, particularly regarding CPU and RAM usage.
System Requirements for Desktop Platforms
To ensure the software runs without latent performance issues, your system should meet the following minimum and recommended requirements:
- Operating System: Windows 10 (version 1903 or higher), macOS 10.14.5 Mojave or newer, or a modern distribution of Linux (Ubuntu 18.04+, Debian 9+, etc.).
- Processor: Intel Core i3-3210 or AMD A8-7600 APU as a minimum. For a professional-grade experience, an Intel Core i5-4690 or AMD Ryzen 5 is recommended.
- Memory: At least 4GB of RAM is required, but 8GB is highly recommended to handle the Java Virtual Machine’s (JVM) overhead, especially when using high-render distances.
- Graphics: Integrated graphics like Intel HD 4000 are functional, but a dedicated GPU such as an NVIDIA GeForce 700 series or AMD Radeon Rx 200 series provides the necessary throughput for stable frame rates.
Account Security and Digital Entitlement
Since 2021, a Microsoft account has become mandatory for all Minecraft versions. This transition was implemented to enhance digital security, offering multi-factor authentication (MFA) and centralized management. Before installing, ensure you have a valid Microsoft account and that you have purchased the “Minecraft: Java & Bedrock Edition for PC” bundle, which now provides access to both versions under a single license.
Step-by-Step Installation Guide for Desktop (Windows, macOS, and Linux)
The installation process for PC users has been consolidated into the “Minecraft Launcher,” a centralized hub that manages game files, versions, and user profiles.
Downloading the Minecraft Launcher
To begin, navigate to the official Minecraft website. It is vital to avoid third-party “cracked” installers, as these often contain malicious scripts or outdated binaries that compromise digital security.
- Visit Minecraft.net and log in with your Microsoft credentials.
- Navigate to the “Download” section. The website will usually auto-detect your operating system.
- For Windows users, download the Minecraft Installer.exe or the version available through the Microsoft Store. For macOS users, download the Minecraft.dmg file.
Executing the Installation File
Once the installer is downloaded, run the executable. The setup wizard will guide you through the directory selection.
- Windows: By default, the game installs to
C:Program Files (x86)Minecraft Launcher. The installer will also create a directory in%appdata%.minecraft, where your world data, screenshots, and resource packs will be stored. - macOS: Open the .dmg file and drag the Minecraft icon into your Applications folder. The game data is stored in
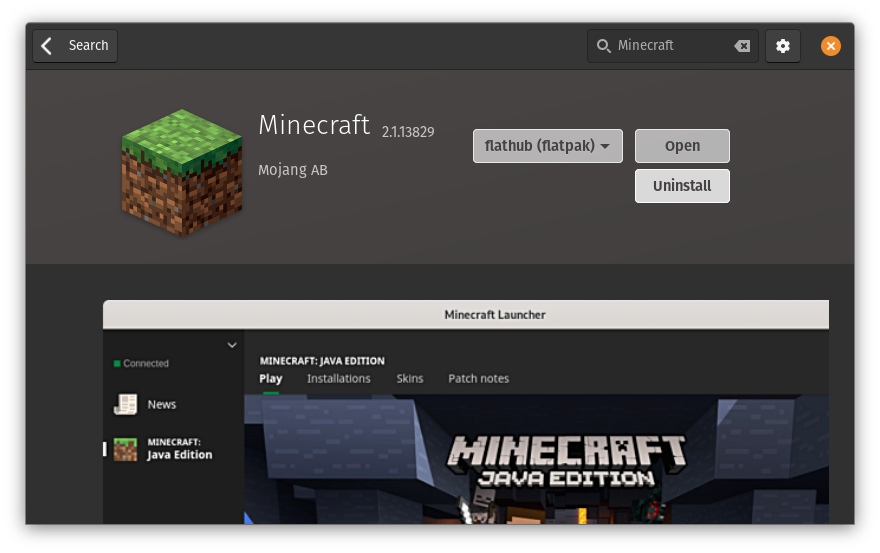
~/Library/Application Support/minecraft. - Linux: Depending on your distro, you may use a
.debpackage or an Arch-based AUR package. Ensure you have the proper graphics drivers (Mesa for AMD/Intel or the proprietary NVIDIA driver) installed.
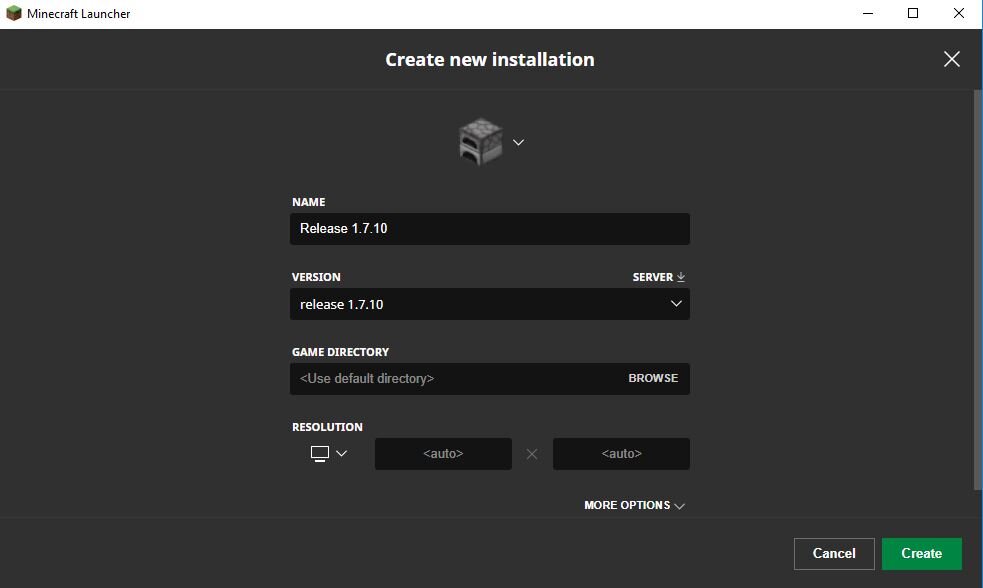
Logging In and Version Selection
Upon launching the software, you will be prompted to log in via your Microsoft account. The Launcher interface allows you to create “Installations.” This is a sophisticated feature that lets you run different versions of the game (e.g., the latest stable release vs. a specific older version for mod compatibility).
Click the “Play” button. The Launcher will then begin downloading the actual game binaries (approximately 500MB to 1GB). This initial download ensures that you have the most recent assets and libraries required for the game to execute.
Installing Minecraft on Mobile and Gaming Consoles
For non-desktop platforms, the installation follows a more streamlined “app-based” deployment model, where the storefront manages the installation and updates.
iOS and Android Setup
The mobile version of Minecraft (Bedrock Edition) is optimized for touch interfaces and ARM-based processors.
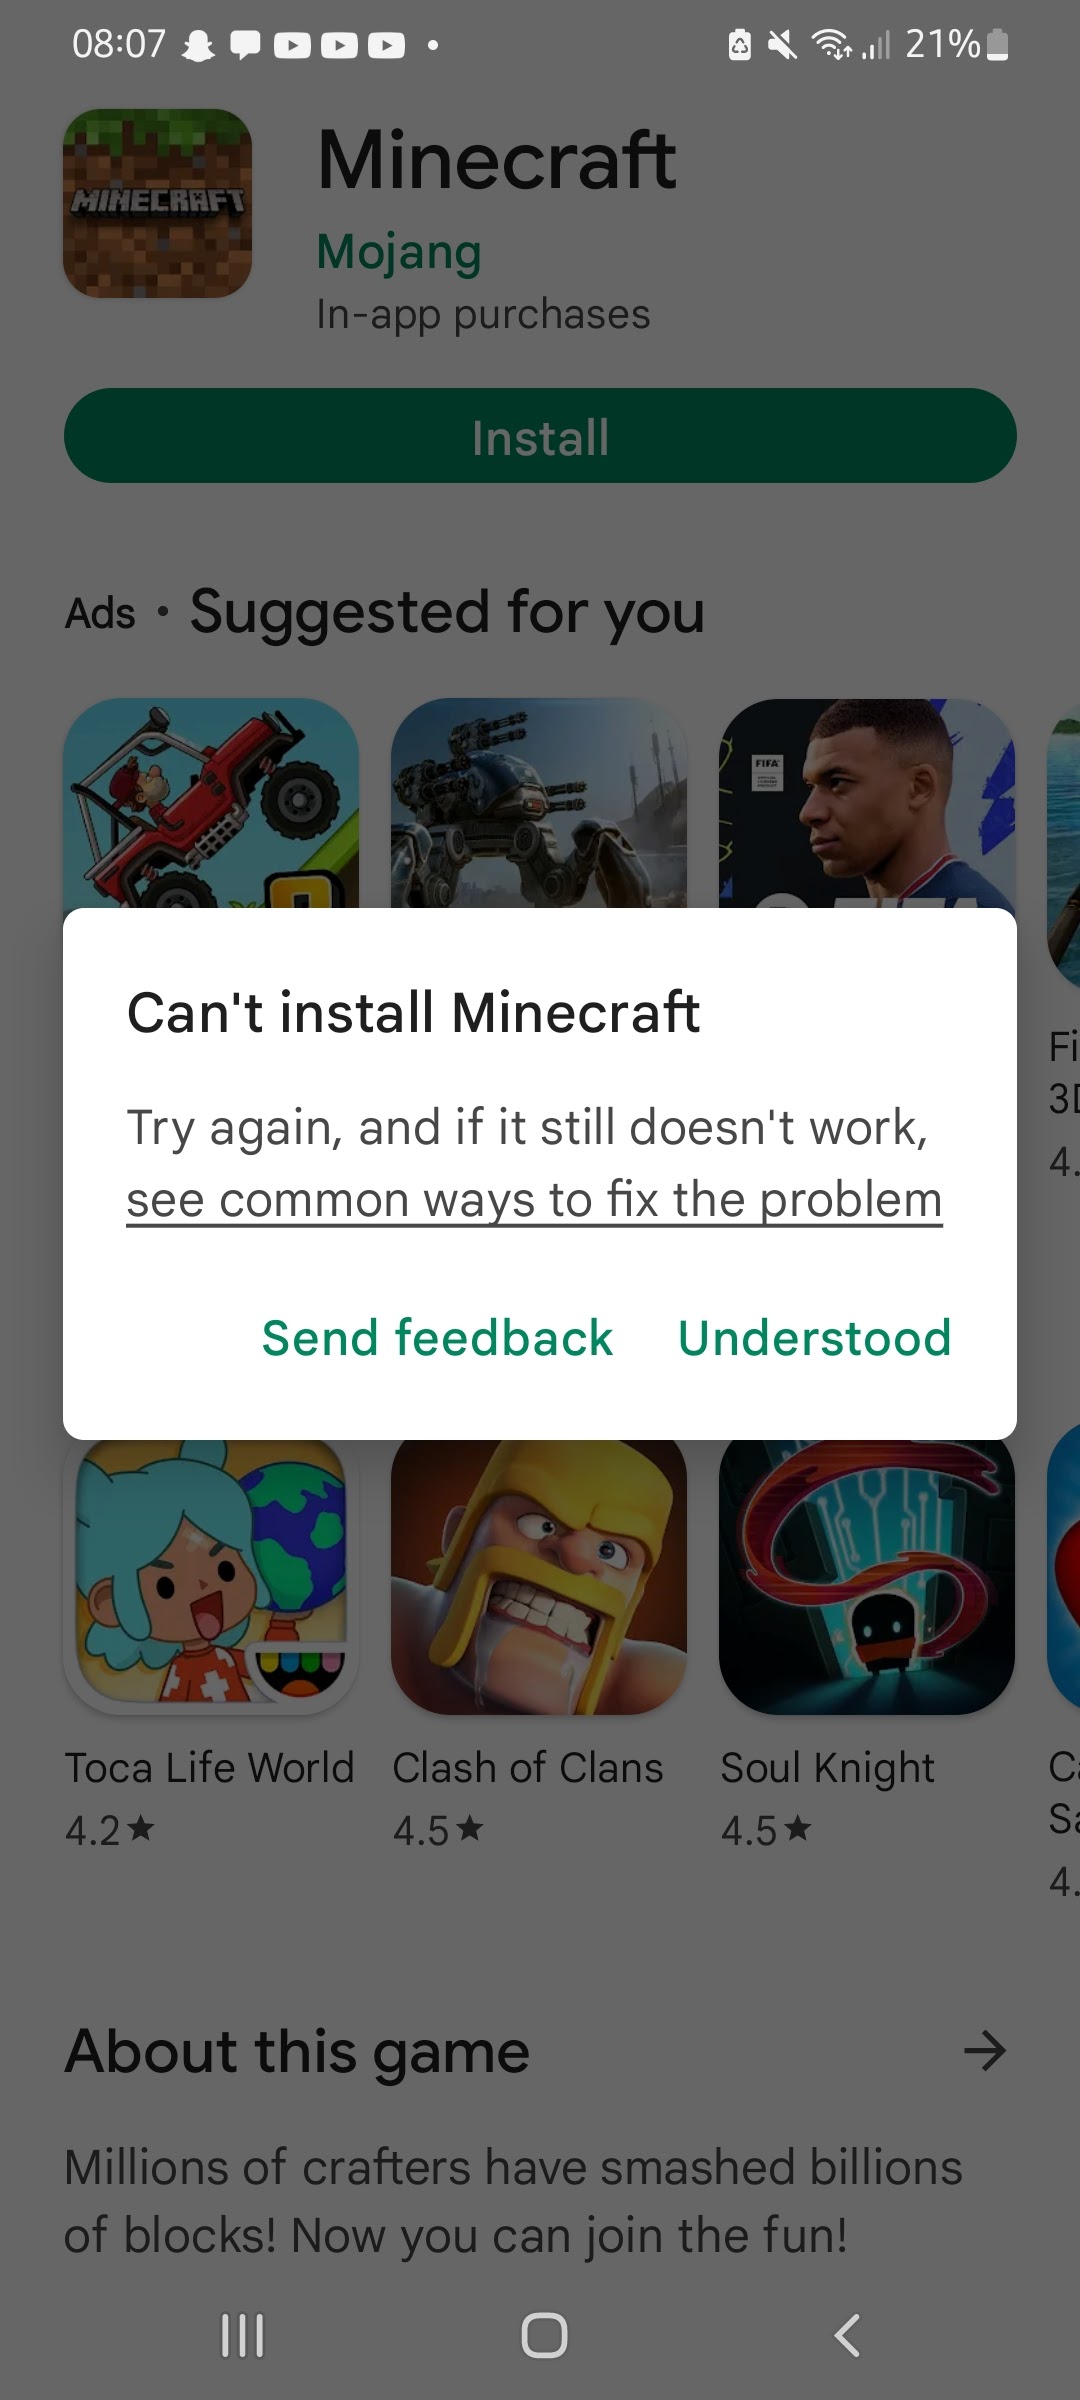
- Open the Apple App Store or Google Play Store.
- Search for “Minecraft.”
- Purchase and tap “Install.”
- Once the download completes, the OS will handle the extraction and placement of files. Note that mobile devices require at least 1GB of free storage space, though 2GB is recommended for long-term world storage and cache.
PlayStation, Xbox, and Nintendo Switch
On consoles, Minecraft is treated as a standard digital or physical title.
- Digital: Navigate to the PlayStation Store, Xbox Games Store, or Nintendo eShop. After purchasing, the game will download and install to your console’s primary storage or external drive.
- Physical: Inserting the disc or cartridge will trigger an automatic installation. It is important to stay connected to the internet during this phase, as the console will likely need to download “Day One” patches to bring the software up to the latest Bedrock version.
Optimizing the Installation: Updates, Mods, and Performance
Installation is only the first step. To maintain a professional and efficient environment, one must understand how to manage the software over time.
Managing Game Updates and Snapshots
Minecraft follows a continuous delivery model. The Launcher will automatically notify you of updates. For those interested in testing upcoming features, you can enable “Snapshots” (Java) or “Previews” (Bedrock). These are beta versions of the software. From a technical standpoint, it is recommended to back up your world files before running them on a snapshot, as these builds may contain bugs that can corrupt save data.
Enhancing Performance via Software Configuration
Once installed, you can optimize the game’s performance by adjusting the Java Virtual Machine (JVM) arguments within the Launcher. For example, allocating more RAM can prevent “stuttering” in the Java Edition.
- Go to the “Installations” tab in the Launcher.
- Select your version and click “More Options.”
- In the “JVM Arguments” field, change
-Xmx2Gto-Xmx4G(if your system has enough physical RAM) to increase the maximum heap size allocated to the game.
Security and Maintenance
To keep your Minecraft installation secure:
- Keep the Launcher Updated: The launcher receives security patches that protect your login tokens.
- Use Official Sources Only: Only download “Mods” or “Shaders” from reputable repositories like CurseForge or Modrinth.
- Regular Backups: Manually copy your
.minecraft/savesfolder to a cloud drive or external storage. In the event of a software crash or OS reinstallation, your digital progress will remain intact.
In conclusion, installing Minecraft is a straightforward process when approached with a clear understanding of the underlying technology. By selecting the appropriate edition, verifying system requirements, and following the correct deployment steps for your platform, you can ensure a robust and high-performing installation of this foundational creative tool.
aViewFromTheCave is a participant in the Amazon Services LLC Associates Program, an affiliate advertising program designed to provide a means for sites to earn advertising fees by advertising and linking to Amazon.com. Amazon, the Amazon logo, AmazonSupply, and the AmazonSupply logo are trademarks of Amazon.com, Inc. or its affiliates. As an Amazon Associate we earn affiliate commissions from qualifying purchases.