In the digital era, typography is more than just a means of displaying text; it is a critical component of user experience, branding, and personal expression. Whether you are a graphic designer working on a high-stakes project, a developer customizing your integrated development environment (IDE), or a casual user looking to spruce up your Word documents, knowing how to handle fonts in Windows 10 is an essential skill. While Windows 10 comes pre-loaded with a diverse library of typefaces like Arial, Times New Roman, and Segoe UI, there are millions of custom fonts available online that can elevate your digital output.
This guide provides an in-depth exploration of how to install, manage, and troubleshoot fonts on Windows 10, ensuring your system remains performant while your creative options remain limitless.
Understanding Font Formats and System Compatibility
Before diving into the installation process, it is vital to understand the technology behind font files. Not all font files are created equal, and choosing the right format can impact how your text renders across different software and hardware.
TrueType Fonts (TTF) vs. OpenType Fonts (OTF)
The two most common font formats you will encounter are TrueType Fonts (.ttf) and OpenType Fonts (.otf).
- TrueType Fonts (TTF): Developed by Apple and Microsoft in the late 1980s, TTF is the most common format. It relies on a single font file for all variations, making it highly compatible with older software and various printer types.
- OpenType Fonts (OTF): A more modern evolution developed by Adobe and Microsoft, OTF is based on the TrueType format but can store much more data. This includes advanced typographic features like ligatures, fractions, and alternate characters (glyphs). For creative professionals, OTF is usually the preferred choice due to its superior scalability and feature set.
Where to Source High-Quality Fonts Safely
From a digital security perspective, it is crucial to source your fonts from reputable repositories. Malicious actors sometimes disguise malware as font files. Stick to well-known platforms such as:
- Google Fonts: An excellent resource for open-source fonts that are optimized for both web and desktop use.
- Adobe Fonts: Included with Creative Cloud subscriptions, offering high-end professional typefaces.
- Dafont or FontSquirrel: Popular for free fonts, but always ensure you check the licensing agreements (Personal Use vs. Commercial Use).
Three Primary Methods to Install Fonts on Windows 10
Windows 10 has evolved significantly since its launch, offering multiple ways to integrate new typefaces into your system. Depending on your comfort level with the interface, you can choose the method that best fits your workflow.
The Quick Method: Using the Right-Click Context Menu
For most users, the quickest way to install a font is through the context menu. This is ideal if you have downloaded a single font file or a small handful of files.
- Extract the Files: Most fonts are downloaded as .zip files. You must right-click the folder and select “Extract All” before you can install them. Windows cannot install fonts directly from a compressed folder.
- Right-Click and Install: Locate the .ttf or .otf file. Right-click on it.
- Choose Your Scope: You will see two options: “Install” and “Install for all users.”
- Install: This installs the font only for the current Windows user account.
- Install for all users: This requires administrator privileges and makes the font available to every person who logs into the computer. This is the recommended choice for shared workstations.
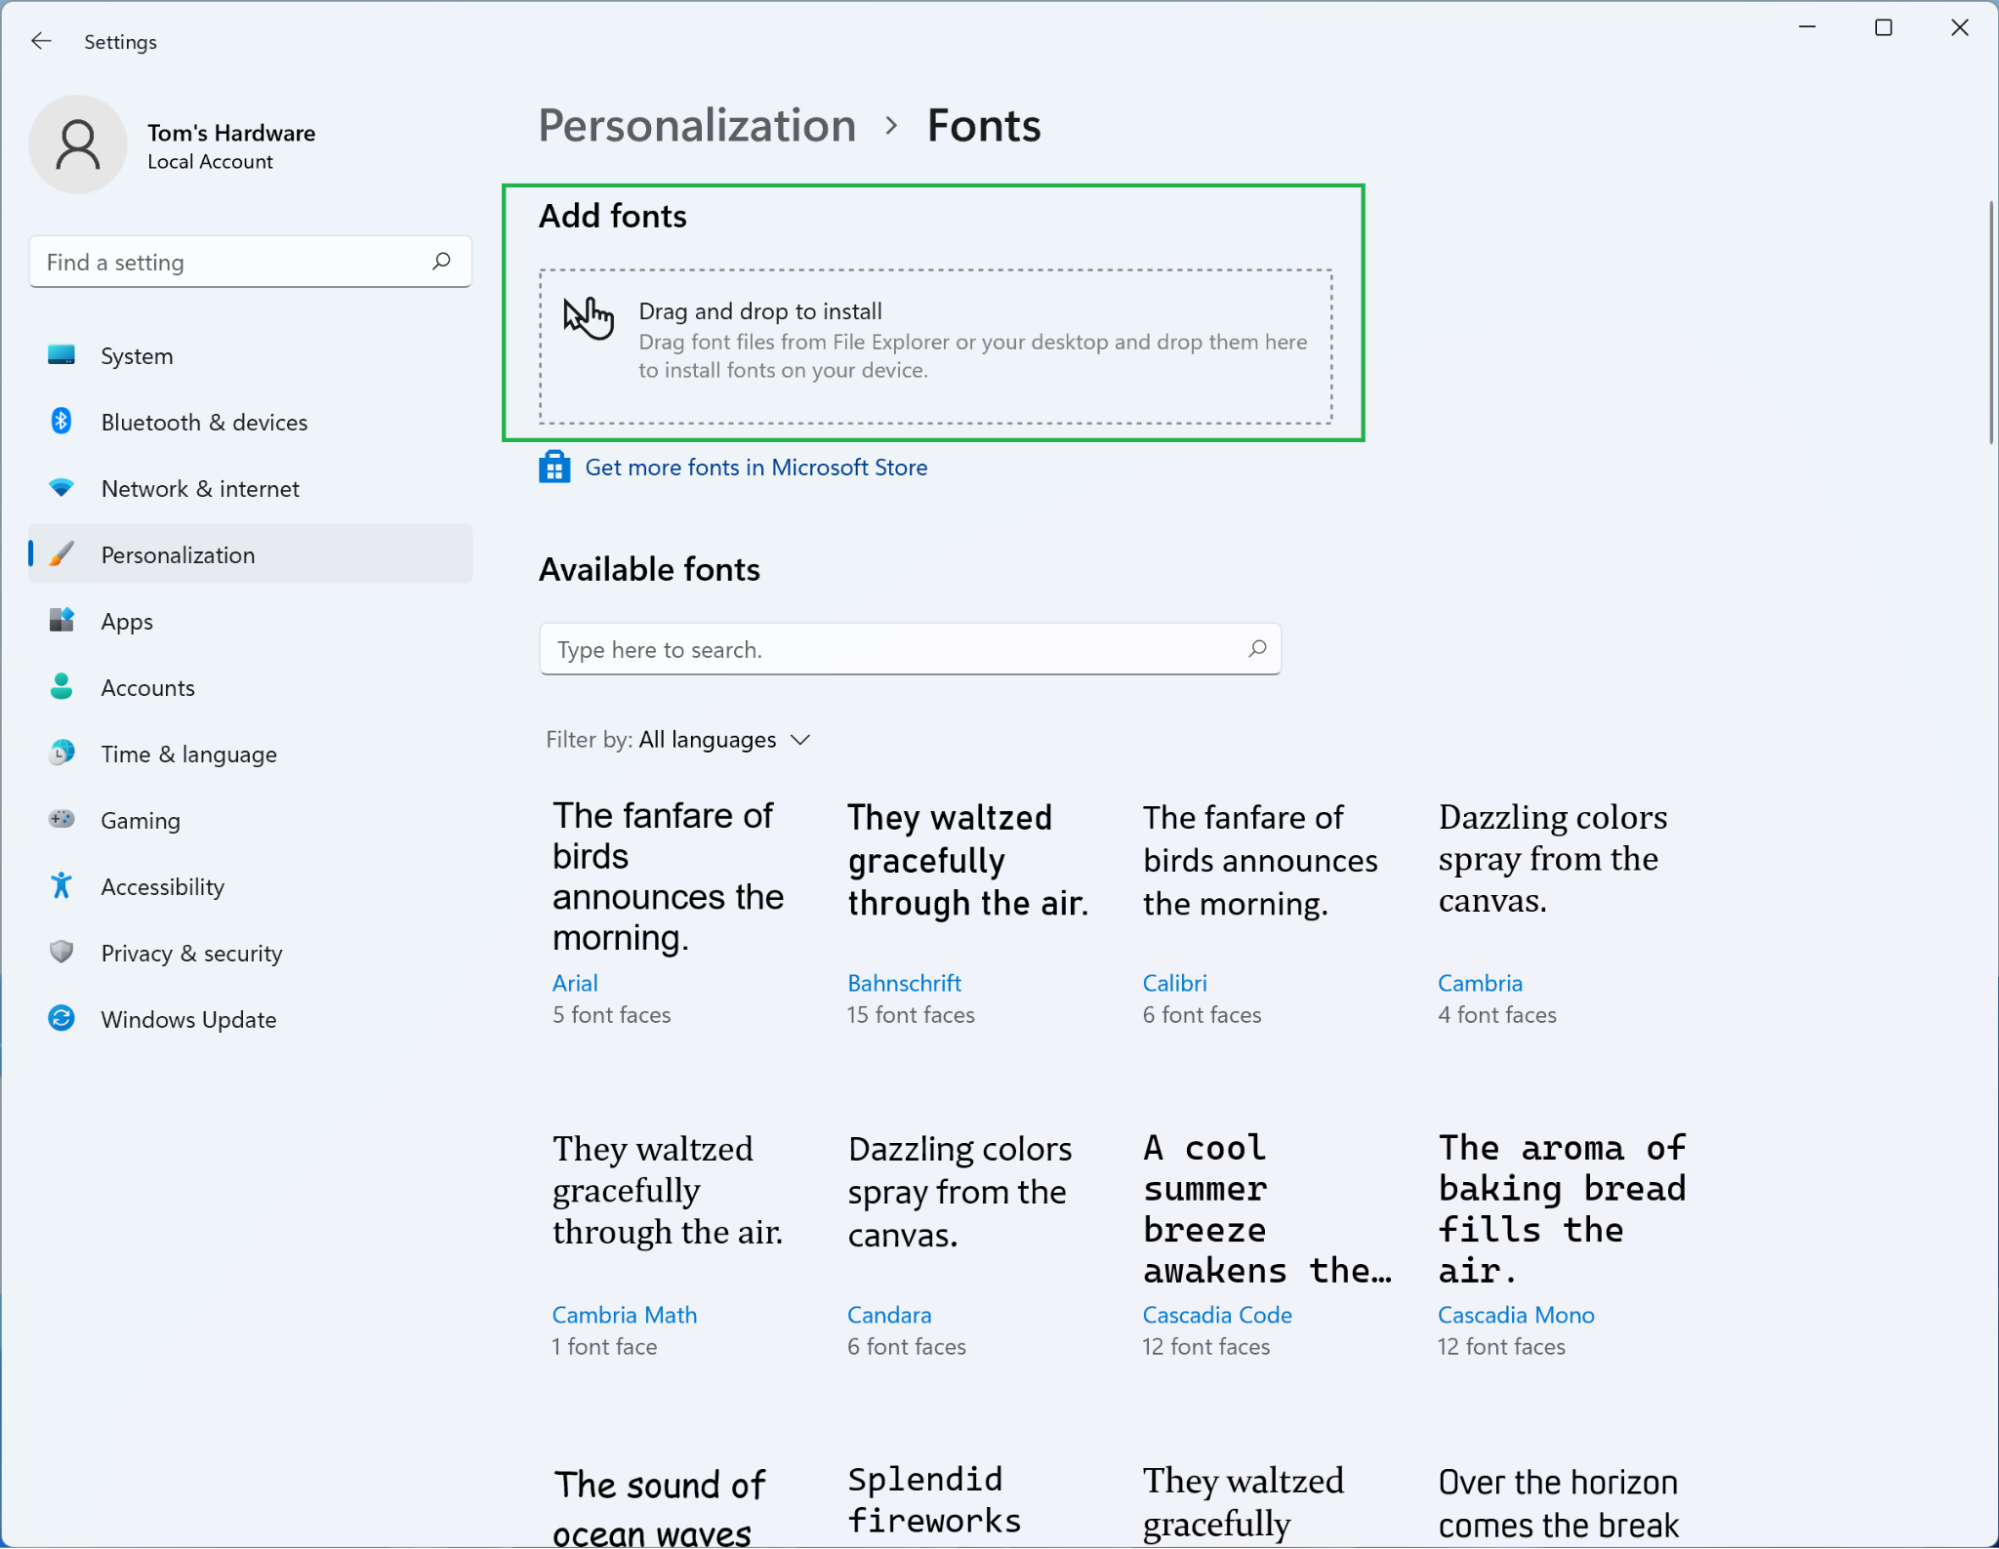
The Visual Approach: Drag and Drop via Settings
The Windows 10 “Settings” app provides a modern, visual way to manage your typography. This method is particularly useful if you want to install multiple fonts at once.
- Open the Start Menu and click the gear icon to open Settings.
- Navigate to Personalization > Fonts.
- You will see a box at the top labeled “Drag and drop to install.”
- Open the folder containing your new fonts, select them all, and drag them into this box. Windows will automatically process the installation, and you will see a progress bar for each font.
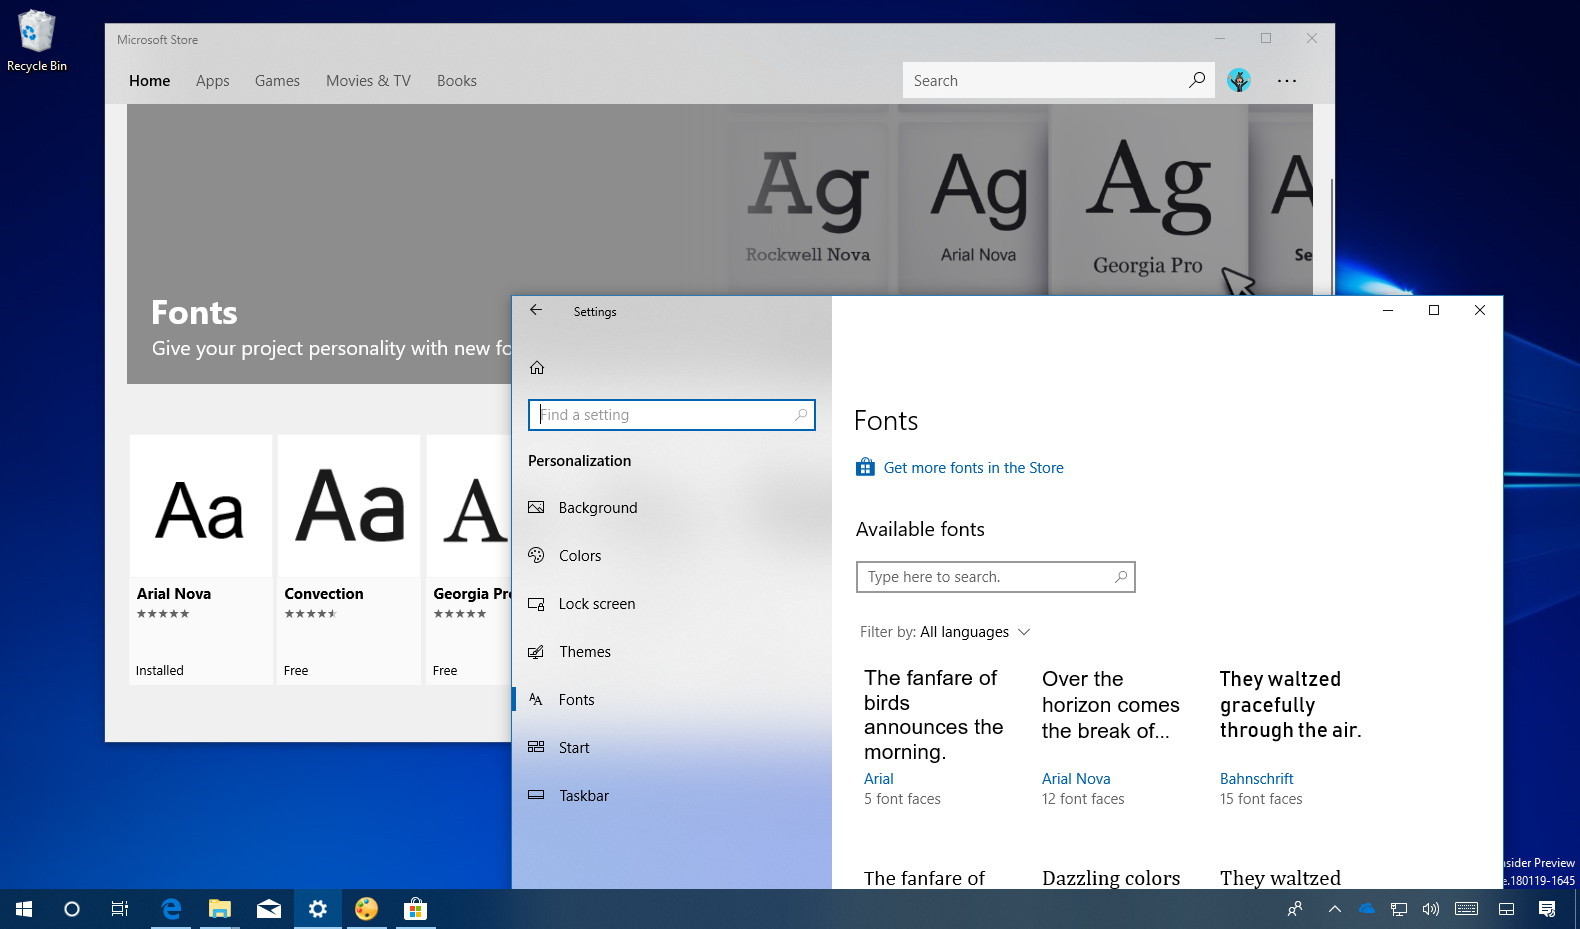
The Ecosystem Method: Using the Microsoft Store
For users who prefer a curated and highly secure experience, the Microsoft Store offers a selection of fonts that integrate seamlessly with the OS.
- In the Fonts settings page (mentioned above), click the link that says “Get more fonts in Microsoft Store.”
- Browse the available collections. Many are free, while some premium families require a purchase.
- Click on a font and select “Get” or “Install.” This method is the “cleanest” because Windows handles the licensing and updates automatically behind the scenes.
Advanced Font Management and Organization
Once you have installed dozens or hundreds of fonts, your system can become cluttered. Managing these assets is important for both system speed and your own productivity.
Previewing and Deleting Fonts
Overloading Windows with too many fonts can occasionally lead to slower boot times or lag in applications like Microsoft Word or Photoshop.
- To Preview: Go to Settings > Personalization > Fonts. Click on any font to see a live preview. You can type custom text into the preview box to see how specific words or sentences look in that typeface.
- To Delete: If you no longer need a font, click on it in the Settings menu and select Uninstall. This removes the file from the
C:WindowsFontsdirectory and frees up system resources.
Font Smoothing and ClearType Settings
Sometimes, a newly installed font might look “jagged” or blurry on your monitor. This is often an issue with how Windows renders pixels.
- Search for “Adjust ClearType text” in the Windows search bar.
- Ensure ClearType is turned on.
- Follow the on-screen wizard, which will show you several samples of text. Choose the ones that look sharpest to your eyes. This calibrates Windows to your specific monitor’s sub-pixel layout, ensuring all your fonts look crisp and professional.
Troubleshooting Common Font Installation Issues
Even with a robust OS like Windows 10, errors can occur during the installation process. Understanding the root causes of these glitches can save you hours of frustration.
Resolving “File is not a valid font file” Errors
This is perhaps the most common error users encounter. It usually happens for one of three reasons:
- Corruption during download: If your internet connection flickers, the file might be incomplete. Try downloading the font again.
- Compressed Folders: As mentioned earlier, trying to install from inside a .zip file will trigger this error. Always extract first.
- Invalid Extension: Ensure the file ends in .ttf or .otf. If it ends in .exe or .lnk, it is not a font file and could potentially be a security risk.
Handling Administrator Permissions and Multi-User Installs
In corporate environments or on shared family computers, you may find that you cannot install fonts. This is because writing data to the C:WindowsFonts directory is considered a system-level change.
If the “Install” option is greyed out, you must log in with an Administrator account. Alternatively, if you only need the font for a specific project in a non-admin environment, some software (like Adobe Creative Cloud) allows you to “activate” fonts for use within their specific apps without installing them system-wide.

Conclusion
Mastering font installation on Windows 10 is a gateway to better design and a more personalized computing experience. By understanding the technical differences between TTF and OTF, utilizing the various installation pathways—from the classic context menu to the modern Microsoft Store—and maintaining your library through the Settings app, you ensure that your digital workspace remains both creative and efficient.
Remember that while fonts are a powerful tool for communication, they should be managed with care. Keep your system lean by uninstalling typefaces you no longer use, and always prioritize security by sourcing files from trusted providers. With these tools and techniques at your disposal, you are ready to take full control of your system’s typography.
aViewFromTheCave is a participant in the Amazon Services LLC Associates Program, an affiliate advertising program designed to provide a means for sites to earn advertising fees by advertising and linking to Amazon.com. Amazon, the Amazon logo, AmazonSupply, and the AmazonSupply logo are trademarks of Amazon.com, Inc. or its affiliates. As an Amazon Associate we earn affiliate commissions from qualifying purchases.