In the lifecycle of any computer, there comes a point where a simple reboot or a standard “Reset this PC” command is insufficient to restore the speed and reliability the machine once possessed. Over months and years of use, Windows 10 can accumulate what technical enthusiasts call “OS rot”—a gradual degradation caused by fragmented registry files, conflicting third-party drivers, residual software data, and perhaps even undetected malware. When your digital environment feels sluggish or prone to the dreaded “Blue Screen of Death,” the most effective solution is a clean installation.

A clean install involves wiping your primary storage drive completely and installing a fresh, “vanilla” version of Windows 10. Unlike an in-place upgrade, which attempts to migrate your files and settings, a clean install provides a blank slate, ensuring that no legacy bugs or bloatware interfere with your system’s architecture. This guide provides a comprehensive, professional walkthrough of the process, from preparation to post-installation optimization.
1. Pre-Installation Architecture: Preparing Your Environment
Before touching the system software, you must treat a clean install as a major architectural overhaul. Because this process involves formatting your hard drive—effectively erasing every byte of data on the targeted partition—the preparation phase is the most critical part of the workflow.
Digital Asset Preservation and Backups
The mantra of any IT professional is “backup early and backup often.” Before initiating a clean install, ensure that all critical data is moved to an external storage device or a secure cloud service. While many users rely on OneDrive or Google Drive, a physical backup on an external SSD or HDD is recommended for speed and redundancy.
Do not simply copy your “Documents” folder. Remember to check:
- Browser Data: Export bookmarks and saved passwords if they aren’t synced to a cloud account.
- Application Settings: Certain professional software (like Adobe Creative Cloud or CAD tools) may require you to “Deactivate” or “Sign Out” on the current machine before the license can be reused on the new installation.
- Hidden Folders: Check the
AppDatafolder for game saves or local configuration files that aren’t stored in the cloud.
Hardware Compatibility and Driver Inventory
While Windows 10 is excellent at identifying hardware, it is a best practice to download your network drivers (Wi-Fi or Ethernet) beforehand. If Windows 10 fails to recognize your network card during the install, you won’t be able to download the remaining drivers. Store these on a separate USB flash drive. Additionally, verify that your hardware meets the minimum requirements: a 1 GHz processor, 2GB of RAM for 64-bit systems, and at least 32GB of storage space.
Verifying Licensing and Activation
Modern Windows 10 installations typically use a “Digital License” or “Digital Entitlement.” This means your hardware ID is stored on Microsoft’s activation servers. As long as you are reinstalling the same edition (Home or Pro) on the same motherboard, Windows will activate automatically once you connect to the internet. To be safe, go to Settings > Update & Security > Activation to ensure your license is linked to your Microsoft Account.
2. Creating Bootable Media and Configuring Firmware
To perform a clean install, you cannot run the setup from within the Windows environment you are trying to delete. You must create external bootable media, typically a USB flash drive.
Utilizing the Media Creation Tool
Microsoft provides a dedicated utility for this purpose. You will need a USB drive with at least 8GB of space.
- Download the Windows 10 Media Creation Tool from the official Microsoft software download page.
- Run the tool and select “Create installation media (USB flash drive, DVD, or ISO file) for another PC.”
- Choose your language, edition, and architecture (usually 64-bit/x64).
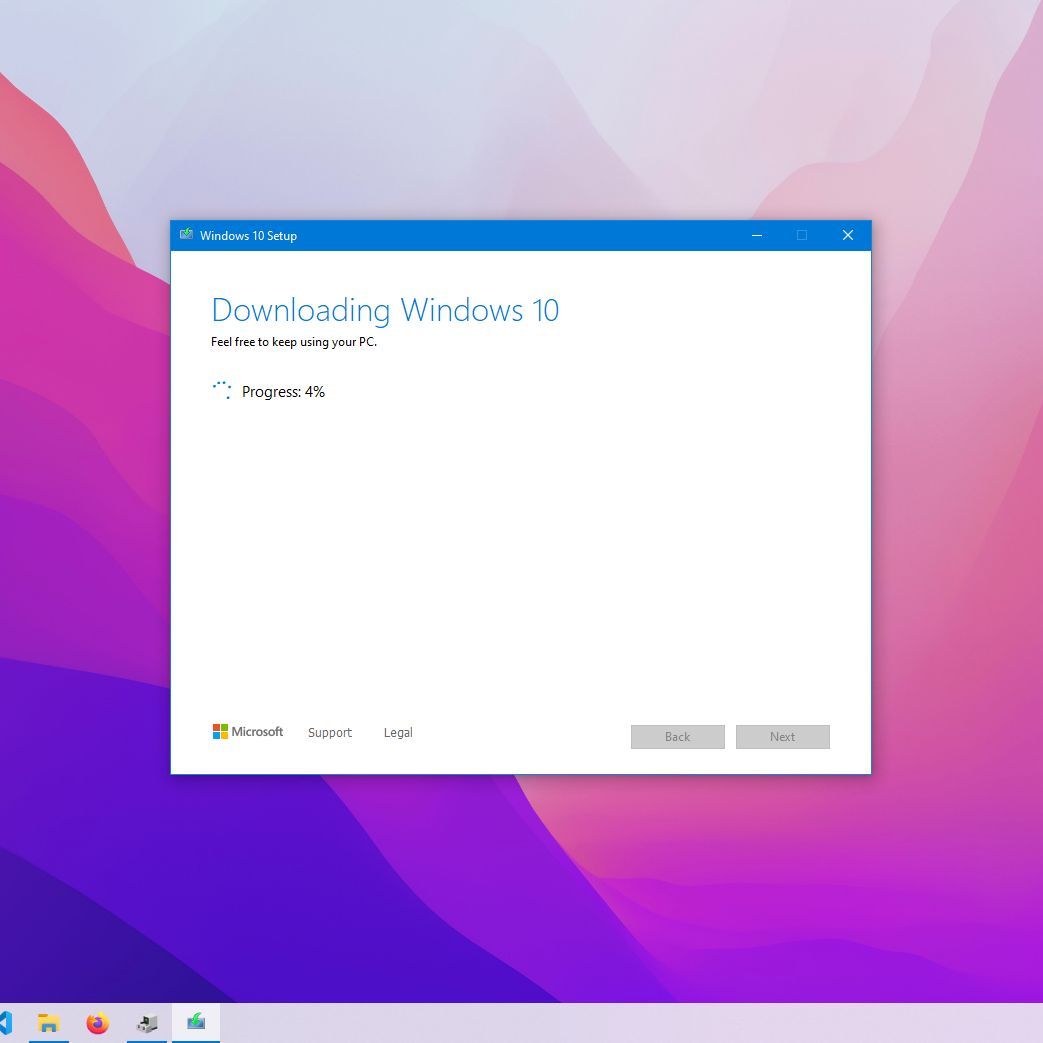
- Select “USB flash drive” and allow the tool to download the Windows 10 image and flash it to the drive. This process can take anywhere from 10 to 30 minutes depending on your internet speed.
Navigating the BIOS/UEFI Interface
Once the media is ready, you must tell your computer to boot from the USB drive rather than the internal hard drive. This requires entering the BIOS (Basic Input/Output System) or UEFI (Unified Extensible Firmware Interface).
- Restart your computer and immediately tap the designated BIOS key (usually F2, F12, Del, or Esc).
- Locate the Boot Priority or Boot Order menu.
- Move your USB flash drive to the top of the list.
- If your system uses modern UEFI, ensure “Secure Boot” is enabled for better security, though some older systems may require “Legacy Mode” if the drive isn’t recognized. Save changes and exit.
3. Executing the Clean Installation Process

With the BIOS configured, your computer will boot into the Windows Setup environment. This is the “Point of No Return,” where the actual transformation of your system begins.
Initial Setup and License Entry
The first screen will ask for your language, time, and keyboard preferences. Once selected, click “Install Now.” You will be prompted for a product key. If you have previously activated Windows 10 on this machine, click “I don’t have a product key.” Windows will recognize your hardware later and activate automatically.
Choosing “Custom” Over “Upgrade”
This is the most pivotal step in the tutorial. You will be presented with two options:
- Upgrade: This installs Windows but keeps files and settings. (This is NOT a clean install).
- Custom: Install Windows only (advanced): Select this option. This allows you to manage partitions and perform a truly fresh installation.
Partition Management: The Clean Slate
You will now see a list of drives and partitions. For a truly clean install, you should select each partition on your primary drive (Drive 0) and click “Delete.”
Warning: This permanently erases all data on those partitions.
Continue until the drive shows only “Drive 0 Unallocated Space.” Select this empty space and click “Next.” Windows will automatically create the necessary system partitions (Recovery, EFI, and MSR) and begin copying files.
4. The Out-of-Box Experience (OOBE) and Configuration
Once the files are copied, the computer will restart. You can now remove the USB drive. The system will boot into the “Out-of-Box Experience,” where you will configure your user account and privacy settings.
Account Setup and Connectivity
Microsoft will encourage you to sign in with a Microsoft Account. This is beneficial for syncing settings and ensuring your digital license is linked. However, if you prefer a local account, you can disconnect from the internet during this phase or select “Offline account” (though Microsoft hides this option behind several “Limited experience” menus).
Privacy and Telemetry Settings
During the setup, Windows will present several toggle switches regarding location services, diagnostic data, and personalized ads. For maximum performance and privacy, many power users choose to disable most of these features. You can always re-enable them later in the Settings menu if needed.
5. Post-Installation Optimization and Digital Hygiene
The installation is complete when you reach the desktop, but the work isn’t over. To ensure your “clean” install stays fast and secure, you must perform a series of maintenance tasks.
Windows Update and Driver Parity
Your first destination should be Settings > Update & Security > Windows Update. Run this multiple times. Windows will not only download security patches but also find the majority of your hardware drivers.
After Windows Update is finished, check the Device Manager. If you see any yellow exclamation marks, you will need to go to the manufacturer’s website (e.g., Dell, HP, ASUS, or NVIDIA) to download the specific drivers for those components.
Software Deployment and Ninite
Reinstalling applications one by one is tedious. For common software like Chrome, VLC, 7-Zip, or Spotify, you can use a tool like Ninite. It allows you to select all the software you want on a single webpage and provides a single installer that loads them all without “toolbar” junk or clicking “Next” a hundred times.
System Imaging: Protecting Your Hard Work
Now that your system is perfectly clean, updated, and configured, this is the best time to create a System Image. Using the “Backup and Restore (Windows 7)” tool found in the Control Panel, or third-party software like Macrium Reflect, you can create a snapshot of your drive. If your system ever slows down again or the drive fails, you can restore this image and return to this perfect “clean” state in minutes, rather than hours.
By following this professional methodology, you transition from a cluttered, sluggish environment to a high-performance machine optimized for modern workflows. A clean install of Windows 10 is more than a troubleshooting step; it is a foundational reset that extends the lifespan of your hardware and ensures your software environment is as efficient as possible.
aViewFromTheCave is a participant in the Amazon Services LLC Associates Program, an affiliate advertising program designed to provide a means for sites to earn advertising fees by advertising and linking to Amazon.com. Amazon, the Amazon logo, AmazonSupply, and the AmazonSupply logo are trademarks of Amazon.com, Inc. or its affiliates. As an Amazon Associate we earn affiliate commissions from qualifying purchases.