In the dynamic world of technology, Java continues to be a cornerstone, powering everything from enterprise applications and web servers to mobile apps and even embedded systems. For Mac users looking to dive into software development, run specific applications, or simply ensure their system is equipped for the latest advancements, installing Java is a fundamental step. This guide will walk you through the process, covering everything from understanding Java versions to troubleshooting common issues, all within the context of our tech-focused website.
Understanding Java and Its Versions
Before we embark on the installation journey, it’s crucial to grasp what Java is and why different versions matter. Java is a high-level, object-oriented programming language and a platform developed by Sun Microsystems (now owned by Oracle). Its “write once, run anywhere” philosophy has made it incredibly versatile and enduring.

Java Development Kit (JDK) vs. Java Runtime Environment (JRE)
A common point of confusion for beginners is the distinction between the JDK and the JRE.
- Java Runtime Environment (JRE): This is the part of Java that allows you to run Java applications. If you only need to execute programs written in Java, you’ll need the JRE. It contains the Java Virtual Machine (JVM), core libraries, and supporting files.
- Java Development Kit (JDK): This is for developers. It includes everything in the JRE, plus tools necessary to write, compile, debug, and package Java applications. These tools include the
javaccompiler,javalauncher,jararchiver, and more.
For most users looking to simply install Java on their Mac, installing the JDK is the recommended approach, as it contains the JRE and provides the flexibility to develop if needed.
Oracle JDK vs. OpenJDK
Another consideration is the source of your Java installation. Primarily, you’ll encounter two main distributions:
- Oracle JDK: This is the official distribution from Oracle. It has historically been the most popular and comes with commercial support options. However, Oracle has shifted its licensing model, and while certain versions are free for development and personal use, commercial use might require a license depending on the version.
- OpenJDK: This is an open-source implementation of the Java Platform, Standard Edition. It’s maintained by a global community of developers and is often used by Linux distributions and other vendors as the basis for their Java builds. Many developers prefer OpenJDK due to its open-source nature and permissive licensing. For macOS, there are various OpenJDK builds available from different providers.
For the purpose of this guide, we will focus on installing the Oracle JDK as it’s often the default choice for many, but the principles for OpenJDK installation are similar.
Installing the Java Development Kit (JDK) on Your Mac
The process of installing Java on a Mac is straightforward, thanks to Oracle’s well-maintained installers.
Step 1: Determine Which Java Version You Need
Before downloading, consider which version of Java your applications or development projects require. As of my last update, Oracle offers Long-Term Support (LTS) versions like Java 8, Java 11, and Java 17, alongside more recent feature releases. For general use and compatibility, Java 11 or Java 17 are excellent choices. If you’re working with legacy applications, you might need Java 8. For cutting-edge development, consider the latest LTS release.
Step 2: Download the JDK Installer
- Visit the Oracle Java Downloads Page: Open your web browser and navigate to the official Oracle Java SE Downloads page. You can typically find this by searching for “Oracle Java Downloads” or by going directly to
oracle.com/java/technologies/downloads/. - Select Your Operating System: On the downloads page, ensure that “macOS” is selected under the operating system filter.
- Choose the JDK Version: Select the JDK version you wish to install from the available options. Look for the “x64 DMG Installer” for Apple Silicon (M1/M2/M3 chips) or Intel-based Macs. Oracle now provides a unified installer that works on both architectures.
- Download the File: Click the download link for the DMG file. You may be prompted to accept Oracle’s license agreement.
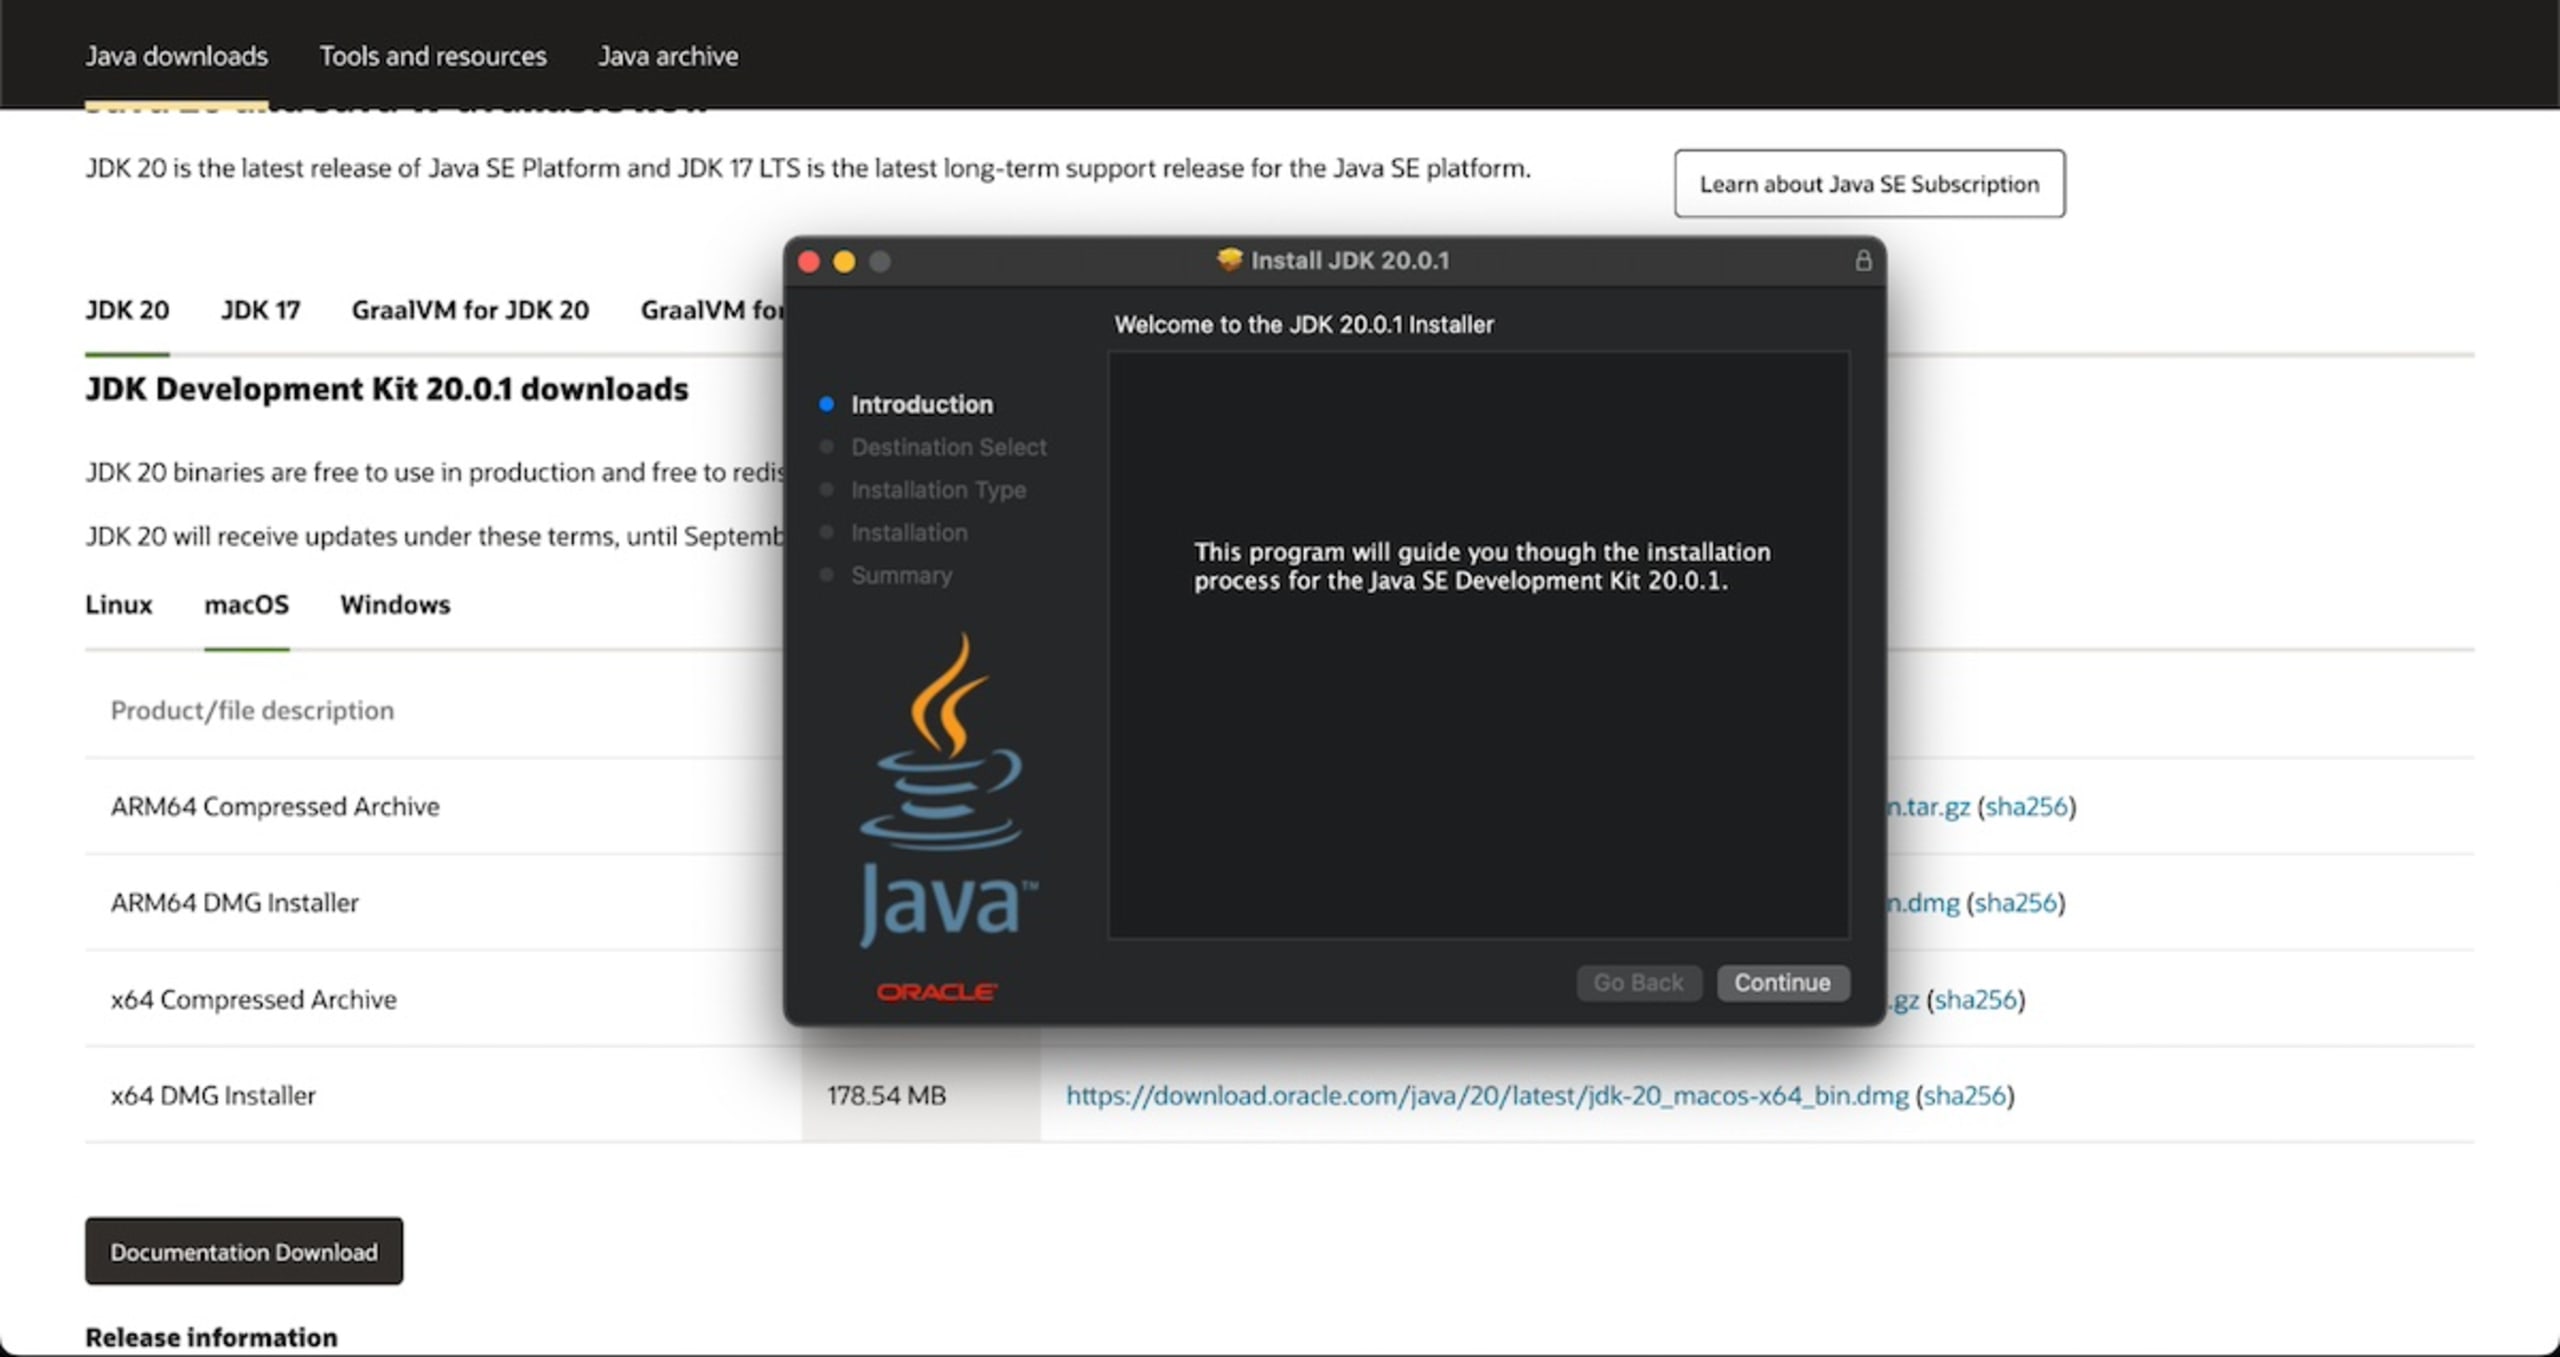
Step 3: Run the Installer
- Open the DMG File: Once the download is complete, locate the downloaded
.dmgfile (e.g.,jdk-17_macos-x64_bin.dmg) in your Downloads folder and double-click it. - Run the Package Installer: A disk image window will open. Inside, you’ll find a
.pkgfile. Double-click this file to launch the Java installer. - Follow the On-Screen Prompts: The installer will guide you through the process. You’ll need to agree to the license terms and select an installation destination (the default is usually fine). You might be asked to enter your Mac’s administrator password to authorize the installation.
- Complete the Installation: Once the installation is finished, you’ll receive a confirmation message.
Step 4: Verify Your Java Installation
After the installation, it’s essential to confirm that Java is set up correctly and accessible from your command line.
-
Open the Terminal: You can find the Terminal application in
Applications > Utilitiesor by searching for “Terminal” using Spotlight (Cmd + Space). -
Check the Java Version: Type the following command and press Enter:
java -versionIf the installation was successful, you should see output similar to this, indicating the Java version you just installed:
openjdk version "17.0.8" 2023-07-18
OpenJDK Runtime Environment Temurin-17.0.8+7 (build 17.0.8+7)
OpenJDK 64-Bit Server VM Temurin-17.0.8+7 (build 17.0.8+7, mixed mode, sharing)
(Note: The output might vary slightly depending on the specific JDK version and whether you installed Oracle JDK or an OpenJDK distribution.)
-
Check the Java Compiler Version (if you installed JDK): To verify that the development tools are also installed, run:
javac -versionThis command should display the version of the Java compiler.
Managing Multiple Java Versions on Your Mac
It’s common for developers or users running various applications to have multiple Java versions installed on their system. Managing these can seem daunting, but it’s a manageable task.
Understanding the JAVA_HOME Environment Variable
The JAVA_HOME environment variable is crucial for many Java-based applications and build tools (like Maven, Gradle, or Tomcat). It tells these tools where to find the Java installation on your system.
When you install Java using the .pkg installer on macOS, it typically registers itself with the system, and command-line tools like java and javac should point to the latest installed version. However, explicitly setting JAVA_HOME provides more control, especially when dealing with multiple versions.
How macOS Manages Java Installations
macOS uses a system that allows for multiple Java versions to coexist. The primary Java executable path is usually managed by a symbolic link. You can see where your java command is pointing by running:
which java
And the actual installation location can often be found via:
/usr/libexec/java_home -V
This command will list all installed Java versions recognized by your system and their respective paths.
Setting JAVA_HOME Manually (for specific needs)
If you need to explicitly set JAVA_HOME for a particular project or application that isn’t picking up the correct version, you can do so by editing your shell profile file (e.g., .zshrc for Zsh, which is the default on newer macOS versions, or .bash_profile for Bash).
-
Identify your desired Java version’s path: Use
/usr/libexec/java_home -Vto find the exact path to the Java version you want to set asJAVA_HOME. It will look something like/Library/Java/JavaVirtualMachines/jdk-17.jdk/Contents/Home. -
Open your shell profile file:
- For Zsh:
nano ~/.zshrc - For Bash:
nano ~/.bash_profile
- For Zsh:
-
Add the following line (replace the path with your actual path):
export JAVA_HOME="/Library/Java/JavaVirtualMachines/jdk-17.jdk/Contents/Home" -
Save and exit the editor: Press
Ctrl + X, thenY, thenEnterin nano. -
Reload your shell configuration: Either close and reopen your Terminal or run
source ~/.zshrc(orsource ~/.bash_profile). -
Verify
JAVA_HOME: Typeecho $JAVA_HOMEin the Terminal. It should now display the path you set.
Using java_home for Dynamic Version Switching
The java_home utility provided by macOS is incredibly useful for managing multiple Java versions. You can use it to get the path to a specific version or to set JAVA_HOME dynamically in your shell profile.
To set JAVA_HOME to the latest installed JDK dynamically in your .zshrc (or .bash_profile):
export JAVA_HOME=$(/usr/libexec/java_home)
If you want to switch to a specific older version, you can use its index number from the output of java_home -V. For example, if you want to switch to the second Java version listed:
export JAVA_HOME=$(/usr/libexec/java_home -v 2)
This dynamic approach is highly recommended as it automatically points to the latest installed JDK unless you specify otherwise, simplifying updates.
Troubleshooting Common Java Installation Issues
While the installation process is generally smooth, occasional issues can arise. Here are some common problems and their solutions:
“Java command not found”
This is the most frequent error, indicating that your system cannot locate the Java executable.
- Cause: The Java installation is not in your system’s PATH, or the
JAVA_HOMEvariable is not set correctly. - Solution:
- Re-run Installer: Try re-running the Java installer. Sometimes, permissions issues can prevent it from properly configuring the system.
- Check PATH: Ensure the
bindirectory of your Java installation is in your system’s PATH. The installer usually handles this, but manual checks might be necessary. - Set
JAVA_HOME: Follow the steps above to set theJAVA_HOMEenvironment variable.
Incorrect Java Version Being Used
You’ve installed a new version, but java -version still shows an older one.
- Cause: Your system’s PATH or
JAVA_HOMEvariable is pointing to the older version. - Solution:
- Update
JAVA_HOME: If you’re manually managingJAVA_HOME, update it to point to the new installation. - Use
java_home: Utilize thejava_homeutility as described above to dynamically select the desired version. - Check Shell Profile: Ensure your shell profile (
.zshrc,.bash_profile) isn’t hardcoding an oldJAVA_HOMEpath.
- Update
Security or Network Issues During Download
Sometimes, downloading the installer might fail due to network interruptions or strict security settings.
- Cause: Unstable internet connection, firewall blocking the download, or browser security settings.
- Solution:
- Stable Internet: Ensure you have a stable internet connection.
- Disable VPN/Proxy (temporarily): If you’re using a VPN or proxy, try disabling it temporarily for the download.
- Browser Settings: Temporarily lower your browser’s security settings or try a different browser.
- Download on Another Device: If persistent, try downloading the installer on another computer and transferring it to your Mac.
Older macOS Versions and Java
For very old macOS versions, compatibility with the latest Java JDKs might be an issue. Oracle’s installers usually specify the minimum required macOS version. If you’re on an older system, you might need to find older versions of Java or consider OpenJDK distributions that might offer broader compatibility.

Conclusion: Empowering Your Mac with Java
Installing Java on your Mac is a crucial step for anyone interested in software development, running specific applications, or staying current with technological trends. By understanding the different Java versions, following the straightforward installation process, and knowing how to manage multiple installations using JAVA_HOME, you can ensure your Mac is well-equipped for any Java-related task.
Remember that technology evolves rapidly. Oracle and the OpenJDK community continuously update Java, so keeping your installations current is a good practice for security and performance. Whether you’re a seasoned developer or just beginning your tech journey, mastering Java installation on your Mac is a valuable skill that opens doors to a vast ecosystem of applications and development opportunities.
aViewFromTheCave is a participant in the Amazon Services LLC Associates Program, an affiliate advertising program designed to provide a means for sites to earn advertising fees by advertising and linking to Amazon.com. Amazon, the Amazon logo, AmazonSupply, and the AmazonSupply logo are trademarks of Amazon.com, Inc. or its affiliates. As an Amazon Associate we earn affiliate commissions from qualifying purchases.