Windows 10, despite being succeeded by Windows 11, remains a highly popular and robust operating system for millions of users worldwide. Over time, even the most meticulously maintained systems can accumulate digital clutter, slowdowns, and persistent issues that bog down performance and productivity. If your PC feels sluggish, crashes frequently, or is plagued by unexplained errors, a fresh installation of Windows 10 can be the digital equivalent of hitting the reset button – a powerful solution to restore your computer to its peak performance and pristine state.
This comprehensive guide will walk you through every critical step of performing a fresh Windows 10 installation. From understanding the benefits to meticulous preparation, the installation process itself, and essential post-installation tasks, we’ll ensure you have all the knowledge to revitalize your system confidently and effectively. By the end of this tutorial, you’ll not only have a clean, fast, and secure Windows 10 environment but also a deeper understanding of your system, enhancing your overall digital security and productivity.
Why Consider a Fresh Start? The Benefits of a Clean Slate
Before diving into the technicalities, it’s essential to understand why a fresh install is often recommended and what advantages it brings. It’s more than just a troubleshooting step; it’s an optimization strategy that can significantly improve your computing experience.
Enhanced Performance and Stability
One of the most compelling reasons for a fresh install is the immediate and noticeable boost in performance. Over months or years of use, your Windows installation accumulates various forms of digital detritus:
- Bloatware and Unnecessary Software: Many pre-built PCs come with manufacturer-installed applications (bloatware) that consume system resources in the background. Similarly, you might install software over time that you no longer use, but their remnants, services, and startup entries continue to impact performance. A fresh install wipes these away, leaving only the core operating system.
- Registry Clutter: The Windows Registry is a hierarchical database that stores low-level settings for the operating system and applications. Frequent software installations, uninstalls, and updates can leave behind orphaned or corrupted registry entries, leading to slowdowns and instability.
- Fragmented Files and Drive Issues: While modern SSDs mitigate fragmentation concerns, traditional HDDs can still suffer, and general disk clutter from temporary files, caches, and leftover data can degrade performance. A fresh install effectively defragments your drive (if HDD) and cleans out all non-essential data.
By eliminating these factors, your system will boot faster, applications will launch quicker, and overall responsiveness will improve dramatically, allowing you to be more productive with your tasks.
Removing Digital Clutter and Malware
Beyond performance, a fresh install is a powerful tool for digital hygiene. It offers a guaranteed way to remove persistent malware, viruses, and other malicious software that might be deeply embedded in your system and resistant to standard antivirus scans. If you suspect your system has been compromised, or if you’ve been struggling with unwanted pop-ups, redirects, or suspicious activity, a fresh installation acts as a comprehensive cleanse.
Furthermore, it’s an excellent opportunity to shed years of accumulated files, downloads, and forgotten applications that simply take up valuable storage space and contribute to a feeling of digital disorganization. Starting with a clean slate encourages better file management habits and ensures that every piece of software on your machine is there by intentional choice.
Troubleshooting Persistent Issues
Sometimes, a Windows installation can develop deep-seated problems that are incredibly difficult to diagnose and fix through conventional troubleshooting methods. These might include:
- Frequent Blue Screens of Death (BSODs): Often caused by driver conflicts, hardware issues, or corrupted system files.
- Application Crashes: If multiple applications consistently crash, it might point to an underlying OS problem.
- Unexplained Errors and Glitches: Random freezes, input lag, or features not working as expected.
- Networking or Peripheral Problems: If your Wi-Fi, printer, or other devices intermittently fail despite driver updates.
In such scenarios, spending countless hours trying to pinpoint the exact cause can be frustrating and unproductive. A fresh install often resolves these complex issues by providing a new, uncorrupted foundation, saving you time and headaches. It’s a common recommendation from tech support professionals for intractable software-related problems.
Essential Preparations: Your Pre-Installation Checklist
Performing a fresh install of Windows 10 is not a process to rush into. Meticulous preparation is key to ensuring a smooth experience and preventing data loss. Skipping any of these steps could lead to significant headaches down the line.
Backing Up Your Crucial Data
This is arguably the single most important step. A fresh install involves formatting your primary drive, which will permanently erase everything on it. Assume that anything not backed up will be lost forever.
- Identify Critical Files: Go through your
Documents,Pictures,Videos,Music, andDownloadsfolders. Don’t forget Desktop files! Also, consider application-specific data, such as browser bookmarks, email archives (PST files for Outlook, Thunderbird profiles), game saves, and financial records. - Choose a Backup Method:
- External Hard Drive/SSD: The most straightforward and often fastest method for large amounts of data. Simply copy and paste your files.
- Cloud Storage: Services like OneDrive, Google Drive, Dropbox, or iCloud offer convenient syncing and off-site backup. Ensure you have enough storage space and a stable internet connection for uploads. Many users already sync their
DocumentsandPicturesfolders to OneDrive, which simplifies this step significantly. - Network Attached Storage (NAS): If you have a home server or NAS, this can be an excellent option for large-scale backups.
- Verify Your Backup: After backing up, take a moment to connect your external drive or check your cloud storage to ensure all critical files are present and accessible. This step is often overlooked but can prevent immense regret.
Gathering Essential Software and Drivers
After the fresh install, your system will be barebones. You’ll need key software and drivers to get back to full functionality.
- Device Drivers: Windows 10 is good at automatically installing generic drivers, but for optimal performance and functionality, especially for graphics cards, chipsets, network adapters (Wi-Fi and Ethernet), and potentially audio devices, you’ll want the latest manufacturer-specific drivers.
- Visit your PC manufacturer’s support website (e.g., Dell, HP, Lenovo, ASUS) or the motherboard manufacturer’s website (for custom builds).
- Look for your specific model number and download the latest drivers for Windows 10. Pay particular attention to chipset, graphics (NVIDIA, AMD, Intel), and network drivers. Save these to your backup drive or a separate USB stick.
- Essential Applications: Make a list of all the programs you regularly use. Download their installers to your backup drive. This might include:
- Web Browser (Chrome, Firefox, Edge, Brave)
- Office Suite (Microsoft Office, LibreOffice, Google Workspace desktop apps)
- Antivirus/Security Software (if not relying on Windows Defender)
- Media Players (VLC, PotPlayer)
- Communication Tools (Discord, Zoom, Slack)
- Productivity Tools (image editors, video editors, specialized software for work/hobbies)
- Consider using tools like Ninite (ninite.com) to download and install multiple common applications simultaneously after the fresh install, saving time.
Retrieving Your Windows 10 Product Key
While not always strictly necessary, having your Windows 10 product key readily available is good practice, especially if you plan to install a different edition or if your digital license isn’t automatically recognized.
- Digital License: Most modern Windows 10 installations are activated via a digital license linked to your Microsoft account or your device’s hardware. In this case, Windows 10 should reactivate automatically once you connect to the internet after installation.
- Product Key Sticker: If your PC came with Windows 10 pre-installed, look for a sticker on the chassis (for desktops) or underside (for laptops) that contains a 25-character product key.
- Command Prompt/PowerShell: You can often retrieve the current product key using a simple command before you wipe your system:
- Open Command Prompt as administrator and type:
wmic path softwarelicensingservice get OA3xOriginalProductKey - Or, in PowerShell:
Get-WmiObject -query 'select * from SoftwareLicensingService' | select OA3xOriginalProductKey - Jot this key down and keep it safe.
- Open Command Prompt as administrator and type:
Creating Bootable Windows 10 Installation Media
You’ll need a way to boot into the Windows 10 installer. The most common and recommended method is using a USB flash drive.
- Requirements: An empty USB flash drive with at least 8GB of storage space. All data on this drive will be erased.
- Download the Media Creation Tool:
- Go to the official Microsoft Windows 10 download page:
www.microsoft.com/en-us/software-download/windows10 - Click on “Download tool now” under “Create Windows 10 installation media.”
- Run the downloaded
MediaCreationTool.exe. - Accept the license terms.
- Select “Create installation media (USB flash drive, DVD, or ISO file) for another PC” and click “Next.”
- Choose your language, edition (Windows 10, typically), and architecture (64-bit is standard for most modern PCs). You can uncheck “Use recommended options for this PC” if you need to select different settings.
- Select “USB flash drive” as the media type and click “Next.”
- Choose your USB drive from the list. Be absolutely sure you select the correct drive, as it will be formatted.
- The tool will then download the Windows 10 ISO and create the bootable USB drive. This process can take some time depending on your internet speed.
- Go to the official Microsoft Windows 10 download page:
- Alternative (Advanced): You can download the ISO directly and use a tool like Rufus or Ventoy to create a bootable USB drive, offering more customization options for partitioning schemes (MBR/GPT) and boot modes (UEFI/BIOS). However, for most users, the Media Creation Tool is sufficient.
The Step-by-Step Windows 10 Installation Process
With your preparations complete, you’re ready to begin the actual installation. This process involves booting from your newly created media, configuring installation options, and letting Windows set itself up.

Booting from Your Installation Media
The first step is to instruct your computer to boot from the USB drive instead of its internal hard drive.
- Insert USB: Plug your bootable Windows 10 USB drive into an available USB port on your computer.
- Restart Your PC: Reboot your computer.
- Enter BIOS/UEFI Setup: As soon as the computer starts, you’ll need to repeatedly press a specific key to enter the BIOS (Basic Input/Output System) or UEFI (Unified Extensible Firmware Interface) settings. Common keys include
Del,F2,F10,F12, orEsc. The exact key varies by manufacturer (e.g., Dell often uses F2 or F12, HP uses F10, Lenovo uses F1 or F2, ASUS uses Del). Look for a message on the screen during startup like “Press F2 for Setup” or “Press Del to enter BIOS.” - Change Boot Order: Once in the BIOS/UEFI, navigate to the “Boot” or “Boot Options” section. You’ll need to change the boot order (or “boot priority”) to make your USB drive the primary boot device. It might be listed as “USB HDD,” “Removable Devices,” or by the brand name of your USB drive. Save your changes and exit the BIOS/UEFI (often F10).
- Start Installation: Your computer should now boot from the USB drive. You might see a message like “Press any key to boot from USB…” Press a key quickly if prompted.
Navigating the Setup Wizard
Once the installer loads, you’ll be greeted by the Windows Setup wizard.
- Language and Region: Select your language, time and currency format, and keyboard or input method. Click “Next.”
- Install Now: Click the prominent “Install now” button.
- Activate Windows: You’ll be asked for a product key.
- If you have a digital license and are reinstalling on the same hardware, you can click “I don’t have a product key.” Windows will usually activate automatically once connected to the internet.
- If you have a physical product key, enter it here.
- License Terms: Read and accept the Microsoft Software License Terms. Click “Next.”
Disk Partitioning and Formatting
This is the most critical step for a fresh install, as it involves erasing your previous operating system and data. Proceed with caution.
- Choose Installation Type: Select “Custom: Install Windows only (advanced).” Do not choose “Upgrade” if you want a fresh install.
- Select Drive and Delete Partitions: You’ll see a list of drives and partitions.
- Identify your target drive: This is usually “Drive 0.” Be absolutely certain you select the correct drive if you have multiple drives installed.
- Delete existing partitions: For a truly fresh install, you need to delete all partitions related to the previous Windows installation on your target drive. Select each partition (e.g., “System,” “Recovery,” “Primary”) associated with your main drive one by one and click “Delete.” Confirm any warnings about data loss. You should end up with a single “Unallocated Space” for your target drive.
- Warning: Deleting partitions will erase all data on those partitions. Ensure your backups are complete!
- Create New Partition(s):
- Select the “Unallocated Space” and click “New” to create a new partition. You can either use the entire space for a single partition or specify a smaller size if you want to create multiple partitions (e.g., one for OS, one for data). For most users, using the full size is fine.
- Windows will typically create a few small, necessary system partitions (e.g., Recovery, EFI System Partition) automatically.
- Select Installation Partition: Choose the main “Primary” partition you just created (or the largest one Windows created automatically) and click “Next.”
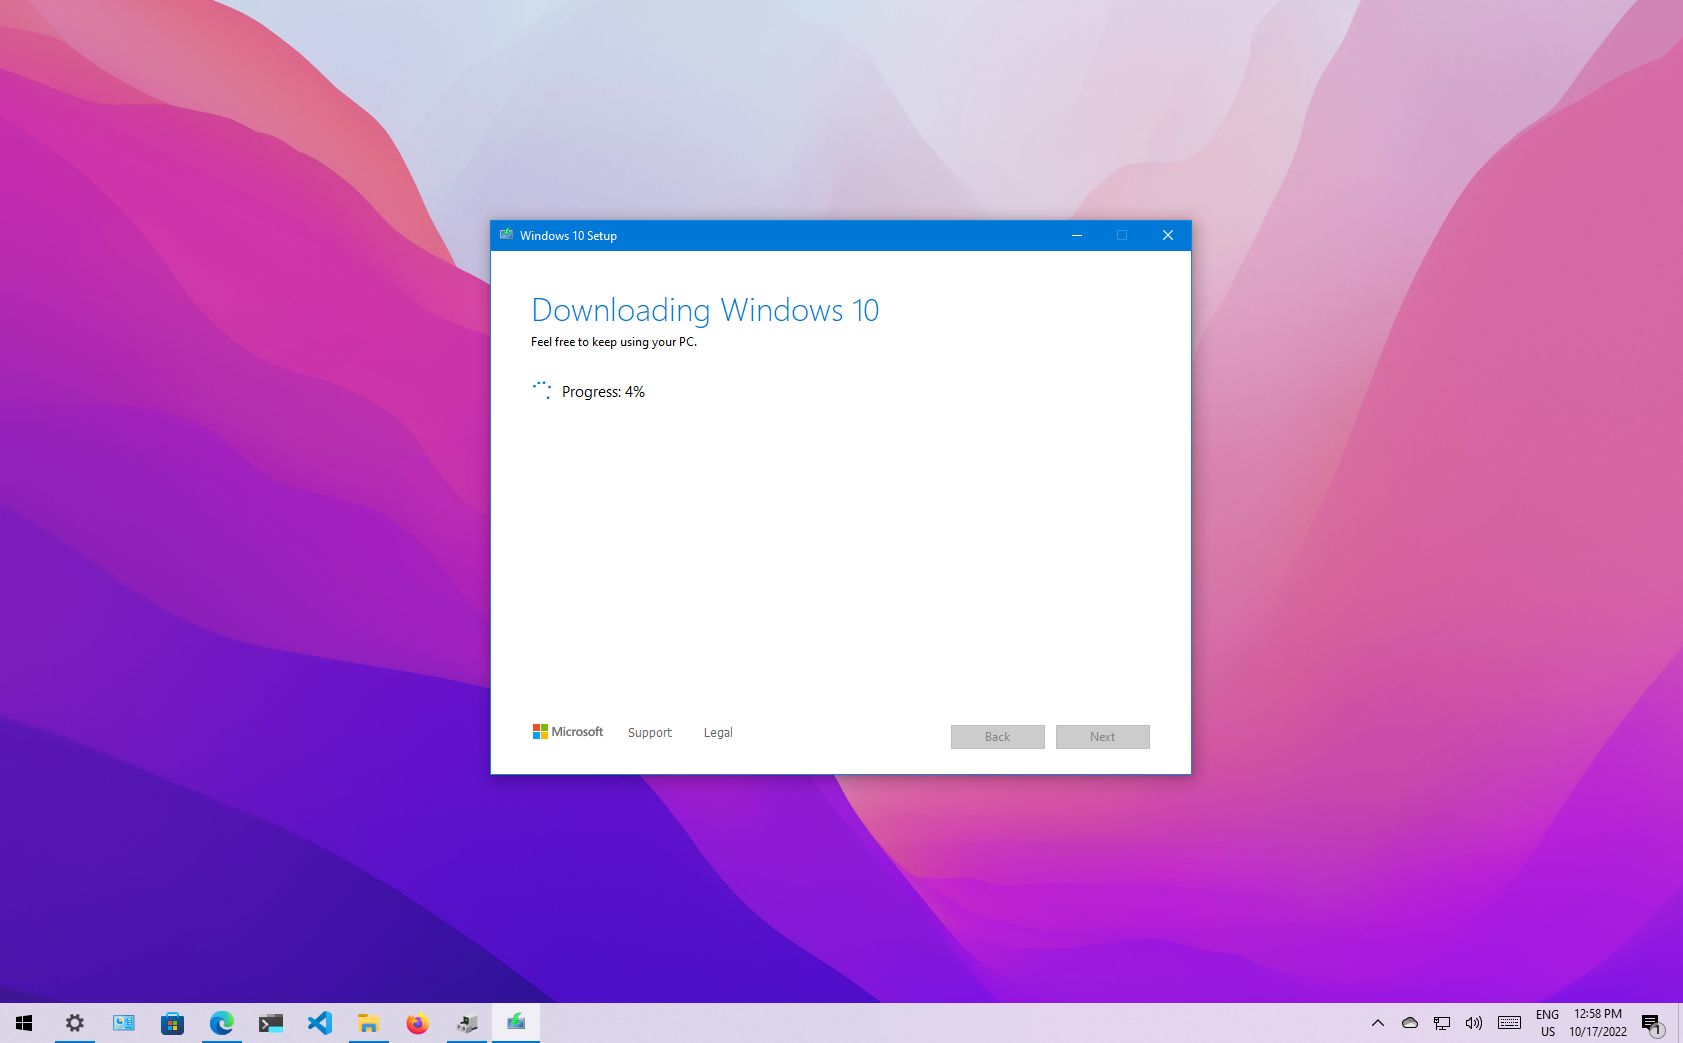
- Installation Begins: Windows will now start copying files and installing itself. Your computer will reboot several times during this process. Do not remove the USB drive until after the first reboot and you see the “Getting devices ready” or “Just a moment” screen, or ideally, until after the initial setup steps are complete and you reach the desktop.
Initial Configuration and Account Setup
After the installation files are copied, Windows will guide you through the initial setup screens.
- Region: Select your country or region.
- Keyboard Layout: Choose your preferred keyboard layout. You can add a second layout if needed.
- Network Connection: If you have an Ethernet cable connected, it might detect your network automatically. For Wi-Fi, you’ll be prompted to connect to a network.
- Microsoft Account vs. Offline Account: Microsoft will strongly encourage you to sign in with or create a Microsoft account. This links your device to services like OneDrive, Office, and allows for settings sync.
- If you prefer an offline (local) account, you might need to click “Offline account” or “Skip for now” if available. Sometimes, to create an offline account, you might need to temporarily disconnect your computer from the internet during this step, which usually makes the “Offline account” option appear.
- Privacy Settings: Review the privacy settings for location, speech recognition, diagnostic data, etc. You can adjust these to your preference. Microsoft defaults to sending more data, so it’s worth reviewing them carefully for digital security.
- Cortana: Choose whether to enable or disable Cortana, Microsoft’s virtual assistant.
- Desktop: After a final “Hi,” “We’re setting things up for you,” and “Almost there,” you’ll finally arrive at the Windows 10 desktop – clean and fresh!
Post-Installation Essentials: Optimizing Your New System
Getting to the desktop is a great milestone, but your work isn’t quite done. Several crucial steps remain to fully optimize your system, ensure security, and restore your personal environment.
Installing Drivers and System Updates
This is paramount for both performance and digital security.
- Windows Update First: The first thing you should do is connect to the internet (if you haven’t already) and run Windows Update.
- Go to
Settings > Update & Security > Windows Updateand click “Check for updates.” - Windows Update will download and install many generic drivers, security patches, and cumulative updates. This process can take a significant amount of time and might require multiple reboots. Let it run until no more critical updates are found.
- Go to
- Manufacturer Drivers (for Optimal Performance): While Windows Update handles many drivers, for critical components like your graphics card, chipset, and potentially specialized audio or networking hardware, it’s best to install the latest drivers directly from the manufacturer’s website (the ones you downloaded during preparation).
- Install your chipset drivers first.
- Then install your graphics drivers.
- Install any other specific drivers (e.g., for Wi-Fi if it’s not working optimally, or for specific peripherals).
- Restart your PC after installing major drivers.
Reinstalling Your Essential Applications
Now it’s time to bring back your productivity tools and favorite software.
- Use Your Backed-Up Installers: Go to the drive where you saved your application installers.
- Install System Utilities: Start with essential utilities like your preferred web browser, a robust antivirus (if you’re not solely relying on Windows Defender), and any basic productivity suites.
- Utilize Ninite (Optional but Recommended): If you downloaded Ninite during your preparation, run it. It will silently install multiple selected applications (like Chrome, VLC, Zoom, etc.) in one go, without annoying toolbars or extra click-throughs. This is a massive time-saver for common software.
- Other Software: Proceed to install your remaining applications, prioritizing those you use most frequently.
Restoring Your Backed-Up Data
Once your system is updated and your essential software is installed, you can bring your personal files back.
- Connect Your Backup Drive: Plug in your external hard drive or access your cloud storage.
- Copy Files Back: Carefully copy your
Documents,Pictures,Videos,Music, and other personal folders back to their respective locations on your new Windows 10 installation. - Application-Specific Data: If you backed up specific application data (like browser profiles or email archives), restore these to their proper directories for your newly installed applications.
Strengthening Your Digital Security
A fresh install is the perfect opportunity to reinforce your digital security posture.
- Windows Defender: Windows 10 comes with a robust built-in antivirus, Windows Defender (now called Microsoft Defender Antivirus). Ensure it’s enabled and up-to-date.
- Firewall: The Windows Firewall is automatically enabled and provides essential protection against unauthorized network access. Verify it’s active.
- Strong Passwords & 2FA: Revisit your online accounts and ensure you’re using strong, unique passwords. Enable two-factor authentication (2FA) wherever possible (email, banking, social media, Microsoft account). Consider a password manager.
- Regular Updates: Keep both Windows and all your installed applications updated. Software updates often include critical security patches.
- Backup Strategy: Now that you’ve experienced the importance of backups, consider implementing a regular, automated backup strategy for your critical data going forward.
Beyond the Basics: Tips for a Seamless Experience
While the core fresh installation is complete, a few additional steps and considerations can further enhance your experience and productivity.
Customizing Your Settings
Take the time to personalize your new Windows 10 environment to your liking.
- Personalization: Go to
Settings > Personalizationto change your desktop background, accent colors, lock screen, and themes. - Privacy: Review
Settings > Privacyto fine-tune app permissions, diagnostic data, advertising ID, and other privacy-related settings that suit your comfort level. - Notifications: Tame notification overload by configuring which apps can send notifications in
Settings > System > Notifications & actions. - Default Apps: Set your preferred default apps for web browsing, email, photos, and music in
Settings > Apps > Default apps.
Understanding Different Installation Scenarios
This guide focuses on a full fresh install (wiping the drive). However, it’s worth noting other scenarios:
- In-Place Upgrade: Installing Windows 10 over an older version (like Windows 7 or 8) without formatting. This typically preserves files and applications but doesn’t offer the same “clean slate” benefits.
- Reset This PC: Windows 10 has a built-in “Reset this PC” feature (
Settings > Update & Security > Recovery). This allows you to reinstall Windows, with options to keep your personal files or remove everything. While convenient, it’s generally not as thorough as a full fresh install from bootable media, especially for deep-seated issues or bloatware removal. - Dual-Booting: Installing Windows 10 alongside another operating system (like Linux). This is more complex and requires careful partition management.

Common Troubleshooting Tips
While a fresh install typically resolves issues, here are a few common hiccups you might encounter and quick solutions:
- “No bootable device found” after installation: Ensure you removed the USB installation media. Check your BIOS/UEFI boot order to confirm your primary internal hard drive (SSD/HDD) is set as the first boot device.
- Drivers not working: Double-check you’ve downloaded the correct drivers for your specific hardware model and Windows 10 (64-bit). Ensure you’re installing the latest versions.
- Internet not working: This is often a missing or incorrect network adapter driver. Install the Ethernet or Wi-Fi drivers you prepared earlier.
- Windows 10 not activating: If you entered “I don’t have a product key,” ensure your PC is connected to the internet. If you used a Microsoft account linked to a digital license, it should activate automatically. For persistent issues, use the Activation Troubleshooter (
Settings > Update & Security > Activation).
A fresh installation of Windows 10 is a powerful way to rejuvenate your computer, boosting its performance, stability, and security. While it requires careful preparation and attention to detail, the payoff in terms of a faster, cleaner, and more reliable system is well worth the effort. By following this guide, you’ve not only mastered a fundamental tech skill but also taken proactive steps to optimize your digital environment for maximum productivity and peace of mind.
aViewFromTheCave is a participant in the Amazon Services LLC Associates Program, an affiliate advertising program designed to provide a means for sites to earn advertising fees by advertising and linking to Amazon.com. Amazon, the Amazon logo, AmazonSupply, and the AmazonSupply logo are trademarks of Amazon.com, Inc. or its affiliates. As an Amazon Associate we earn affiliate commissions from qualifying purchases.