The allure of a fresh, modern operating system is undeniable. Windows 11, with its revamped interface, enhanced security features, and a promise of improved performance, has captured the attention of many users. However, the journey from anticipation to installation can sometimes be a frustrating one. For many, the seemingly simple process of upgrading or performing a clean install of Windows 11 hits a roadblock, leaving them staring at error messages or stuck in an endless loop. If you’re finding yourself in this frustrating situation, you’re not alone. This comprehensive guide delves into the most common reasons why you might be unable to install Windows 11 and provides actionable solutions to get you up and running with Microsoft’s latest OS.
The transition to a new operating system often involves meeting specific hardware and software prerequisites. While Windows 10 was remarkably accommodating, Windows 11 has set a higher bar, particularly concerning security and hardware capabilities. This stricter set of requirements is a primary culprit behind many installation failures. But beyond the obvious hardware checks, a myriad of other factors can interfere with a smooth Windows 11 deployment.
Unraveling the Mysteries: Why Your Windows 11 Installation Might Be Failing
Before we dive into specific solutions, it’s crucial to understand the landscape of potential issues. The reasons for Windows 11 installation failure can be broadly categorized, and identifying the correct category is the first step toward resolution.
Hardware Compatibility: The Foundation of Windows 11 Success
Perhaps the most cited reason for Windows 11 installation woes is hardware incompatibility. Microsoft has been quite clear about the minimum system requirements for Windows 11, and deviating from these can lead to outright refusal to install.
Trusted Platform Module (TPM) 2.0: The Security Backbone
One of the most significant new hardware requirements for Windows 11 is the presence of Trusted Platform Module (TPM) version 2.0. TPM is a security chip that provides hardware-based security functions. It plays a critical role in features like Windows Hello, BitLocker drive encryption, and secure boot. Many older computers, and even some newer ones released before Windows 11’s mandate, do not have TPM 2.0 enabled or present.
How to Check and Enable TPM 2.0:
- Check TPM Status: Press
Windows key + R, typetpm.msc, and press Enter. If you see information about the TPM manufacturer and version, it’s likely enabled. If the status is “The TPM is ready for use” and the version is 2.0, you’re good to go in this regard. If you see an error or a message indicating TPM is not found, proceed to the next step. - Enable TPM in BIOS/UEFI: This is where the process can vary significantly depending on your motherboard manufacturer.
- Restart your computer and immediately press the key to enter your BIOS or UEFI settings. Common keys include
Del,F2,F10,F12, orEsc. Consult your motherboard manual or look for on-screen prompts during boot. - Navigate through the BIOS/UEFI menus. Look for sections labeled “Security,” “Trusted Computing,” “TPM,” “PTT” (Platform Trust Technology, an Intel equivalent), or “AMD fTPM” (for AMD processors).
- Locate an option related to TPM and set it to “Enabled” or “Firmware TPM.”
- Save your changes (usually by pressing
F10) and exit the BIOS/UEFI. - Once your system restarts, re-check the TPM status using
tpm.msc.
- Restart your computer and immediately press the key to enter your BIOS or UEFI settings. Common keys include
Secure Boot: Protecting the Boot Process
Secure Boot is another essential UEFI firmware feature that ensures only trusted software is loaded during the boot process. This prevents malicious software from hijacking your system before Windows even starts.
How to Check and Enable Secure Boot:
- Check Secure Boot Status:
- Press
Windows key + R, typemsinfo32, and press Enter. - In the System Information window, look for “Secure Boot State.” If it says “On,” you’re good. If it says “Off,” you need to enable it.
- Press
- Enable Secure Boot in BIOS/UEFI:
- Access your BIOS/UEFI settings as described above.
- Look for a “Boot” or “Security” section.
- Find the “Secure Boot” option and enable it.
- You might need to switch your boot mode from “Legacy” to “UEFI” if it’s not already. Windows 11 requires UEFI boot mode. Be cautious when changing boot modes, as it can affect your current operating system’s ability to boot if not handled correctly.
- Save your changes and exit.
Processor Compatibility: The Brains of the Operation
Windows 11 has a specific list of supported processors. While older processors might seem capable, Microsoft has chosen to enforce compatibility with newer CPUs that offer certain security and performance enhancements.
How to Check Processor Compatibility:
- Microsoft’s Official List: The most reliable way is to check Microsoft’s official list of supported processors for Windows 11 on their website.
- PC Health Check App: Download and run Microsoft’s PC Health Check application. This tool will analyze your system and inform you if your CPU is supported and if other requirements are met.
If your processor is not on the supported list, you have a few options:
- Consider a Hardware Upgrade: If you’re committed to Windows 11, upgrading your CPU (and potentially your motherboard) might be necessary.
- Bypass Requirements (Use with Caution): There are unofficial methods to bypass the TPM and CPU checks during installation. These methods often involve modifying the Windows 11 installation media or registry edits during the setup process. However, Microsoft explicitly states that unsupported hardware may lead to a suboptimal experience, and future updates might not be guaranteed. This approach should be considered a last resort and undertaken with awareness of potential risks.
Storage and Partitioning: The Foundation of Your Digital Life
Issues with your hard drive or SSD can also prevent Windows 11 from installing. This includes not having enough free space, or the drive not being in the correct format.
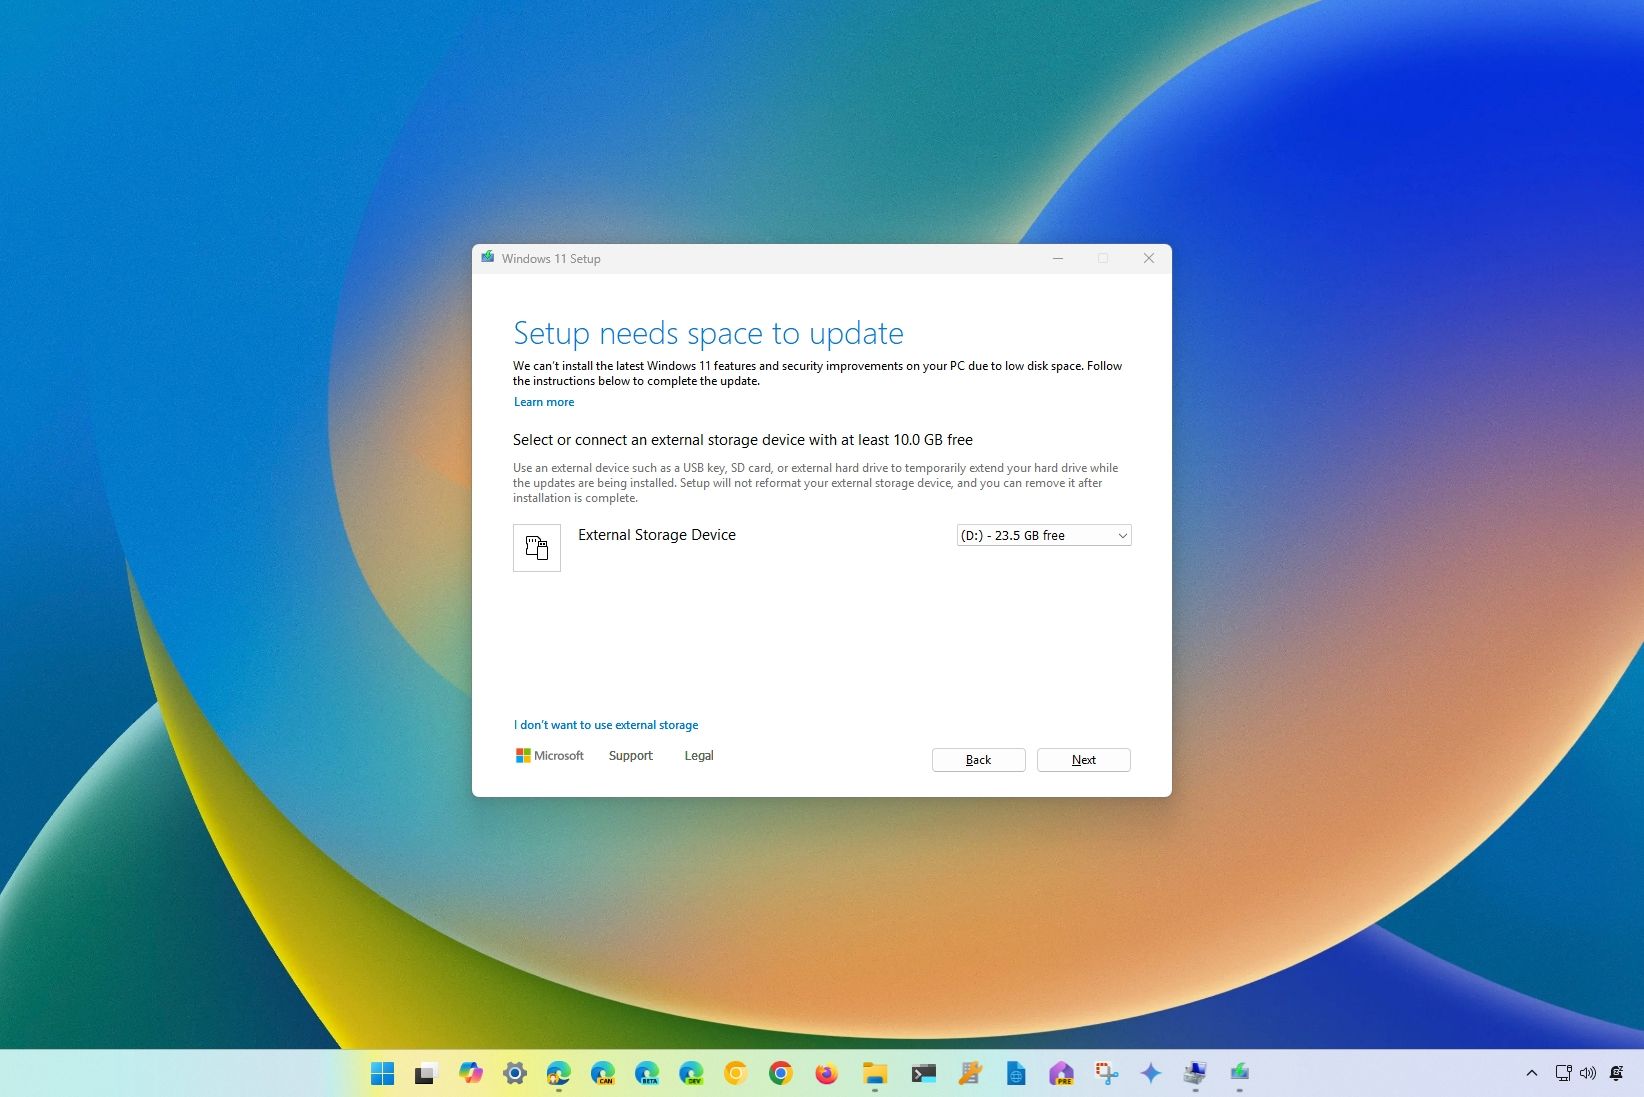
Insufficient Disk Space: Giving Windows Room to Breathe
Windows 11 requires a minimum of 64GB of storage space. If your installation drive is nearing capacity, the installer may fail.
Solution:
- Free Up Space: Delete unnecessary files, uninstall unused applications, run Disk Cleanup, or move large files to an external drive.
- Consider a Larger Drive: If your current drive is consistently full, it might be time to upgrade to a larger SSD.
Drive Formatting: The Language of Storage
Windows 11 requires the drive to be formatted as either GPT (GUID Partition Table). Older systems might use MBR (Master Boot Record). Furthermore, the drive needs to be initialized in a compatible partition style.
How to Check and Convert Drive Partition Style:
- Check Partition Style:
- Press
Windows key + Xand select “Disk Management.” - Right-click on your primary disk (usually Disk 0) and select “Properties.”
- Go to the “Volumes” tab. Look for “Partition style.” If it says “GUID Partition Table (GPT),” you’re good. If it says “Master Boot Record (MBR),” you’ll need to convert it.
- Press
- Convert MBR to GPT (Data Loss Warning!):
- This process will erase all data on the drive you are converting. Back up everything important first!
- Open Command Prompt as an administrator (
Windows key + X, then “Command Prompt (Admin)”). - Type
diskpartand press Enter. - Type
list diskand press Enter to see your disks. - Identify the disk number you want to convert (e.g., Disk 0).
- Type
select disk X(replace X with your disk number) and press Enter. - Type
cleanand press Enter. This erases the entire disk. - Type
convert gptand press Enter. - You can then create new partitions or let the Windows installer handle partitioning after conversion.
Note: If you are performing a clean install and your drive is currently MBR, the Windows 11 installer will often prompt you to delete existing partitions, which effectively formats the drive as GPT during the installation process.
Software Conflicts and Corrupted Files: The Invisible Barriers
Sometimes, the issue isn’t with your hardware but with the software environment or the installation files themselves.
Outdated BIOS/UEFI Firmware: The Motherboard’s Operating System
An outdated BIOS or UEFI firmware can sometimes prevent newer operating systems from installing correctly. Manufacturers release updates to improve compatibility, fix bugs, and add support for new features.
Solution:
- Update BIOS/UEFI: This is a critical step and should be done with extreme caution.
- Identify your motherboard model. You can usually find this in System Information (
msinfo32) or by looking at the motherboard itself if you can access it. - Visit your motherboard manufacturer’s website and download the latest BIOS/UEFI update for your specific model.
- Follow the manufacturer’s instructions precisely. This often involves putting the BIOS file on a USB drive and booting into the BIOS/UEFI to flash the new version. A failed BIOS update can render your motherboard unusable.
- Identify your motherboard model. You can usually find this in System Information (
Corrupted Installation Media: The Digital Blueprint
If you’re trying to install Windows 11 from a USB drive or DVD, the installation media itself might be corrupted. This can happen during the download process or if the drive is damaged.
Solution:
- Re-create the Installation Media:
- Download the latest Windows 11 Media Creation Tool from the official Microsoft website.
- Use the tool to create a new bootable USB drive or ISO file.
- Ensure you have a reliable USB drive (at least 8GB) and a stable internet connection.
Interfering Antivirus Software or Other Applications: The Unseen Obstacles
During installation, certain background applications or overzealous antivirus programs can interfere with the process. They might block necessary files from being accessed or modified.
Solution:
- Disable Antivirus: Temporarily disable your third-party antivirus software before starting the installation. Remember to re-enable it once Windows 11 is installed.
- Clean Boot: Perform a clean boot of Windows. This starts Windows with a minimal set of drivers and startup programs, which can help identify if a background application is causing the conflict. To do this:
- Press
Windows key + R, typemsconfig, and press Enter. - Go to the “Services” tab, check “Hide all Microsoft services,” and then click “Disable all.”
- Go to the “Startup” tab and click “Open Task Manager.” Disable all startup items.
- Restart your computer and attempt the installation. Remember to revert these changes later by re-enabling services and startup items.
- Press
Advanced Troubleshooting and Workarounds
If the common solutions don’t resolve your Windows 11 installation issues, you might need to explore more advanced techniques or consider workarounds.
Troubleshooting Windows Update Errors
If you’re attempting an in-place upgrade via Windows Update and encountering errors, several steps can help.
Running the Windows Update Troubleshooter
Microsoft provides a built-in troubleshooter that can automatically detect and fix common Windows Update problems.
Solution:
- Go to
Settings > System > Troubleshoot > Other troubleshooters. - Click “Run” next to “Windows Update.”
- Follow the on-screen prompts.
Resetting Windows Update Components
Corrupted Windows Update components can also halt installations. Resetting these can clear the cache and reset services.
Solution:
- Open Command Prompt as an administrator.
- Execute the following commands one by one, pressing Enter after each:
net stop wuauservnet stop cryptSvcnet stop bitsnet stop msiserverren C:WindowsSoftwareDistribution SoftwareDistribution.oldren C:WindowsSystem32catroot2 catroot2.oldnet start wuauservnet start cryptSvcnet start bitsnet start msiserver
- Restart your computer and try updating again.
The Bypass Route: Installing Windows 11 on Unsupported Hardware
As mentioned earlier, if your hardware doesn’t meet the strict requirements, you might be able to bypass them. This is generally not recommended by Microsoft as it could lead to instability or lack of future support. However, for users who understand the risks, these methods exist.
Modifying the Registry During Installation
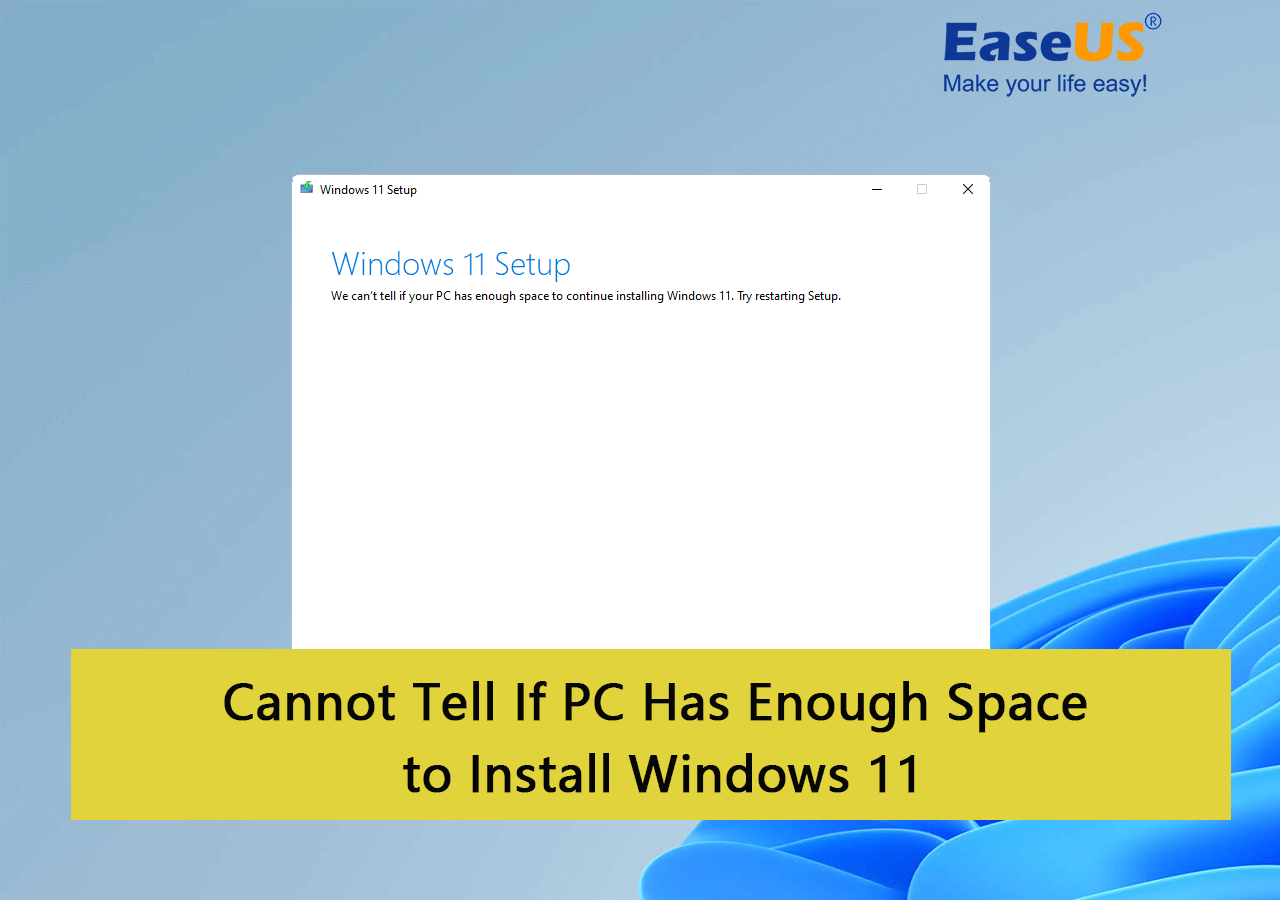
During the Windows 11 setup, when you encounter the error message about your PC not meeting the requirements, you can press Shift + F10 to open a Command Prompt. From there, you can edit the registry to bypass checks.
Example Steps (use with extreme caution and research specific methods):
- Open
regeditin the Command Prompt. - Navigate to
HKEY_LOCAL_MACHINESYSTEMSetup. - Create a new Key named
LabConfig. - Inside
LabConfig, create three new DWORD (32-bit) Value entries:BypassTPMCheckwith a value of1.BypassSecureBootCheckwith a value of1.BypassCPUCheckwith a value of1.
- Close the Registry Editor and Command Prompt, then continue the installation.
Using a Modified ISO Image
Third-party tools can sometimes be used to create a Windows 11 ISO that has the compatibility checks removed. This involves using the official ISO as a base and patching it. Again, this comes with significant risks and potential for malware if downloaded from untrusted sources.
Important Considerations for Unsupported Hardware:
- No Guarantee of Updates: Microsoft may choose to block updates for systems running on unsupported hardware.
- Performance Issues: Features designed for newer hardware might not perform optimally, leading to a slower or less stable experience.
- Security Vulnerabilities: Some security enhancements tied to newer hardware might not be fully functional.
Conclusion: Patience and Persistence are Key
Encountering issues when trying to install Windows 11 can be disheartening, but most installation problems are resolvable with a systematic approach. Begin by verifying your hardware compatibility, especially TPM 2.0 and Secure Boot. Ensure your storage is adequately prepared and that your installation media is sound. If software conflicts are suspected, a clean boot can often reveal the culprit.
While the temptation to use workarounds for unsupported hardware exists, it’s crucial to weigh the risks against the benefits. For the vast majority of users, ensuring their system meets the official requirements is the most stable and secure path to enjoying Windows 11. By patiently working through these troubleshooting steps, you can overcome the common hurdles and finally experience the modern computing environment that Windows 11 offers. Remember, a successful installation is the first step toward unlocking the full potential of your device.
aViewFromTheCave is a participant in the Amazon Services LLC Associates Program, an affiliate advertising program designed to provide a means for sites to earn advertising fees by advertising and linking to Amazon.com. Amazon, the Amazon logo, AmazonSupply, and the AmazonSupply logo are trademarks of Amazon.com, Inc. or its affiliates. As an Amazon Associate we earn affiliate commissions from qualifying purchases.