In the dynamic world of software development, reproducibility and consistency are paramount. Whether you’re working on a personal project, contributing to an open-source initiative, or deploying a complex application, ensuring that your development environment mirrors that of others is crucial. This is where the requirements.txt file comes into play. This seemingly simple text file acts as a cornerstone for managing Python project dependencies, allowing you to precisely define and install all the necessary external libraries your code relies upon.
This guide will walk you through the essential steps of installing a requirements.txt file, empowering you to quickly set up a Python project, share your work with confidence, and avoid the dreaded “it works on my machine” syndrome. We’ll delve into the core concepts, practical commands, and best practices that will make dependency management a breeze.

Understanding the requirements.txt File
Before we dive into the installation process, it’s vital to grasp what a requirements.txt file is and why it’s so indispensable.
What is requirements.txt?
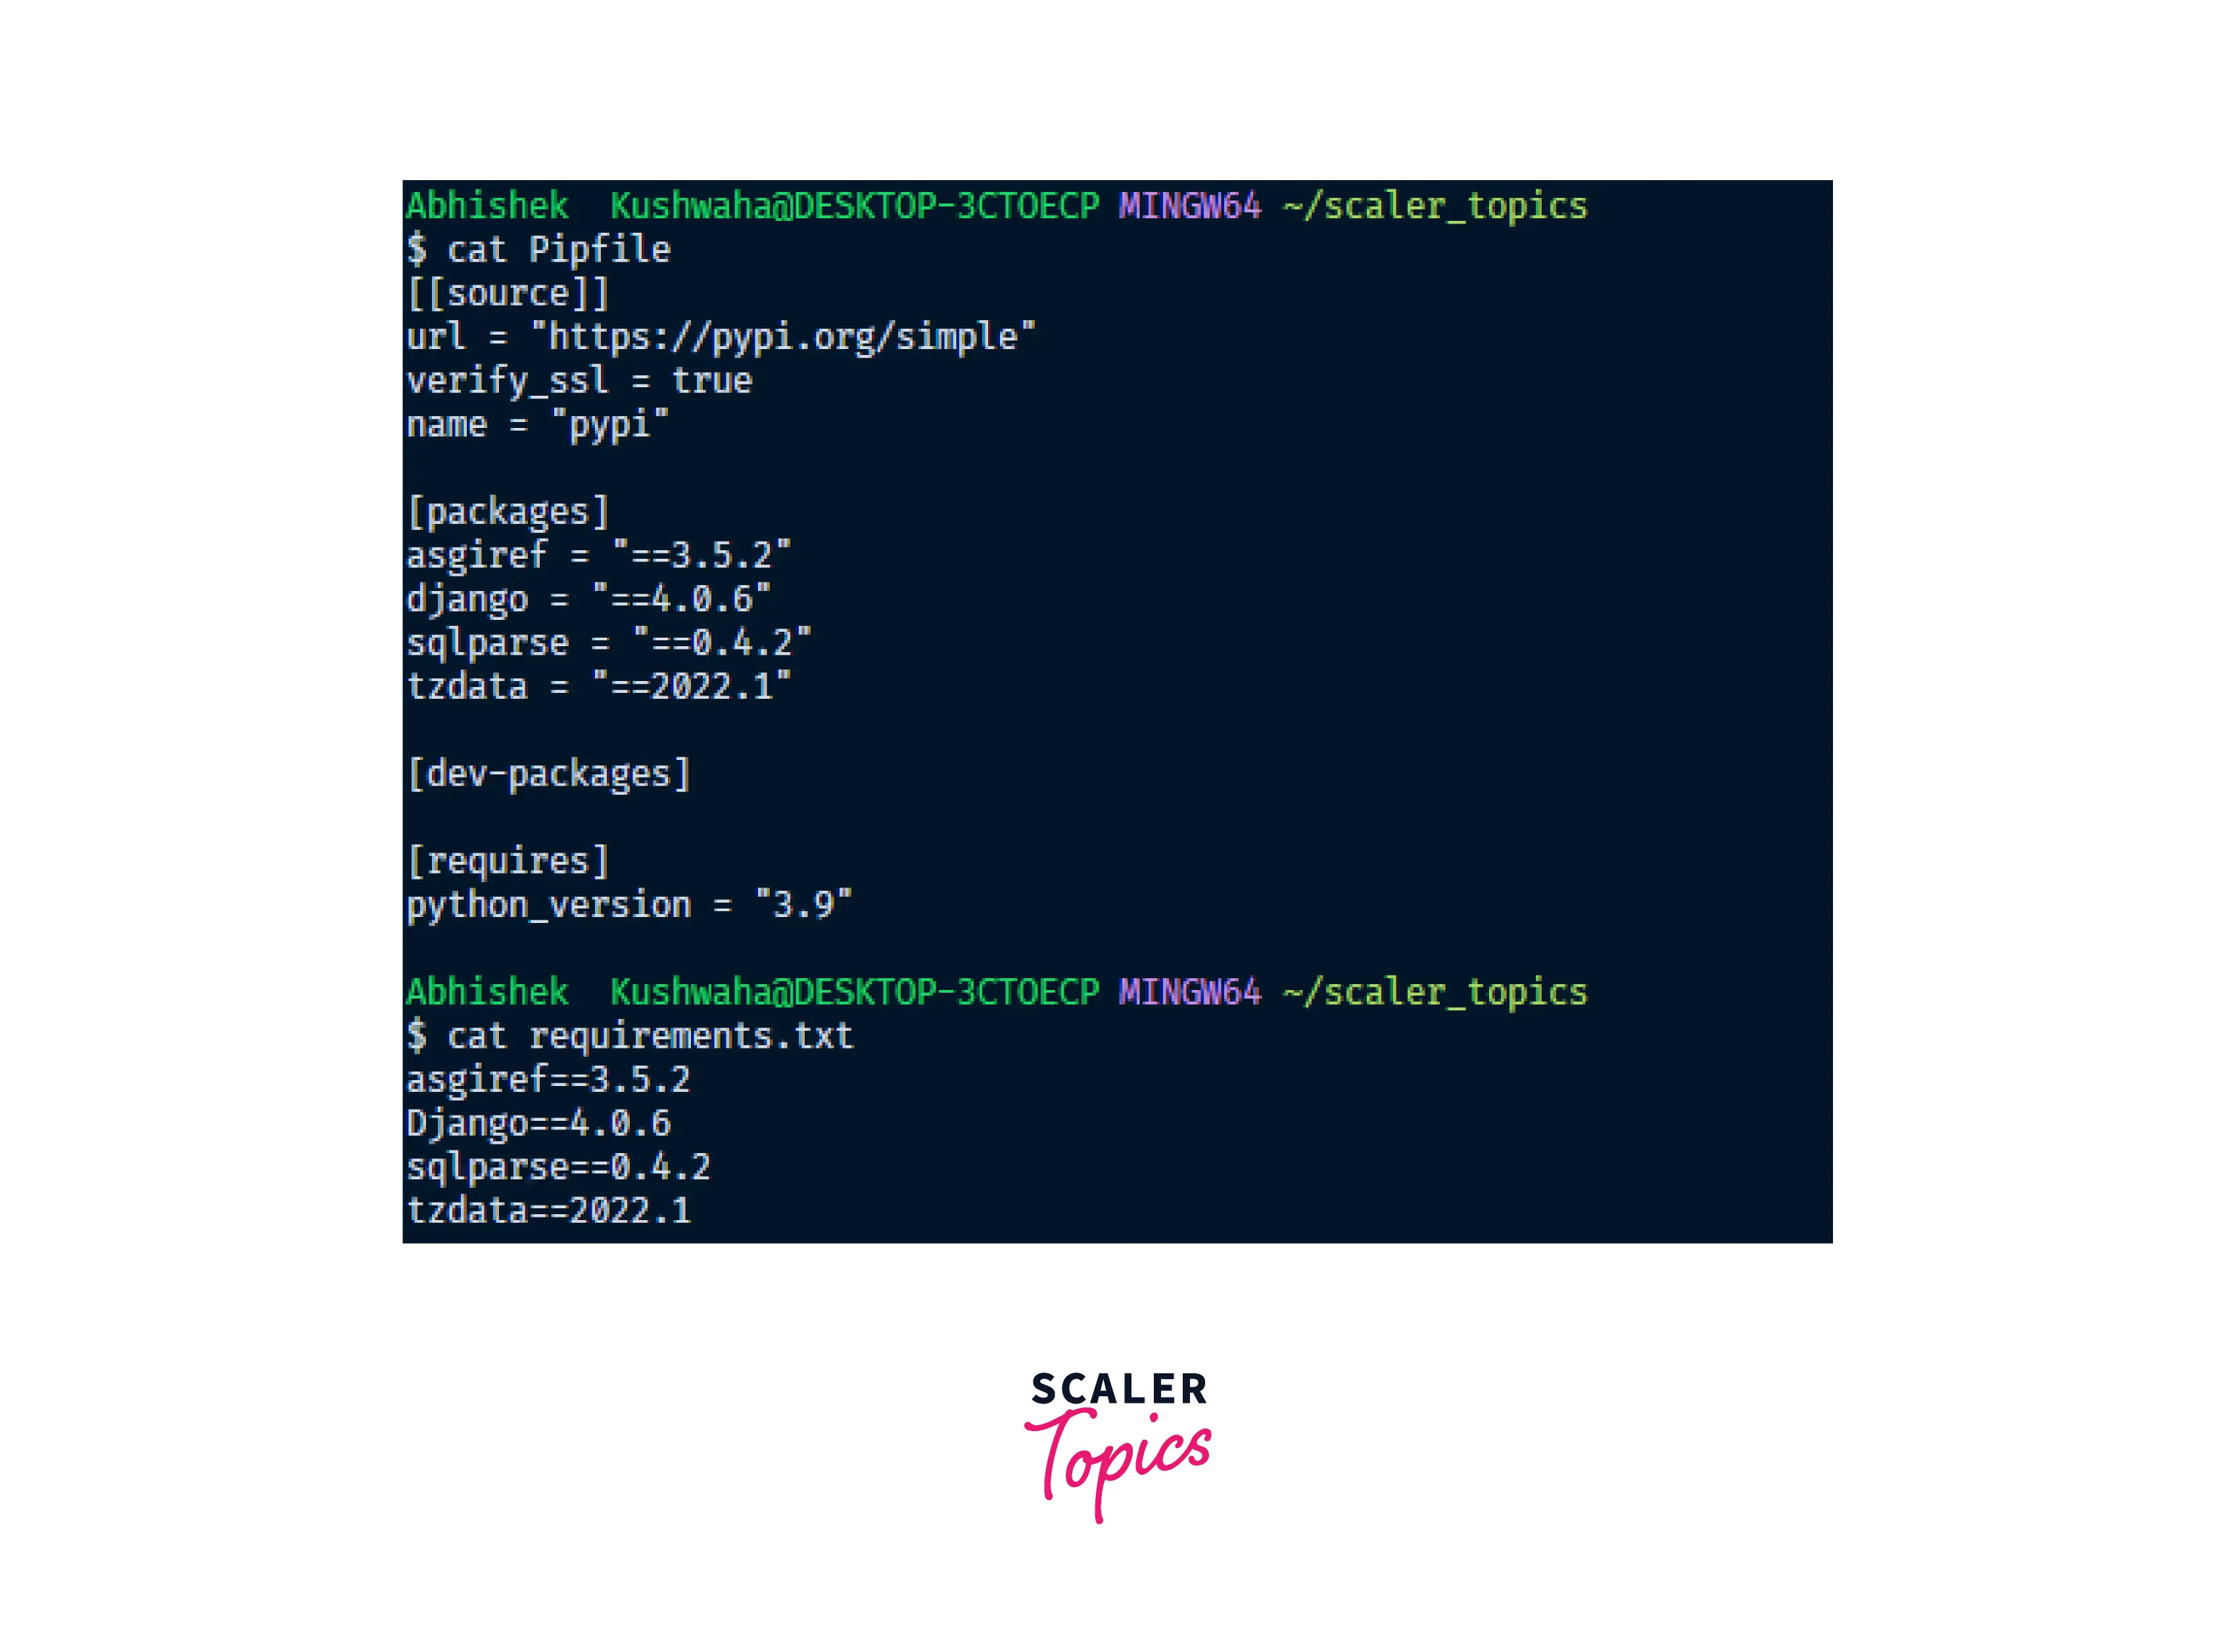
At its core, requirements.txt is a plain text file that lists the Python packages your project needs to function. Each line in the file typically specifies a package name and, optionally, a version constraint. This structured format makes it easy for both humans and machines to understand and process the dependencies.
For example, a simple requirements.txt file might look like this:
numpy
pandas==1.3.4
matplotlib>=3.5.0
requests<2.28
scikit-learn
Let’s break down what these lines signify:
numpy: This line simply lists thenumpypackage. When installed,pip(the standard Python package installer) will fetch the latest compatible version.pandas==1.3.4: This specifies that thepandaspackage must be installed with the exact version1.3.4. This is crucial for ensuring backward compatibility and preventing unexpected behavior caused by newer, potentially breaking, changes in later versions.matplotlib>=3.5.0: This indicates thatmatplotlibshould be installed with version3.5.0or any later version. This provides some flexibility while still ensuring a minimum level of functionality.requests<2.28: This requiresrequeststo be installed with any version less than2.28. This is often used to avoid known issues or incompatibilities with specific newer versions.scikit-learn: Similar tonumpy, this will install the latest compatible version ofscikit-learn.
Why is requirements.txt Important?
The importance of requirements.txt stems from its ability to foster reproducibility and collaboration.
Reproducibility
In software development, the goal is to create applications that behave consistently across different environments. Without a requirements.txt file, installing dependencies can be a haphazard process. Developers might install packages manually, and over time, the versions of these packages on their local machines can drift. When it’s time to deploy the application to a server or share it with another developer, this drift can lead to subtle bugs or outright failures because the deployed environment lacks the specific versions of libraries that the original developer was using.
A requirements.txt file acts as a definitive record of your project’s dependencies, allowing anyone to recreate the exact same environment with a single command. This significantly reduces debugging time and ensures that your application runs as expected, regardless of who is running it or where.
Collaboration
When working in a team, seamless collaboration is essential. requirements.txt streamlines this process by providing a clear and unambiguous list of all required packages. New team members can join a project and, within minutes, have a fully functional development environment set up by simply installing the dependencies from the requirements.txt file. This eliminates the need for lengthy manual setup instructions and ensures everyone is working with the same set of tools and libraries.
Furthermore, requirements.txt is invaluable for version control systems like Git. By committing your requirements.txt file alongside your code, you ensure that the project’s dependencies are tracked and managed as part of the codebase’s history. This allows you to revert to previous states of your project with confidence, knowing that the associated dependencies will also be restored.
Installing Dependencies from requirements.txt
The primary tool for installing Python packages is pip. pip can directly read a requirements.txt file and install all the listed packages.
The Core Command
The fundamental command for installing dependencies from a requirements.txt file is as follows:
pip install -r requirements.txt
Let’s break down this command:
pip: This is the command-line interface for Python’s package installer.install: This subcommand tellspipto install packages.-r: This flag stands for “requirement”. It tellspipto read package names and versions from a specified file.requirements.txt: This is the name of the file containing the list of dependencies.
Step-by-Step Installation Process
To execute this command effectively, follow these steps:
1. Navigate to Your Project Directory
Open your terminal or command prompt. You need to be in the same directory where your requirements.txt file is located. You can use the cd command to change directories.
For example, if your project is in a folder named my_python_project on your desktop, you would typically do something like this:
- On Windows:
bash

cd C:UsersYourUsernameDesktopmy_python_project
- On macOS/Linux:
bash

cd ~/Desktop/my_python_project
You can verify that you are in the correct directory by listing the files. The requirements.txt file should appear in the output.
- On Windows:
bash

dir
- On macOS/Linux:
bash

ls
2. Ensure You Have pip Installed and Updated
pip is usually installed by default with modern Python installations. However, it’s always a good practice to ensure you have the latest version of pip to benefit from performance improvements and bug fixes.
To check your pip version:
pip --version
To upgrade pip:
python -m pip install --upgrade pip
(Note: On some systems, you might need to use pip3 instead of pip if you have multiple Python versions installed.)
3. Execute the Installation Command
Once you are in the correct directory and have confirmed pip is ready, run the installation command:
pip install -r requirements.txt
pip will then read the requirements.txt file, download each specified package (and any of their dependencies that are not already installed), and install them into your current Python environment. You will see output in your terminal indicating the progress of the installation.
4. Verification (Optional but Recommended)
After the installation completes, you can optionally verify that the packages have been installed correctly. You can do this by starting a Python interactive session and trying to import some of the installed packages.
Start the Python interpreter:
python
Then, try importing a package listed in your requirements.txt:
import numpy
import pandas
import requests

print("Dependencies installed successfully!")
If these imports run without errors, it’s a strong indication that your dependencies have been installed correctly. To exit the Python interpreter, type exit() and press Enter.
Best Practices for requirements.txt Management
While simply running pip install -r requirements.txt is the core action, adopting certain practices can significantly enhance your dependency management workflow.
Creating Your requirements.txt File
If you’re starting a new project or need to generate a requirements.txt file for an existing one, pip can help.
Using pip freeze
The pip freeze command outputs a list of all installed packages in your current environment in the requirements.txt format. This is incredibly useful for capturing the exact state of your project’s dependencies at a given time.
To generate a requirements.txt file:
- Ensure you are in your project directory.
- Activate your project’s virtual environment (more on this below).
- Run the following command:
bash

pip freeze > requirements.txt
This command redirects the output ofpip freezeto a file namedrequirements.txt.
It’s crucial to generate this file after you have installed all the packages necessary for your project, preferably within a dedicated virtual environment.
Specifying Version Constraints
As shown in the examples earlier, you can specify version constraints. It’s generally good practice to pin specific versions (==) for critical dependencies or at least provide a reasonable range (>=, <=, <) to prevent unexpected breaks.
- Exact Version (
==): Use this for packages where a specific version is known to work without issues. This offers the highest level of reproducibility.
django==3.2.12
- Minimum Version (
>=): Use this when you want to ensure a certain baseline functionality.
flask>=2.0.0
- Maximum Version (
<): Useful for avoiding known problematic versions or when a feature you rely on is deprecated in later versions.
sqlalchemy<1.4.0
- Compatible Version (
~=): This is a more advanced constraint that allows for minor version updates but prevents major ones. For example,~=1.4.2would allow1.4.3,1.4.4, but not1.5.0.
pytest~=6.2.4
The Importance of Virtual Environments
One of the most critical best practices when working with Python projects and requirements.txt is to use virtual environments.
What is a Virtual Environment?
A virtual environment is an isolated Python environment. When you create a virtual environment, it has its own Python interpreter, its own pip installation, and its own set of installed packages. This means that packages installed in one virtual environment do not affect other projects or your global Python installation.
Why Use Virtual Environments?
- Dependency Isolation: Prevents conflicts between different projects that might require different versions of the same library.
- Clean Global Environment: Keeps your system’s Python installation clean and free from project-specific dependencies.
- Reproducibility: Makes it easier to generate an accurate
requirements.txtfile for a specific project, aspip freezewill only list packages within the active virtual environment. - Deployment Simplicity: When deploying an application, you can easily recreate the exact environment by activating the virtual environment and installing its dependencies.
Creating and Activating Virtual Environments
The standard library module for creating virtual environments is venv.
-
Create a virtual environment:
Navigate to your project directory in the terminal and run:python -m venv venvThis command creates a directory named
venv(a common convention) within your project, containing the virtual environment files. -
Activate the virtual environment:
- On Windows:
bash

.venvScriptsactivate
- On macOS/Linux:
bash

source venv/bin/activate
Once activated, your terminal prompt will usually change to indicate the active environment (e.g.,(venv)at the beginning of the line).
- On Windows:
-
Install dependencies:
With the virtual environment activated, you can now install your project’s dependencies usingpip install -r requirements.txt. These packages will be installed inside thevenvdirectory, not globally. -
Deactivate the virtual environment:
When you’re done working on the project, you can deactivate the environment:
bash

deactivate
Updating and Managing requirements.txt
As your project evolves, its dependencies will also change. It’s important to keep your requirements.txt file up-to-date.
- Adding New Packages: When you install a new package for your project using
pip install <package_name>, remember to update yourrequirements.txtfile. - Removing Unused Packages: If you remove a package from your project, you should also remove it from
requirements.txt. - Regularly Regenerating
requirements.txt: It’s a good practice to periodically regenerate yourrequirements.txtfile usingpip freeze > requirements.txt(within your activated virtual environment) to ensure it accurately reflects the current state of your project. This is especially important before committing changes or sharing your project.
By following these best practices, you can ensure that your Python projects are well-managed, reproducible, and easy for others to collaborate on. The requirements.txt file, when used in conjunction with virtual environments, becomes a powerful tool for maintaining a healthy and predictable development workflow.