
Upgrading your computer’s graphics card can breathe new life into your system, dramatically enhancing gaming performance, accelerating creative workflows, and generally making your digital experience smoother and more visually appealing. Whether you’re a seasoned PC builder or a newcomer looking to dip your toes into hardware upgrades, this guide will walk you through the entire process, from choosing the right card to getting it up and running. We’ll cover everything you need to know, ensuring a successful installation and a powerful new visual experience.
Understanding Your Needs: Choosing the Right Graphics Card
Before you even think about opening your computer case, the most crucial step is determining which graphics card best suits your needs and budget. This involves a bit of research and self-assessment.
What Will You Be Using Your Graphics Card For?
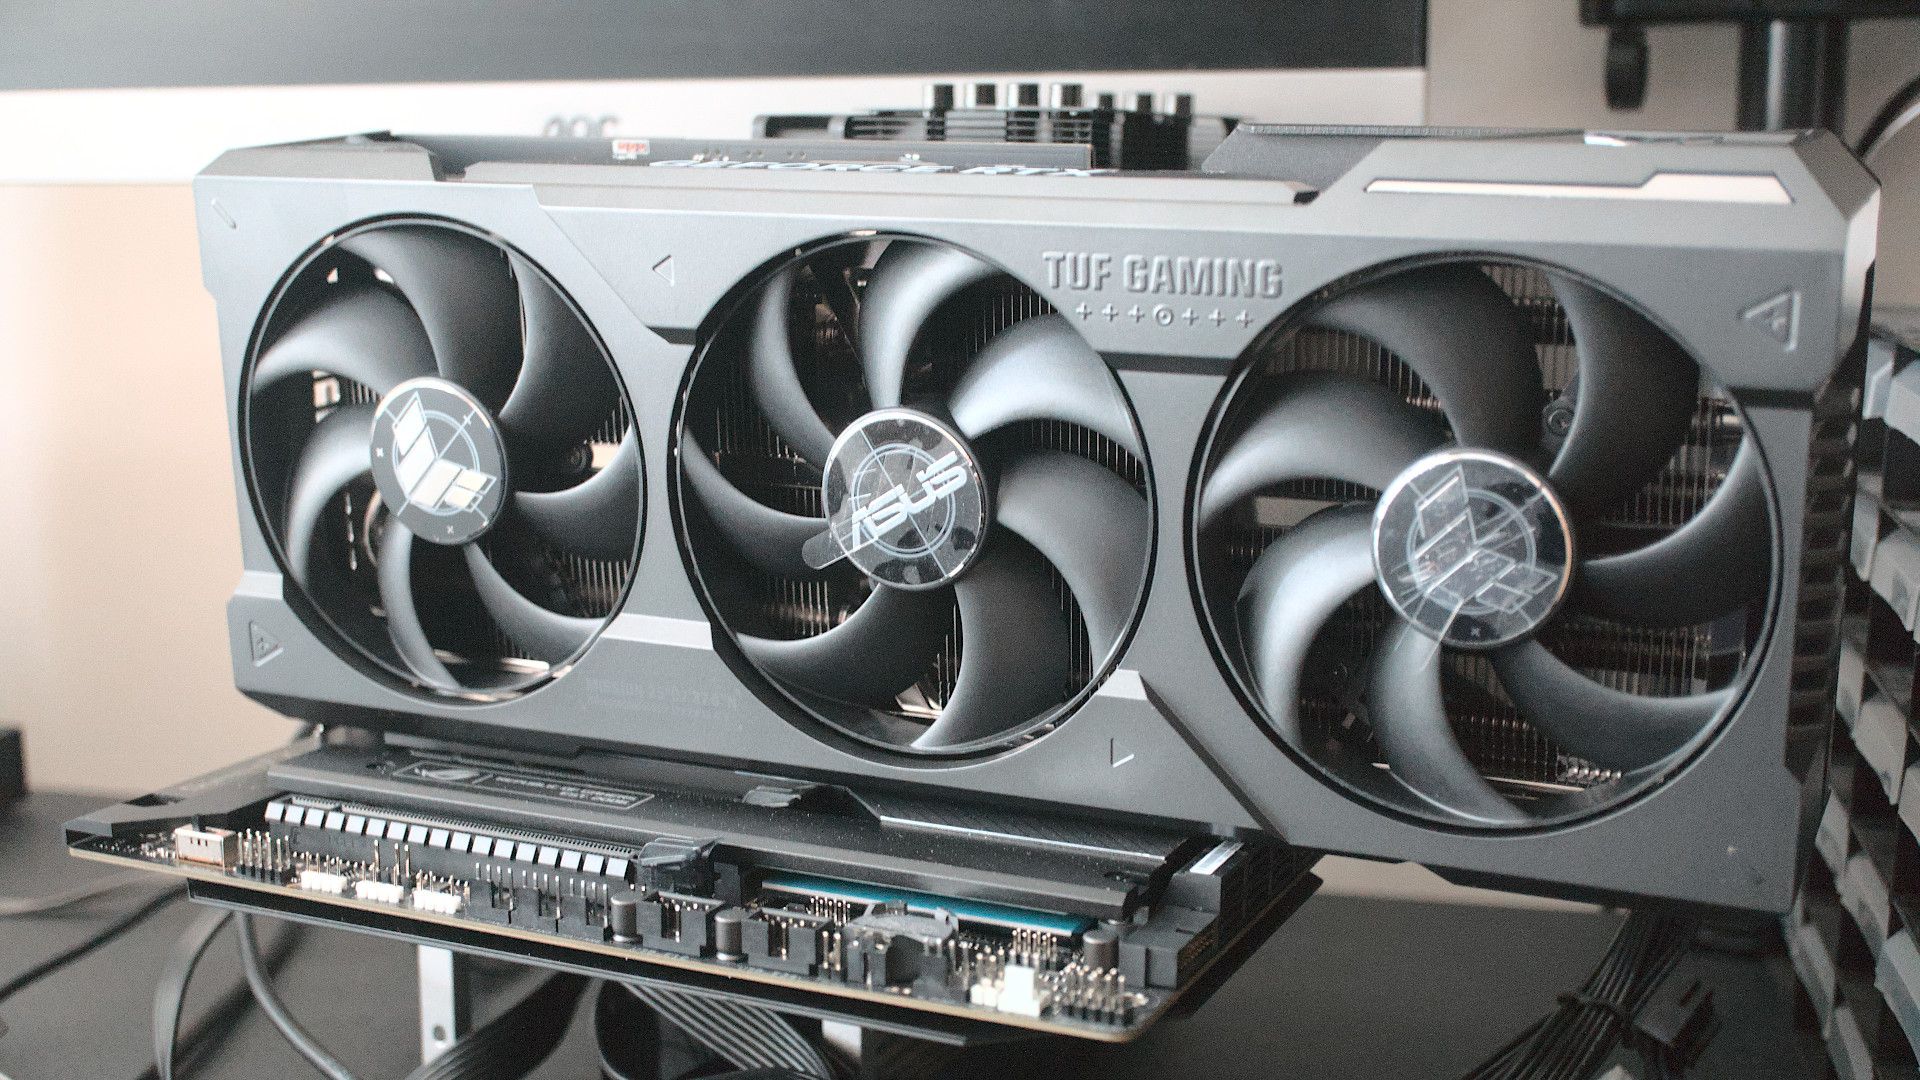
The primary determinant of your graphics card choice should be its intended use. Are you a hardcore gamer seeking the highest frame rates and maximum visual fidelity in the latest AAA titles? Or are you a content creator who relies on GPU acceleration for video editing, 3D rendering, or graphic design? Perhaps you simply want a smoother experience for everyday tasks and casual gaming.
- For Gamers: If gaming is your priority, you’ll want to look at cards that excel in raw performance. Consider the resolution you play at (1080p, 1440p, 4K) and your desired refresh rate (60Hz, 144Hz, 240Hz). Higher resolutions and refresh rates demand more powerful GPUs. Look at benchmarks for the games you play most often to see which cards perform best. Features like Ray Tracing and DLSS (Deep Learning Super Sampling) are also important considerations for modern gaming, offering enhanced realism and performance boosts respectively.
- For Content Creators: Video editors, 3D artists, and graphic designers often benefit from graphics cards with larger amounts of VRAM (Video Random Access Memory) and robust CUDA core counts (for NVIDIA) or compute units (for AMD). These aspects are crucial for handling large datasets, complex scenes, and faster rendering times. Specific software often has recommended hardware, so it’s wise to check the requirements for your preferred creative applications.
- For General Use and Casual Gaming: If your needs are more modest, a budget-friendly or mid-range graphics card will likely suffice. You can still enjoy a significant upgrade over integrated graphics, allowing for smoother multitasking, higher resolution displays, and the ability to play less demanding games at decent settings.
Compatibility is Key: Ensuring Your System Can Support the New Card
This is where the “Tech” aspect of our website truly shines, emphasizing the importance of understanding your existing hardware. A shiny new graphics card is useless if your computer can’t accommodate it. Several factors need to be considered:
Power Supply Unit (PSU) Requirements
Graphics cards, especially high-performance ones, are power-hungry. Your PSU needs to be able to provide enough wattage to not only power the graphics card but also all other components in your system.
- Check the GPU’s Recommended PSU: Every graphics card manufacturer will specify a recommended PSU wattage. It’s generally a good idea to have some headroom beyond this recommendation to ensure stability and longevity for your PSU.
- Assess Your Current PSU: Open your computer case and locate your PSU. It’s usually a rectangular box with a fan. Look for a label on the side that indicates its wattage. Also, check for the necessary PCIe power connectors. Modern graphics cards often require one or two 6-pin or 8-pin PCIe power connectors. Ensure your PSU has these available. If your PSU is insufficient, you’ll need to upgrade it as well, which can add to the overall cost and complexity of the installation.
Physical Space and Case Compatibility
Graphics cards come in various sizes, from compact single-fan models to massive triple-fan behemoths. You need to ensure the new card will physically fit inside your computer case.
- Length: Measure the available space in your case from the rear expansion slots to the front drive bays or any other obstructions. Compare this measurement to the length of the graphics card you are considering.
- Height and Width (Slot Thickness): Most graphics cards occupy two expansion slots, but some larger ones can take up three. Ensure you have enough vertical space and that the card won’t interfere with other components like CPU coolers or RAM modules.
- Case Airflow: A powerful graphics card generates a lot of heat. Ensure your case has adequate airflow with good intake and exhaust fans to keep the GPU and other components cool.
Motherboard Compatibility
While most modern motherboards are compatible with most modern graphics cards, there are a few nuances to consider.
- PCIe Slots: Graphics cards use PCIe (Peripheral Component Interconnect Express) slots. Ensure your motherboard has a compatible PCIe x16 slot. Almost all motherboards manufactured in the last decade will have at least one, usually the one closest to the CPU for optimal performance.
- PCIe Version: Newer graphics cards utilize newer PCIe standards (e.g., PCIe 4.0, PCIe 5.0), which offer increased bandwidth. While older PCIe versions (e.g., PCIe 3.0) will still work, you might not get the full performance potential of a cutting-edge card. However, for most users, the difference is negligible.
The Installation Process: Step-by-Step Guide
Once you’ve chosen your graphics card and confirmed compatibility, it’s time to get your hands dirty. This section will guide you through the physical installation of the new card.
Preparing Your Workspace and Computer
Safety and organization are paramount. A little preparation goes a long way.
- Gather Your Tools: You’ll typically only need a Phillips head screwdriver. Some cases have tool-less designs, but a screwdriver is always a safe bet. An anti-static wrist strap is also highly recommended to prevent electrostatic discharge (ESD), which can damage your components.
- Find a Clean, Well-Lit Area: Work on a non-carpeted surface if possible, or at least ensure you’re not on a carpet that generates a lot of static.
- Power Down and Unplug: Completely shut down your computer. Then, turn off the power switch on the back of your PSU and unplug the power cord from the wall outlet. It’s also good practice to unplug all other peripherals (monitor, keyboard, mouse, etc.).
- Discharge Static Electricity: If you have an anti-static wrist strap, wear it and connect it to an unpainted metal part of your computer case. If you don’t have one, periodically touch an unpainted metal part of the case before touching any internal components.
- Open the Computer Case: Most PC cases have side panels that are secured by screws or latches. Remove the necessary screws or release the latches to slide or swing open the side panel.
Removing the Old Graphics Card (If Applicable)

If you’re replacing an existing graphics card, you’ll need to remove it first.
- Locate the Old Graphics Card: It’s usually the largest expansion card plugged into a long slot on your motherboard.
- Disconnect Power Cables: If your old graphics card has PCIe power connectors, carefully unplug them. These often have a small clip that needs to be pressed.
- Remove Expansion Slot Screws: The graphics card is typically secured to the back of the case with one or two screws. Unscrew these.
- Release the PCIe Slot Latch: At the end of the PCIe slot on the motherboard, there’s usually a small plastic latch that locks the card in place. Gently push down or slide this latch to release the card.
- Carefully Remove the Card: With the screws removed and the latch released, gently and evenly pull the graphics card straight up and out of the PCIe slot. Avoid wiggling it excessively.
Installing the New Graphics Card
Now for the exciting part!
- Prepare the Expansion Slot Covers: On the back of your case, locate the expansion slot covers that correspond to where your new graphics card will be installed. Remove the necessary metal slot covers (usually one or two, depending on the card’s thickness). You might need to unscrew them or snap them off.
- Align the New Graphics Card: Carefully align the gold connectors on the bottom of the new graphics card with the PCIe x16 slot on your motherboard. Ensure the card’s I/O bracket (where the display ports are) lines up with the openings you just created at the back of the case.
- Gently Insert the Card: Press down firmly and evenly on the graphics card until it is fully seated in the PCIe slot. You should feel and hear a click as the retention latch on the slot engages. Ensure the card is level and not at an angle.
- Secure the Card: Screw the graphics card into place at the back of the case using the screws you removed earlier (or new ones if your case requires it).
- Connect PCIe Power Cables: If your new graphics card requires external power, connect the appropriate PCIe power cables from your PSU to the power connectors on the graphics card. Ensure they are firmly seated.
- Double-Check Connections: Take a moment to ensure all cables are securely connected and that the graphics card is firmly seated in the PCIe slot.
Closing the Case and Connecting Peripherals
- Reattach the Side Panel: Carefully slide or swing the side panel back into place and secure it with its screws or latches.
- Reconnect Peripherals: Plug your monitor, keyboard, mouse, and any other peripherals back into your computer. Crucially, connect your monitor cable to the new graphics card’s output ports, NOT the motherboard’s integrated graphics ports.
- Plug In and Power On: Connect the power cord to your PSU and the wall outlet. Turn on the PSU switch, and then press the power button on your computer.
Post-Installation: Drivers and Optimization
You’ve successfully installed the hardware, but the job isn’t quite done. Software is essential to unlock the full potential of your new graphics card.
Installing the Latest Drivers
Drivers are the bridge between your operating system and your graphics hardware. Outdated or generic drivers can severely limit performance and cause instability.
- Download Drivers from the Manufacturer’s Website:
- NVIDIA: Visit the official NVIDIA website and navigate to their driver download section. You’ll need to select your graphics card model and operating system.
- AMD: Visit the official AMD website and go to their support or driver download page. Select your graphics card model and operating system.
- Run the Installer: Once the drivers are downloaded, run the executable file.
- Perform a Clean Installation: Most driver installers offer a “Clean Installation” or “Custom Installation” option. It’s highly recommended to select “Clean Installation” (especially for NVIDIA) or to check the box for a “Factory Reset” or “Perform clean install” option in AMD’s installer. This removes any remnants of old drivers, preventing potential conflicts.
- Follow the On-Screen Prompts: The installer will guide you through the rest of the process. You may need to restart your computer after the installation is complete.
Optimizing Your Graphics Settings
With the new drivers installed, you can now fine-tune your settings for optimal performance.
- Graphics Card Control Panel: Both NVIDIA and AMD provide control panel software (NVIDIA Control Panel and AMD Radeon Software, respectively) that allows you to adjust various graphics settings globally or on a per-application basis. Explore these settings to:
- Adjust Power Management: Ensure your graphics card is set to “Prefer maximum performance” for demanding tasks.
- Configure Anti-Aliasing and Anisotropic Filtering: These settings improve image quality by smoothing jagged edges and enhancing texture clarity.
- Enable/Disable V-Sync: V-Sync (Vertical Synchronization) synchronizes your game’s frame rate with your monitor’s refresh rate to prevent screen tearing. However, it can sometimes introduce input lag. Experiment to see what works best for you.
- Manage Resolution and Refresh Rate: Ensure your display is running at its native resolution and the highest possible refresh rate.
- In-Game Settings: Within games, you’ll have further options to tweak visual fidelity. Start with presets (Low, Medium, High, Ultra) and then fine-tune individual settings like texture quality, shadow detail, anti-aliasing, and post-processing effects to strike a balance between visual appeal and smooth performance.
Troubleshooting Common Issues
Even with careful planning, you might encounter a hiccup. Here are some common problems and their solutions.
No Display or Black Screen
- Check Monitor Connection: Ensure the monitor cable is plugged into the new graphics card’s output ports, not the motherboard.
- Reseat the Graphics Card: Power down, unplug, discharge static, and carefully remove and reinsert the graphics card.
- Check PCIe Power: Ensure all required PCIe power cables are firmly connected to the graphics card.
- Try Integrated Graphics: If your CPU has integrated graphics, temporarily remove the new GPU and connect your monitor to the motherboard to see if the system boots. This helps isolate whether the issue is with the GPU or another component.
- Check PSU Wattage: Verify that your PSU meets the recommended wattage for the new graphics card.
System Instability or Crashes
- Driver Issues: Perform a clean installation of the latest drivers again. Consider using a driver uninstaller utility (like Display Driver Uninstaller – DDU) in Safe Mode before reinstalling.
- Overheating: Monitor your graphics card’s temperature using software like HWMonitor or MSI Afterburner. Ensure your case has good airflow and consider adding more fans if necessary.
- Power Supply Issues: An insufficient or failing PSU can cause instability.
- Faulty Graphics Card: If all else fails, the card itself might be defective. Contact the manufacturer for warranty service.
Poor Performance
- Outdated Drivers: Ensure you have the latest drivers installed.
- Incorrect Settings: Review your graphics card control panel and in-game settings.
- Bottlenecking: If your CPU is significantly older or weaker than your new GPU, it might not be able to keep up, leading to lower-than-expected frame rates.
- Insufficient RAM: While not directly related to the GPU, insufficient system RAM can also impact overall performance.
By following this comprehensive guide, you should be well-equipped to install your new graphics card and enjoy a significantly enhanced computing experience. Remember to approach the process methodically, prioritize compatibility and safety, and always refer to your component manuals for specific instructions. Happy upgrading!
aViewFromTheCave is a participant in the Amazon Services LLC Associates Program, an affiliate advertising program designed to provide a means for sites to earn advertising fees by advertising and linking to Amazon.com. Amazon, the Amazon logo, AmazonSupply, and the AmazonSupply logo are trademarks of Amazon.com, Inc. or its affiliates. As an Amazon Associate we earn affiliate commissions from qualifying purchases.