
The allure of Linux on a Chromebook is a potent one. For users who love the simplicity and security of ChromeOS but crave the power, flexibility, and open-source nature of a full Linux distribution, the prospect of running both side-by-side is incredibly appealing. This isn’t just about satisfying a technical curiosity; it’s about unlocking a new level of productivity, accessing a vast ecosystem of specialized software, and potentially even experimenting with development tools right on your familiar Chromebook hardware.
Historically, Chromebooks were designed with a singular focus: the web. Their lightweight operating system, ChromeOS, is built around the Chrome browser and cloud-based applications. This has made them incredibly accessible, secure, and affordable. However, as Chromebooks have become more powerful and versatile, so too has the demand for more advanced functionality. This is where Linux steps in, offering a gateway to a world of applications and capabilities that extend far beyond the browser.
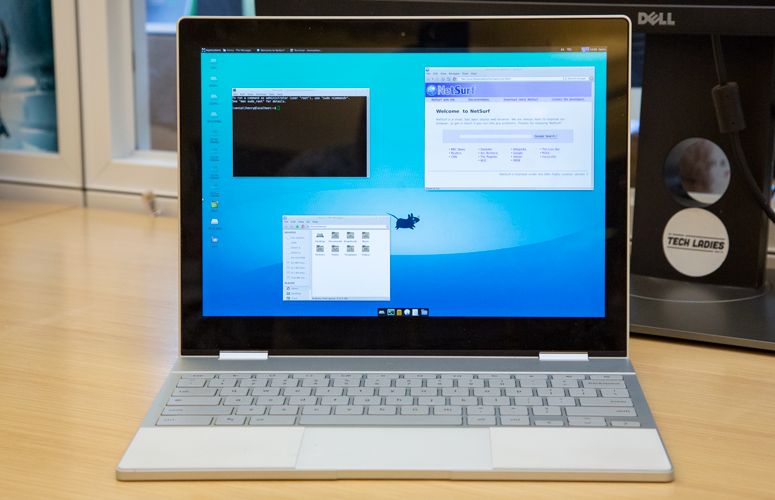
The good news is that Google has recognized this demand and has made it significantly easier to integrate Linux into the Chromebook experience. Gone are the days of complex, often fragile, workarounds. Today, most modern Chromebooks come with a built-in feature that allows you to install a Linux environment with relative ease, transforming your device into a dual-booting powerhouse capable of handling a much wider range of tasks.
This article will guide you through the process of installing Linux on your Chromebook. We’ll cover what you need to know before you begin, the step-by-step installation process, and what you can do once Linux is up and running on your device. Whether you’re a student looking to run specialized coding software, a creative professional needing access to powerful design tools, or simply an enthusiast eager to explore the world of open-source software, this guide will empower you to unlock the full potential of your Chromebook.
Understanding the Benefits and Requirements
Before diving into the installation process, it’s crucial to understand why you might want Linux on your Chromebook and what prerequisites you’ll need to ensure a smooth experience. This isn’t just a technical upgrade; it’s an expansion of your device’s capabilities, opening doors to new workflows and possibilities.
Why Install Linux on Your Chromebook?
The primary appeal of running Linux on a Chromebook lies in its ability to bridge the gap between the web-centric world of ChromeOS and the robust, versatile ecosystem of Linux. Here are some of the key benefits:
- Access to a Vast Software Repository: Linux boasts an enormous collection of free and open-source software (FOSS) that isn’t available on ChromeOS. This includes powerful development tools, advanced graphic design applications, scientific software, emulators, and much more. Think of tools like VS Code, GIMP, LibreOffice, and a plethora of programming languages and frameworks.
- Development and Coding: For aspiring or seasoned developers, a Linux environment on a Chromebook is a game-changer. You can set up development environments for various programming languages (Python, JavaScript, C++, Java, etc.), use sophisticated IDEs, run compilers and interpreters, and manage your projects with command-line tools. This makes your Chromebook a capable coding machine without needing a separate, more expensive laptop.
- Enhanced Productivity and Customization: Linux offers a level of customization and control that ChromeOS, by its nature, limits. You can fine-tune your desktop environment, automate tasks, and install specialized productivity suites that might not be available or as feature-rich on ChromeOS.
- Experimentation and Learning: If you’re interested in learning more about operating systems, command-line interfaces, or Linux distributions in general, this is a safe and convenient way to experiment. You can try out different Linux applications and learn valuable technical skills.
- Running Legacy or Niche Software: Occasionally, you might encounter specific software that only runs on Linux or older operating systems. With a Linux environment, you can potentially run these applications, expanding your device’s compatibility.
What You Need Before You Start
While the process is now streamlined, a few things are essential to ensure a successful installation:
- A Compatible Chromebook: The most critical requirement is a Chromebook that supports Linux (Beta). Google has been progressively rolling out this feature, but it’s not available on every single model, especially older ones. Generally, Chromebooks released after 2019 are highly likely to support it. You can usually check your Chromebook’s compatibility by looking at its specifications or searching online for “[Your Chromebook Model] Linux support.”
- Sufficient Storage Space: Linux environments, even lightweight ones, require a dedicated portion of your Chromebook’s internal storage. The default installation typically allocates around 10GB, but this can vary. Ensure you have enough free space. If your Chromebook has limited storage (e.g., 32GB), you might find it a bit tight, so consider managing your local files or uninstalling unused ChromeOS apps.
- An Internet Connection: The installation process involves downloading necessary files and packages from the internet. A stable Wi-Fi connection is essential.
- Your Chromebook Needs to Be Up-to-Date: Ensure your ChromeOS is running the latest version. Updates often include the necessary features and security patches to enable Linux support.
- Administrator Access: You’ll need to be signed in as the primary user on the Chromebook and have administrator privileges to enable the Linux development environment.
Enabling and Installing the Linux Environment
The process of getting Linux onto your Chromebook is remarkably straightforward, thanks to Google’s integration of the Linux development environment directly into ChromeOS. This feature, often referred to as “Linux (Beta),” allows you to run a Debian-based Linux distribution alongside ChromeOS without dual-booting in the traditional sense.
Enabling Linux (Beta) in ChromeOS Settings
The first step is to activate the Linux development environment within your Chromebook’s settings. This process is designed to be user-friendly and requires just a few clicks.
- Open Settings: Click on the time in the bottom-right corner of your screen to open the Quick Settings menu. Then, click on the gear icon to open the main Settings.
- Navigate to Advanced Settings: In the Settings menu, scroll down and click on “Advanced” in the left-hand sidebar.
- Find “Developers”: Under the “Advanced” section, look for an option labeled “Developers.”
- Turn on Linux development environment: Within the “Developers” section, you should see an option for “Linux development environment.” Click the “Turn on” button next to it.
- Follow the On-Screen Prompts: A setup window will appear. Read through the information and click “Next.” You’ll be asked to set a username for your Linux environment. This is the username you’ll use in the Linux terminal. You can also choose how much disk space to allocate to your Linux environment. The default is usually sufficient for many users, but you can adjust it if you plan to install many large applications.
- Installation Begins: Once you confirm these settings, your Chromebook will begin downloading and installing the necessary components. This process can take several minutes, depending on your internet speed and Chromebook’s performance. You’ll see a progress indicator.
- Terminal Window Opens: Upon successful installation, a Linux terminal window (typically a terminal emulator like
gnome-terminalor a similar application) will automatically open. This signifies that your Linux environment is ready to use.
This terminal window is your gateway to the Linux world. From here, you can install software, run commands, and customize your Linux setup.
Understanding the Linux Terminal
The terminal is where you’ll interact with your Linux environment. It’s a command-line interface (CLI) that allows you to execute commands, manage files, and install software. Don’t be intimidated if you’re new to the terminal; it’s a powerful tool that becomes easier to use with practice.
- Basic Commands: You’ll encounter commands like
ls(list files),cd(change directory),mkdir(make directory), andrm(remove file). - Package Management: The Linux distribution provided is usually Debian-based, which means it uses the Advanced Packaging Tool (APT) for installing and managing software. The primary command for this is
sudo apt updateto refresh your package lists andsudo apt install <package_name>to install an application. - Running GUI Applications: While it’s a terminal, you can also launch graphical Linux applications from it. Once installed, you can simply type the application’s name and press Enter to open its window. These applications will appear in your Chromebook’s app launcher, just like any other ChromeOS app.
It’s a good practice to run sudo apt update and sudo apt upgrade shortly after installation to ensure all your installed packages are up-to-date.
Navigating Your New Linux Environment
With Linux successfully installed, you’ve unlocked a new dimension of your Chromebook’s capabilities. Now comes the exciting part: exploring and utilizing this powerful new environment. This section will guide you on how to manage installed applications, transfer files, and explore the vast possibilities that Linux offers.
Installing and Managing Linux Applications
The primary advantage of having Linux is access to its extensive software library. The Debian-based system on your Chromebook makes this process straightforward using the Advanced Packaging Tool (APT).
Installing Software
To install a new application, you’ll use the apt install command in the Linux terminal. It’s always a good idea to update your package lists first to ensure you’re getting the latest versions and to avoid dependency issues.
- Open the Terminal: Launch the Linux terminal from your app drawer.
- Update Package Lists: Type the following command and press Enter:
bash

sudo apt update
This command synchronizes your local package index files with their sources. You might be prompted for your Linux user password. - Upgrade Existing Packages (Optional but Recommended): After updating, it’s a good practice to upgrade any installed packages that have newer versions available:
bash

sudo apt upgrade
- Install Your Desired Application: Now, you can install specific software. For example, to install the popular text editor
nano, you would type:
bash

sudo apt install nano
For graphical applications like the image editor GIMP, the command would be:
bash

sudo apt install gimp
APT will resolve dependencies, download the necessary files, and install the application. You’ll be asked to confirm the installation by typing ‘Y’ and pressing Enter.
Finding Software
If you’re unsure of the exact package name, you can search the available repositories:
apt search <keyword>
For instance, apt search python will show you all packages related to Python.
Launching Graphical Applications
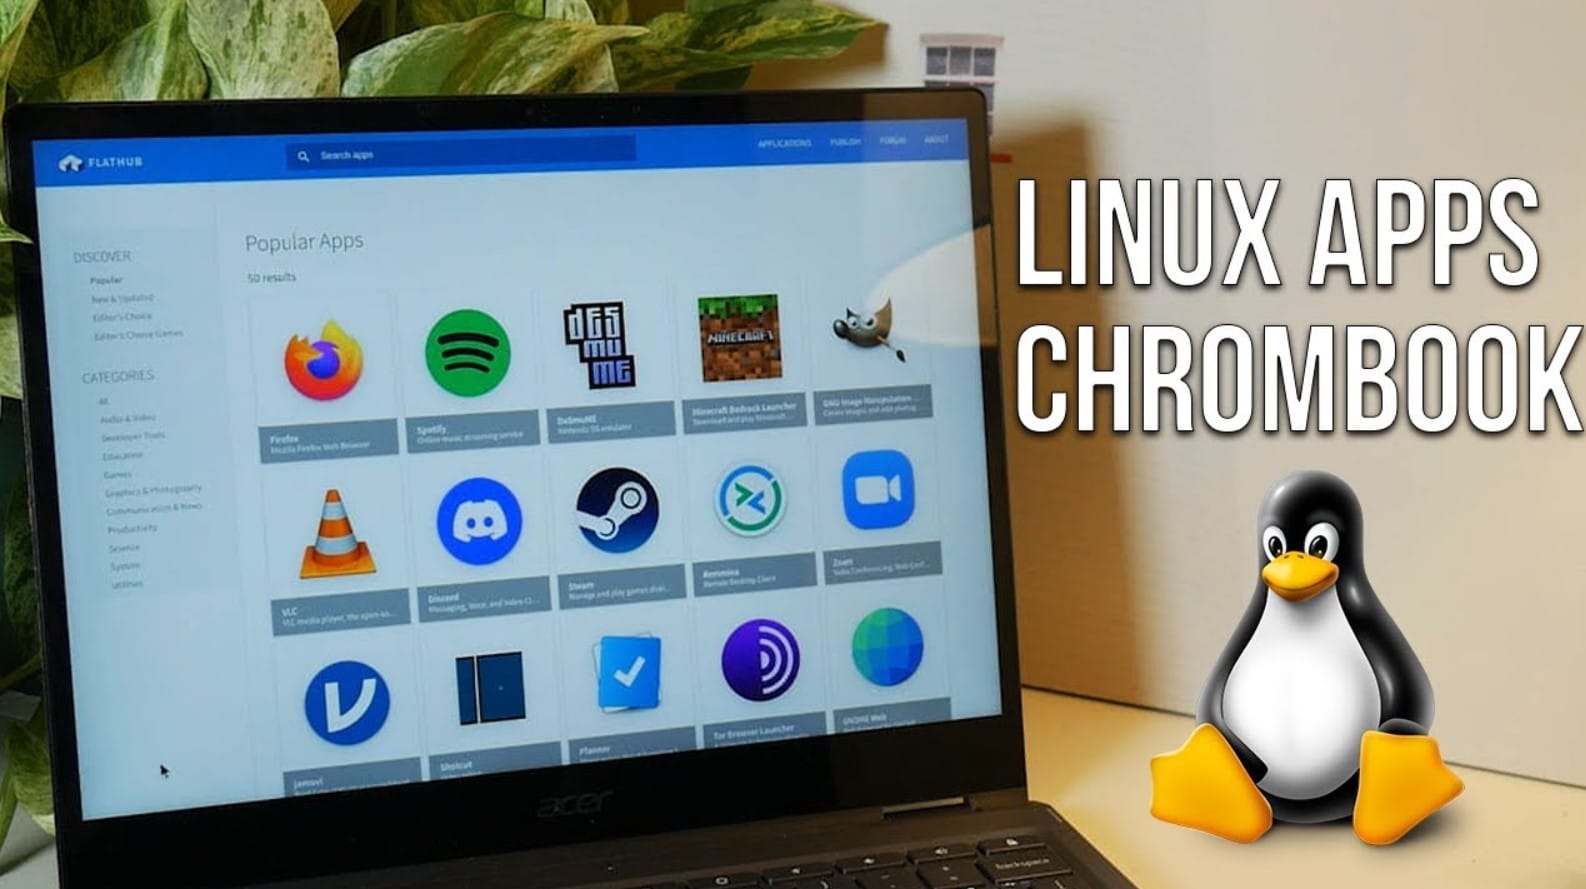
Once installed, graphical Linux applications will appear in your Chromebook’s app launcher, often grouped under a “Linux apps” folder. You can launch them just like any other app.
Uninstalling Software
To remove an application, use the apt remove command:
sudo apt remove <package_name>
For example, to uninstall GIMP:
sudo apt remove gimp
If you want to remove configuration files as well, use autoremove:
sudo apt autoremove
File Management and Sharing Between ChromeOS and Linux
One of the key conveniences of the integrated Linux environment is the ability to share files between ChromeOS and your Linux container. This seamless integration allows you to work with your files regardless of which environment you’re currently using.
Accessing ChromeOS Files from Linux
Your ChromeOS files, including those in your Downloads folder and Google Drive (synced locally), are accessible from within your Linux environment.
- Open the Files App: In ChromeOS, open the “Files” app.
- Locate the Linux Files: You should see a “Linux files” entry in the left-hand sidebar of the Files app. Clicking on this will show you the root directory of your Linux environment.
- Accessing Your Home Directory: Within “Linux files,” you’ll find your Linux home directory. This is where your Linux user’s personal files are stored.
- Transferring Files: You can drag and drop files from your ChromeOS “My files” section (like Downloads) into the “Linux files” section, and vice-versa. This is the simplest way to move files between the two operating systems.

Accessing Linux Files from ChromeOS
Conversely, you can access files created or downloaded within your Linux environment from ChromeOS:
- Open the Files App in ChromeOS:
- Navigate to “Linux files”: As mentioned above, this section shows you the contents of your Linux home directory.
- Copying Files: You can copy files from “Linux files” to your “My files” (e.g., Downloads) on ChromeOS.
Important Note on Storage: Remember that the “Linux files” folder resides on your Chromebook’s internal storage. Ensure you have enough space allocated to your Linux environment if you plan on storing large amounts of data. If you’re syncing Google Drive, it will be accessible within both environments, but the files themselves are primarily managed by ChromeOS.
By mastering these basic file management techniques, you can ensure a fluid workflow, seamlessly moving between the web-based applications of ChromeOS and the powerful desktop applications of your Linux environment. This synergy is what makes running Linux on a Chromebook such a compelling proposition for productivity and creativity.
aViewFromTheCave is a participant in the Amazon Services LLC Associates Program, an affiliate advertising program designed to provide a means for sites to earn advertising fees by advertising and linking to Amazon.com. Amazon, the Amazon logo, AmazonSupply, and the AmazonSupply logo are trademarks of Amazon.com, Inc. or its affiliates. As an Amazon Associate we earn affiliate commissions from qualifying purchases.