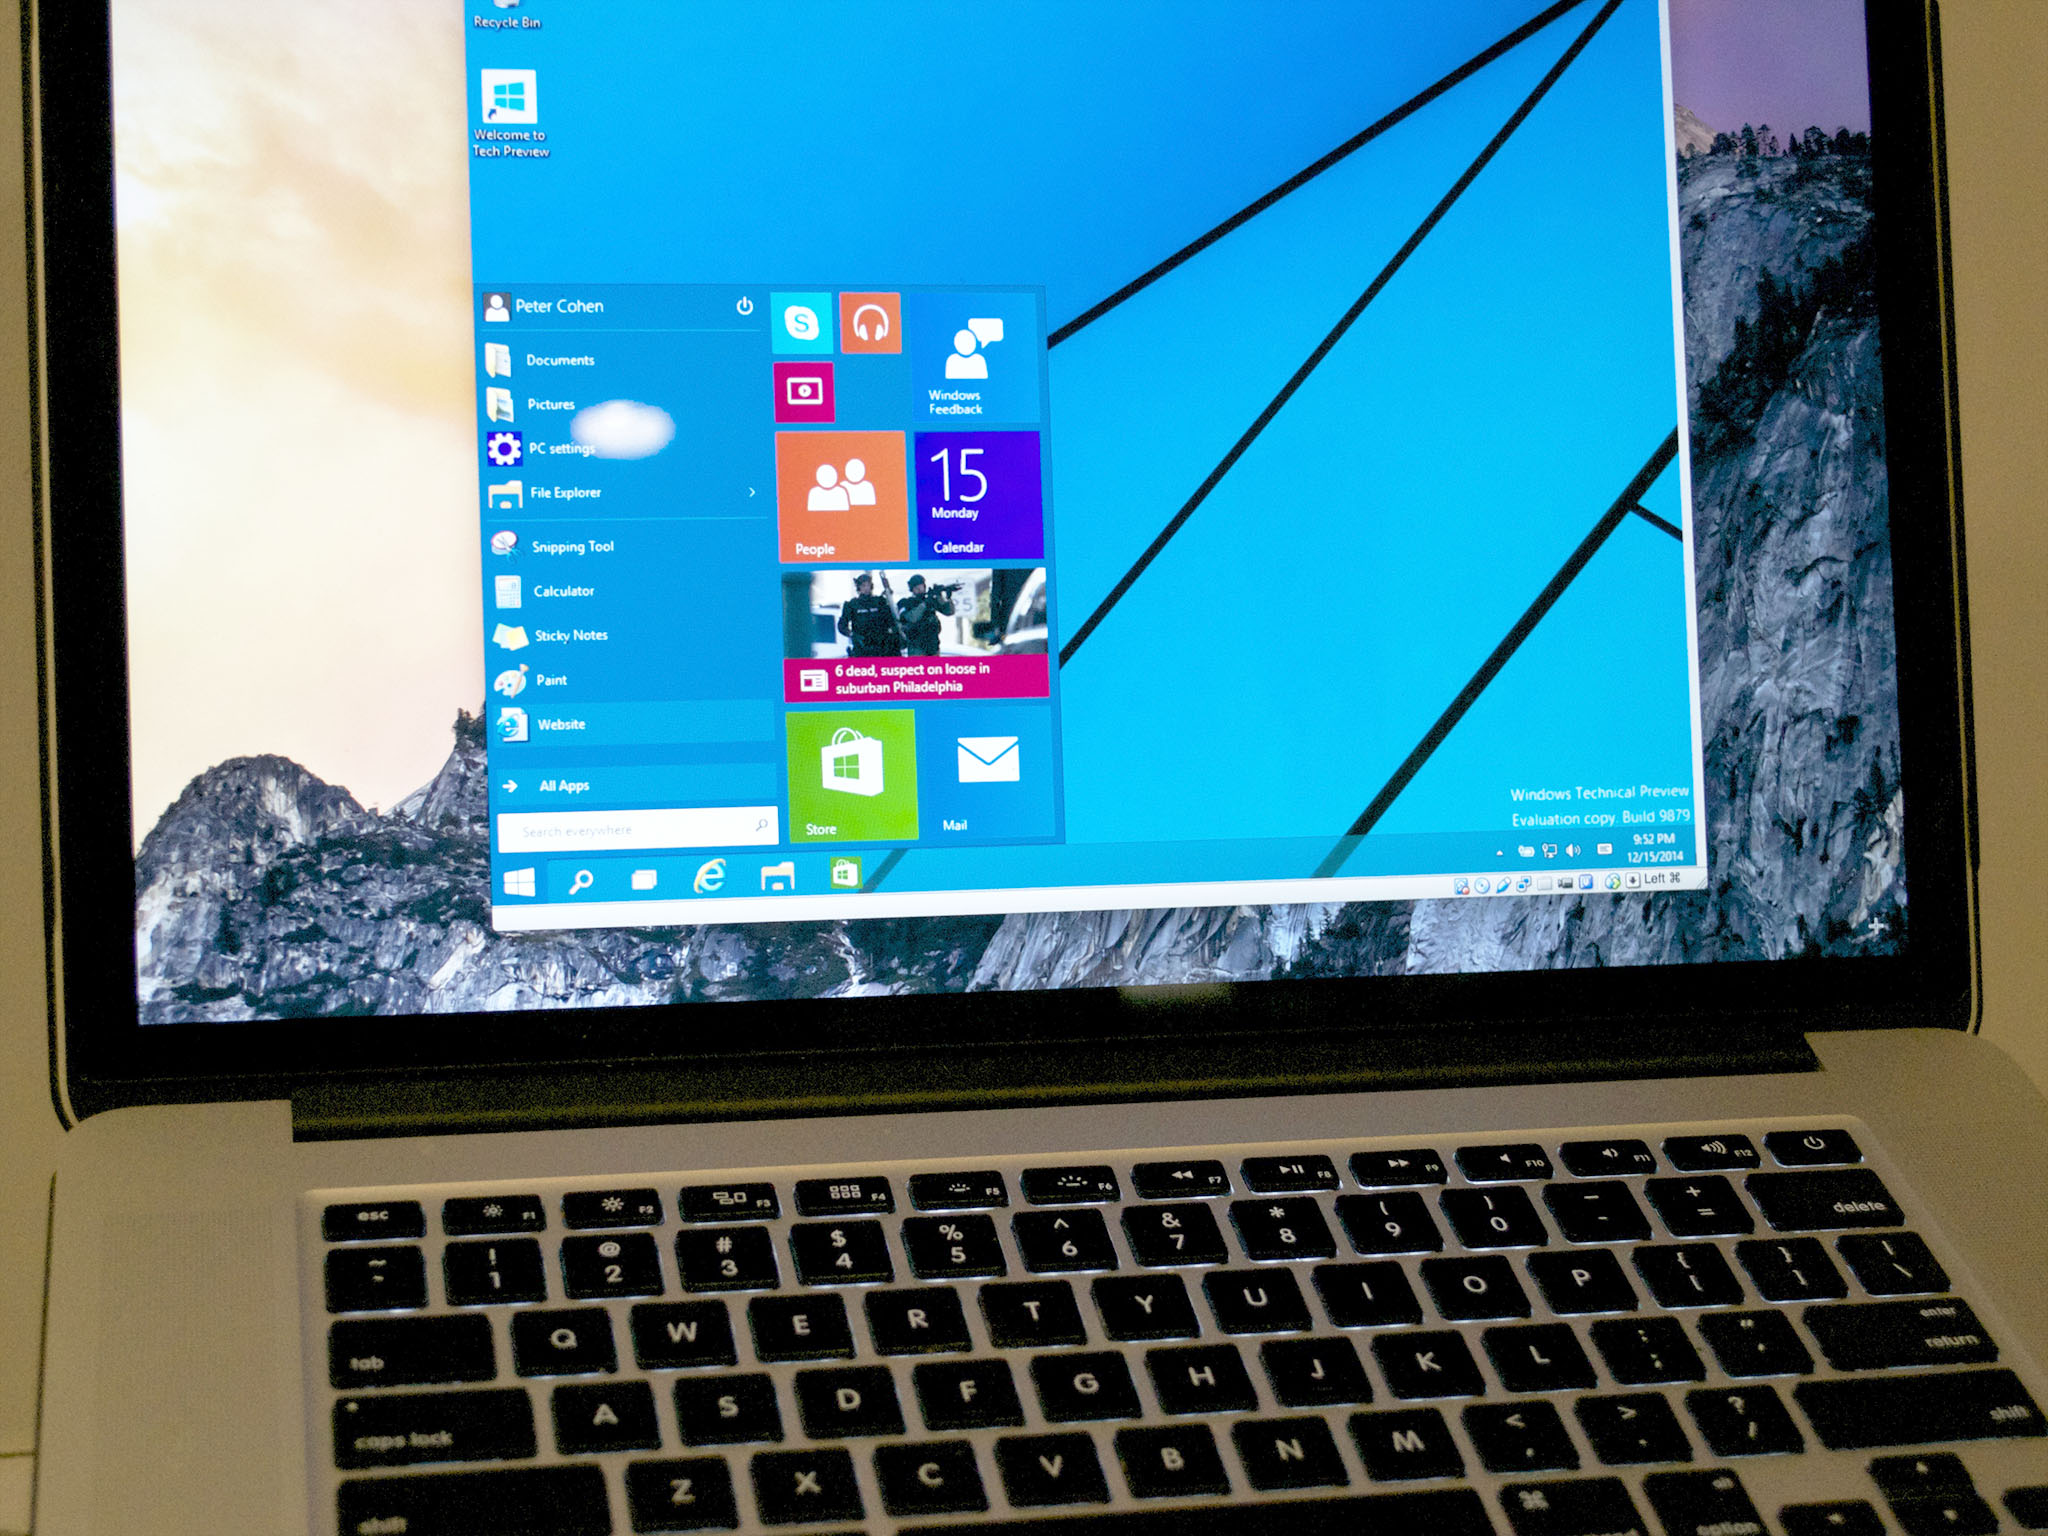
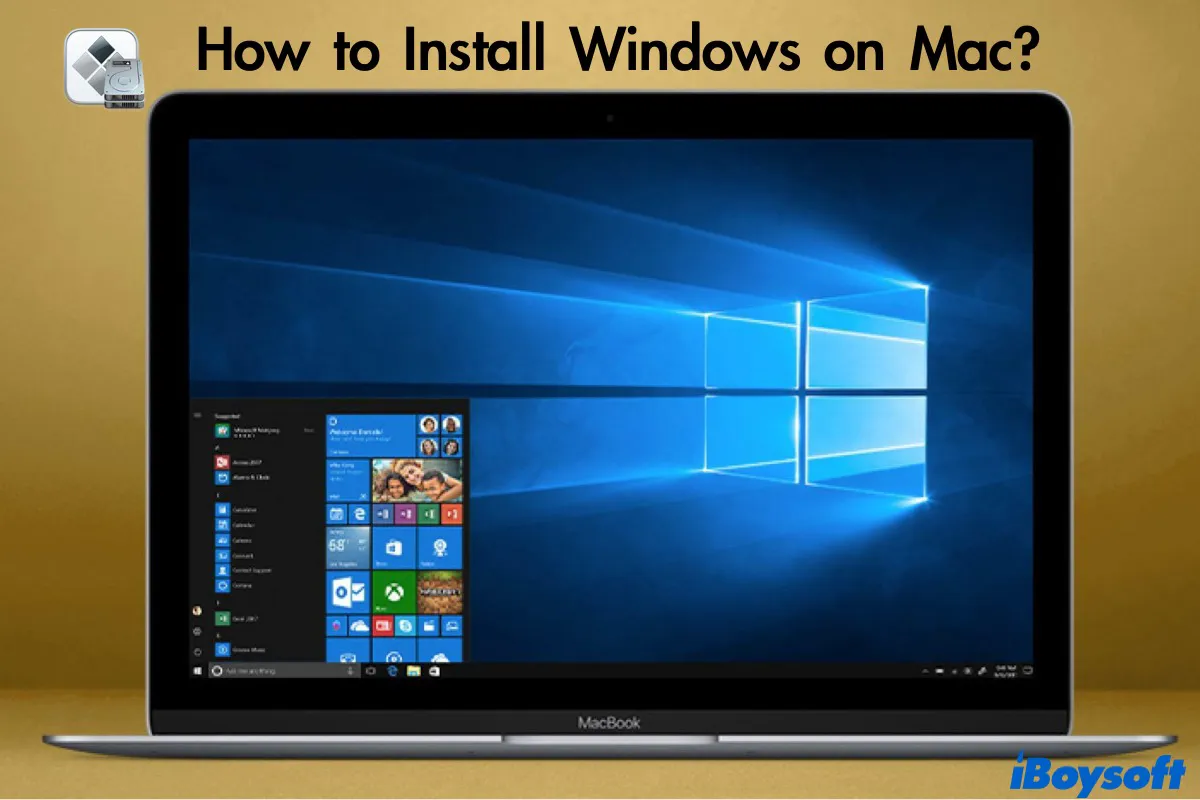
The allure of macOS is undeniable. Its sleek interface, robust performance, and integration within the Apple ecosystem make it a favorite for many creative professionals and tech enthusiasts. However, there are times when the Windows operating system simply becomes a necessity. Perhaps you need to run specific Windows-only software for work, game on a platform with a wider selection of titles, or test web applications across different environments. Whatever your reason, installing Windows on your Mac is a perfectly achievable goal, and this guide will walk you through the process, drawing on our expertise in technology and providing practical, actionable advice.
While our website delves into a broad spectrum of topics, from cutting-edge AI tools and digital security to brand strategy and personal finance, the core of our mission is to empower you with knowledge. This article falls squarely within our “Tech” vertical, specifically focusing on tutorials that demystify complex technological processes. We understand that while the underlying technology might seem daunting, with the right guidance, anyone can achieve their desired setup.
Why Install Windows on a Mac?
Before we dive into the “how,” let’s briefly touch upon the “why.” While Macs are incredibly versatile, certain scenarios necessitate the Windows environment.
Compatibility with Software
This is arguably the most common reason. Many legacy applications, specialized professional software (particularly in engineering, architecture, and certain scientific fields), and a vast array of business applications are developed exclusively for Windows. If your livelihood or a crucial project depends on such software, a Windows installation on your Mac bridges that gap seamlessly.
Gaming
The Windows platform has historically been the dominant force in PC gaming, boasting a significantly larger library of titles and more robust driver support for a wider range of gaming hardware. While Mac gaming has improved, it still lags behind Windows in sheer volume and accessibility. For avid gamers who also appreciate the Mac hardware, installing Windows is often the most straightforward way to access their favorite games.
Development and Testing
For software developers, especially those working on cross-platform applications or testing web compatibility, having access to a Windows environment is invaluable. It allows for real-world testing of how applications perform and look on the most prevalent desktop operating system in the world. This ensures a smoother user experience for a broader audience.
Exploring Different Operating Systems
Curiosity is a powerful driver in the tech world. Some users simply want to experience Windows firsthand, compare its interface and functionality to macOS, or explore specific features that might be different or absent in their primary OS.
Methods for Installing Windows on Your Mac
Apple has made this process remarkably user-friendly over the years, primarily through a built-in utility. There are generally two main approaches:
1. Boot Camp: Native Windows Installation
Boot Camp is Apple’s own utility that allows you to partition your Mac’s hard drive and install Windows alongside macOS. This means that when you boot up your Mac, you can choose to start either macOS or Windows. This method provides the most optimal performance for Windows, as it runs directly on the hardware without any virtualization layer.
Key Benefits of Boot Camp:
- Full Performance: Windows applications and games will run at their maximum potential, as they have direct access to your Mac’s hardware resources (CPU, GPU, RAM).
- No Compatibility Issues: You won’t encounter issues related to virtualization software interfering with hardware drivers or specific application requirements.
- Native Experience: You’re running a genuine, uncompromised Windows installation.
Considerations for Boot Camp:
- Disk Space Allocation: You’ll need to dedicate a significant portion of your Mac’s storage to the Windows partition. Once allocated, this space is fixed for that partition.
- Rebooting Required: To switch between macOS and Windows, you must restart your Mac. This isn’t ideal if you need to frequently jump between operating systems.
- Intel Macs Only: Boot Camp is not supported on Macs with Apple Silicon (M1, M2, M3 chips and beyond). Apple has shifted towards a different approach for these newer Macs.
Step-by-Step Boot Camp Installation (for Intel Macs):
H2: Preparing for Boot Camp
Before you begin, ensure you have the following:
- A Compatible Mac: Most Intel-based Macs are compatible. Check Apple’s support pages for specific model compatibility.
- Sufficient Free Disk Space: Apple recommends at least 64GB, but 128GB or more is advisable for a comfortable Windows experience, especially if you plan to install many applications or games.
- A Windows ISO File: You’ll need a valid Windows 10 or Windows 11 installation file. You can download this directly from Microsoft’s website. You’ll also need a product key for activation.
- A USB Flash Drive (Optional but Recommended): For older Macs, a USB drive (at least 16GB) might be needed to create a bootable Windows installer. Newer Macs often handle this internally.
- Backup Your Mac: While Boot Camp is generally safe, it’s always best practice to back up your Mac using Time Machine or another method before making significant changes to your storage.
H3: Using the Boot Camp Assistant
- Launch Boot Camp Assistant: Open “Applications” > “Utilities” > “Boot Camp Assistant.”
- Introduction: Read the introductory screen and click “Continue.”
- Select Tasks: The assistant will prompt you to create a Windows install disk, download the latest Windows support software from Apple (essential drivers for your Mac hardware to work with Windows), and install Windows. Ensure “Install Windows 10 or later version” is checked.
- Partition Your Drive: You’ll see a slider to adjust the size of your macOS and Windows partitions. Drag the divider to allocate the desired space for Windows. Remember, this is a critical step.
- Start Installation: Click “Install.” Boot Camp Assistant will download necessary support software, create the Windows partition, and then restart your Mac.
- Windows Setup: Your Mac will boot into the Windows installer. Follow the on-screen prompts to install Windows. When asked where to install Windows, select the “BOOTCAMP” partition and format it.
- Driver Installation: After Windows is installed and you’ve gone through the initial setup, your Mac will boot into Windows. The Boot Camp installer for drivers should launch automatically. If it doesn’t, navigate to the USB drive (if used) or the “Boot Camp” folder on your internal drive and run the
setup.exefile. This installs crucial drivers for your Wi-Fi, Bluetooth, graphics card, sound, keyboard, trackpad, etc. - Switching Operating Systems: To switch between macOS and Windows, restart your Mac. As it boots, hold down the Option (Alt) key. You’ll be presented with a boot menu where you can select either macOS or Windows.
2. Virtualization Software: Running Windows Within macOS
Virtualization software allows you to run an operating system (like Windows) as a “virtual machine” within your existing macOS environment. This means you can run Windows applications side-by-side with your Mac applications without needing to reboot. Popular virtualization solutions include Parallels Desktop, VMware Fusion, and VirtualBox (a free and open-source option).
Key Benefits of Virtualization:
- Convenience: Seamlessly switch between macOS and Windows with just a click. No rebooting required.
- Easy Management: Create, clone, and delete virtual machines easily. You can even run multiple operating systems simultaneously.
- Snapshotting: Take “snapshots” of your virtual machine’s state, allowing you to revert to a previous configuration if something goes wrong.
- Works on Apple Silicon Macs: This is the primary method for running Windows on Macs with M1, M2, and M3 chips. However, it’s important to note that you will need to install the ARM version of Windows.
Considerations for Virtualization:
- Performance Overhead: Virtualization introduces a layer of abstraction between the OS and hardware, which can result in a slight performance hit compared to a native installation. This is more noticeable for graphics-intensive tasks like high-end gaming.
- Resource Consumption: The virtual machine consumes a portion of your Mac’s RAM and CPU resources. Ensure your Mac has sufficient power to run both macOS and the virtualized Windows effectively.
- Licensing: While the virtualization software itself might be free (like VirtualBox), you’ll still need a valid Windows license.
H2: Choosing and Installing Virtualization Software
H3: Popular Virtualization Options
- Parallels Desktop: Known for its ease of use, excellent integration with macOS, and strong performance. It’s a paid application but offers a trial. It’s a top choice for many on both Intel and Apple Silicon Macs.
- VMware Fusion: Another powerful and popular paid option, offering robust features and good performance. Also available for Intel and Apple Silicon Macs.
- VirtualBox: A free, open-source, and capable virtualization solution. It might have a steeper learning curve and slightly less polished integration compared to the paid options, but it’s a great starting point if you’re on a budget. Primarily for Intel Macs; ARM support is more experimental.
H3: The Virtualization Installation Process (General Steps)
- Download and Install Virtualization Software: Choose your preferred software and install it on your Mac.
- Obtain a Windows ISO File: For Apple Silicon Macs, you’ll need the ARM version of Windows 11. You can obtain this through the Windows Insider Program or specific download channels provided by Microsoft. For Intel Macs, a standard Windows 10 or 11 ISO will suffice.
- Create a New Virtual Machine: Launch your virtualization software and select the option to create a new virtual machine.
- Configure the VM: The software will guide you through configuring the virtual machine. You’ll allocate RAM, CPU cores, and storage space for your virtual Windows installation.
- Install Windows: The virtualization software will prompt you to select the Windows ISO file you downloaded. The installation process will then proceed within the virtual machine window.
- Install Guest Additions/Tools: After Windows is installed, you’ll need to install special “guest additions” or “tools” provided by the virtualization software. These enhance integration between macOS and the virtual machine, improving performance, screen resolution, shared folders, and copy-paste functionality.
Maintaining Your Dual-Boot or Virtualized Setup
Whether you’ve opted for Boot Camp or virtualization, ongoing maintenance is key to a smooth experience.
Updates and Drivers
- Windows Updates: Keep your Windows installation up-to-date by regularly checking for and installing Windows updates. This is crucial for security and stability.
- Boot Camp Drivers: If using Boot Camp, periodically check Apple’s support website for updated Windows Support Software. These drivers are essential for your Mac hardware to function optimally in Windows.
- Virtualization Tools: Ensure you’re running the latest version of your virtualization software and its corresponding guest additions/tools.
Performance Optimization
- Disk Space: Monitor the disk space on both your macOS and Windows partitions (or virtual machine disk). Running out of space can lead to significant performance degradation.
- Resource Management: If using virtualization, be mindful of how many applications you’re running simultaneously in both macOS and the virtual machine. Close unnecessary applications to free up resources.
- Graphics Settings: For gaming or graphics-intensive applications, ensure that your Windows graphics drivers are up-to-date, especially if using Boot Camp.

Conclusion
Installing Windows on your Mac might seem like a complex undertaking, but with the right tools and guidance, it’s a very accessible process. Whether you choose the raw performance of Boot Camp on an Intel Mac or the convenience of virtualization on any Mac, you’re opening up a world of possibilities. Our expertise in technology aims to demystify such processes, ensuring you can leverage your Apple hardware for any operating system requirement. By following these steps, you can successfully integrate Windows into your workflow, expand your software options, and enjoy a truly versatile computing experience.
aViewFromTheCave is a participant in the Amazon Services LLC Associates Program, an affiliate advertising program designed to provide a means for sites to earn advertising fees by advertising and linking to Amazon.com. Amazon, the Amazon logo, AmazonSupply, and the AmazonSupply logo are trademarks of Amazon.com, Inc. or its affiliates. As an Amazon Associate we earn affiliate commissions from qualifying purchases.