In the intricate world of PC building and upgrades, few questions spark as much debate and confusion as the proper order of component installation. For enthusiasts and casual users alike, the NVIDIA GeForce graphics card stands as a cornerstone of high-performance computing, particularly for gaming, content creation, and AI workloads. However, the seemingly simple question, “Do I install GeForce hardware before software?” often leads to hours of troubleshooting if approached incorrectly. This comprehensive guide aims to demystify the process, providing a clear, step-by-step methodology rooted in best practices, ensuring your new GeForce GPU is up and running optimally from the get-go.
Understanding the interplay between your physical graphics card and its accompanying software drivers is crucial. This isn’t just a matter of preference; it’s a fundamental principle of how modern operating systems interact with specialized hardware. A correctly executed installation sequence not only prevents headaches but also unlocks the full potential of your investment, delivering the smooth, high-fidelity experience NVIDIA promises. We’ll delve into the ‘why’ behind the ‘how’, offering insights into potential pitfalls and empowering you to tackle your next GPU upgrade or build with confidence.
Understanding the Hardware-Software Relationship: The Foundation of Your GPU’s Performance
Before we dive into the installation steps, it’s essential to grasp the fundamental relationship between your graphics card hardware and its software drivers. This understanding forms the bedrock of why a specific installation order is critical for optimal performance and system stability.
What is Graphics Hardware? The NVIDIA GeForce GPU
At its core, your NVIDIA GeForce graphics card is a sophisticated piece of hardware – a Graphics Processing Unit (GPU) housed on a Printed Circuit Board (PCB) along with dedicated video memory (VRAM), cooling solutions, and various connectors. This physical component is responsible for rendering all the visual information displayed on your monitor, from your desktop wallpaper to the most demanding AAA game titles and complex scientific simulations. It’s a specialized processor designed to handle parallel computations far more efficiently than your CPU for graphics-intensive tasks. Without this physical hardware, there would be nothing to process the visual data. It’s a powerful engine, but an engine needs instruction.
What are Graphics Drivers? The Software’s Role in Communication
Graphics drivers are the essential software layer that allows your operating system (Windows, Linux, macOS) to communicate with your NVIDIA GeForce hardware. Think of them as interpreters or instruction manuals. The operating system doesn’t inherently understand the complex architecture and capabilities of every piece of hardware available. Drivers provide that specific set of instructions, translating commands from the OS and applications (like games or video editors) into a language your GPU can understand and execute.
Drivers enable several critical functions:
- Hardware Recognition: Allowing the OS to detect and identify the specific GPU model.
- Feature Enablement: Unlocking features like ray tracing, DLSS, G-Sync, and various display output options.
- Performance Optimization: Ensuring the GPU operates at its peak efficiency for different applications.
- Stability: Preventing crashes, visual artifacts, and compatibility issues.
- Updates and Bug Fixes: NVIDIA regularly releases new drivers to improve performance, add new features, support new games, and fix bugs.
The Critical Interdependence: Why Order Matters
The critical interdependence lies in the fact that while the hardware provides the processing power, the software (drivers) provides the intelligence and instructions. A piece of hardware, no matter how powerful, is inert without the correct software to command it. Conversely, software drivers are useless without the physical hardware they are designed to control.
When you first install a new graphics card, your operating system might recognize it as a generic “Microsoft Basic Display Adapter.” This basic driver allows for minimal display output but offers none of the performance, features, or stability of a dedicated NVIDIA driver. To harness the full power of your GeForce GPU, the specific, proprietary NVIDIA drivers are indispensable. This leads directly to the logical conclusion: the hardware must physically exist and be connected to the system before the software can be installed to communicate with it. You can’t give instructions to something that isn’t there.
The Correct Installation Sequence: Hardware First, Always
The unequivocal answer to the question “Do I install GeForce hardware before software?” is yes, absolutely. The physical installation of your NVIDIA GeForce graphics card must always precede the installation of its drivers. This sequence ensures that your operating system can detect the new hardware, even if initially with a generic driver, paving the way for the specialized NVIDIA software to take over.
Why Hardware Installation Must Precede Software
Installing the hardware first is a fundamental principle in PC assembly and component upgrades. Here’s why it’s non-negotiable:
- Physical Presence for Detection: The operating system needs to “see” the hardware to even begin the process of assigning a driver. While Windows often has a generic display driver built-in (the “Microsoft Basic Display Adapter”), this driver can only activate once the hardware is physically present and connected to the motherboard and power supply. Without the hardware, there’s nothing for the driver installation package to target or initialize.
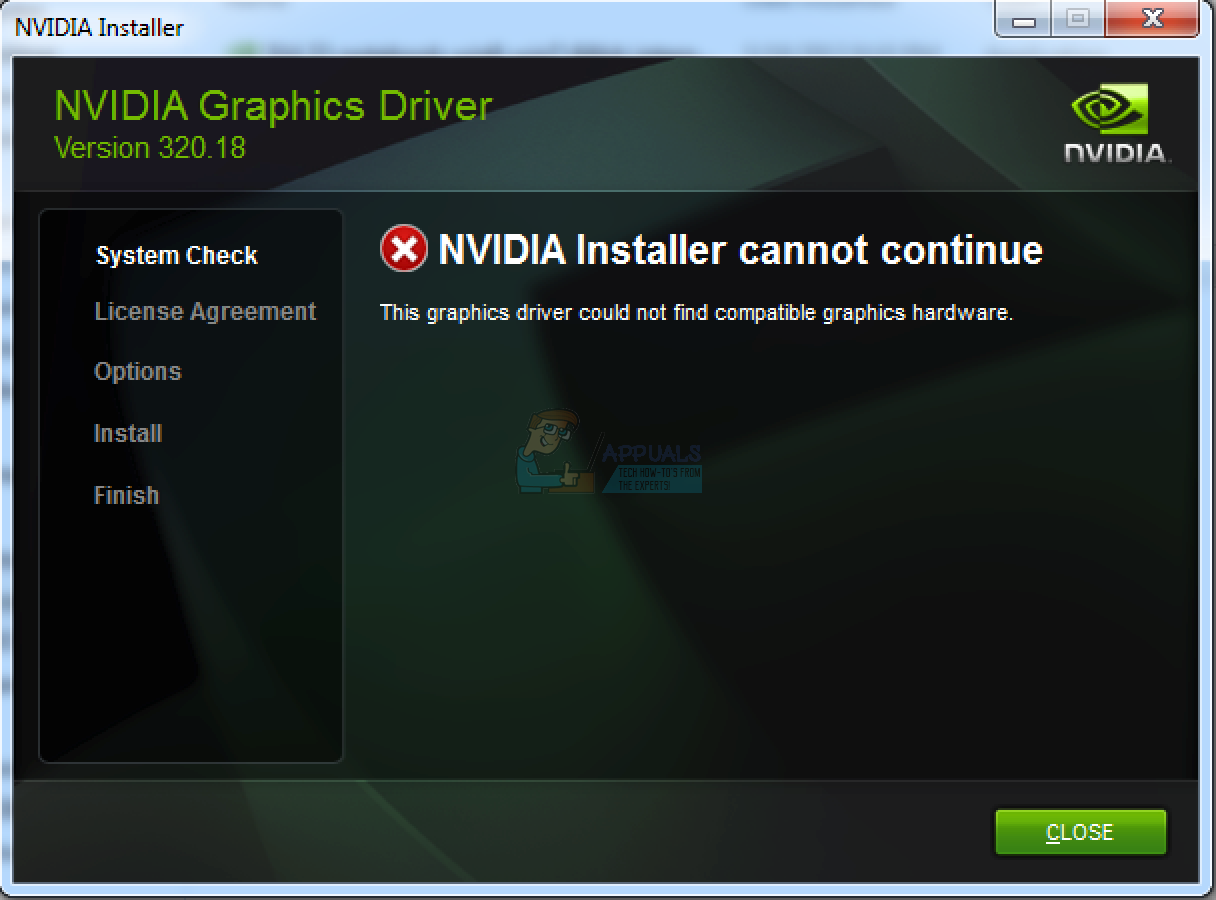
- Prevents Driver Installation Errors: Attempting to install graphics drivers without the corresponding hardware present will almost always result in an error message stating that no compatible hardware was found. The driver installer is designed to check for the presence of the GPU before proceeding.
- Ensures Basic Display Output: Installing the hardware first ensures that when you boot your PC, you will at least have a basic display output. This is crucial for navigating the operating system, downloading the correct drivers, and performing the subsequent software installation steps. Without a display, you’d be operating blind, making driver installation impossible.
- Logical Workflow: It follows a logical and efficient workflow. You equip your machine with the necessary components, then you provide the instructions (software) for those components to function optimally.
Step-by-Step Hardware Installation: Getting Your GPU into Your Rig
Installing a graphics card can seem daunting, but it’s a straightforward process if you follow these steps carefully.
-
Preparation is Key:
- Power Down and Unplug: Completely shut down your computer and unplug it from the wall socket.
- Ground Yourself: Static electricity can damage components. Wear an anti-static wrist strap, or repeatedly touch a grounded metal object (like your PC’s unpainted metal chassis) before handling components.
- Gather Tools: You’ll typically need a Phillips-head screwdriver.
- Workspace: Work on a clean, well-lit, and flat surface.
- Backup (Optional but Recommended): If this is an upgrade, ensure any critical data is backed up, though this step isn’t directly related to hardware installation, it’s good practice.
-
Open the PC Case: Remove the side panel(s) of your computer case to gain access to the motherboard and PCIe slots.
-
Remove Old GPU (If Upgrading):
- Unplug Power Cables: Disconnect any PCIe power cables (6-pin, 8-pin, or 12-pin) from the old graphics card. These are usually located on the top or side of the card.
- Unscrew Mounting Bracket: Remove the screw(s) holding the GPU’s mounting bracket to the PC case at the back.
- Release PCIe Retention Clip: Locate the small plastic or metal lever at the end of the PCIe slot (closest to the front of the case). Gently push or pull this clip to release the card. Do not force the card out without releasing this clip, as it can damage the motherboard or GPU.
- Carefully Pull Out Old GPU: Hold the card by its edges and pull it straight out of the PCIe slot. Place it in an anti-static bag if you plan to keep or sell it.
-
Insert New NVIDIA GeForce GPU:
- Identify the Correct Slot: Most modern motherboards have one primary PCIe x16 slot, often reinforced with metal, usually the top-most long slot closest to the CPU. This is where your GPU should go for maximum performance.
- Align and Insert: Carefully align your new GeForce GPU with the PCIe x16 slot. Ensure the gold contacts on the card align perfectly with the slot.
- Apply Gentle, Even Pressure: Press down firmly and evenly on both ends of the graphics card until it clicks into place. You should hear the PCIe retention clip snap back into position. Double-check that the clip is fully engaged.
- Secure the Mounting Bracket: Screw the GPU’s mounting bracket(s) to the PC case at the back to prevent it from sagging or moving.
-
Connect Power Cables:
- Identify Required Connectors: Your new GeForce card will likely require one or more PCIe power connectors (6-pin, 8-pin, 12-pin, or the new 12VHPWR connector). Check your GPU’s specifications and your power supply’s cables.
- Plug in Power: Connect the appropriate cables from your power supply unit (PSU) to the corresponding ports on your graphics card. Ensure they are fully seated and clicked into place. Never mix and match power cables from different PSUs if you’re using a modular PSU, as pinouts can differ and cause damage.
-
Connect Monitor Cable (Optional but Recommended for First Boot): It’s often easier to connect your monitor directly to the new GPU now, rather than plugging it into the motherboard’s integrated graphics port (if your CPU has one) and then switching later.
-
Close the PC Case: Once everything is securely in place and connected, replace the side panel(s) of your PC case.
The Software Installation Phase: Drivers and Utilities
With your NVIDIA GeForce hardware physically installed, it’s time to bring it to life with the proper software. This phase is equally critical, as correctly installed drivers unlock the full performance, features, and stability of your new GPU.
Initial Boot-Up and Basic Display
Plug your computer back into the power outlet and power it on. Your PC should boot up, and you should see a display on your monitor. As mentioned, Windows might initially use a generic “Microsoft Basic Display Adapter” driver. This is perfectly normal and allows you to navigate the desktop and proceed with the driver installation. If you encounter a black screen or “no signal,” double-check all connections: monitor cable, GPU power cables, and ensure the GPU is fully seated in its PCIe slot.
Downloading the Right Drivers: Official Sources are Paramount
Never download drivers from unofficial or unknown websites. Doing so can expose your system to malware, outdated drivers, or incorrect versions. Always obtain drivers from official NVIDIA sources.
- NVIDIA’s Official Website: This is the most reliable method.
- Go to
www.nvidia.com/drivers. - Use the drop-down menus to select your:
- Product Type (e.g., GeForce)
- Product Series (e.g., GeForce RTX 40 Series)
- Product (e.g., GeForce RTX 4070)
- Operating System (e.g., Windows 10/11 64-bit)
- Download Type (Game Ready Driver is usually recommended for gamers; Studio Driver for creative professionals).
- Click “Search” and then “Download” the latest recommended driver.
- Go to
- NVIDIA GeForce Experience: This utility can automatically detect your GPU and recommend the latest drivers.
- If you had an NVIDIA card previously, you might already have GeForce Experience installed.
- If not, you can download it from the NVIDIA website (
www.nvidia.com/geforce-experience/). - Once installed, open GeForce Experience, navigate to the “Drivers” tab, and it will scan for and allow you to download and install the latest drivers.
Step-by-Step Driver Installation
Before beginning, ensure any older display drivers (especially from a different manufacturer like AMD, or even older NVIDIA drivers) are cleanly removed. While NVIDIA’s installer is good, a completely clean slate is always best.
-
Run DDU (Display Driver Uninstaller) – Highly Recommended for Clean Installation:
- Download DDU from a reputable source like Guru3D.
- Boot your PC into Windows Safe Mode (search online for “how to boot into Windows Safe Mode” for your specific Windows version).
- Run DDU. Select “GPU” and “NVIDIA.” Choose “Clean and restart.” This utility will thoroughly remove all traces of previous display drivers, preventing conflicts.
- Your system will restart into normal Windows mode.
-
Run the NVIDIA Driver Installer:
- Locate the downloaded NVIDIA driver file (e.g.,
552.12-desktop-win10-win11-64bit-international-dch-whql.exe). - Double-click the executable to start the installation process.
- Extraction Location: The installer will first ask for an extraction location. The default is usually fine.
- System Check: The installer will perform a system compatibility check.
- License Agreement: Read and accept the NVIDIA Software License Agreement.
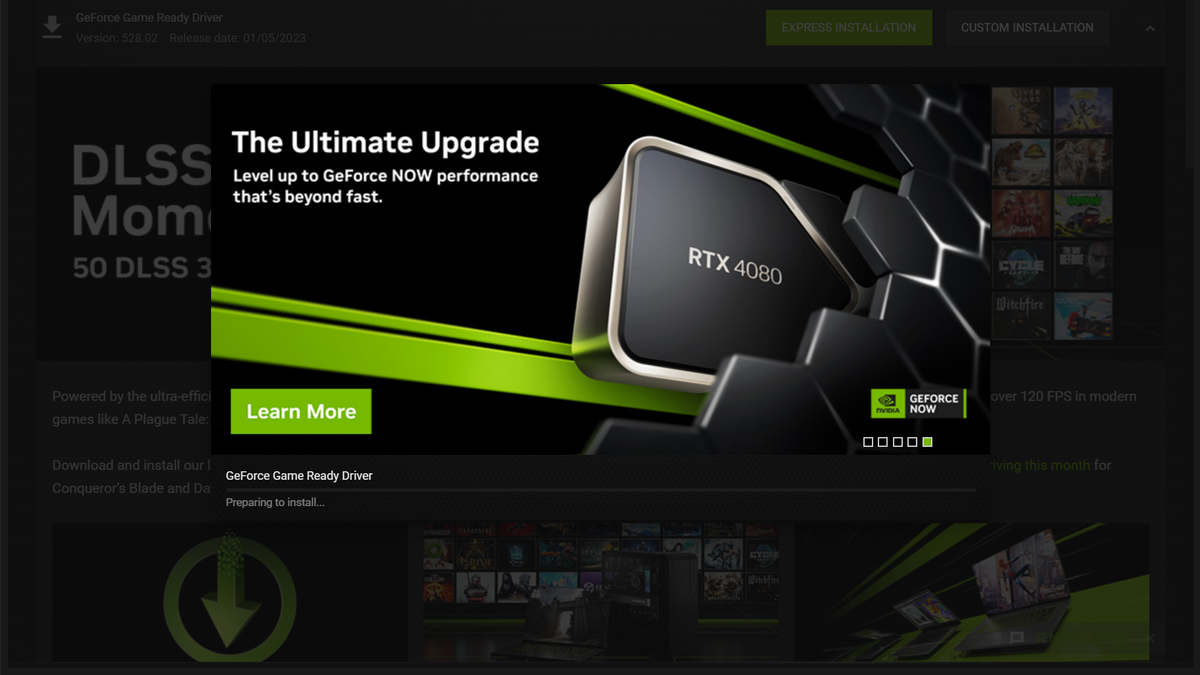
- Installation Options:
- Express Installation: This is the quickest and easiest option, automatically installing the driver and GeForce Experience (if selected). For most users, this is sufficient.
- Custom (Advanced) Installation: This option gives you more control.
- You can choose which components to install (e.g., PhysX, HD Audio Driver, GeForce Experience).
- Crucially, it offers the option to perform a “Clean Installation.” Even if you used DDU, selecting this option here is an excellent secondary measure, though DDU is more thorough. A clean installation removes previous driver profiles and settings.
- Proceed with Installation: Click “Next” or “Install” based on your choice. The screen may flicker, go black temporarily, or change resolution several times during the process – this is normal as the new drivers take effect.
- Restart: Once the installation is complete, the installer will prompt you to restart your computer. Do so immediately to finalize the driver installation and ensure all changes are applied correctly.
- Locate the downloaded NVIDIA driver file (e.g.,
Post-Installation Checks and Optimization
After restarting, your system should be running with the new NVIDIA drivers. Perform these checks to verify and optimize:
-
Verify Driver Installation:
- Device Manager: Right-click on the Start button, select “Device Manager.” Expand “Display adapters.” You should see your specific NVIDIA GeForce GPU listed (e.g., “NVIDIA GeForce RTX 4070”) without any error symbols. Right-click on it, go to “Properties,” then “Driver” tab to check the driver version and date.
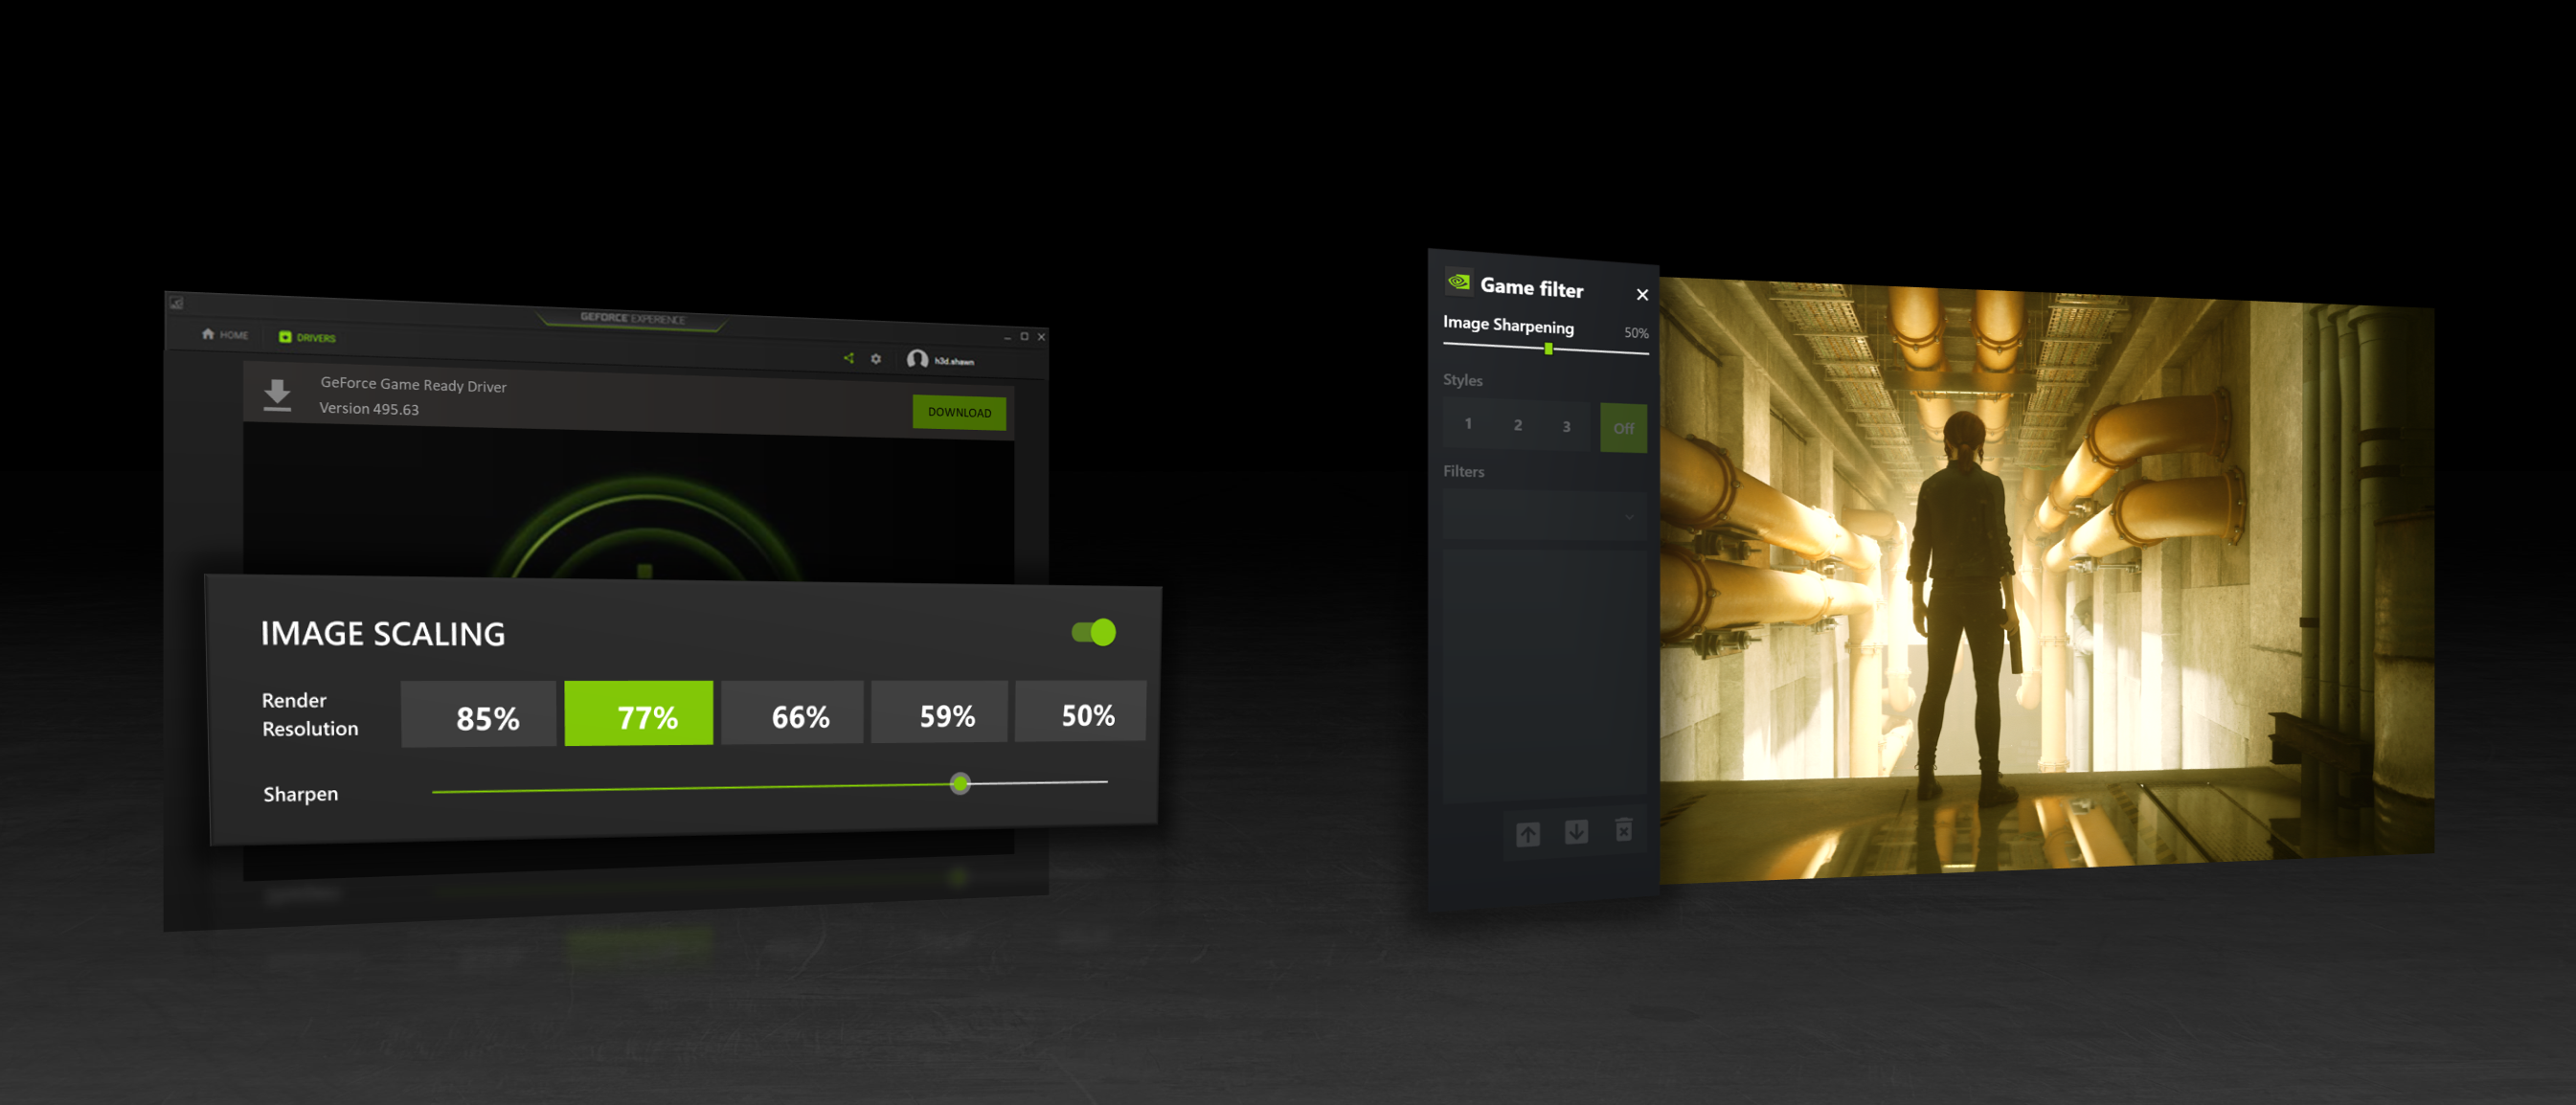
- NVIDIA Control Panel: Right-click on your desktop and select “NVIDIA Control Panel.” This application provides extensive settings for your GPU, confirming the driver is active.
- GeForce Experience: Open GeForce Experience. It should recognize your installed GPU and show the latest driver as installed.
-
Run a Game or Benchmark: Launch a favorite game or a benchmarking tool (like 3DMark, Heaven Benchmark, or Superposition Benchmark) to test your GPU’s performance. Monitor temperatures and frame rates to ensure everything is working as expected.
-
Optimize Settings:
- NVIDIA Control Panel: Explore settings like G-Sync, DSR, image sharpening, and application-specific 3D settings.
- GeForce Experience: Use its “Optimal Settings” feature to automatically configure game settings for the best balance of performance and visual quality for your system.
Common Pitfalls and Troubleshooting
Even with the correct installation order, issues can sometimes arise. Knowing how to diagnose and address them can save you a lot of frustration.
“No Signal” or Black Screen Issues
This is one of the most common and alarming problems after installing a new GPU.
- Check Physical Connections: Re-verify that the monitor cable is securely plugged into the graphics card (not the motherboard’s integrated graphics port), and that all PCIe power cables are fully seated in the GPU.
- Reseat the GPU: Power down, unplug, open the case, unclip and reseat the graphics card in its PCIe slot, ensuring it clicks into place.
- Check BIOS/UEFI Settings: Some motherboards may default to integrated graphics if present. Ensure your BIOS/UEFI is set to prioritize the dedicated PCIe graphics card.
- Test with Another Monitor/Cable: Rule out a faulty monitor or display cable.
- Test with Old GPU (if applicable): If you still have your old GPU, reinstall it to confirm the rest of your system is functional.
- Clear CMOS: Resetting your motherboard’s CMOS can sometimes resolve display issues related to hardware changes.
Driver Installation Failures
If the NVIDIA driver installer fails or gives an error message:
- Re-download the Driver: The downloaded file might be corrupted. Delete it and download a fresh copy from the NVIDIA website.
- Use DDU Again: Go into Safe Mode and run Display Driver Uninstaller again to ensure the cleanest possible slate.
- Disable Antivirus/Firewall Temporarily: Occasionally, security software can interfere with driver installations.
- Run as Administrator: Right-click the installer executable and select “Run as administrator.”
- Check System Requirements: Ensure your operating system version and architecture (64-bit) are compatible with the driver you’re trying to install.
Performance Problems Post-Installation
If your new GPU isn’t performing as expected:
- Verify Driver Installation: Double-check in Device Manager and NVIDIA Control Panel that the correct driver is installed and active.
- Check Power Connections: Ensure all necessary PCIe power cables are connected to the GPU and that your PSU has enough wattage to power your entire system.
- Monitor Temperatures: High temperatures can lead to thermal throttling and reduced performance. Use software like MSI Afterburner or HWMonitor to check GPU temperatures under load. Ensure proper case airflow.
- Reinstall Drivers (Clean): A clean driver reinstallation (using DDU) can often resolve subtle performance issues.
- Check PCIe Slot Speed: Ensure your GPU is running at its full speed (e.g., PCIe x16 Gen 4.0 or Gen 5.0). NVIDIA Control Panel -> Help -> System Information can show this. If it’s running at a lower speed, check if the GPU is fully seated or if other PCIe devices are sharing bandwidth.
- Update Motherboard BIOS: An outdated motherboard BIOS can sometimes cause compatibility or performance issues with new hardware.
When to Seek Professional Help
If you’ve exhausted all troubleshooting steps and are still experiencing persistent issues, it might be time to seek professional assistance. This could involve contacting NVIDIA support, your GPU manufacturer’s support, or taking your PC to a reputable local computer repair shop. Sometimes, a component might be faulty (e.g., a DOA graphics card, a failing PSU, or a motherboard issue), and professional diagnostics can pinpoint the exact cause.
Conclusion
The question “Do I install GeForce hardware before software?” has a definitive answer: Always install your NVIDIA GeForce hardware before its corresponding software drivers. This fundamental principle ensures that your operating system can properly detect the physical GPU, establishing the necessary communication pathway for the drivers to then unlock its full potential.
By meticulously following the steps outlined in this guide – from careful physical installation to downloading drivers exclusively from official sources and performing a clean software setup – you empower yourself to build a robust, high-performance system. A correctly installed and configured graphics card is the gateway to seamless gaming, accelerated content creation, and stable computing. Adhering to these best practices not only averts common installation woes but also safeguards your investment, ensuring you maximize the incredible capabilities that NVIDIA’s GeForce technology brings to your desktop. Remember, a little preparation goes a long way in achieving a flawless and powerful PC experience.
aViewFromTheCave is a participant in the Amazon Services LLC Associates Program, an affiliate advertising program designed to provide a means for sites to earn advertising fees by advertising and linking to Amazon.com. Amazon, the Amazon logo, AmazonSupply, and the AmazonSupply logo are trademarks of Amazon.com, Inc. or its affiliates. As an Amazon Associate we earn affiliate commissions from qualifying purchases.