Navigating the intricacies of your digital workspace often involves more than just mastering software features. Sometimes, the subtlest elements can profoundly impact your workflow and the aesthetic of your projects. For Mac users, one such element, and a frequently asked question, revolves around the seemingly simple yet crucial task of installing new fonts. Whether you’re a graphic designer striving for the perfect typographic expression, a writer looking to imbue your documents with a unique character, or a student working on a presentation, knowing how to add custom fonts to your macOS system is an essential skill. This guide will walk you through the straightforward process, demystifying the steps and empowering you to expand your font library with ease.
The ability to install new fonts on your Mac opens up a world of creative possibilities. Beyond the standard collection of typefaces that come pre-installed, a vast universe of fonts exists, each with its own personality, history, and intended use. From elegant serifs to bold sans-serifs, from playful scripts to minimalist monospaced fonts, the right typeface can elevate your content, enhance readability, and reinforce your brand’s identity. Understanding how to integrate these new visual tools into your operating system is the first step towards unlocking their full potential.
Our exploration will cover the fundamental methods of font installation, ensuring that regardless of your technical background, you can confidently add fonts to your Mac. We’ll delve into the common font file formats you’ll encounter, discuss the various sources where you can acquire new fonts, and provide clear, actionable instructions for seamless integration. By the end of this article, you’ll not only know how to install a font on your Mac but also appreciate the broader impact typography has on digital communication and design.
Understanding Font Files and Acquisition
Before we dive into the installation process itself, it’s beneficial to understand what you’ll be working with and where to find these digital typographic treasures. Fonts, in their digital form, are essentially files that contain instructions for how a particular set of characters should be rendered on your screen and printed on paper.
Common Font File Formats
You’ll primarily encounter a few key font file formats when acquiring new typefaces for your Mac. Each has its strengths and historical context:
-
TrueType Fonts (.ttf): This is one of the oldest and most widely compatible font formats. TrueType fonts are vector-based, meaning they can be scaled to any size without losing quality, making them excellent for both screen display and print. They contain detailed information about glyph outlines and hinting, which helps ensure crisp rendering at various sizes. Most operating systems, including macOS, have excellent support for .ttf files.
-
OpenType Fonts (.otf): Considered the successor to TrueType, OpenType is a more advanced font format developed jointly by Microsoft and Adobe. OpenType fonts offer enhanced features, such as support for a wider range of characters, advanced typographic features (like ligatures, stylistic alternates, and small caps), and cross-platform compatibility. They can contain either TrueType outlines or PostScript outlines, offering flexibility. For professional design work, .otf is often preferred due to its richer feature set.
-
Web Open Font Format (.woff and .woff2): While primarily designed for use on websites to ensure consistent typography across different browsers, you might also encounter these formats. macOS can typically handle .woff files, though .otf and .ttf are more common for desktop use. These formats are compressed, making them efficient for web delivery.
-
PostScript Fonts (.ps, .pfm, .pfb): Historically, PostScript fonts were prevalent, often coming in separate files for metrics (.pfm) and outlines (.pfb). While macOS still supports them, they are less common for new acquisitions compared to .ttf and .otf.
When you download fonts, especially from free font repositories or paid font foundries, they often come bundled within a ZIP archive. You’ll need to extract this archive to access the actual font files before you can install them.
Where to Find New Fonts
The internet is a treasure trove of typographic resources, offering a vast array of fonts for both personal and commercial use. It’s crucial to be mindful of licensing when choosing and downloading fonts.
-
Free Font Resources:
- Google Fonts: A fantastic, open-source collection of high-quality fonts that are free to use for any purpose. They offer a wide variety of styles and are optimized for web and print.
- DaFont: A popular, albeit somewhat less curated, repository of free fonts. You’ll find an enormous selection, but always check the license agreement for each font, as usage rights can vary.
- Font Squirrel: Similar to DaFont, Font Squirrel offers a curated selection of free fonts that are licensed for commercial use. They often provide webfont kits as well.
- Abstract Fonts: Another good source for free fonts, with a focus on unique and creative designs.
-
Paid Font Foundries and Marketplaces:
- Adobe Fonts (formerly Typekit): If you subscribe to Adobe Creative Cloud, you gain access to a vast library of professional-grade fonts that can be activated directly within your Adobe applications and macOS.
- MyFonts: One of the largest marketplaces for commercial fonts, featuring a wide selection from independent foundries and renowned type designers.
- Fontspring: Known for its straightforward licensing and good selection of premium fonts.
- Creative Market: A platform where designers sell various digital assets, including fonts.
- Independent Type Foundries: Many professional type designers have their own websites where they sell their meticulously crafted fonts.
When downloading, always pay attention to the license. “Free for personal use” means you can use it for your own projects but not for business or commercial endeavors. “Free for commercial use” grants broader permissions. For professional branding or client work, investing in a properly licensed font is essential.
Installing Fonts on Your Mac: The Straightforward Methods
Once you have your font files ready, installing them on your Mac is a remarkably simple process, largely thanks to the built-in Font Book application. There are a couple of primary ways to achieve this, each offering a slightly different approach.
Method 1: Double-Click and Install
This is by far the quickest and most intuitive method for installing individual font files or small collections.
-
Locate Your Font Files: Navigate to the folder where you saved your downloaded fonts. If they are in a ZIP archive, double-click it to extract the contents. You should see files with
.ttfor.otfextensions (or other supported formats). -
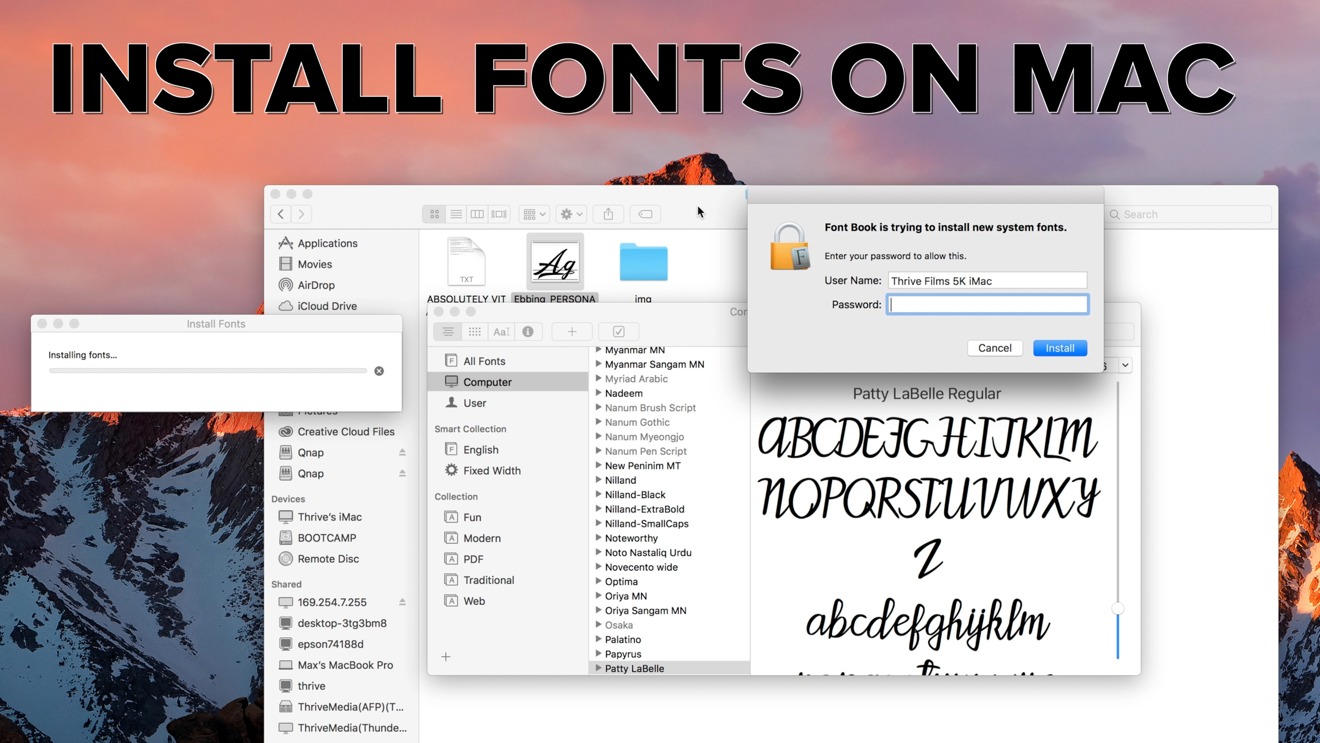
Open the Font File: Double-click on any one of the font files you wish to install. This action will automatically launch the Font Book application on your Mac.
-
Preview and Install: Font Book will open a preview window displaying the font. You’ll see an overview of the characters in the typeface, along with sample text. At the top of this preview window, you’ll find an “Install Font” button.
-
Click “Install Font”: Click this button. Font Book will then validate the font to ensure it’s not corrupted or a duplicate. If everything is in order, it will be automatically installed and made available system-wide.
-
Repeat for Other Fonts: You can repeat this process for each individual font file you want to install. If you have multiple fonts in a folder that you want to add, you can select them all, and then double-clicking one of them will often open them all in separate Font Book preview windows, allowing you to install them one by one, or in batches if you select multiple files within Font Book itself.
Tip: If you have many fonts to install, you can select multiple font files in Finder and then double-click. This might open them all in Font Book. You can then select all the fonts within the Font Book window and click “Install Font” once.
Method 2: Using Font Book Directly
Font Book is the central hub for managing all fonts on your Mac. You can also use it to install fonts by adding them directly to its library.
-
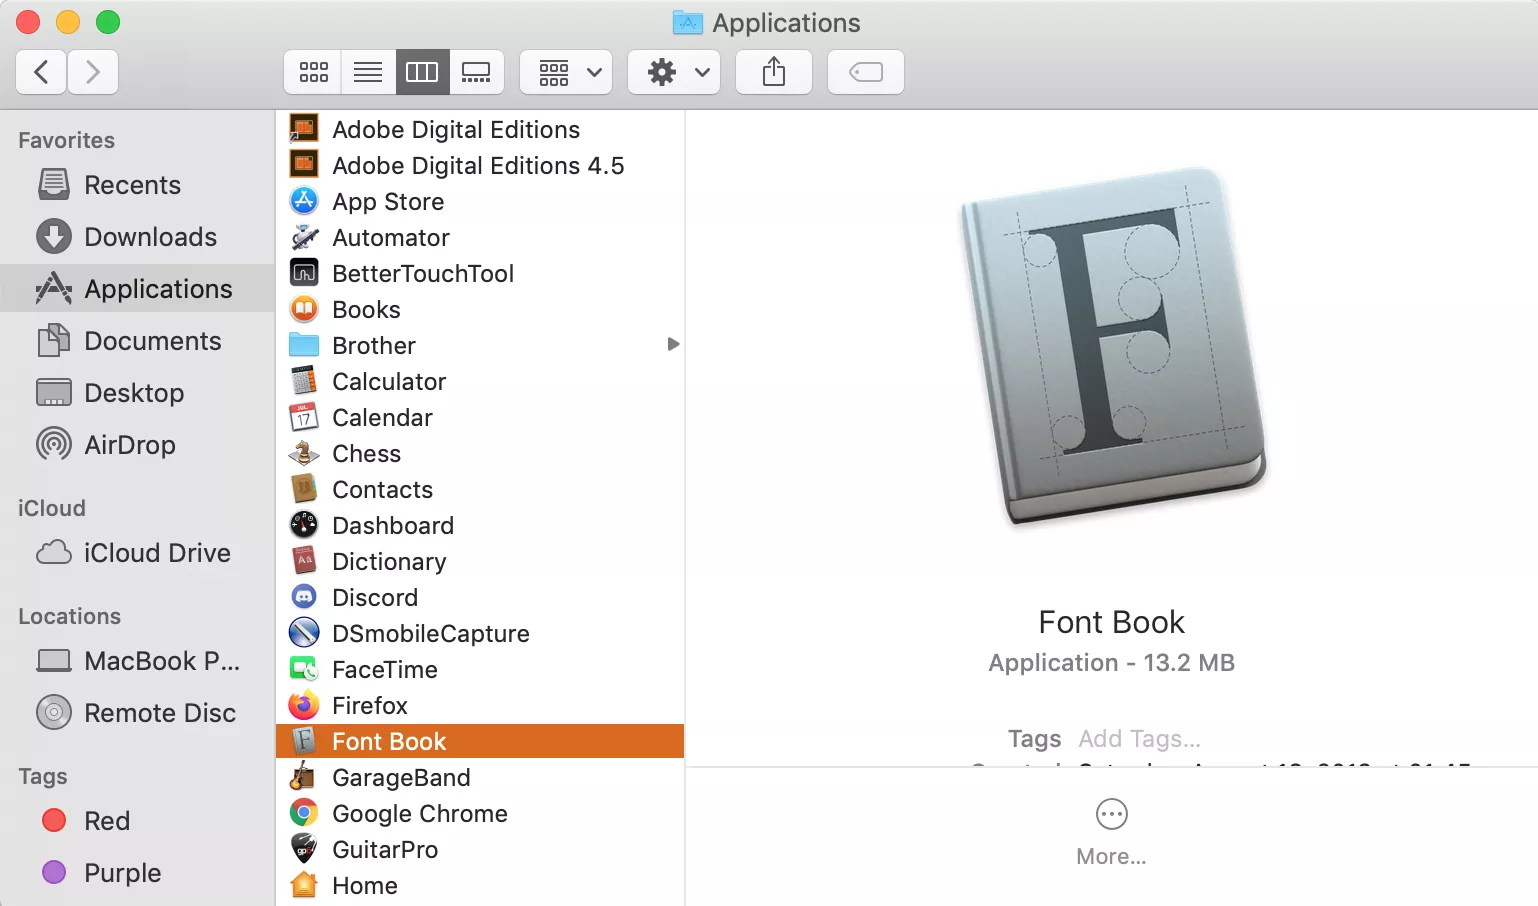
Open Font Book: You can find Font Book in your
Applicationsfolder, or you can search for it using Spotlight (Command + Spacebar and type “Font Book”). -
Add Fonts: Once Font Book is open, you have two primary ways to add fonts:
- Drag and Drop: Simply drag your font files (e.g.,
.ttf,.otf) from Finder directly into the Font Book window. - File Menu: Go to File > Add Fonts… or press Command + O. This will open a Finder window, allowing you to navigate to and select the font files you want to install.
- Drag and Drop: Simply drag your font files (e.g.,
-
Validation and Installation: Similar to the double-click method, Font Book will automatically validate the fonts. It will alert you if there are any duplicates or issues. If no conflicts are found, the fonts will be added to your Font Book library.
-
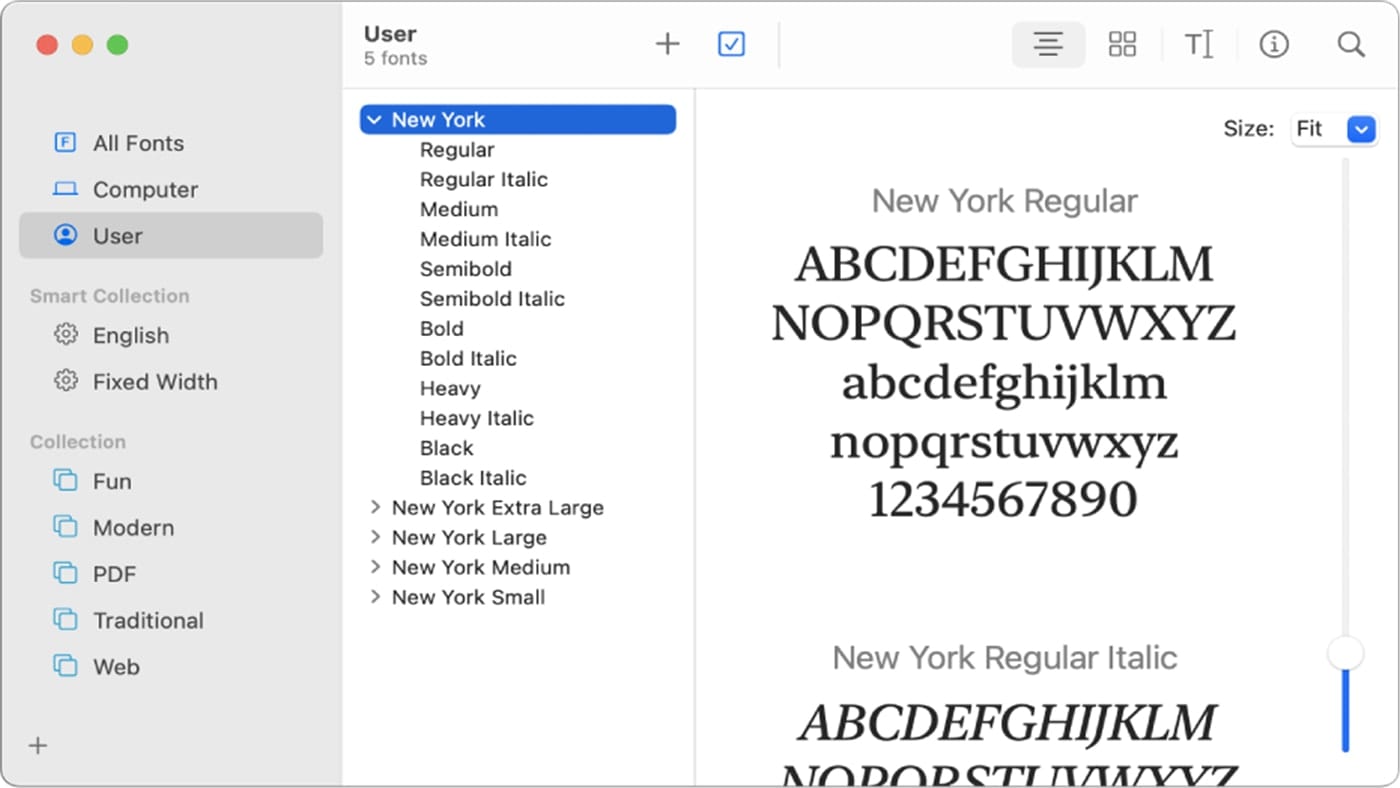
Organizing Fonts: Font Book allows you to organize your installed fonts into Collections. This is incredibly useful for managing large font libraries. You can create custom collections for different projects, clients, or font categories (e.g., “Serifs,” “Script Fonts,” “Branding Fonts”). To create a collection, click the “+” button in the bottom-left corner of the Font Book window and select “New Collection.” You can then drag your installed fonts into these collections.
Important Note on Font Duplicates: Font Book will warn you if you try to install a font that is already present on your system. It will usually offer an option to resolve duplicates, often by keeping the existing font or replacing it with the new one. Be cautious when replacing fonts, as some applications might rely on specific versions.
Post-Installation: Accessing and Using Your New Fonts
Once a font is installed on your Mac, it becomes available to most applications that support custom typography. This includes your word processors, design software, presentation tools, and more.
Where to Find Your Installed Fonts
After installation, new fonts don’t appear in a special “new fonts” folder. Instead, they are integrated into the font menus of your applications.
-
Open Your Application: Launch any application where you typically use fonts (e.g., Pages, Microsoft Word, Adobe Photoshop, Keynote, TextEdit).
-
Access the Font Menu: Look for the font selection dropdown menu, usually located in the application’s toolbar, formatting panel, or within a “Format” or “Text” menu.
-
Locate Your Font: Your newly installed fonts will appear in alphabetical order within this font menu. They will be listed by their font name (e.g., “Open Sans,” “Roboto Slab,” “Great Vibes”). If you organized your fonts into collections within Font Book, those collections generally won’t be directly mirrored in application font menus, but the fonts will be readily accessible by name.
Troubleshooting Font Availability:
- Restart the Application: In most cases, an application needs to be restarted after installing a new font to recognize it. If you installed a font while an application was already open, close and reopen that application.
- Restart Your Mac: For rare instances where a font might not appear, a full system restart can sometimes resolve the issue by forcing all applications and system services to re-read the font library.
- Check Font Validation: If a font is not appearing and you suspect an issue, open Font Book again. Look for the font in your library. If it has a warning icon or is greyed out, it might indicate a corrupted font file. Try re-downloading the font from its source.
- Font Licensing Issues: While less common for standard installation, some very specific font licenses might restrict their use to certain applications or environments. Always ensure you understand the font’s licensing terms.
Best Practices for Font Management
As you accumulate more fonts, good management becomes crucial for maintaining a clean and efficient system.
- Regularly Review Your Font Library: Periodically open Font Book and review your installed fonts. Remove any fonts you no longer use or that have been superseded by better alternatives. This can speed up application startup times and prevent clutter.
- Use Collections Wisely: Leverage Font Book’s collection feature to group fonts by project, client, or style. This makes it much easier to find the right font when you need it.
- Backup Your Fonts: If you have a collection of paid or custom fonts that are important to your work, consider backing them up to an external drive or cloud storage. This protects you from accidental deletion or data loss.
- Be Mindful of Font Conflicts: When installing fonts from multiple sources, you might encounter duplicate fonts with slightly different names or versions. Font Book’s duplicate resolution feature is helpful, but always pay attention to which version you’re keeping.
- Understand Font Licensing for Professional Use: For any professional or commercial projects, ensure you have the correct licenses for the fonts you use. This prevents legal issues and respects the work of type designers.
By following these steps and best practices, you can effortlessly expand your typographic toolkit on your Mac, enhancing the visual appeal and effectiveness of all your digital creations. Whether you’re crafting a personal document, designing a brand identity, or developing a new app, the right font can make all the difference.
aViewFromTheCave is a participant in the Amazon Services LLC Associates Program, an affiliate advertising program designed to provide a means for sites to earn advertising fees by advertising and linking to Amazon.com. Amazon, the Amazon logo, AmazonSupply, and the AmazonSupply logo are trademarks of Amazon.com, Inc. or its affiliates. As an Amazon Associate we earn affiliate commissions from qualifying purchases.