In the rapidly evolving landscape of technology, Python stands as a towering pillar, fueling everything from web development and data science to artificial intelligence and automation. Its versatility is largely attributed to its expansive ecosystem of third-party libraries and packages, which extend its core functionalities far beyond what’s built-in. Whether you’re looking to build a sophisticated web application with Django, analyze vast datasets with Pandas, or create a machine learning model with TensorFlow, you’ll inevitably need to install and manage these powerful Python packages.
For anyone venturing into Python programming, mastering the art of package installation is not just a useful skill—it’s a fundamental prerequisite for productivity and robust software development. Without the ability to efficiently integrate external libraries, developers would be constantly reinventing the wheel, drastically slowing down innovation and hindering the creation of complex, feature-rich applications. This comprehensive guide will demystify the process, equipping you with the knowledge and practical steps to seamlessly install, manage, and leverage Python packages, thereby enhancing your workflow and unlocking Python’s full potential. We’ll dive into the core tools and best practices that ensure your Python projects remain organized, secure, and highly efficient, aligning perfectly with the principles of cutting-edge software and enhanced productivity.
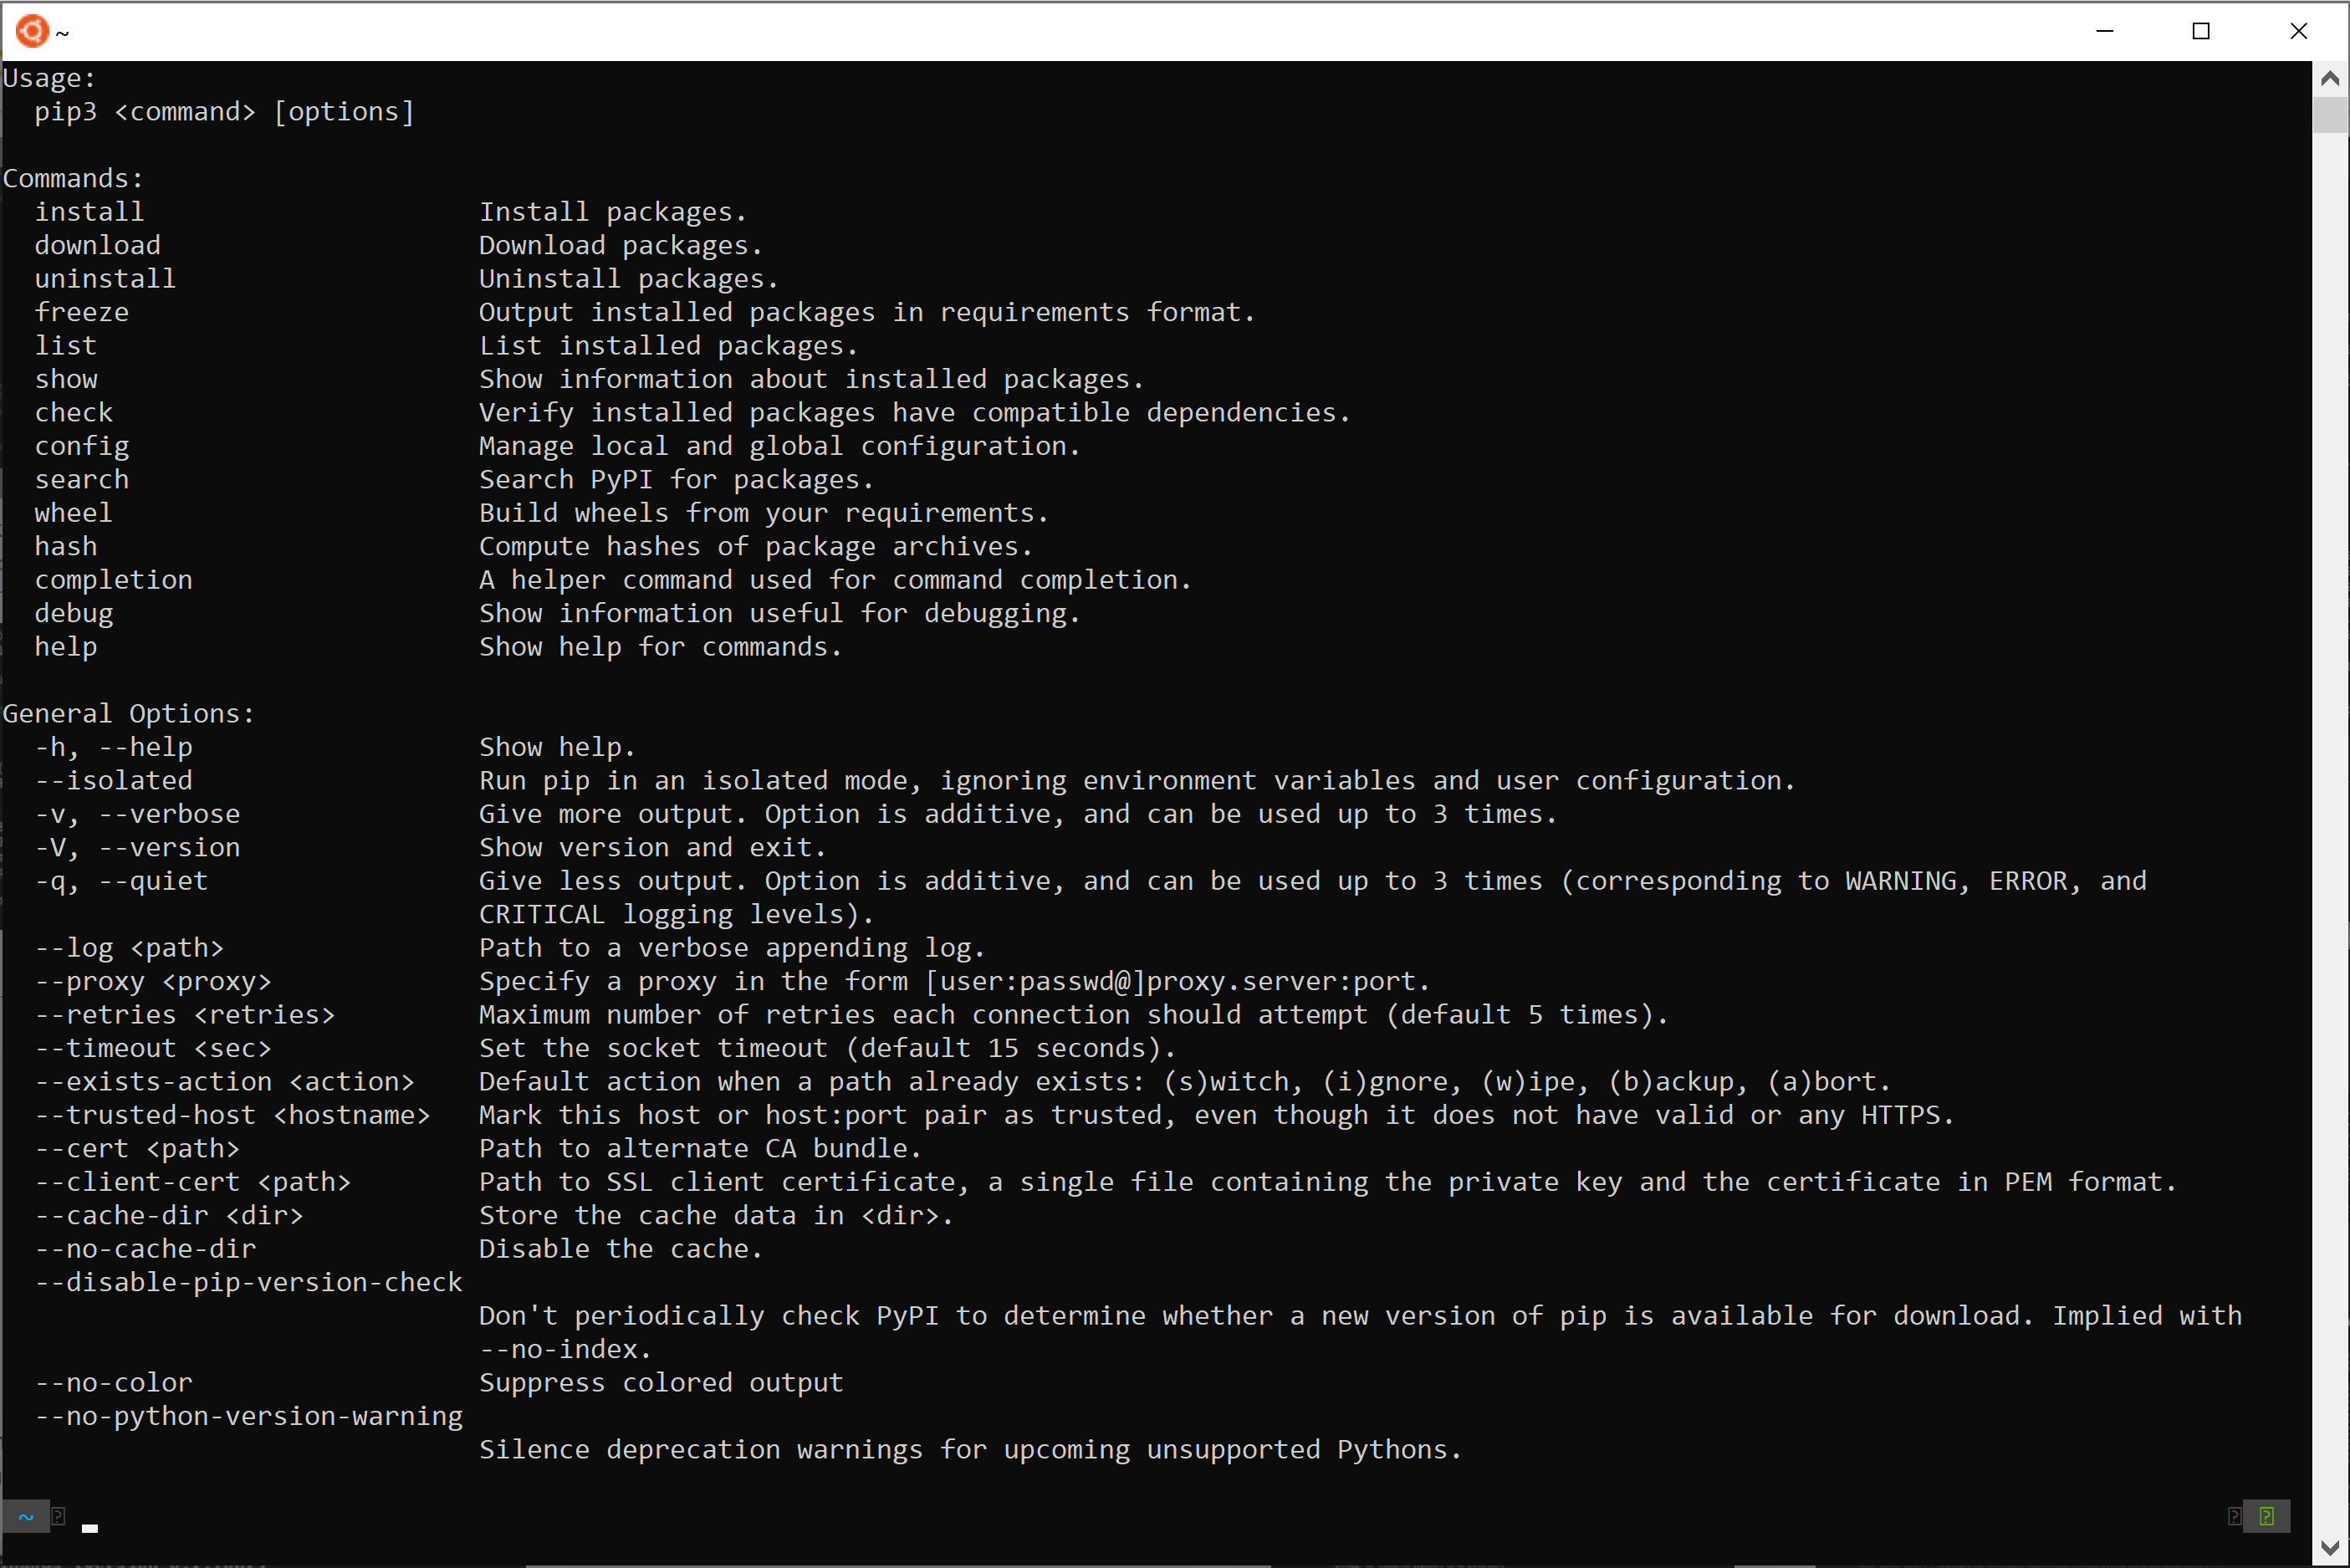
Understanding Python Packages and Pip
Before we delve into the mechanics of installation, it’s crucial to grasp what Python packages are and why they are so integral to the Python ecosystem. Equally important is understanding the role of pip, Python’s de facto standard package installer.
What Are Python Packages?
At its heart, a Python package is essentially a directory of Python modules. A module is a single Python file (.py) containing code—functions, classes, and variables—that can be reused across different projects. When multiple modules are logically grouped together, perhaps providing a set of related functionalities, they form a package.
Think of it this way: if Python’s standard library provides the basic building blocks for a house (like bricks and cement), packages provide specialized components like pre-built windows, doors, or even entire kitchen setups. These components save you immense time and effort, allowing you to focus on the unique aspects of your project rather than re-engineering common functionalities. For instance, the requests package simplifies making HTTP requests, NumPy provides powerful numerical computing capabilities, and Flask offers a micro-framework for building web applications.
The benefits of using packages are manifold:
- Code Reusability: Avoid writing the same code repeatedly.
- Modularity: Break down large projects into manageable, independent components.
- Community Contribution: Tap into a vast pool of open-source solutions developed and maintained by the global Python community.
- Accelerated Development: Build complex applications much faster by standing on the shoulders of giants.
Introducing Pip: Python’s Package Installer
pip (which recursively stands for “Pip Installs Packages” or “Pip Is Python”) is the package management system used to install and manage software packages written in Python. It connects to the Python Package Index (PyPI), a vast repository of Python packages. When you use pip, you’re essentially telling it to fetch a specific package from PyPI, download it, and install it into your Python environment.
Pip is analogous to package managers in other operating systems or programming languages, such as apt for Debian/Ubuntu, brew for macOS, npm for Node.js, or gem for Ruby. Its primary functions include:
- Installation: Downloading and installing packages.
- Uninstallation: Removing packages.
- Upgrading: Updating packages to newer versions.
- Listing: Showing currently installed packages.
- Dependency Resolution: Automatically installing other packages that your desired package depends on.
Given that most modern Python distributions (Python 3.4+ and some Python 2.7.9+ versions) come with pip pre-installed, it’s usually ready to go right out of the box, making it incredibly accessible for developers worldwide. This seamless integration significantly contributes to Python’s reputation as a highly productive and developer-friendly language.
Prerequisites for Package Installation
Before you start wielding pip to supercharge your Python projects, you need to ensure two fundamental prerequisites are met: Python itself must be installed, and pip must be available and up-to-date.
-
Verify Python Installation:
Open your terminal or command prompt and type:python --versionor, if
pythonpoints to an older version or isn’t found:python3 --versionYou should see output indicating the Python version installed (e.g.,
Python 3.9.7). If you receive an error like “command not found,” you’ll need to install Python first. The official Python website (python.org) provides installers for all major operating systems. During installation, especially on Windows, remember to check the “Add Python to PATH” option to make it easily accessible from the command line. -
Verify Pip Installation:
Once Python is confirmed, check forpipby typing:pip --versionor, for specific Python 3 environments:
pip3 --versionYou should see output similar to
pip 21.2.4 from /path/to/python/lib/python3.9/site-packages/pip (python 3.9). Ifpipis not found, you might need to install it. On Windows, you can typically runpython -m ensurepipor downloadget-pip.pyand run it withpython get-pip.py. On Linux,sudo apt install python3-pip(for Debian/Ubuntu) orsudo yum install python3-pip(for Fedora/RHEL) usually does the trick. -
Upgrade Pip (Recommended):
It’s always a good practice to ensure yourpipversion is up-to-date, as newer versions often contain bug fixes, performance improvements, and security enhancements.
bash

python -m pip install --upgrade pip
Usingpython -m pipis generally preferred over justpipbecause it explicitly links thepipcommand to the Python interpreter you are currently using, which is particularly useful when managing multiple Python versions on your system.
With these checks complete, you’re ready to harness the power of pip to manage your Python packages. This foundational step is crucial for any developer aiming for a streamlined and secure development environment, laying the groundwork for greater productivity whether you’re building AI tools, data analysis scripts, or sophisticated web apps.
The Essentials of Installing Python Packages with Pip
With our environment set up, let’s explore the core commands for managing Python packages using pip. These fundamental operations form the backbone of dependency management for almost every Python project.
Basic Package Installation
The most common operation is to install a package. The syntax is straightforward:
pip install package_name
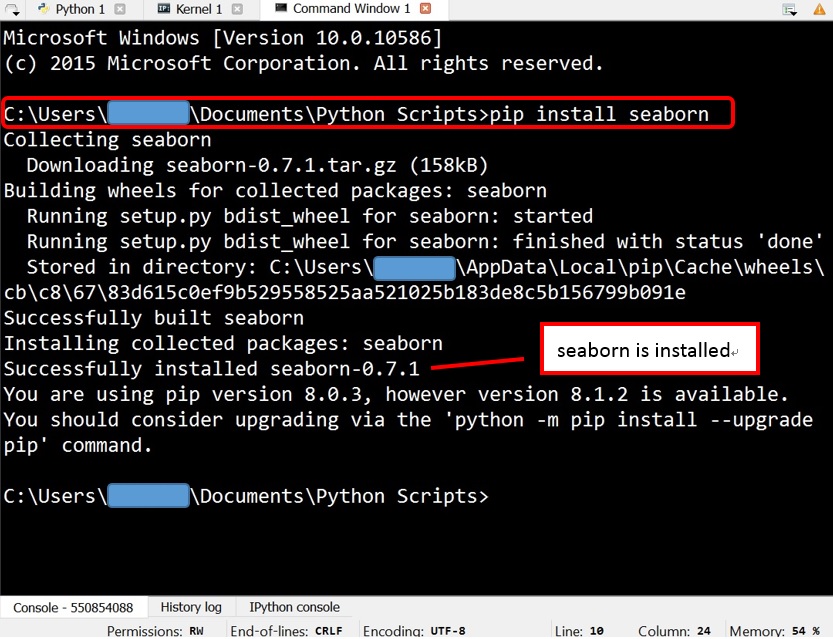
Replace package_name with the actual name of the package you wish to install. For example, to install the popular requests library, which simplifies sending HTTP requests:
pip install requests
When you run this command, pip performs several actions:
- Searches PyPI: It queries the Python Package Index for the
requestspackage. - Downloads: It downloads the latest stable version of the package and any of its dependencies (other packages
requestsrelies on). - Installs: It places the downloaded files into your Python environment’s
site-packagesdirectory, making them available for import in your Python scripts.
You can also install multiple packages at once by listing them:
pip install flask numpy pandas
After installation, you can verify that the package is available by trying to import it in a Python interpreter or script.
Installing Specific Package Versions
Sometimes, you might need to install a specific version of a package, perhaps to ensure compatibility with an older project or to avoid breaking changes introduced in a newer release. pip allows you to do this using a double-equals sign (==):
pip install package_name==version_number
For instance, to install version 2.25.1 of the requests library:
pip install requests==2.25.1
You can also specify version ranges using operators like >=, <=, >, <, !=. For example:
pip install requests>=2.20(version 2.20 or newer)pip install requests<3.0(any version less than 3.0)pip install requests~=2.25.0(any version that is2.25.xbut not2.26.0or higher – often called the “compatible release” operator)
This precise control over package versions is critical for maintaining stable and reproducible development environments, especially in collaborative projects or when deploying applications to production.
Upgrading Existing Packages
Software evolves, and so do Python packages. New versions often bring bug fixes, performance enhancements, and new features. To upgrade an already installed package to its latest stable version, use the --upgrade flag:
pip install --upgrade package_name
For example, to update requests:
pip install --upgrade requests
If the package is already at its latest version, pip will simply inform you. If a newer version is available, it will download and replace the existing one. It’s a good practice to regularly upgrade your packages, though always test thoroughly after an upgrade, as breaking changes can occur.
Uninstalling Python Packages
When a package is no longer needed, or if you’re cleaning up your environment, you can remove it using the uninstall command:
pip uninstall package_name
For example, to remove the requests package:
pip uninstall requests
pip will typically ask for confirmation before proceeding, listing the files it plans to remove. This helps prevent accidental deletions. After confirmation, the package and its associated files will be removed from your site-packages directory. Note that pip uninstall does not automatically uninstall packages that were installed as dependencies of the uninstalled package. You’ll need to manage those manually if they are no longer required by any other installed package.
Installing Packages from a requirements.txt File
For professional Python projects, manually installing each dependency is impractical and prone to errors. Instead, developers use a requirements.txt file to list all project dependencies and their exact versions. This file ensures that everyone working on the project, and the deployment environment, uses the exact same set of libraries, guaranteeing consistency and reproducibility.
A requirements.txt file typically looks like this:
flask==2.0.1
numpy>=1.21.0,<1.22.0
pandas~=1.3.0
requests
To install all packages listed in a requirements.txt file, navigate to the directory containing the file in your terminal and run:
pip install -r requirements.txt
This command reads each line from the file and installs the specified package and version. It’s a cornerstone of professional Python development and crucial for maintaining project integrity and developer productivity.
To generate a requirements.txt file from your current environment’s installed packages, you can use:
pip freeze > requirements.txt
This command outputs a list of all installed packages and their exact versions, formatted precisely for a requirements.txt file. It’s an excellent way to capture the dependencies of a working project.
By mastering these essential pip commands, you gain powerful control over your Python environment, allowing you to confidently manage project dependencies and streamline your development workflow. This precision in package management is a hallmark of efficient software engineering, contributing to more stable applications and enhanced productivity.
Mastering Your Python Environment with Virtual Environments
While the basic pip commands are essential, directly installing all packages into your system’s global Python environment can lead to significant problems. Different projects often require different versions of the same library, or a specific set of dependencies that might conflict with another project’s needs. This is where virtual environments come into play – a critical tool for every serious Python developer.
Why Use Virtual Environments?
Virtual environments provide isolated Python environments for each of your projects. Imagine each project having its own dedicated Python installation and its own set of installed packages, completely separate from your global Python installation and from other projects.
The key benefits include:
- Dependency Isolation: Prevents conflicts. If Project A needs
Flask==1.0and Project B needsFlask==2.0, a virtual environment allows both to coexist peacefully on your system without one overwriting the other. - Project Reproducibility: By isolating dependencies, it’s much easier to specify exact requirements for a project using
requirements.txt, ensuring that anyone else setting up the project gets the exact same environment. - Cleanliness: Your global Python environment remains pristine, reserved only for basic system-wide utilities. Project-specific dependencies don’t clutter it.
- Testing and Experimentation: You can freely install and uninstall packages within a virtual environment without worrying about affecting your other projects or breaking your core Python setup.
- Easier Deployment: When deploying an application, you only need to bundle the specific dependencies defined within its virtual environment, leading to smaller, more manageable deployment packages.
In essence, virtual environments are a non-negotiable best practice for maintaining a healthy, efficient, and reproducible Python development workflow, directly boosting productivity and preventing common headaches related to dependency management.
Creating and Activating Virtual Environments
Python 3 includes the venv module as part of its standard library, making virtual environment management straightforward.
1. Navigate to Your Project Directory:
First, open your terminal or command prompt and change your directory to your project’s root folder. This is where your virtual environment will be created.
cd /path/to/your/project
2. Create the Virtual Environment:
Run the following command. Conventionally, virtual environments are named .venv or venv.
python -m venv .venv
(Replace python with python3 if your system uses it to explicitly call Python 3).
This command creates a new directory named .venv (or whatever you choose) inside your project folder. This directory will contain a copy of the Python interpreter, the pip installer, and other necessary files for the isolated environment.
3. Activate the Virtual Environment:
Activating the environment modifies your shell’s PATH variable so that python and pip commands now point to the versions within your virtual environment, rather than the global ones.
-
On macOS/Linux:
source .venv/bin/activate -
On Windows (Command Prompt):
.venvScriptsactivate -
On Windows (PowerShell):
powershell

.venvScriptsActivate.ps1
Once activated, your terminal prompt will typically change to include the name of your virtual environment (e.g., (.venv) user@host:~/project$), indicating that you are now operating within the isolated environment.
Installing Packages within a Virtual Environment
With your virtual environment activated, any pip install commands you run will install packages directly into that specific environment, leaving your global Python installation untouched.
For example, to install requests inside your activated virtual environment:
pip install requests
If you then run pip freeze, you’ll only see requests and its dependencies, not all the packages from your global environment. This isolation is precisely the goal.
You can then run your Python scripts within this environment, knowing that they are using the specific package versions you intended.
Deactivating and Deleting Virtual Environments
Deactivating:
When you’re finished working on a project or need to switch to another project’s environment, simply type:
deactivate
Your terminal prompt will return to its normal state, and your python and pip commands will once again refer to your global Python installation (or whichever version is in your system PATH).
Deleting:
To completely remove a virtual environment, simply delete the directory where it was created. Since all project-specific packages are contained within this directory, deleting it removes all those packages without affecting your system’s global Python installation.
# First, deactivate if it's active
deactivate

# Then, delete the directory
rm -rf .venv  # On macOS/Linux
rd /s /q .venv # On Windows (Command Prompt)
This demonstrates the ease with which virtual environments can be managed, reinforcing their utility for maintaining a clean and efficient development workspace. By embracing virtual environments, you adopt a best practice that drastically reduces common development frustrations, enhances project stability, and ultimately boosts your productivity as a Python developer.
Common Issues and Best Practices
Even with pip and virtual environments, you might encounter occasional issues. Knowing how to troubleshoot and follow best practices can save significant time and prevent potential security risks, reinforcing the “Digital Security” and “Productivity” aspects of a well-maintained tech environment.
Troubleshooting Installation Problems
Encountering errors during package installation is a rite of passage for every developer. Here are some common problems and their solutions:
-
“pip is not recognized as an internal or external command” / “pip: command not found”:
- Cause: Python or
pipis not in your system’s PATH environment variable, or it wasn’t installed correctly. - Solution:
- On Windows, ensure “Add Python to PATH” was checked during installation. If not, reinstall Python or manually add the Python Scripts directory (e.g.,
C:Python39Scripts) to your PATH. - On macOS/Linux, verify Python installation and ensure
pipis installed (e.g.,sudo apt install python3-pip). - Always try
python -m pip install ...orpython3 -m pip install ...as this explicitly callspipusing the Python interpreter.
- On Windows, ensure “Add Python to PATH” was checked during installation. If not, reinstall Python or manually add the Python Scripts directory (e.g.,
- Cause: Python or
-
Permission Errors (e.g.,
Permission denied: '/usr/local/lib/python3.9/site-packages/...'):- Cause: You’re trying to install packages globally without sufficient permissions. This often happens on macOS or Linux when installing into the system-wide Python.
- Solution:
- Best Practice: Use a virtual environment. This eliminates the need for system-wide permissions.
- Temporary Workaround (Use with Caution): For quick one-off scripts, you can use
pip install --user package_name. This installs the package only for your current user, usually into~/.local/lib/pythonX.Y/site-packages. - Avoid: Using
sudo pip install ...is generally discouraged as it can lead to permission inconsistencies and make your system’s Python environment unstable.
-
Network-Related Errors (
Could not find a version that satisfies...,Connection aborted...):- Cause: Issues with internet connectivity, firewall blocking access to PyPI, or a proxy server configuration.
- Solution:
- Check your internet connection.
- If behind a corporate proxy, you might need to configure
pipto use it:
bash

pip install --proxy http://proxy.example.com:8080 package_name
You can also set environment variables likeHTTP_PROXYandHTTPS_PROXY. - Verify that PyPI is accessible from your network.
-
Compiler Errors (
error: Microsoft Visual C++ 14.0 or greater is required. Get it with "Build Tools for Visual Studio"):- Cause: Some Python packages (especially those with C extensions) require a C/C++ compiler to be installed to build them from source. This is common on Windows.
- Solution: On Windows, download and install the “Build Tools for Visual Studio” from Microsoft’s website. Ensure you select the “Desktop development with C++” workload during installation.
-
Outdated Pip:
- Cause: An old version of
pipmight have bugs or lack features needed for newer packages. - Solution: Always keep
pipupdated:python -m pip install --upgrade pip.
- Cause: An old version of
Security Considerations
Digital security is paramount in any tech endeavor. When installing Python packages, remember these security practices:
- Trusted Sources: Always install packages from PyPI. Avoid installing from untrusted or unknown sources, as they could contain malicious code.
- Verify Package Names: Double-check the spelling of package names. Typo-squatting (malicious packages with similar names to popular ones) is a known threat. For example, ensuring you install
requestsand notrequessts. - Dependency Auditing: For critical projects, consider tools that audit your dependencies for known vulnerabilities. Tools like
pip-auditorsafetycan scan yourrequirements.txtfile against databases of known security flaws.- Example:
pip install safetythensafety check -r requirements.txt
- Example:
- Regular Updates: Keep packages updated to patch security vulnerabilities. The
--upgradeflag is your friend here, though always test updates in a controlled environment first.
Maintaining a Clean and Efficient Setup
A well-organized Python environment contributes significantly to developer productivity and reduces technical debt.
- Embrace Virtual Environments (Always): As discussed, this is the single most important practice for maintaining a clean setup. Treat it as mandatory for every new project.
- Document Dependencies: Use
requirements.txtreligiously. Every project should have one, generated viapip freeze > requirements.txtwhen the environment is stable. - Remove Unused Packages: Regularly uninstall packages you no longer need. While virtual environments isolate this, keeping even a virtual environment lean is good practice.
- Understand
pip listvs.pip freeze:pip list: Shows all installed packages in the current environment.pip freeze: Shows only the packages that were explicitly installed and their dependencies, formatted forrequirements.txt. It’s better for generating dependency lists.
- Clean Caches:
pipcaches downloaded packages to speed up future installations. Over time, this cache can grow large. You can clear it with:
bash

pip cache purge
(Note: This command was introduced in pip 10.0. If you have an older version, you might need to locate the cache directory manually.)
By adhering to these troubleshooting tips and best practices, you not only ensure smoother development cycles but also enhance the security and maintainability of your Python projects. This holistic approach to package management is key to unlocking maximum productivity and confidence in your software development endeavors, whether you’re building the next generation of AI tools, managing vast datasets, or crafting innovative applications.
Conclusion
Mastering the installation and management of Python packages is a foundational skill that every developer needs to cultivate. Python’s power lies not just in its core language, but in its vast ecosystem of third-party libraries that enable everything from data analysis and machine learning to web development and automation. By effectively utilizing pip and embracing virtual environments, you unlock an unparalleled level of productivity, efficiency, and control over your development workflow.
We’ve covered the essentials: from understanding what Python packages are and the indispensable role of pip, to the practical steps of installing, upgrading, and uninstalling packages. We delved into the critical importance of virtual environments for isolating project dependencies, preventing conflicts, and ensuring reproducibility across different development stages and teams. Finally, we explored common troubleshooting scenarios and highlighted best practices for maintaining a secure, clean, and efficient Python setup.
The journey into Python development is continuous, with new packages emerging and methodologies evolving. However, the principles discussed here—meticulous dependency management, the judicious use of virtual environments, and a proactive approach to troubleshooting and security—will remain constant pillars of effective software engineering. By integrating these practices into your daily routine, you’ll not only streamline your own work but also contribute to building more robust, reliable, and secure applications. Embrace these tools, and watch as your productivity soars, allowing you to focus on innovation and solving the complex challenges of the modern tech landscape.
aViewFromTheCave is a participant in the Amazon Services LLC Associates Program, an affiliate advertising program designed to provide a means for sites to earn advertising fees by advertising and linking to Amazon.com. Amazon, the Amazon logo, AmazonSupply, and the AmazonSupply logo are trademarks of Amazon.com, Inc. or its affiliates. As an Amazon Associate we earn affiliate commissions from qualifying purchases.