
In an ever-evolving digital landscape, where operating systems often come with hefty price tags or privacy concerns, Linux Mint stands out as a beacon of freedom, stability, and user-friendliness. For anyone seeking a robust, secure, and highly customizable alternative to Windows or macOS, Linux Mint offers an unparalleled experience. Built upon the foundation of Ubuntu and Debian, Mint combines the power of Linux with a refined interface, making it an ideal choice for both seasoned Linux enthusiasts and newcomers alike. Whether you’re looking to revitalize an older computer, enhance your digital security, or simply explore a different computing paradigm, installing Linux Mint is a journey worth taking.
This comprehensive guide will walk you through every step of installing Linux Mint, transforming your computing experience from proprietary limitations to open-source empowerment. We’ll cover everything from the crucial preparatory steps, selecting the right version for your needs, creating bootable media, navigating the installation wizard, and finally, optimizing your system for peak performance and productivity. By the end of this tutorial, you’ll not only have a freshly installed Linux Mint system but also a deeper understanding of the possibilities that open-source technology presents for your digital life, aligning perfectly with themes of tech exploration, digital security, and smart financial choices that come with embracing free software.
Preparing for Your Linux Mint Installation: The Foundation of Success
Before embarking on the installation journey, meticulous preparation is key. Rushing this phase can lead to data loss or a less-than-optimal setup. This section outlines all the essential prerequisites and steps to ensure a smooth and successful transition to Linux Mint. Think of it as laying a robust digital foundation before building your new operating system house.
Essential Pre-Installation Checklist
One of the most critical steps, often overlooked, is backing up your existing data. If you’re installing Linux Mint alongside another operating system or completely replacing one, there’s always a slim chance of data loss if something goes awry. Copy all your important documents, photos, videos, and other files to an external hard drive, cloud storage, or another secure location. This peace of mind is invaluable.
Next, consider the system requirements. While Linux Mint is known for its efficiency and ability to breathe new life into older hardware, having a minimum specification ensures a smooth experience. You’ll typically need:
- 2GB RAM (4GB recommended for comfortable usage)
- 20GB of disk space (100GB recommended for daily use and future software)
- 1024×768 resolution display
- A reliable internet connection is highly recommended during installation to download third-party software, drivers, and updates.
- An empty USB flash drive with at least 8GB capacity is required to create the bootable installation media.
- Finally, ensure your laptop is plugged into a power source, or your desktop has stable power, to prevent interruptions during installation.
Downloading the Linux Mint ISO
The first tangible step is to acquire the Linux Mint installation file, known as an ISO image.
- Visit the Official Linux Mint Website: Always download the ISO from the official source, linuxmint.com, to ensure you get an authentic, untampered version. This is a critical security practice, preventing potential malicious software from compromising your system even before it’s installed.
- Choose Your Edition: Linux Mint offers three main desktop environments:
- Cinnamon: This is the flagship edition, known for its modern, elegant, and traditional desktop layout. It’s often recommended for users coming from Windows due to its familiar interface.
- MATE: A more classic, robust, and resource-friendly desktop. Ideal for older machines or users who prefer a more traditional look and feel.
- XFCE: The lightest of the three, XFCE is extremely fast and low on resource usage. Perfect for very old hardware or users prioritizing speed and minimal aesthetics.
For most users, especially those new to Linux, the Cinnamon edition provides the best balance of features, aesthetics, and ease of use.
- Select a Mirror and Download: On the download page, you’ll find a list of mirrors (servers) from which to download the ISO. Choose one geographically close to you for faster download speeds.
- Verify the ISO (Optional but Recommended): After downloading, it’s good practice to verify the integrity of the ISO file using its SHA256 checksum. This ensures the file wasn’t corrupted during download and, more importantly, hasn’t been tampered with by a malicious third party. The official website provides the checksums; you can compare them using a command-line tool (e.g.,
sha256sum your-downloaded-file.isoon Linux/macOS or a utility on Windows). This extra layer of digital security is a hallmark of responsible tech practices.
Creating a Bootable USB Drive
With the ISO file downloaded and verified, the next step is to create a bootable USB drive. This drive will act as your installer, allowing your computer to boot into the Linux Mint environment.
- Choose Your Tool:
- Balena Etcher (Recommended for all OS): This cross-platform tool (Windows, macOS, Linux) is incredibly user-friendly and reliable. Download it from balena.io/etcher.
- Rufus (Windows Only): A popular and efficient tool for Windows users. Download it from rufus.ie.
- Instructions for Balena Etcher:
- Insert your 8GB+ USB drive into your computer.
- Launch Balena Etcher.
- Click “Flash from file” and select the Linux Mint ISO you downloaded.
- Click “Select target” and choose your USB drive. Double-check that you’ve selected the correct drive, as flashing will erase all data on the chosen device.
- Click “Flash!” Etcher will then write the ISO to the USB drive and verify it, which can take several minutes.
- Once completed, you’ll be notified, and you can safely remove the USB drive.
This bootable USB is your gateway to installing Linux Mint, ready to transform your hardware into a fresh, secure, and efficient computing platform.
The Installation Process: A Step-by-Step Guide
With your bootable USB drive ready, the core installation can now begin. This section guides you through booting into the Linux Mint environment and navigating the installation wizard, covering critical decisions like disk partitioning and user account setup.
Booting from Your USB Drive
The first hurdle is to instruct your computer to boot from the newly created USB drive instead of its internal hard drive.
- Restart Your Computer: With the bootable USB drive inserted, restart your computer.
- Access BIOS/UEFI Settings: As your computer starts, you’ll need to press a specific key repeatedly to enter the BIOS (Basic Input/Output System) or UEFI (Unified Extensible Firmware Interface) settings or a “Boot Menu.” Common keys include
F2,F10,F12,Del, orEsc. The key varies by motherboard manufacturer (e.g., Dell, HP, Lenovo, ASUS, Acer). Look for an on-screen prompt like “Press F12 for Boot Menu” or “Press DEL to enter Setup.” - Set Boot Order: Once in the BIOS/UEFI settings or Boot Menu, locate the “Boot” tab or section. You’ll need to change the boot order to prioritize your USB drive (it might be listed as “USB HDD,” “USB-NAME,” or the brand of your USB drive) above your internal hard drive. Save the changes and exit (usually by pressing
F10). - Enter the Live Session: Your computer should now boot from the USB drive. You’ll typically be presented with a GRUB menu. Select “Start Linux Mint” (or similar). This will load Linux Mint into a “live session” environment. This means Linux Mint is running entirely from your RAM and USB drive without touching your internal hard drive. It’s a fantastic opportunity to test hardware compatibility, browse the web, and get a feel for the operating system before committing to installation.
Initiating the Installation
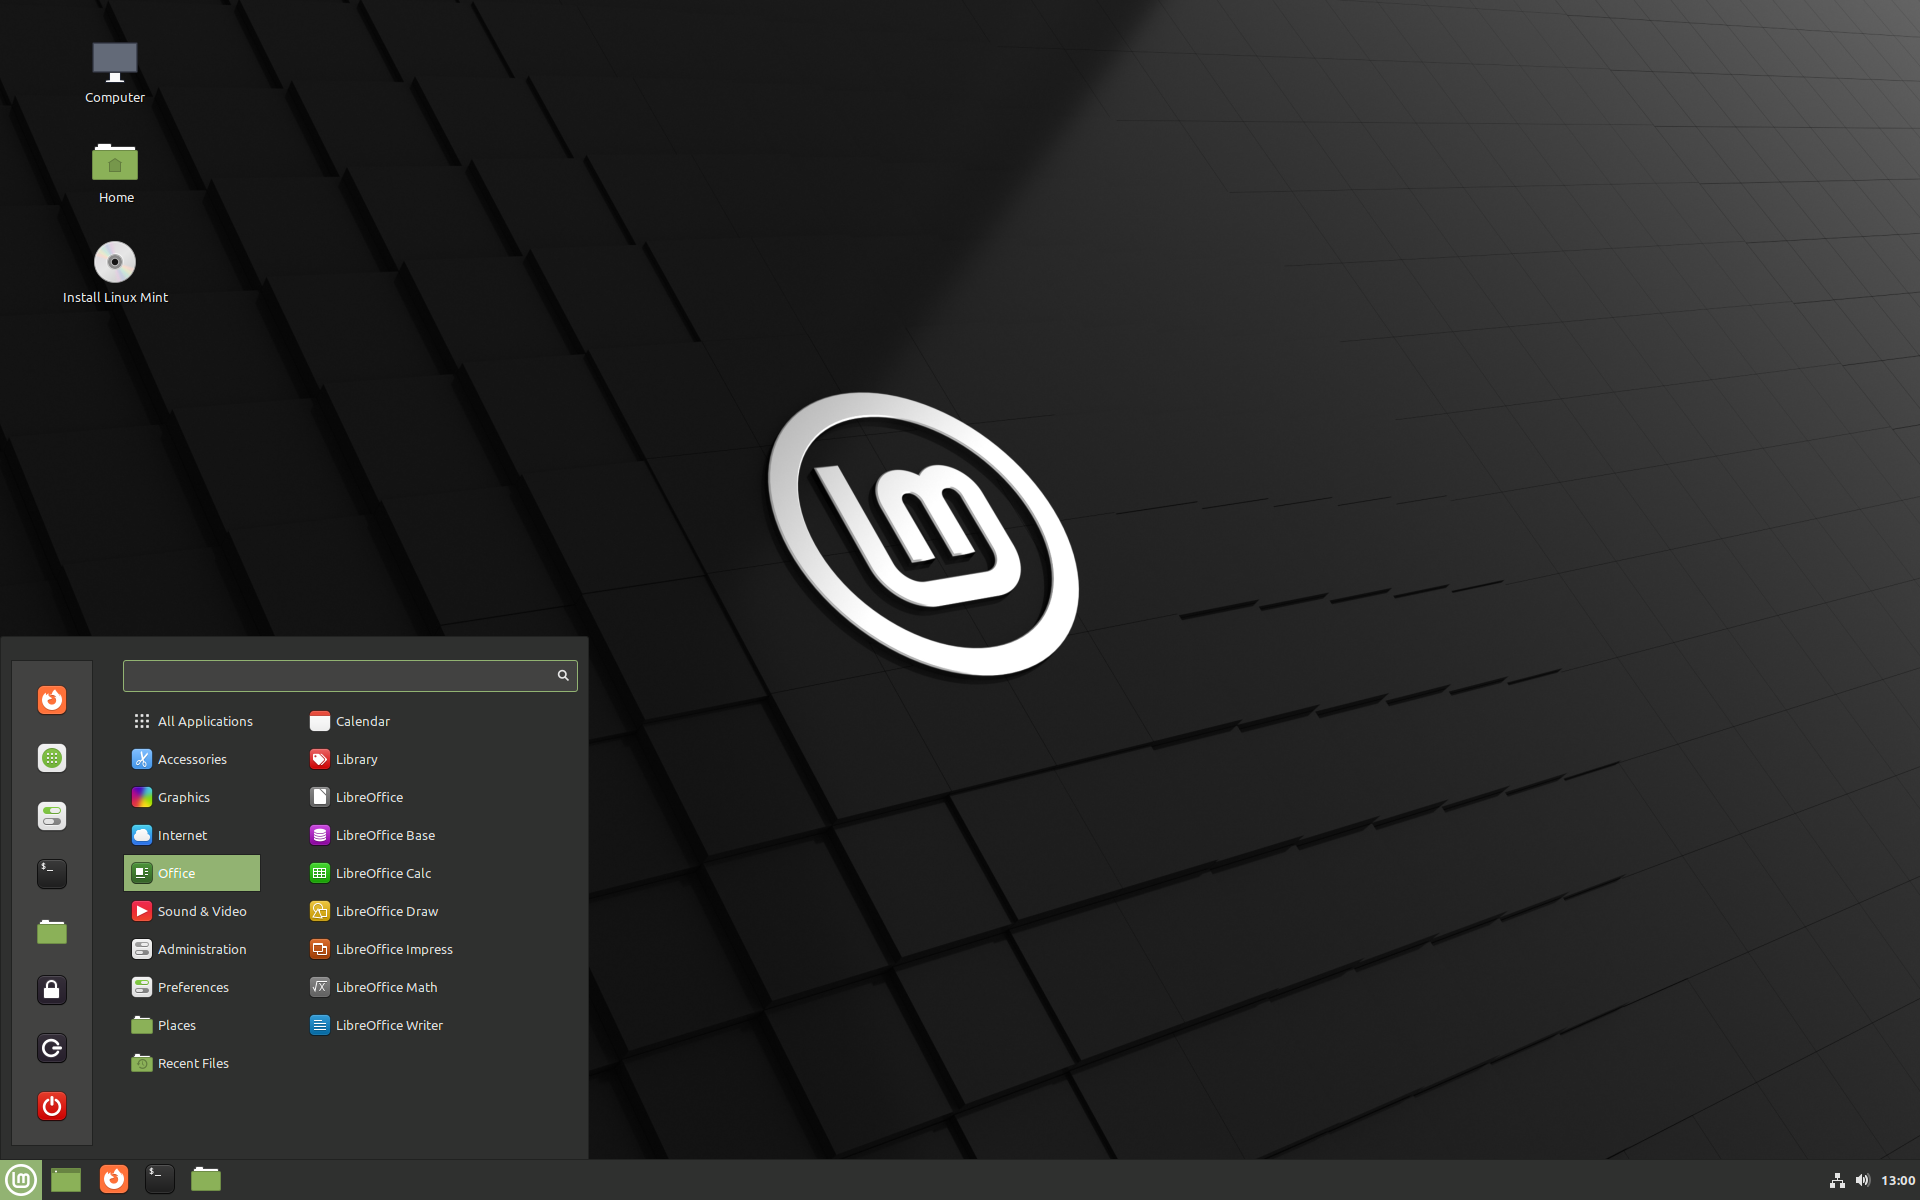
Once in the live session, you’ll find an icon on the desktop labeled “Install Linux Mint.” Double-click this icon to start the installation wizard.
- Language Selection: The first screen prompts you to choose your preferred language for the installation process and the installed system. Select your language and click “Continue.”
- Keyboard Layout: Next, choose your keyboard layout. The installer usually auto-detects this, but you can test it in the provided text field. Click “Continue.”
- Multimedia Codecs and Third-Party Software: This is an important step. You’ll see a checkbox for “Install third-party software for graphics and Wi-Fi hardware, Flash, MP3 and other media.” It is highly recommended to check this box. This will install proprietary drivers for certain hardware components (like NVIDIA or AMD graphics cards, Broadcom Wi-Fi) and codecs for playing various media formats (MP3, H.264, etc.). While Mint champions open-source, these proprietary components are often necessary for full functionality and a seamless user experience. Click “Continue.”
Partitioning Your Disk: The Crucial Step
This is perhaps the most critical part of the installation process, as it determines how Linux Mint will reside on your storage device. Proceed with caution here, especially if you plan to dual-boot or have existing data.
- Installation Type: You’ll be presented with several options:
- “Install Linux Mint alongside [Your Existing OS]”: This option is ideal for dual-booting. The installer will automatically resize your existing operating system’s partition and create new partitions for Linux Mint. This is the easiest dual-boot option.
- “Erase disk and install Linux Mint”: CAUTION! This option will wipe your entire hard drive, deleting all existing operating systems and data, and dedicate the entire disk to Linux Mint. Only choose this if you are absolutely sure you want to erase everything.
- “Something else”: This is the manual partitioning option. It gives you complete control over how your disk is partitioned. This is recommended for advanced users, those setting up complex multi-boot systems, or if the automatic options don’t suit your specific needs. If you choose this, you’ll typically want to create at least the following partitions:
/(Root): This is where the operating system files will reside. A size of 20-30GB is usually sufficient. Format as Ext4./home: This partition stores all your personal files and user settings. It’s good practice to have this separate, as it allows you to reinstall the OS without affecting your personal data. Give it the majority of your remaining space. Format as Ext4.swaparea: Linux uses swap space as virtual memory when RAM runs low. A general rule of thumb is to have swap space equal to your RAM if you have 4GB or less, or half your RAM if you have more than 4GB.EFI System Partition (ESP): If your system uses UEFI (most modern computers do), you’ll need a small (100-500MB) FAT32 partition for EFI boot files. If you already have one from another OS, you can usually reuse it.
If you’re unsure, “Install alongside” is the safest bet for dual-boot, or “Erase disk” if you’re fully committing to Linux Mint after backing up. Make your selection and click “Install Now.” The installer will show you a summary of the changes; confirm if you’re happy.
User Account and Location Settings
After partitioning, the installer will perform the actual file copying and system configuration in the background, while you provide some essential user details.
- Time Zone: Select your geographical location on the map, which will set your system’s time zone. Click “Continue.”
- Create Your User Account:
- Your Name: Enter your full name.
- Your computer’s name: This is how your computer will appear on a network. A descriptive name is useful.
- Pick a username: This will be your login name. It’s usually lowercase.
- Choose a password: Crucially, create a strong, memorable password. This password will be used to log in, install software, and perform administrative tasks.
- Confirm your password: Type it again to ensure accuracy.
- Require my password to log in: Recommended for security.
- Encrypt my home folder: An excellent privacy feature. If checked, your personal files will be encrypted. While enhancing security, it can slightly impact performance and make data recovery harder if you forget your password. For most users, this is a valuable layer of security, especially on laptops.
The Installation Unfolds
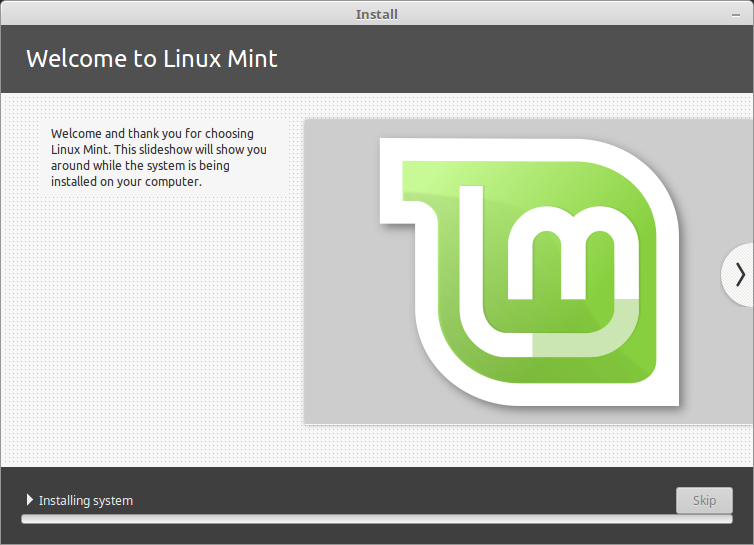
Once you’ve provided all the necessary information, the installation wizard will proceed to copy files, configure the system, and install all the selected software. This process can take anywhere from 15 to 45 minutes, depending on your system’s speed. You’ll see a slideshow with information about Linux Mint during this time.
Upon completion, you’ll receive a message indicating that the installation is finished. You’ll be prompted to “Restart Now.”
Post-Installation: Optimizing Your Linux Mint Experience
Congratulations! You’ve successfully installed Linux Mint. However, the journey doesn’t end there. A few crucial steps after the initial installation will ensure your system is secure, up-to-date, and ready for productivity.
First Steps After Reboot
- Remove the USB Drive: Before your computer restarts, or as soon as the screen goes black during the reboot process, remove the USB installation drive. This prevents your computer from booting back into the live session.
- Log In: Your computer should now boot directly into your newly installed Linux Mint system. Enter the username and password you created during the installation.
- The Welcome Screen: Upon logging in for the first time, you’ll likely be greeted by the Linux Mint Welcome Screen. This handy utility offers quick links to essential post-installation tasks and resources, such as the system snapshot tool (Timeshift), driver manager, and documentation.
- Run System Updates (Crucial!): This is perhaps the most important first step. Open the “Update Manager” (usually found via the Welcome Screen or in the system tray). Apply all available updates. These updates include security patches, bug fixes, and performance improvements, ensuring your system is secure and stable from day one. You might need to restart your computer after major kernel updates. Keeping your system updated is a fundamental aspect of digital security and maintaining a reliable tech environment.
Installing Essential Software and Drivers
While Linux Mint comes with a good set of pre-installed applications, you might need to add specific software or drivers.
- Driver Manager: If you skipped installing third-party drivers during the initial setup or encounter hardware issues (e.g., Wi-Fi not working, screen resolution problems), open the “Driver Manager” (also accessible from the Welcome Screen or system menu). It will scan for proprietary drivers (like those for NVIDIA/AMD graphics cards or specific Wi-Fi chipsets) and allow you to install them easily. Installing the correct drivers ensures optimal performance and compatibility.
- Software Manager: Linux Mint’s Software Manager is your one-stop shop for thousands of free and open-source applications. It’s similar to an app store. Search for and install popular software like:
- Web Browsers: Firefox is pre-installed, but you can easily install Chrome or Brave.
- Office Suites: LibreOffice is excellent and pre-installed, offering a powerful alternative to Microsoft Office.
- Multimedia: VLC Media Player, GIMP (image editor), Audacity (audio editor).
- Productivity Tools: Many note-taking apps, task managers, and communication tools are available.
- Other utilities: Password managers, VPN clients, etc.
The availability of such a vast software library, almost entirely free, highlights the financial advantages and rich ecosystem of open-source technology. For advanced users, the command line (apt install <package-name>) offers even more control. You might also explore Flatpak or Snap packages, which provide sandboxed applications and newer software versions directly from developers.
Customization and Personalization
One of Linux Mint’s greatest strengths is its customizability. You can tailor almost every aspect of your desktop to suit your preferences and enhance your workflow.
- System Settings: Explore the “System Settings” (found in the main menu). Here you can change themes, icons, fonts, desktop backgrounds, panel settings, and more. Experiment with different desktop environments (if you installed MATE or XFCE, or want to add KDE Plasma later) to find what truly boosts your productivity.
- Desklets and Applets: Cinnamon and MATE offer “Desklets” (small desktop widgets) and “Applets” (small panel indicators) that can display information (weather, CPU usage) or provide quick access to functions.
- Keyboard Shortcuts: Configure custom keyboard shortcuts to launch applications or perform actions faster, significantly improving your efficiency.
- Terminal: Don’t be afraid to occasionally dive into the terminal (command line). It’s a powerful tool for system administration, troubleshooting, and installing advanced software. Many guides and communities exist to help you learn common commands.

Conclusion: Embrace Your New Digital Frontier
Installing Linux Mint is more than just installing an operating system; it’s an entry point into a world of digital freedom, enhanced security, and robust performance. You’ve successfully navigated the technical steps, from preparing your system and creating bootable media to making crucial installation decisions and optimizing your new environment.
With Linux Mint, you gain a highly stable and reliable platform that respects your privacy, is far less susceptible to common malware than proprietary alternatives, and provides a refreshing user experience. Its open-source nature means you benefit from a global community of developers constantly improving the system, without the recurring costs often associated with commercial software. This aligns perfectly with a smart “Money” mindset, turning expensive software licenses into free, community-driven alternatives, all while leveraging cutting-edge “Tech.”
Take the time to explore your new operating system. Delve into the Software Manager, customize your desktop to match your style, and discover the multitude of tools available to boost your productivity. The Linux Mint community is vast and welcoming, ready to assist you on forums and online groups should you encounter any questions.
You now possess a powerful, versatile, and secure computing environment. Welcome to the world of Linux Mint – a place where your technology truly works for you, empowering your digital life on your terms.
aViewFromTheCave is a participant in the Amazon Services LLC Associates Program, an affiliate advertising program designed to provide a means for sites to earn advertising fees by advertising and linking to Amazon.com. Amazon, the Amazon logo, AmazonSupply, and the AmazonSupply logo are trademarks of Amazon.com, Inc. or its affiliates. As an Amazon Associate we earn affiliate commissions from qualifying purchases.